I’m a huge fan of DIY organization – especially when it’s pretty! Decorate this decoupage tray with Mod Podge and scrapbook papers.
Skills Required: Beginner. It helps to have some experience with Mod Podge so that you can avoid wrinkles. Just follow proper dry times and you should be good.
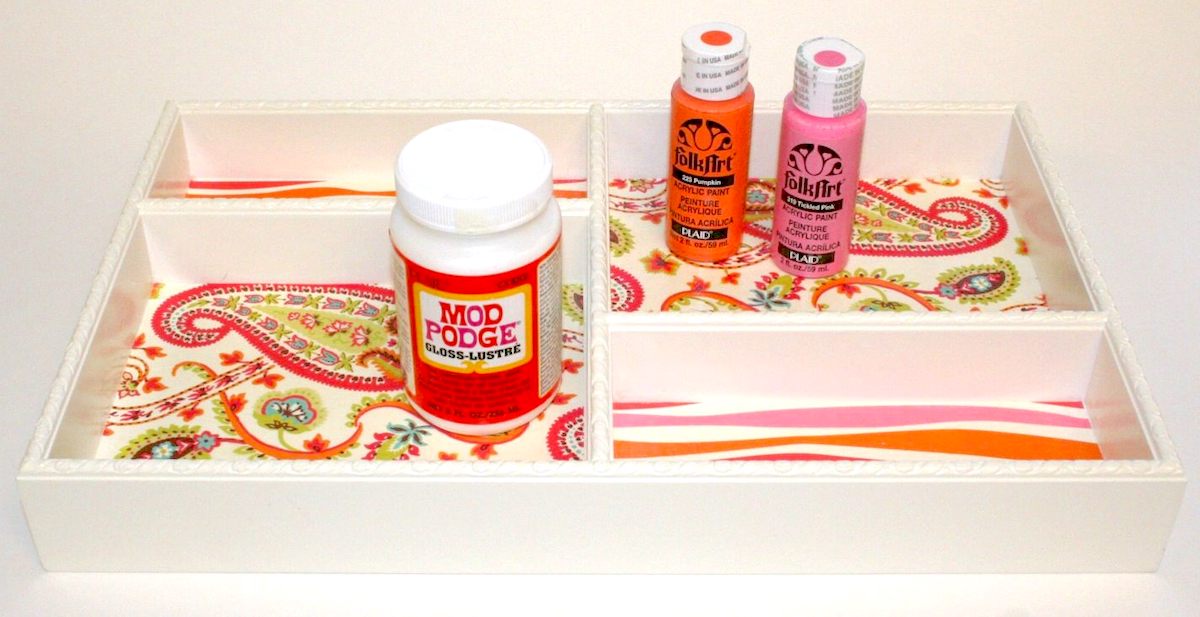
For my latest trick, I’ve added fun papers to the inside of a tray for instant DIY organization. It’s not really a trick, actually – it was too easy to be considered a trick.
It didn’t take long to do, and once you see the original tray you will see what a big difference paper can make. Are you interested in a decoupage tray of your very own? Continue to see how I did it.
Decoupage Tray
Gather These Supplies
- Tray – any sort with a flat bottom will do
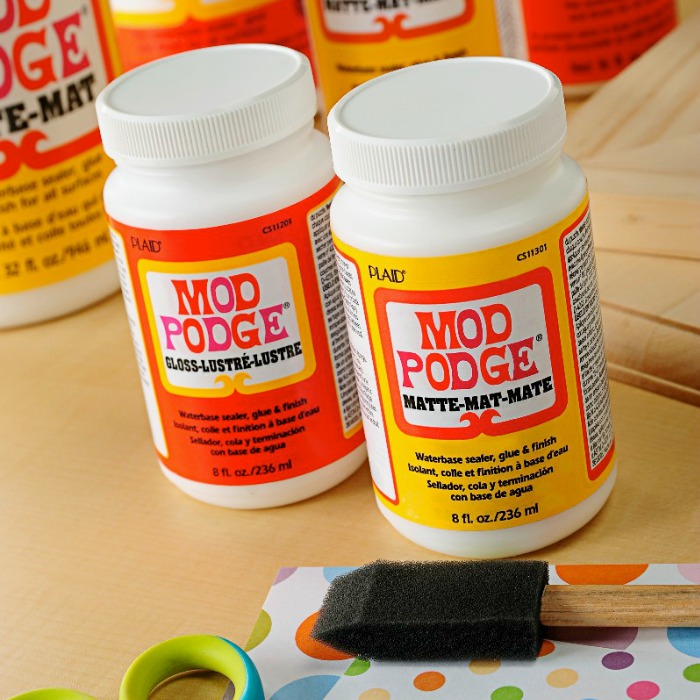
- Mod Podge Gloss
- Scrapbook paper – two coordinating sheets
- Ruler
- Craft knife
- Paintbrush
- Mod Podge Tool Set – optional
It’s a nice tray, but it needed a little something. A little “zhuzh” if you will.
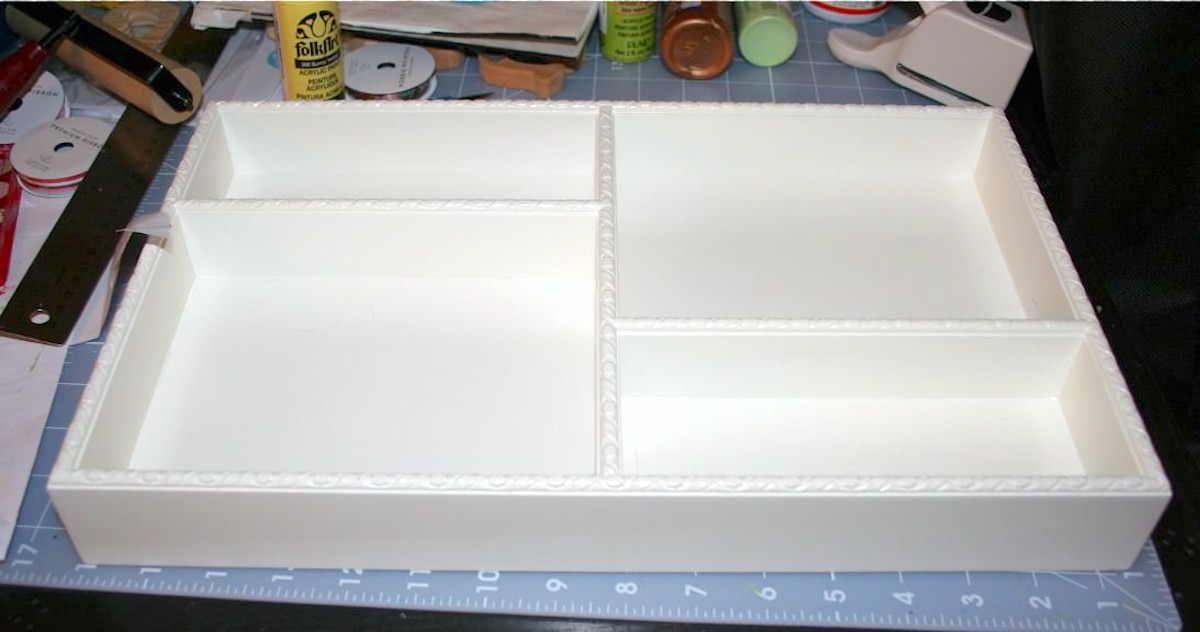
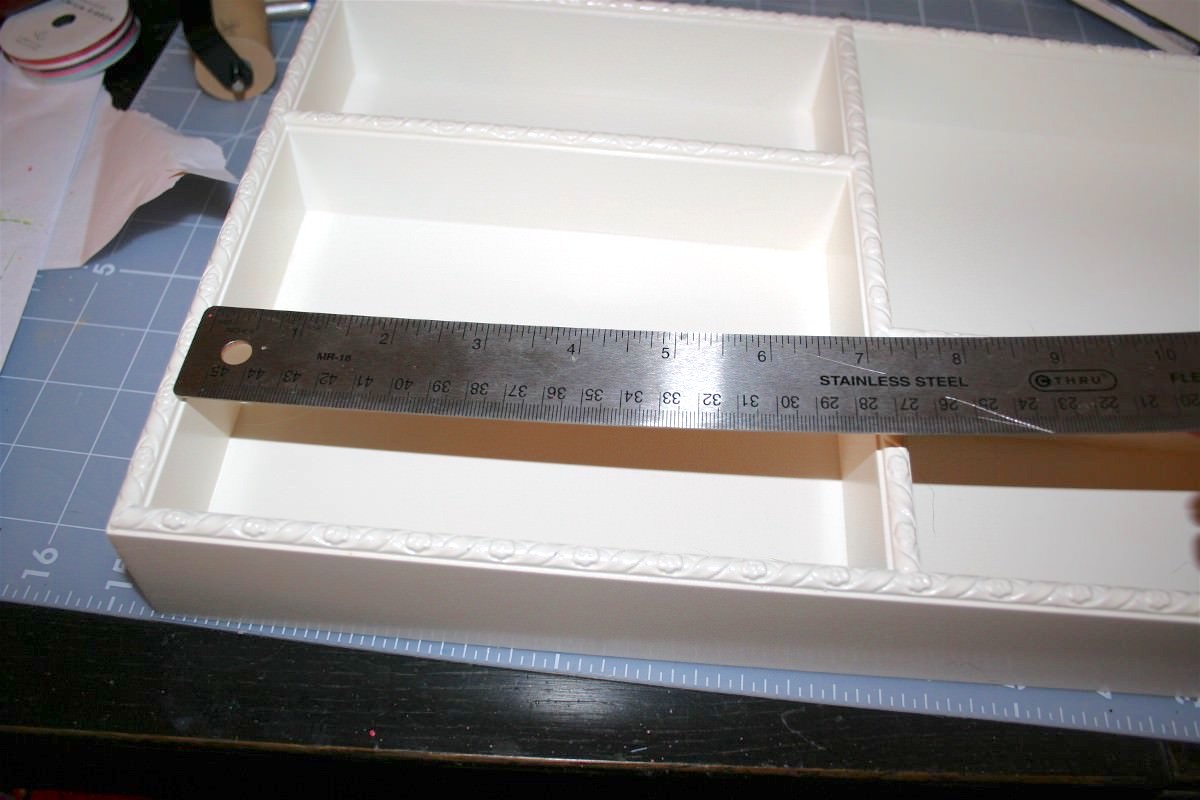
Measure the Compartments
I carefully measured each compartment. The two smaller ones and the two larger ones were the same size.
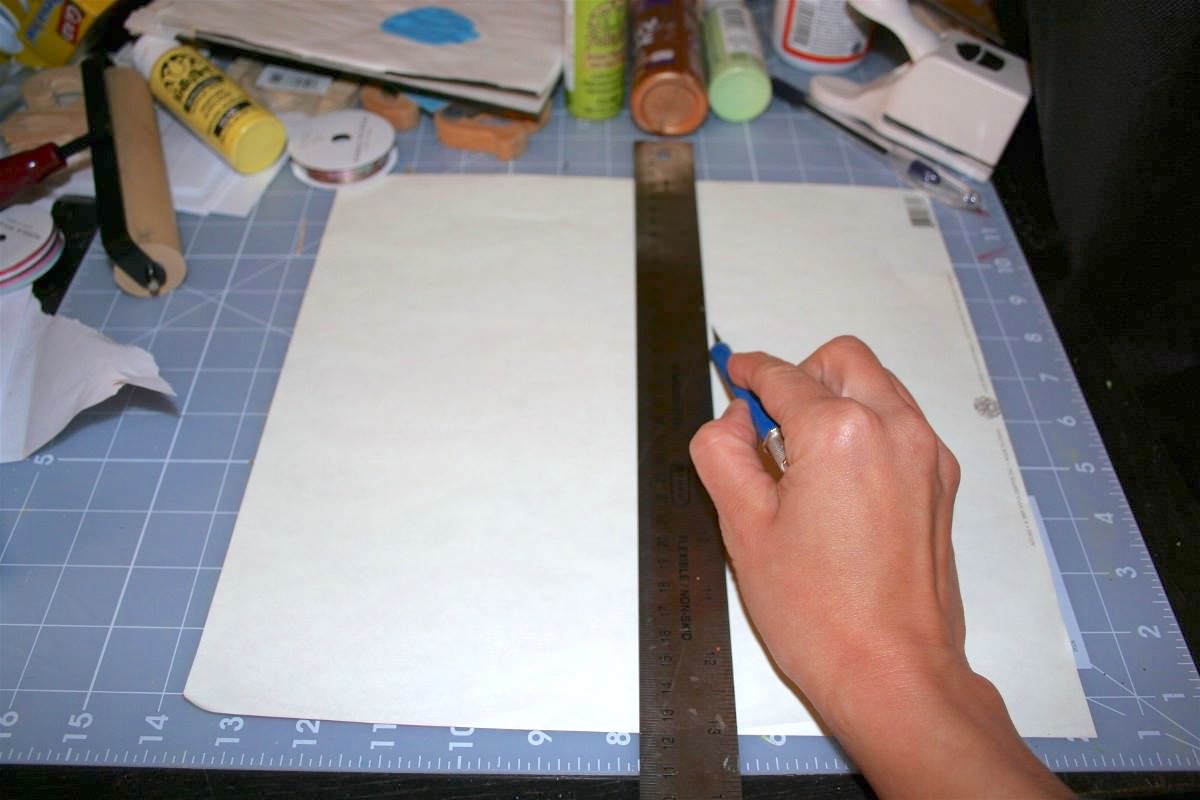
Measure and Cut Paper
Carefully measure your papers and trim them to fit. Make sure that they fit in each compartment, and if they don’t, keep trimming until they do.
Add Mod Podge and Paper
Add a medium layer of Mod Podge to the inside of the decoupage tray compartments. Do one compartment at a time.
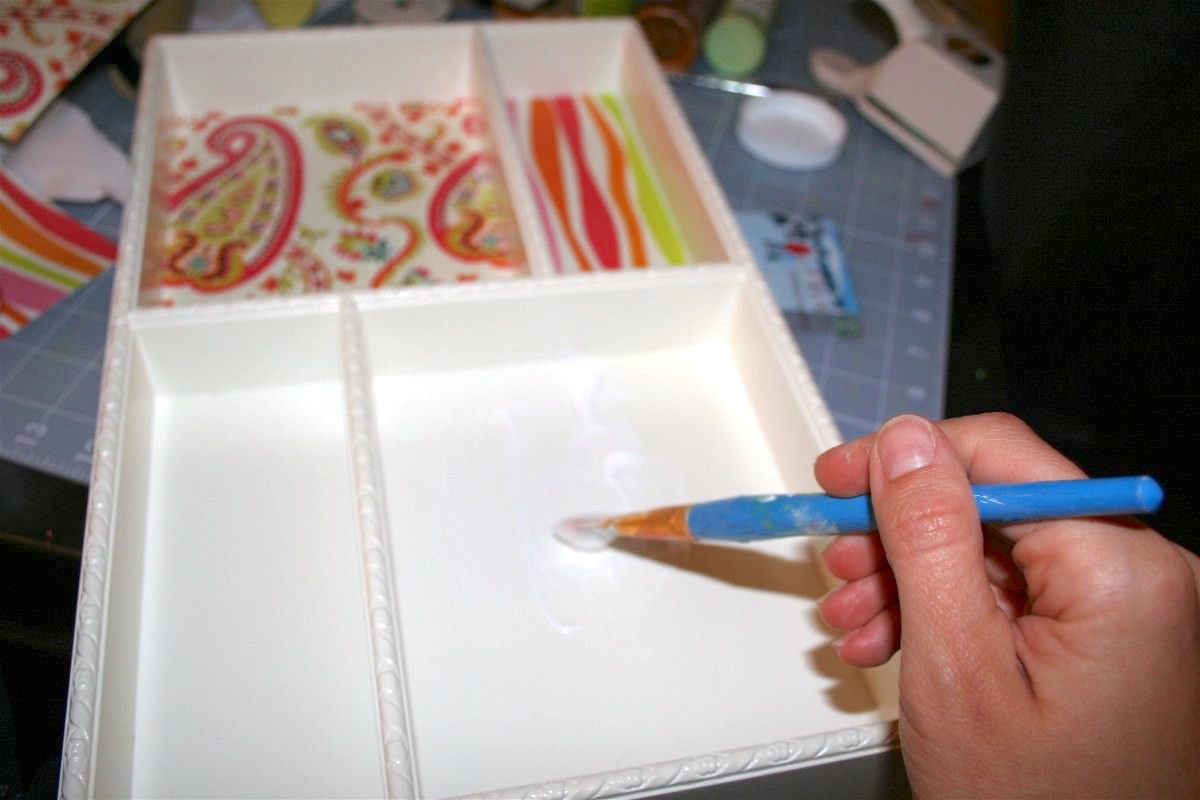
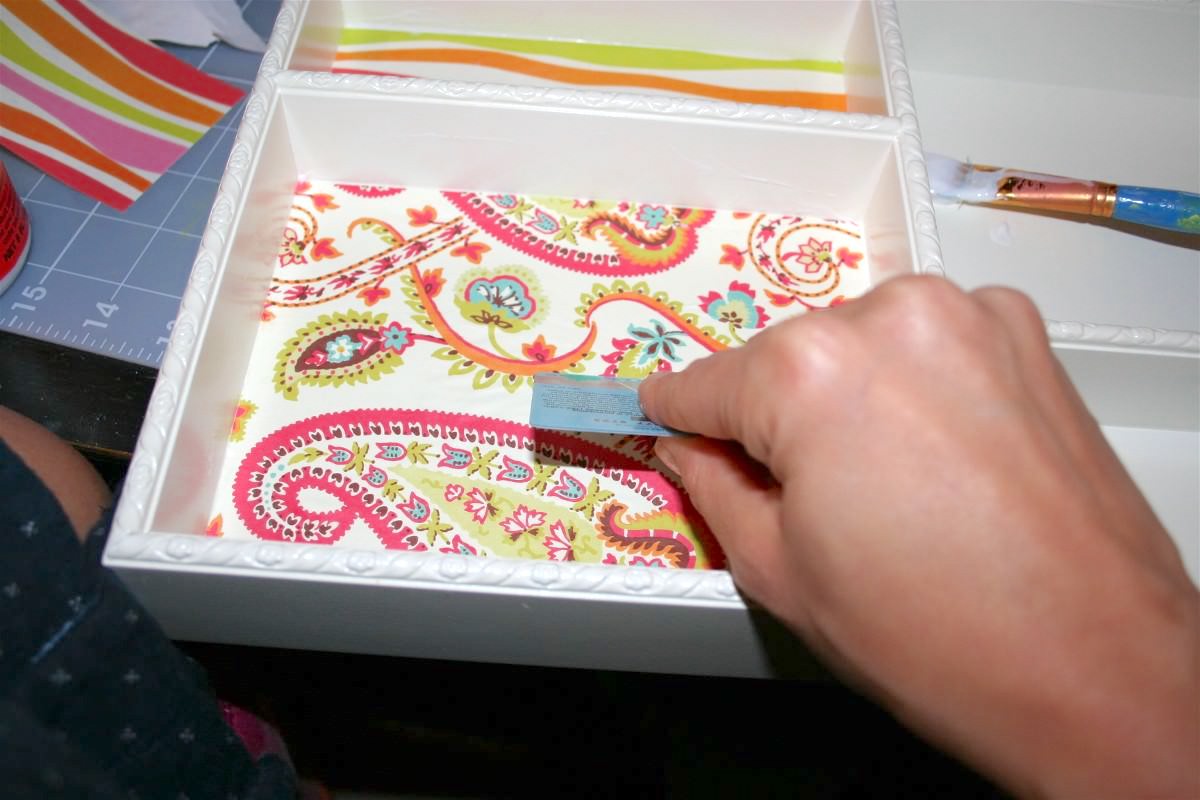
This is where the squeegee from the tool set comes in handy. You’ll place the paper into each compartment and smooth it down.
The squeegee helps get into the corners. Let the paper dry for 15 – 20 minutes.
Add Sealing Layer
Paint several layers of Mod Podge over the paper in each compartment. Let the tray dry for 24 hours before using.
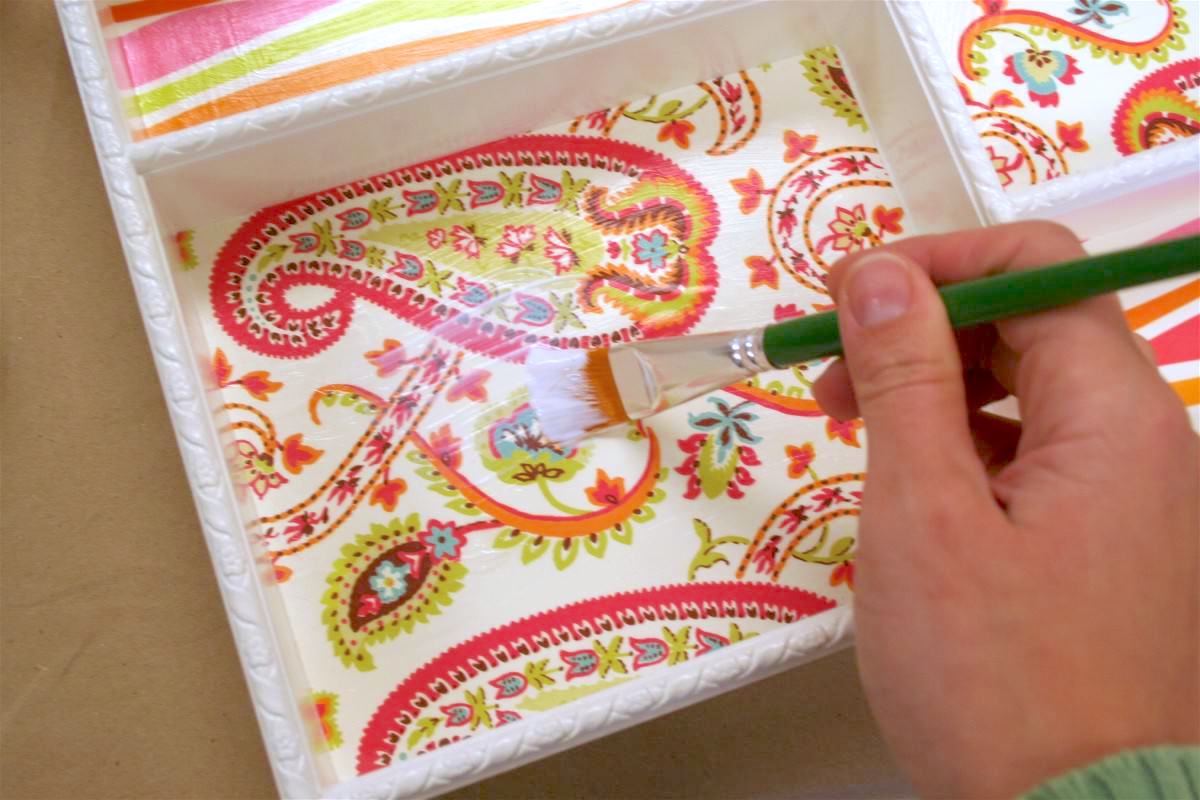
It’s the subtle things that count, my friends. I love my new decoupage tray, and now I just need to fill it with tons of crap!

Let me know what you think of this project in the comments. If you enjoyed this decorated tray, you might also enjoy these other ideas:





Superb!! I am a big fan of paisley designs & its looking beautiful inside your tray 🙂 Fun !!
Thanks for sharing!
just wondering if you use a tray that you transport food/heated things like cup of coffee if there is a sealer you put on it? to protect it extra? thanks.
It looks great! It made me chuckle too because I already have that same paisley paper in house waiting to be put in the bottom of a tray as well!!
Ouuu! So pretty. I love the papers you chose. Just got some hard coat Mod Podge the other day & it’d be perfect for this. Thanks for the fabulous tutorial!
Shebrews/Eydie – if you are going to put hot stuff in the tray, definitely seal with something tough like Minwax Polycrylic (the brush on). Regular wear and tear can just take a clear acrylic spray sealer. Thank you!
It’s so pretty I would hesitate to fill it full of crap as I wouldn’t be able to see the pretties.
So cute. I love it and what a great project for my teen girls. Thank you for sharing. ~Kelly
unDeniably Domestic
I became very excited about ModPodge last year and went around sticking maps on things and ModPodging them. I made 3 stools with maps on them and went over the tops a million times with it,expecting that my wiggly butt middle school students would rip them off. For about a year, they were fine, but suddenly, they are all tearing and losing their powers of staying together. Is this normal? I am very disappointed!!
Love this! Isn’t mod podge the best?! I love the dividers in the tray, great idea!!!
@Sparkling…did you seal your modge podge projects? That should help keep them durable.
@Sparkling, yes, Jenny G is right – with the butt action, extra sealing is required. Like really durable, outdoor sealer 😀
I adore your tray it is darling with the modge podge could you elaborate on the modge podge tools you only mentioned the squeege and where to purchase please
Cute tray! I have the same multi swirl paper lining my drawers in the bathroom!
So Pretty!!
Love for you to share it at my Linky Party 🙂 –
love the tray, now you’ll have so much fun filling it with little things you have no idea what to do with! great to see you on Craft Schooling sunday, and thanks for sharing !
This looks so pretty! I need to try it! I would love if you would link up to the Lovely Things Thursday Linky Party!
I just love this! So Simple but so cute & it adds so much :)I am a new follower of you & would love to have you come link up to Sunday Round Up! http://www.kaylascreationsblog.com/2012/03/sunday-round-up-1.html
Kayla 🙂
This is great! I’d love to do this to our drawers! However, would this be able to be removed easily? We live in an apartment and wouldn’t want it to ruin the drawers if they tried to remove the paper. Thank you!
Hi Lindsey! No, it would be able to be removed easily. You could Mod Podge to something else and stick it in the drawer (like posterboard). Otherwise, I’d use contact paper 😀