Use Mod Podge stencils and sand to decorate a wood crate – perfect for holding books, craft supplies or anything else you need to store.
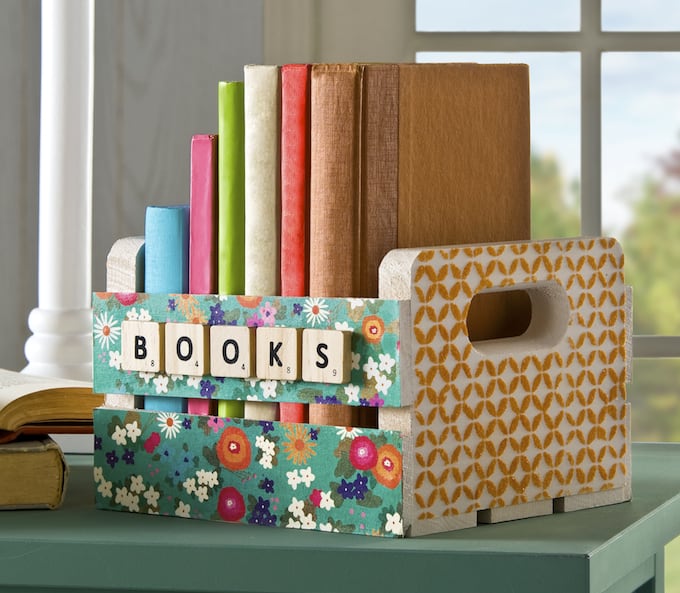
As I pack up to move, I realize how much I love my books. I’m old school when it comes to them. Though I own a Kindle, I’d much rather feel the paper in my hands. I wonder if anyone else feels like that?
Anyhoo, I used my new Mod Podge stencils to decorate the ends of this book crate . . . and this time I used sand with them! I love the way that sand looks in a cool pattern.
This is a very easy wood craft, and would be useful for all sorts of things. You could put it in an office, craft room, back to school area, kitchen . . . the possibilities are endless.
Decorate a Wooden Crate
Learn how to decorate a wood crate below – and customize it with the patterns and sand color of your choice.
Gather These Supplies
- Small wood crate
- Adhesive stencils
- Mod Podge Gloss
- Mod Podge spouncers
- FolkArt paint – Parchment
- Small wood scrabble letters spelling the saying of your choice
- Scrapbook paper – one piece
- Orange sand
- Paper cutter or craft knife and mat
- Ruler
- Pencil
- Paintbrush
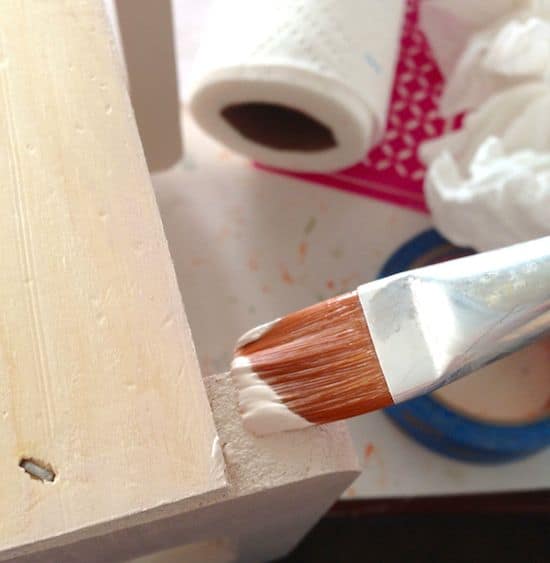
Paint your crate with the paint. Give your crate several coats and let dry. Don’t forget the inside and bottom of the crate as well.
I get asked a lot if you have to paint behind where the paper is going to be decoupaged down. As long as the paper is thick enough, the answer is no.
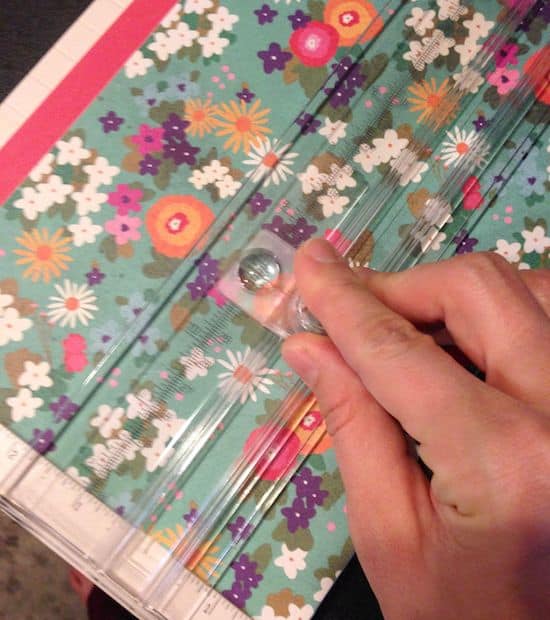
Measure the wood slats on the side of your crate using a ruler. Use the paper cutter to cut the scrapbook paper to fit the slats. Alternatively you can use a pencil with a ruler to measure and then scissors to cut the paper.
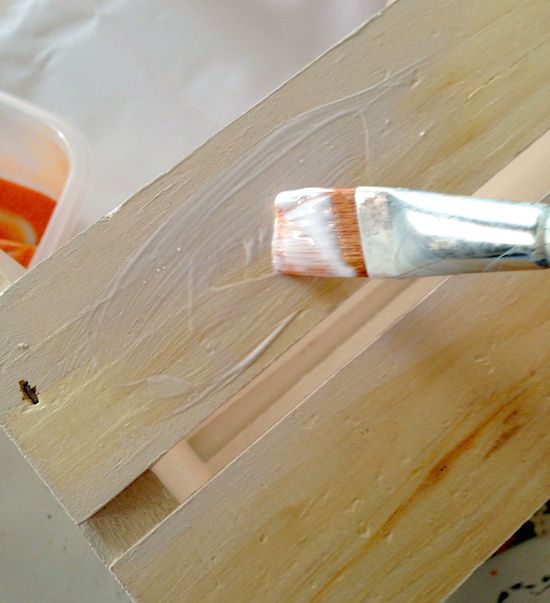
Working one at a time, add Mod Podge to the wood slats. Paint a medium layer of Mod Podge over the entire slat and smooth your scrapbook paper down. Repeat. Let dry for 15 – 20 minutes.
Apply a top coat over each wood slat and let dry.
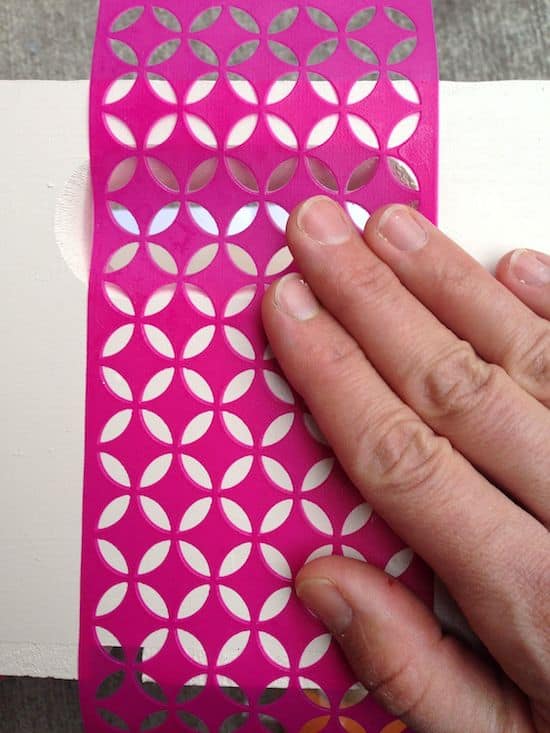
Now you’ll decorate the ends with the peel n’ stick stencil. Starting from the middle where the handle of the crate is, peel the stencil from the backer sheet (carefully) and smooth down flat on the surface.
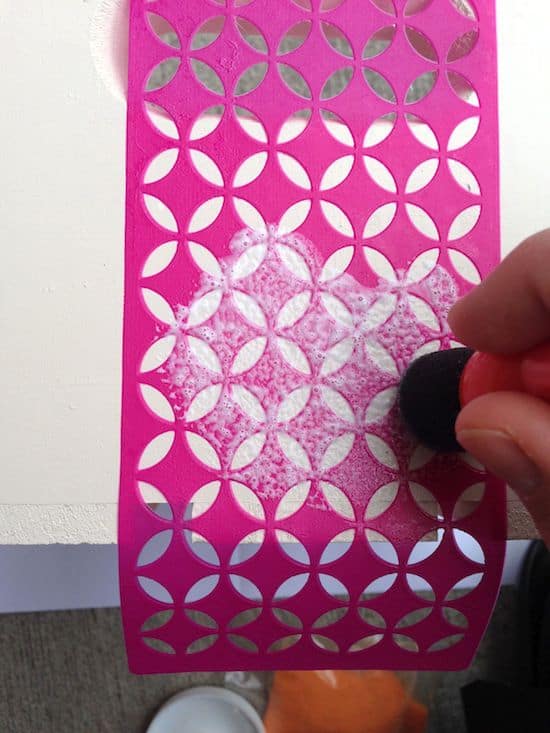
Use the spouncer to add Mod Podge to the stencil. Use a medium layer of Mod Podge and work quickly, since Mod Podge dries quickly. Completely cover the area you would like the design in.
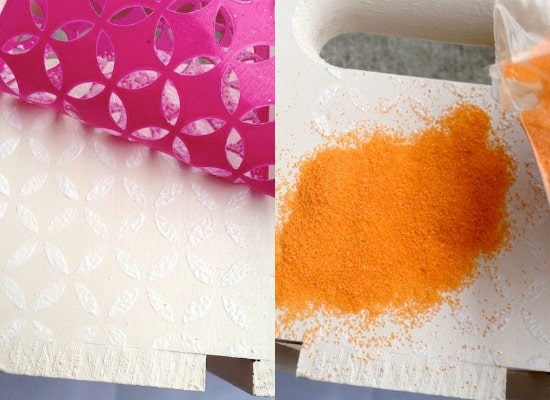
Peel up the stencil and pour the sand on top right away. Tip: pour the sand on top of the crate over a piece of paper so that you can pour the excess back into the original container.
Let your design dry before repeating with the stencil again. You’ll do this three times on each side to cover (possibly more depending on the size of your crate).
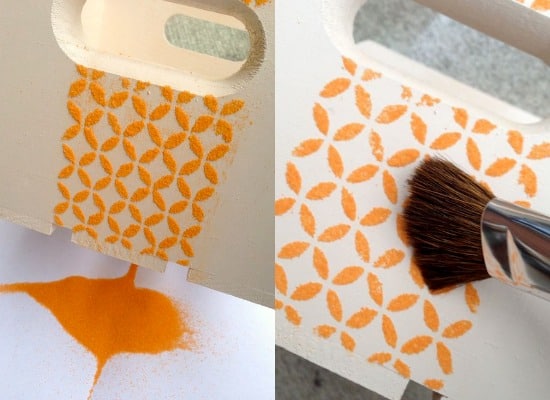
Once your design is complete on both sides of the crate, let it dry completely. Then sweep off the excess sand using a paintbrush.
Tip: if you need to touch up some areas of your design, you can use a small paintbrush with Mod Podge and sprinkle sand just in those areas. Let dry and then brush again.
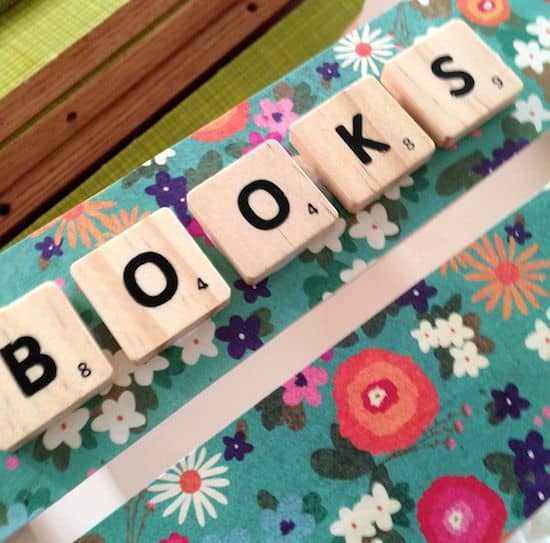
To finish your crate, use Mod Podge to glue the wood letters down on one side. Now that you know how to decorate a wood crate, you can make a set of various sizes! Such cute organization.

What will you do with your crate? Let me know in the comments! I’d also love for you to check out these related projects:





Love the stencils, and really love the use of sand. First time I’ve seen that. My non-glitter loving sons and husband would much prefer sand to glitter. LOL
I have a wood crate! Sand and sea shells and water! I think I will make a beach themed one! Fun! Love your projects!
super cute 🙂
I didn’t think about using stencils with Mod Podge. Looks beautiful! I love decorating boxes to make them more appealing. Now I will have to search for a crate. 🙂
Becca,
Bexbernard.com
o seu trabalho esta muito lindo.
I love this wood crate, you did a great job! I have most of the supplies, minus the stencils and few other things. I’d love to try this on my own. It’s the perfect bookcase for this mamas folders, books, etc. 🙂