David shows you how to make a Christmas card wreath using vintage Christmas cards and Outdoor Mod Podge. It’s so easy!


I have, for my entire life, been drawn to cool graphics. This has lead to hoarding cool graphics. The problem was I didn’t know what to do with them.
Well, I didn’t know what to do with them until Mod Podge came along (actually I guess it’s always been there so, technically, I am the one who “came along”). This lead me to make a Christmas wreath!
Christmas is my favorite time of year and vintage Christmas Cards have some of my favorite graphics. I wanted to come up with a fun way to display some of them but I wanted it to be more solid than just laying them out or pinning them to a board.
I’m also way behind on my holiday projects so I needed it to be quick, easy and inexpensive. I hit upon the idea for a wreath that could hang on a door or over a mantle.
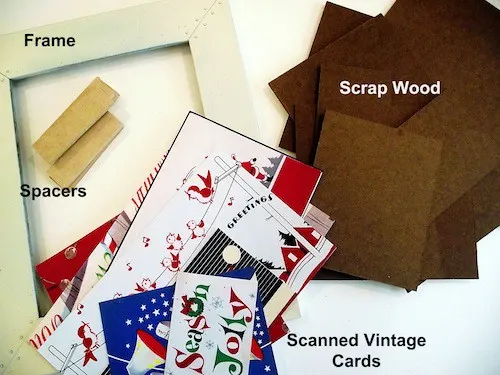
I grabbed the following supplies to make this Christmas card decor:

Christmas Card Wreath
- A thrift store frame ($2.00)
- Some thin scrap wood
- Some scrap wood spacers
- Vintage Holiday Cards
- White spray paint (not pictured)
And these tools:
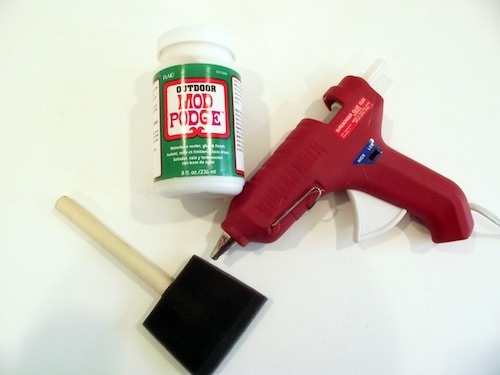
- A glue gun
- Outdoor Mod Podge
- Foam Brush
- Utility Knife (not pictured)
I looked for cards that were different sizes and shapes. I scanned the cards, blew them up and printed them out – I didn’t want to pay for copies or go to Kinkos so I made them all 8.5×11 or smaller.
Next, using my utility knife, I cut the thin scrap wood just a hair smaller than the dimensions of the cards. I then Mod Podged the copies of the cards to the scrap wood and set them aside to dry.
In the meantime I gave my frame a quick coat of white spray paint just to make it blend a little bit.
When the mounted cards were dry I trimmed any overhanging edges for a nice, neat look. I then went over all the cards with a sealing coat of Outdoor Mod Podge – I wanted my Christmas card wreath to work outside and inside so I went for full Mod Podge protection – and set it aside to dry.
After the Outdoor Mod Podge had dried for a few hours it was time to put it all together.
I played around a bit until I found an arrangement that I liked and then started hot gluing the cards and the spacers in place


After the hot glue had enough time to cure I hung my wreath on the front door.


I think I might add a few more cards to fill it out a bit but I’m pleased with it.
This Christmas card wreath took only a couple of hours (not including drying time), and the only real cost was for the thrift store frame.


Happy holidays everyone! I’d love for you to check out some of these related projects for Christmas:
Morena
Thursday 6th of December 2012
I hoard vintage images, too. I love this idea!
Walter Silva
Thursday 6th of December 2012
David, This is way cool! I too have a collection of vintage Holiday Cards for every season. Great idea!