You can decorate a canvas bag with your favorite fabric in three steps! I made a fun DIY beach tote for summer pool trips. It’s SO easy!
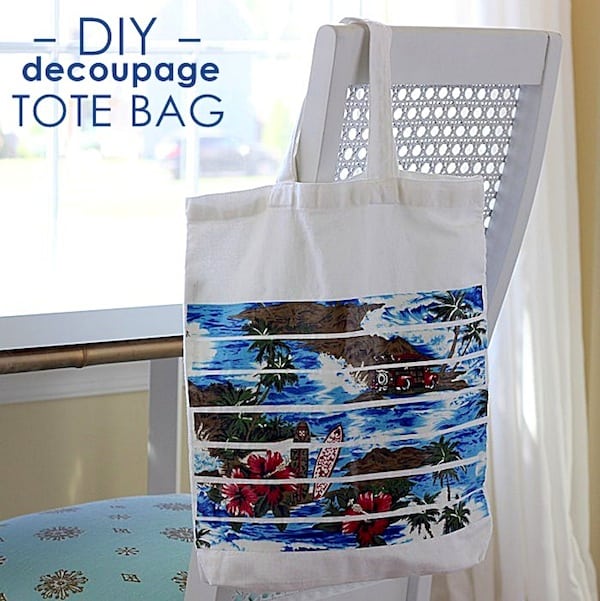
I love having a big tote or two around this time of year. Summer adventures often seem to require a big tote bag, don’t they? Hence this decoupage bag!
Inexpensive canvas totes from the craft store are fun to decorate for the summer. Did you know you can decoupage them with your favorite fabric? This is a very fun, no sew fabric craft.
I made a fun tote for my summertime pool trips using a retro surfer-inspired fabric I found. I loved the scene depicted on the fabric and the mix of blues and red. Fun and beachy!
I could’ve just adhered a panel of this fabric to the tote . . . but I thought strips of the material could be more fun and interesting. Want to see how to make one?
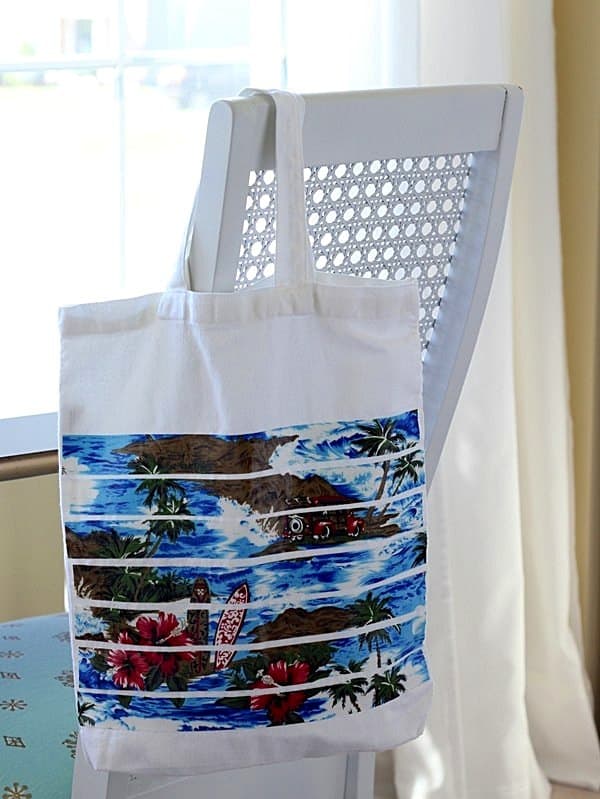
When you were a kid in art class, did you ever draw a picture and then cut it up into strips and reassemble the picture with the strips staggered to create a different/mottled look of the original drawing?
I did . . . and that approach is what inspired this decoupage bag. I like how the stripes break up the Hawaiian scene a little so the effect is varied and slightly abstract.
I’m having fun using this bag this summer . . . don’t you want to decorate a canvas bag to take to the beach or pool?
I love how the beachy fabric looks on my decoupage tote! If you want to decorate a canvas bag – this is a great way to go. It’s so easy.
Decorate a Canvas Bag
Equipment
- Rotary cutter
Materials
- Mod Podge Fabric
- Fabric
- Canvas tote bag
Instructions
- Prewash and dry both the tote and decorative fabric.
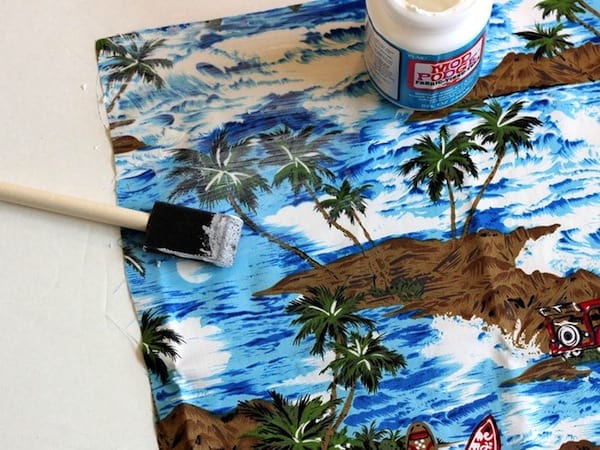
- Brush a coat of Mod Podge over the section of fabric you plan to use. Let dry.
- Using a ruler and the cutting mat, clean and square up the fabric edges to be the exact size you need to cover the side of the tote. Cut approximately 1” strips from that square. The Mod Podge you applied before should make the fabric easy to cut without fraying.
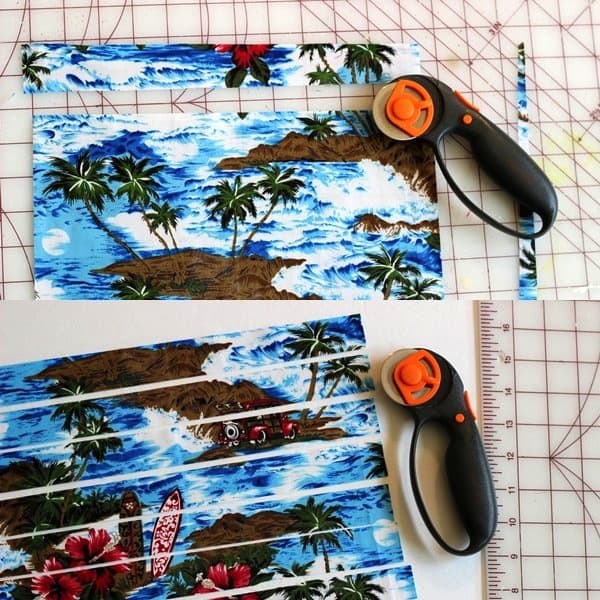
- Brush a layer of Mod Podge on the back of the top strip and smooth onto the tote. Let dry.
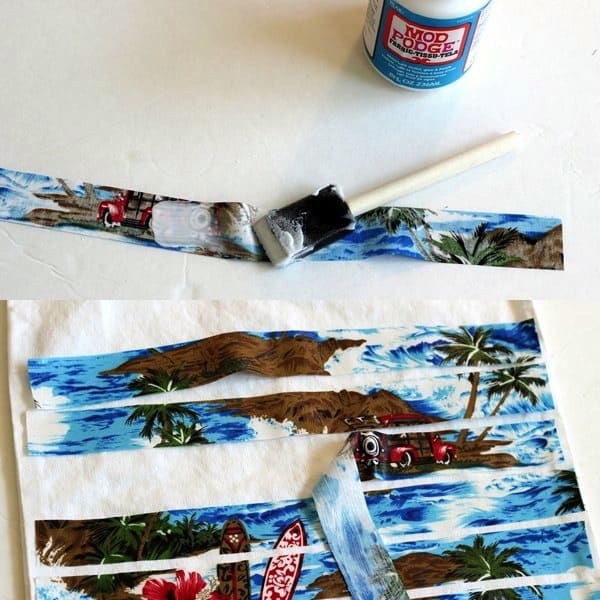
- Repeat applying Mod Podge to the strips and smoothing onto the tote, spacing the strips out evenly to recreate the design. Make sure to get the edges well.
- Let dry, then brush a layer of Mod Podge over the top of each strip. Let dry completely before for laundering.
Notes
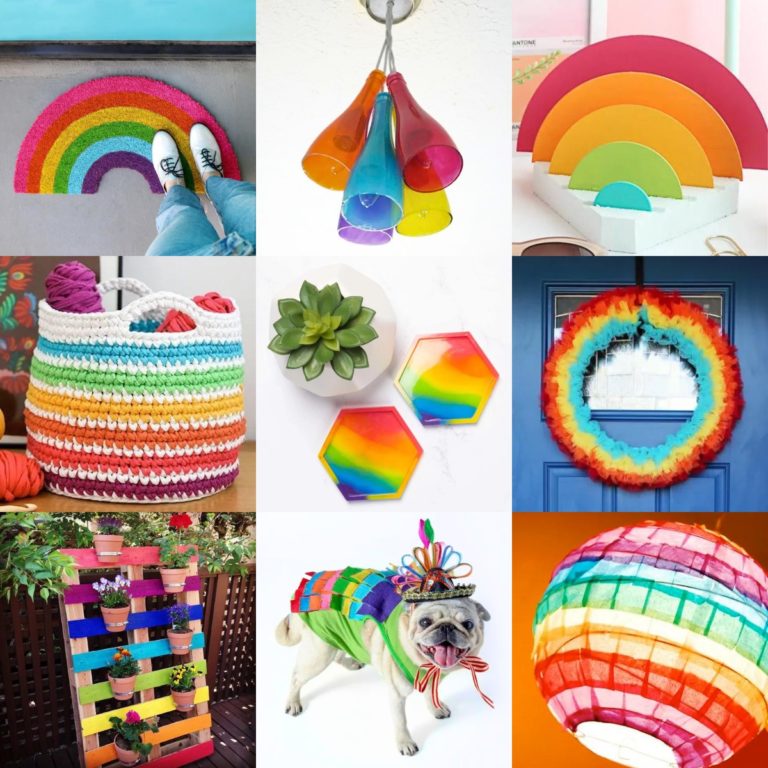
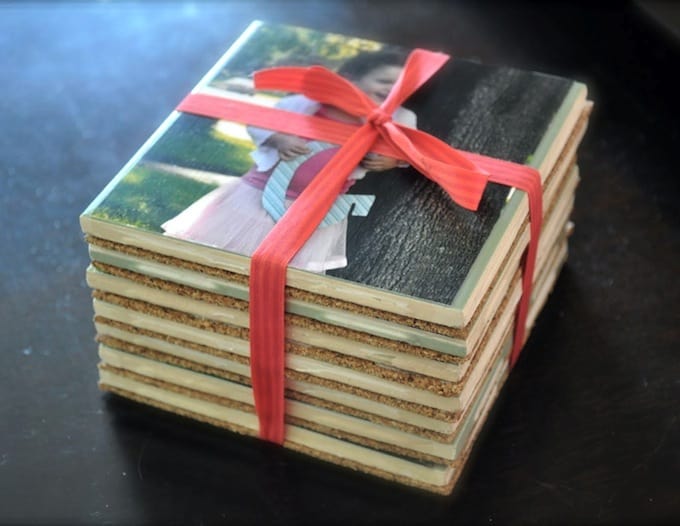
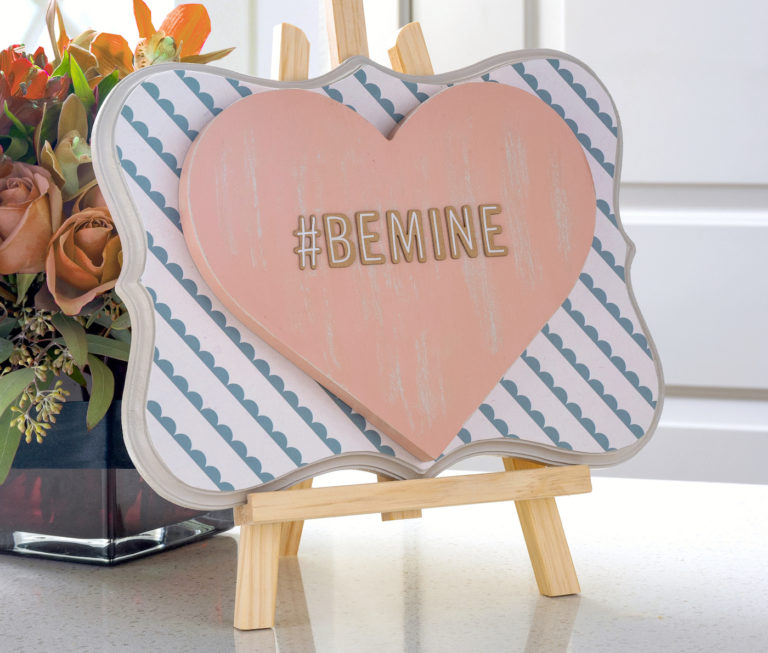
Now that you know how to do this project, you might one to try one of these other cool projects (some with Mod Podge Fabric):



Hi Shannon,
What a cute idea! I really like the effect from cutting the fabric into strips. It almost looks like you handpainted the design.
Doreen
That is so cute & creative. I don’t know how you do your day job and this too/
Thanks for the inspiration.
Sherry
Love it, gotta get some fabric modge podge! thanks so much for sharing on craft schooling Sunday!
NOOOO WAYYYYYY! I did not know they had Mod Podge for fabric! I am SOOOOOO on this one! I love the way you stripped the pieces of the fabric to give it more interest.
This is such a great idea! I love how it turned out!