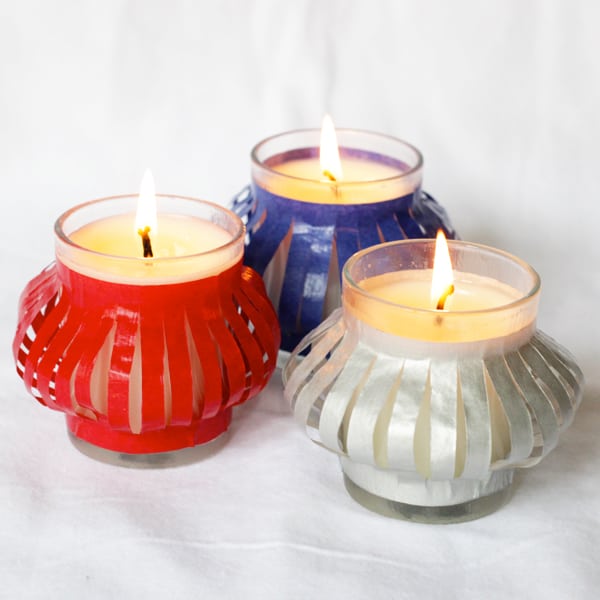
Are you looking for simple party decorations for the Fourth of July that are low on cost and big on style? These tissue paper votives are the perfect project!
Skills Required: Beginner. You don’t need Mod Podge experience to do this project, however, you should have some basic crafting skills. Tissue paper is somewhat delicate so you’ll need to be patient and use a light touch.
Hi, everyone! It’s Heidi from Hands Occupied. As hard as it is to believe the Fourth of July is coming up, it’s almost here!
You might be looking for Fourth of July crafts that are easy, inexpensive, and look great for a party or gathering. Lucky for you, these DIY patriotic votives come together quickly, so you can crank out a bunch in no time.
One thing I also like about these 4th of July decorations is that they are subtle. Lots of 4th of July decorations are in your face: which I like to call “America, y’all!”
Nothing wrong with bold and sparkly, but if you’re going for something that doesn’t scream patriotic but still gives the vibe, these are perfect.
Tissue Paper Votive Candle Holders
If I’m looking to decorate for a holiday quickly and/or on a budget, I always turn to candles. They have their own charm and ambiance, and they are inexpensive to buy and decorate.
Everyone loves candles on a nice summer night! This idea can also be adapted to various holidays, depending on the tissue paper you choose. You can also use LED candles too, so keep that in mind.
Where to Buy Votives
You can find a lot of the supplies for your tissue paper votives, including the candles themselves, at Dollar Tree. They have a variety of sizes. You can also look for prayer candles at the grocery store.
At my store, the prayer candles are about $1 – $2. The nice thing about both the Dollar Tree and the grocery is that they both have tissue paper.
Craft stores like Michaels are going to have a wider selection of votives and also tissue paper. Don’t buy online unless you’re going to do this project in bulk. Then Amazon and Oriental Trading Company have some good deals.
Are These Outdoor Safe?
I don’t like keeping candles outdoors in general, unless they are made to be outside. Sometimes the wicks get soggy and hard to light.
Having said that, these candles can be kept outside but should be stored underneath something so that they don’t get hit with sunlight too much and don’t get rained on.
Outdoor Mod Podge is overkill for these Fourth of July decorations. The Outdoor formula is thick and the tissue paper is delicate. You can definitely reuse them for the entire summer, but you may have to refresh them after that.
By “refresh” I mean remove the tissue paper and Mod Podge and then re-decorate. You may have used up the candle portion by then . . . but after that, just reuse the jars by adding tea lights!
Let’s learn how to make these awesome fourth of July decorations.
Gather These Supplies
- Votive candles that come in glass holders
- Matte Mod Podge (Sparkle Mod Podge would be fun too!)
- Sponge brush
- Tissue paper
- Pre-filled glass votive candles
- X-acto knife
- Pencil
- Scissors
- Measuring tape
- Ruler
- Waxed paper
- Cardboard/foam core to protect your work surface
Measure and Cut Tissue
Using a tape measure, measure the circumference of your votive, then measure its height. With those numbers, draw rectangles on your tissue paper (one for each of your votives) and cut them out.
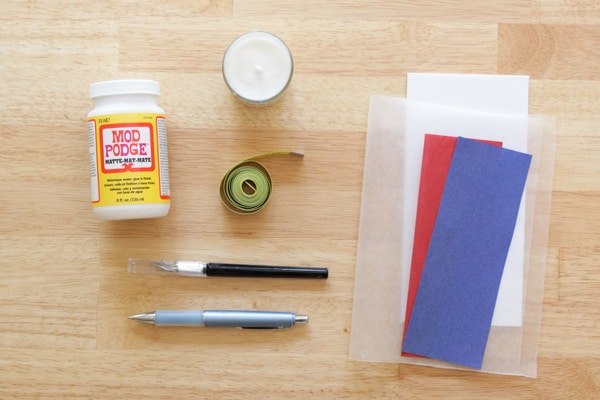
Set your tissue paper rectangles on a piece of cardboard or foam core and cut lines down the length of each rectangle, but don’t cut through any edge of the tissue paper.
Apply Mod Podge to Tissue
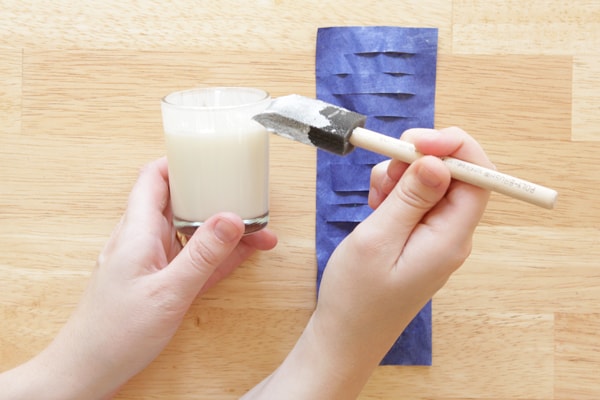
Lay your rectangles on a piece of waxed paper and paint a layer of Mod Podge over them (carefully).
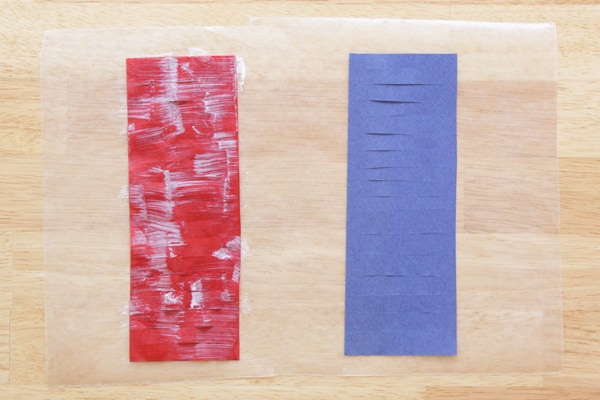
Let them dry for 5 – 10 minutes, and very carefully remove them from the waxed paper. Set each aside on a dry sheet of waxed paper to dry completely.
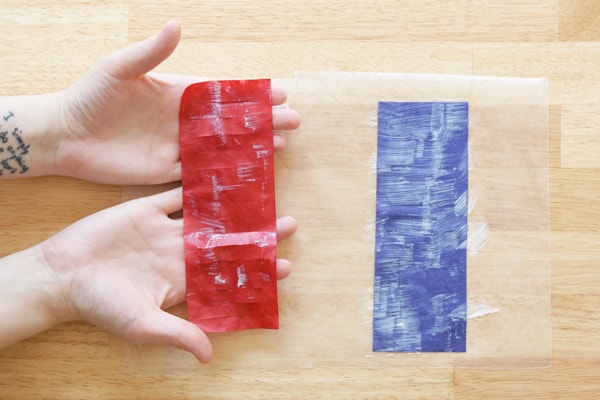
Why hassle with delicate tissue paper on this project?
Tissue paper lets more light through! The slits in the paper will let light through, but the tissue paper will let even more light shine.
You can swap regular paper for the tissue paper if you’d like, in which case you could skip the waxed paper/Mod Podge layer/careful peel.
When the tissue paper has dried completely, cut along the slits with an x-acto knife and carefully pull each slit apart to make sure they will separate.
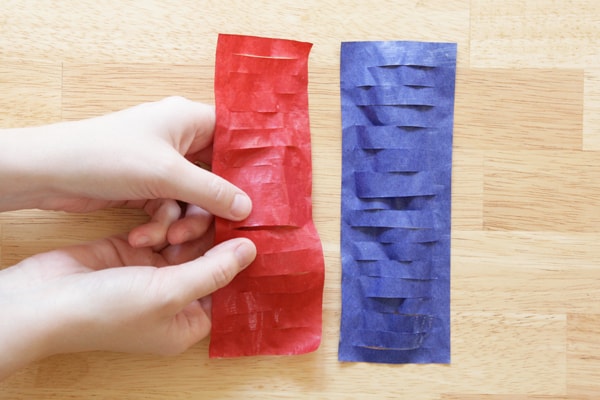
Apply Tissue Paper to Votive
Paint about a centimeter of Mod Podge onto the top edge of the votive holder. You’ll want to start with the top edge because it’s usually wider than the bottom.
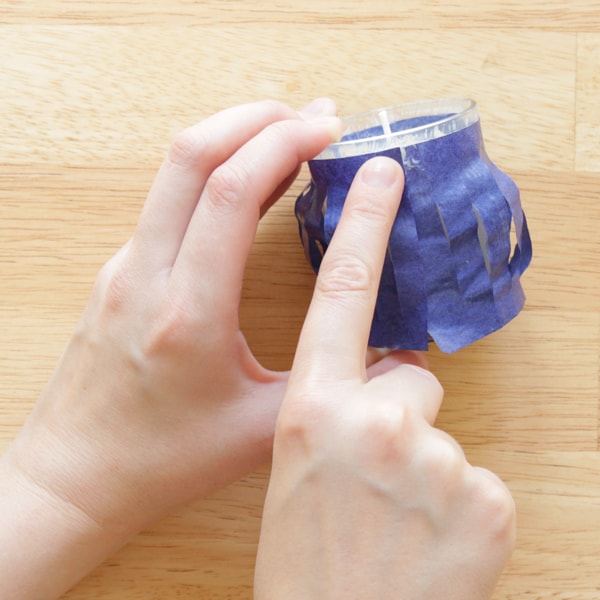
Position your tissue paper about half a centimeter from the edge of the top of your votive. Stick the paper all the way around the votive, and when you come back around, there will be a little bit of overlap.
Add a dab of Mod Podge at the point of overlap to secure. Paint some Mod Podge over the tissue along the top end of the votive.
Just like with the top of your votive, paint a ring of Mod Podge about a centimeter wide along the bottom of the votive. Gently slide the bottom of your tissue paper into place about half a centimeter from the base of the votive.
Again, add a dab of Mod Podge where the tissue paper overlaps to secure it, and paint a layer of decoupage medium over the bottom end of the paper to finish.
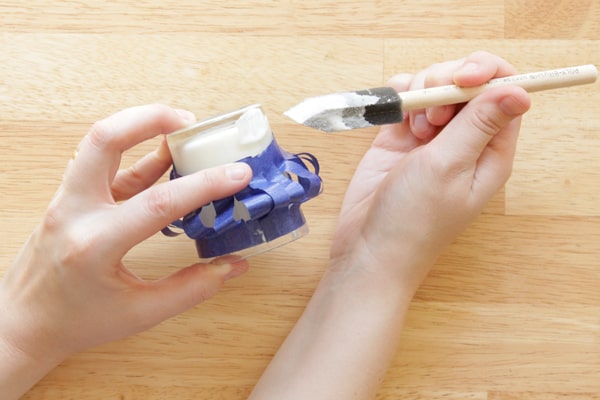
^Please pardon my weird claw hand here.^
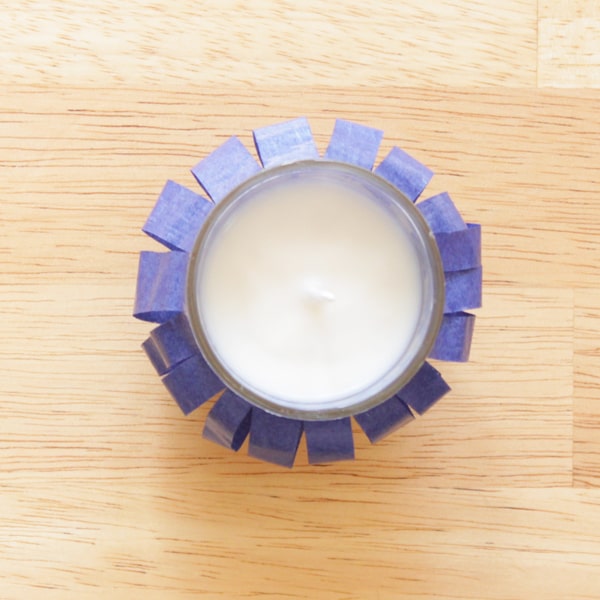
Here’s what these DIY patriotic votives look like from the top – gluing the paper on slightly in from the top and bottom edge of the votives make the paper slits flare out for a cute lantern effect. Festive, no?
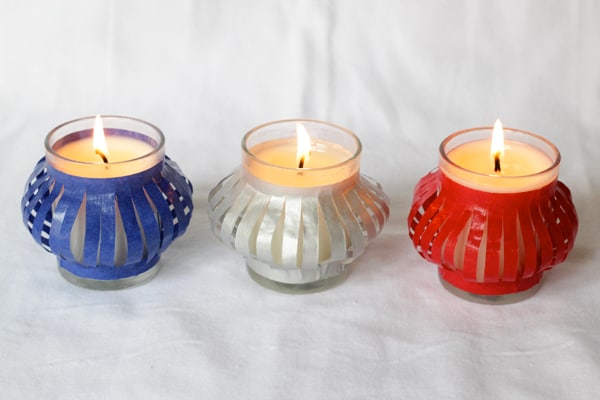
Don’t be limited to this project by holidays. What about weddings? This is a great idea for any type of celebration!
If you enjoy these fourth of July decorations, you should try these easy American flag lanterns.
