Flowers are so trendy right now, so instead of my usual fall sign that I hang every year, I decided to make a DIY welcome sign for my living room!
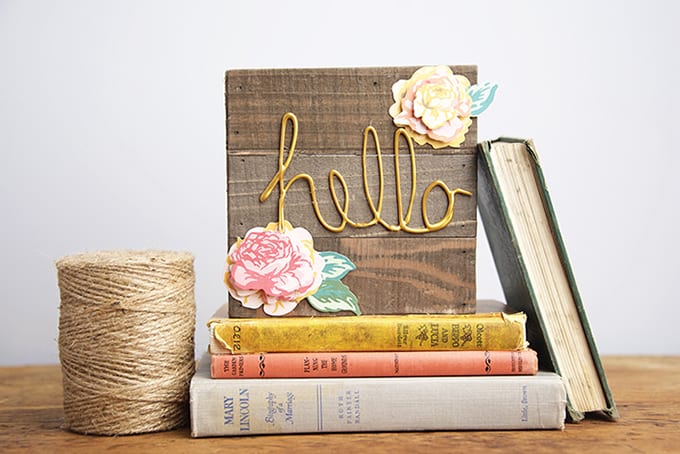
I am transitioning all of my home decor to fall, but I am just not ready to give up on florals yet! They are so trendy right now, so instead of my usual fall sign that I hang every year, I decided to make a DIY welcome sign for my living room.
Floral die cuts or embellishments are easy to find in craft stores, and you can even find simple wood signs ready to craft with as well!
DIY Welcome Sign
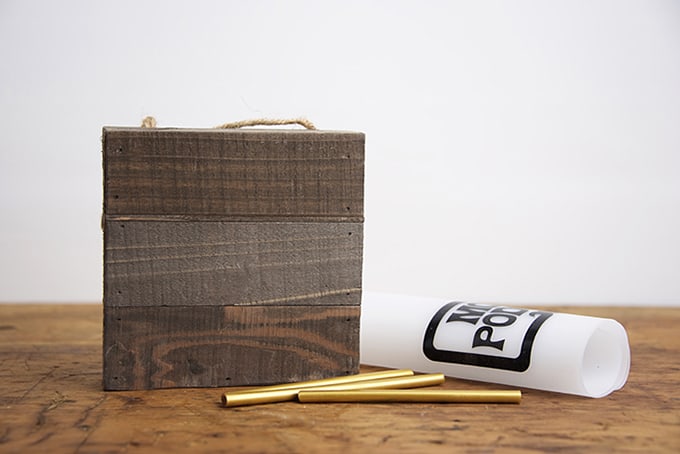
Here’s what you need to make this simple little wood craft:
- Gold hot glue sticks
- Glue gun
- Mod Podge silicone craft mat
- 8″x8″ wood sign
- Flower embellishments
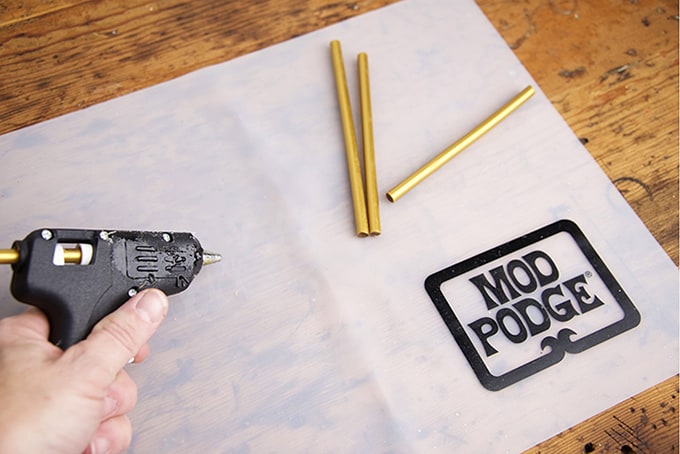
To get started, first warm up your glue gun with the gold Mod Podge melt sticks. If you previously used your glue gun for a different type or color of glue, make sure you squeeze out the previous glue all the way until it runs gold.
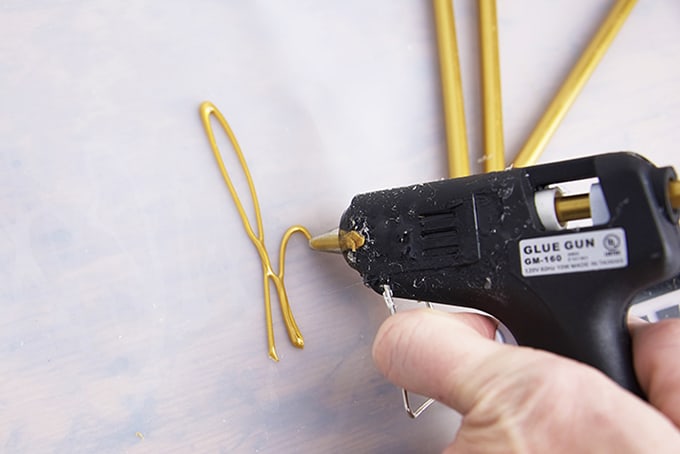
Next, use your glue gun and gently squeeze out the glue spelling the word “hello” on your silicone mat. This may take some practice, so take your time working on getting the thickness of your letters consistent.
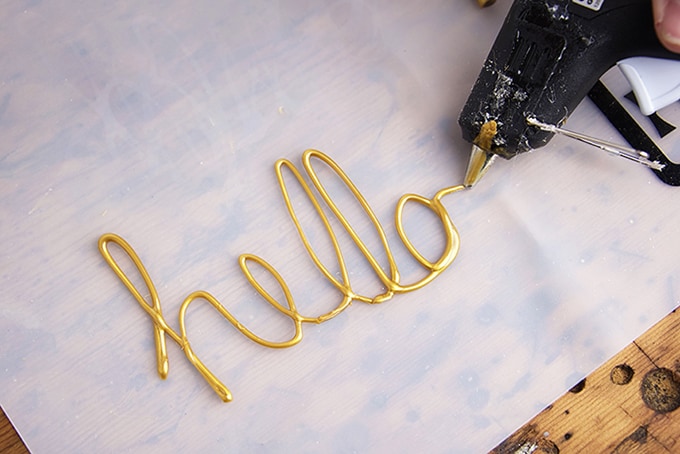
Carefully pull the glue gun away when you finish. You can always come back after it has completely cooled and trim any problem areas with scissors.
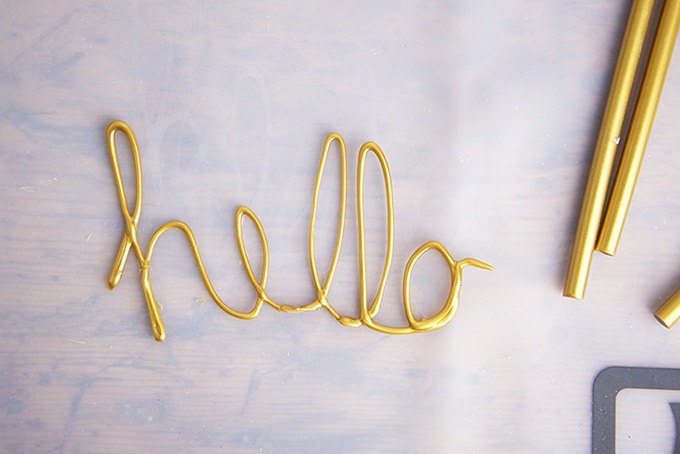
When you are done, allow your lettering to cool completely. This should only take a few minutes.
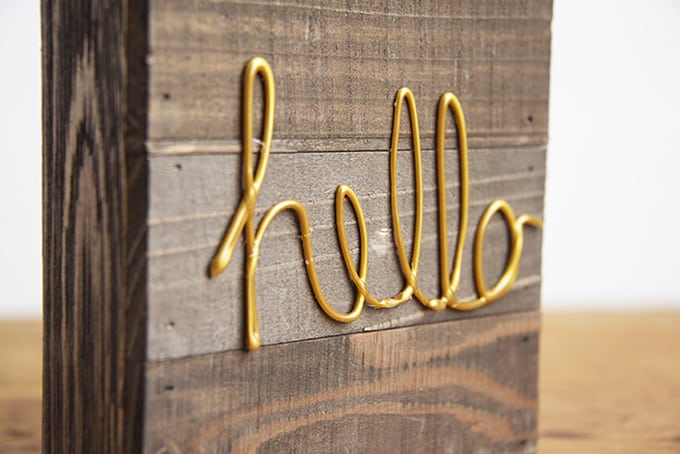
Next, adhere your lettering to your wood sign using a few little dabs of the same glue. You can always just squeeze the glue right onto your wood sign, but I love how the silicone mat allows me to practice in case I mess up. Just do whichever way you are more comfortable with.
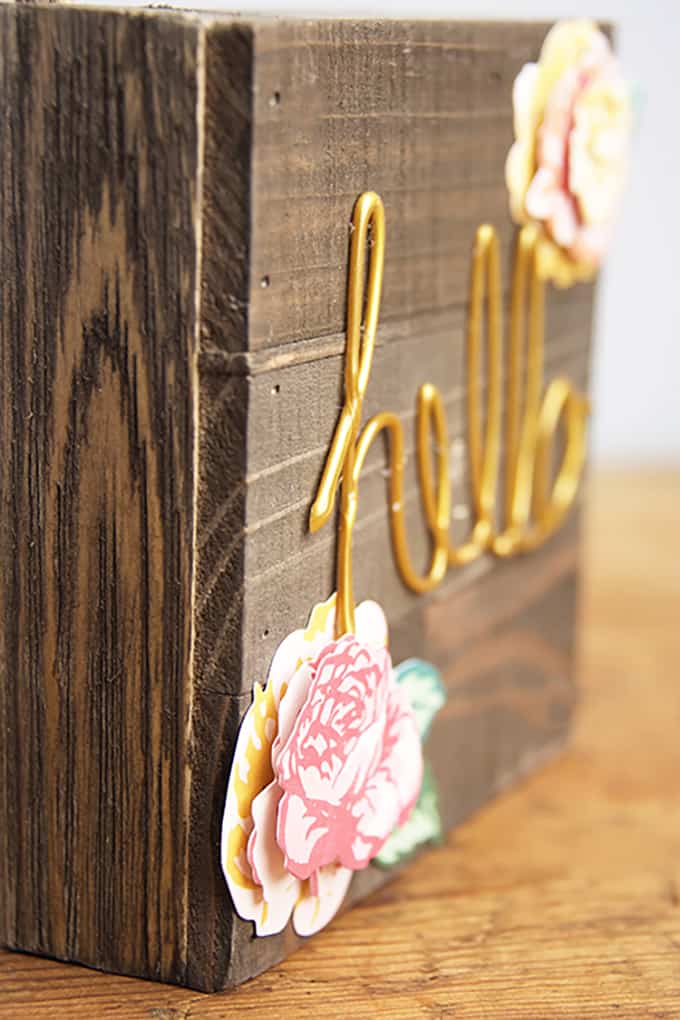
After you have attached your “hello”, embellish your wood welcome sign with a few paper flowers of favorite embellishments.
The great thing about this DIY welcome sign project is that is so simple, you can easily pop off the letters down the road and write another word pertaining to a different season or holiday.

That’s it! Easy peasy. Pair your wood welcome sign with a few vintage books, and it’s ready to display on your desk, mantle, or bookshelf in your living room.
I love how the gold hot glue really gives it some texture and shine. I can’t wait it try writing more phrases too.
Have fun with your fall decor, and don’t be afraid to throw some florals in the mix! I’d also love for you to visit these other posts:


I love this sign! It’s absolutely gorgeous!
Paige
https://www.thehappyflammily.com/
So cute and great idea!
Love this and so happy to see you on craft schooling Sunday, it has been years! hope to see you again soon!