Create colorful DIY rainbow magnets using watercolors! This simple and fun craft adds a cheerful touch to your home and makes a great gift idea.
Skills Required: None. Even if you’ve never crafted before, you’ll be able to make these magnets. You’ll be painting with watercolor and then Mod Podging the rainbow magnets.
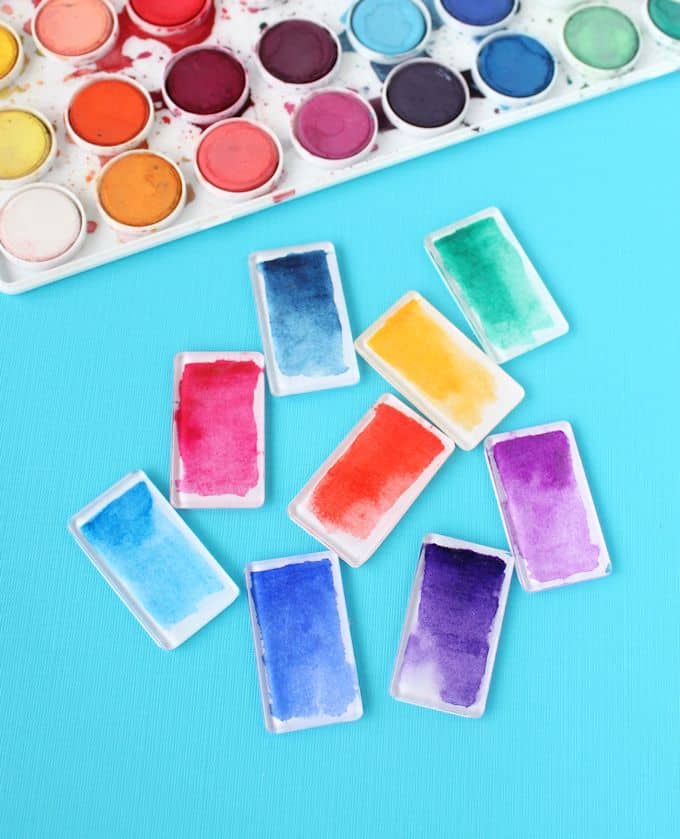
Hello, it’s Rachel of Lines Across here again sharing a fun Mod Podge tutorial with you. If you follow me on Instagram, you’ve probably noticed my recent obsession with watercolors.
I just love their vibrant colors, and I think that there are so many beautiful things that even people who wouldn’t consider themselves artists at all can make with them.
This rainbow craft project was a little bit of an experiment for me. We’ve done bottlecap magnets, photo magnets, and clothespin magnets . . . but never magnets with Mod Podge and watercolor.
I wasn’t quite sure how these magnets would turn out (would I get bleeding?), and played around with a few different versions of the same idea before figuring out which one looked best.
I actually ended up using my nicer set of watercolors (the rectangular ones) to make these magnets, because they have the most vibrant colors.
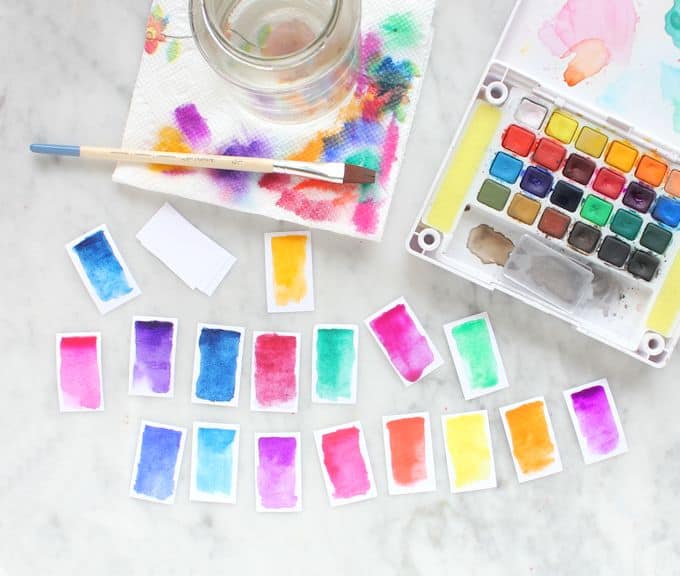
You could use really any watercolors for this post, such as the round ones in some of the picture. You can find them at JoAnn’s for about $8 (and even cheaper with a coupon). The colors are slightly less vibrant but still very beautiful.
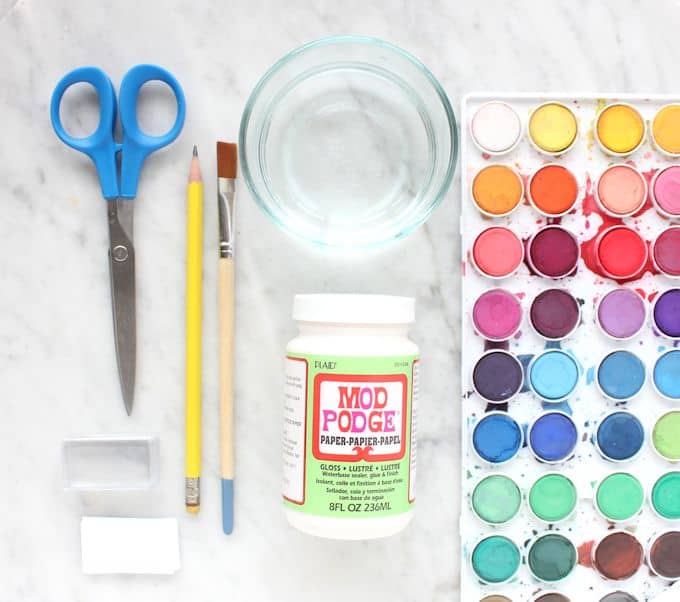
To make these, you’ll first need to grab some stuff.
Gather These Supplies
- Acrylic shapes
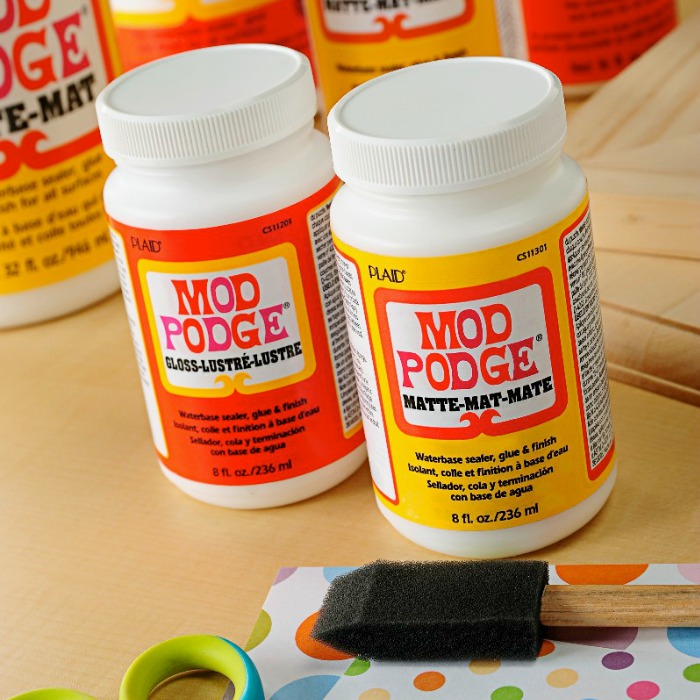
- Mod Podge – any formula
- White cardstock
- Scissors
- Watercolors
- A flat paintbrush
- Magnets
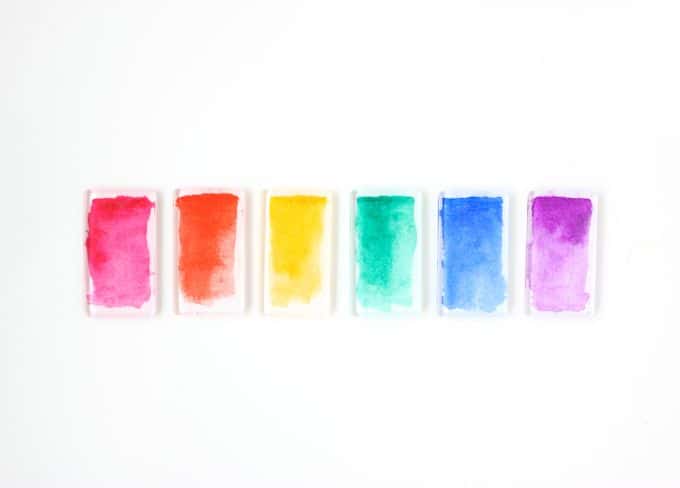
I just love how these little rainbow magnets look, and of course I couldn’t resist lining them up in color order. Rainbow lovers, unite! Note that my littles really enjoy this project as well – it would be a perfect summer craft for kids.
Get the how to here:
Rainbow Fridge Magnets
Equipment
Materials
- Acrylic shapes
- Mod Podge any formula
- Cardstock white, or watercolor paper
- Watercolors
- Magnets 1 per acrylic shape
- Craft glue or hot glue
Instructions
- Cut pieces of cardstock to the same size as the acrylic shapes. It's fine if they are a little larger; you can trim them later.
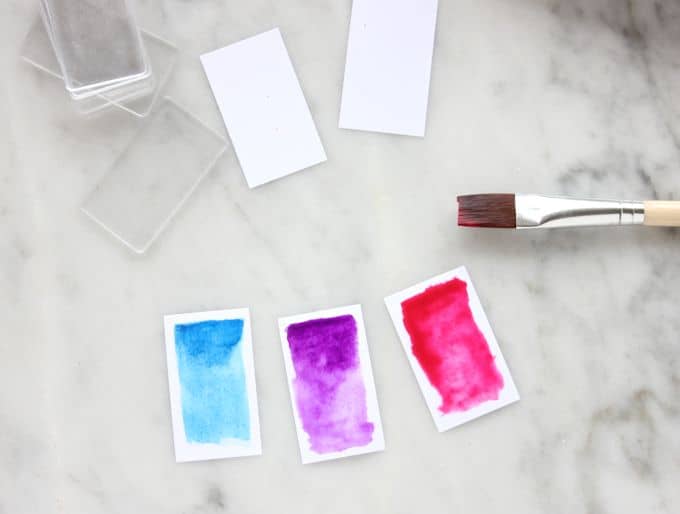
- Paint the pieces of cardstock. To create a beautiful watercolor look, start by painting a rectangle with a lot of water and less pigment.
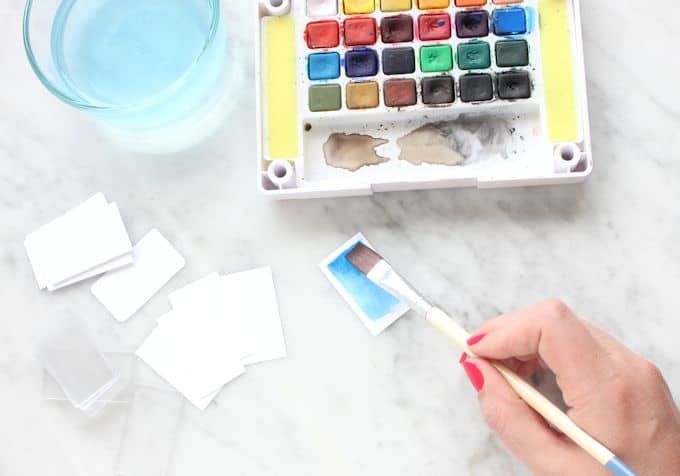
- Get a lot of color on the brush, and go back in and add more color to the rectangle while the first layer is still wet. I especially added more to the top of each one to make it look like a brushstroke. Let the rectangles dry completely.
- Use a paintbrush to cover a rectangle with Mod Podge. Add a medium coat.
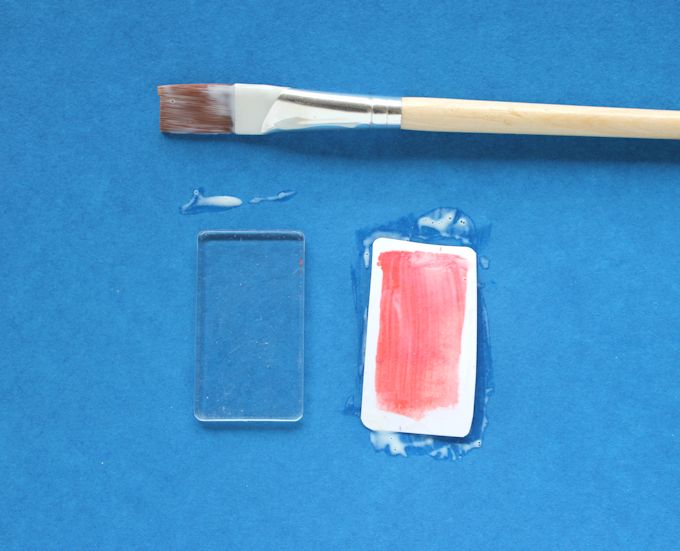
- Attach the acrylic shape on top of the piece of paper. Press them together fully so that there aren't any holes or bubbles. Repeat with each rectangle and let dry completely.
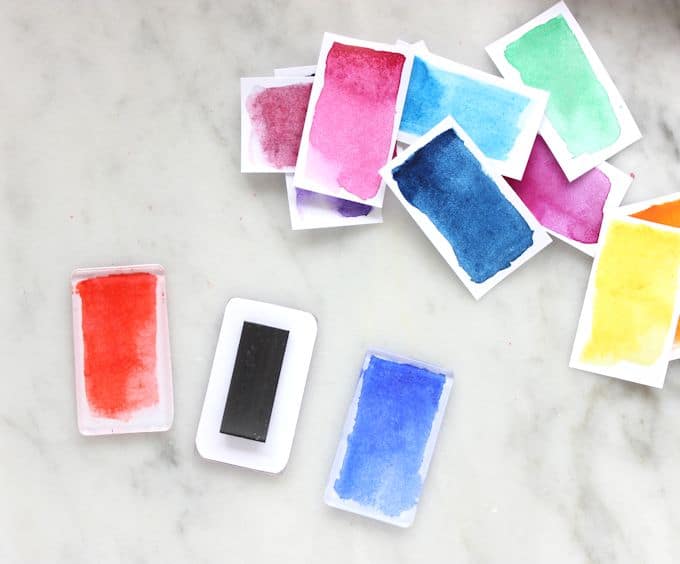
- Trim any paper edges that might be sticking out. Attach magnets to the back using either craft glue or a hot glue gun. You may also want to clean off any Mod Podge that may be on the front with a damp paper towel. Let dry/cool before using.
Notes
If you like these easy magnets, check out these other painting projects (using watercolor). Lots of great ideas:




Very cute.. amazing idea 🙂
Thank you! I wasn’t quite sure how they would turn out when I first started, but I really love the way they look, and the Mod Podge worked perfectly with the watercolors.
These turned out really cute, I love the way watercolor looks.
Thanks Stephanie! I am a little obsessed with watercolors, haha. I wasn’t sure how these would turn out when I first started, but I was really pleased with the results!
Me encantó esta manualidad, quedan preciosos estos imanes. Una idea genial.
Hi 🙂
These are GORGEOUS!! And I so want to make them… where did you buy the acrylic shapes that you used for the outside of the magnets?
Thanks,
Michele
Hi Michele! Thank you for the kind words! You can get clear acrylic shapes on Etsy – https://www.etsy.com/search?q=clear%20acrylic%20shapes
The ones we used were Mod Podge Podgeable shapes that have been discontinued, but you can find all sorts of shapes on Etsy! Sometimes you can find the old Mod Podge shapes on eBay too.