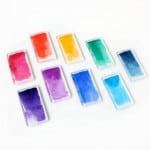
Rainbow Fridge Magnets
Learn how to make the cutest rainbow magnets with simple shapes and Mod Podge! These are perfect for kids and beginning crafters.
Yield: 9 magnets
Cost: $2
Equipment
Materials
- Acrylic shapes
- Mod Podge any formula
- Cardstock white, or watercolor paper
- Watercolors
- Magnets 1 per acrylic shape
- Craft glue or hot glue
Instructions
- Cut pieces of cardstock to the same size as the acrylic shapes. It's fine if they are a little larger; you can trim them later.
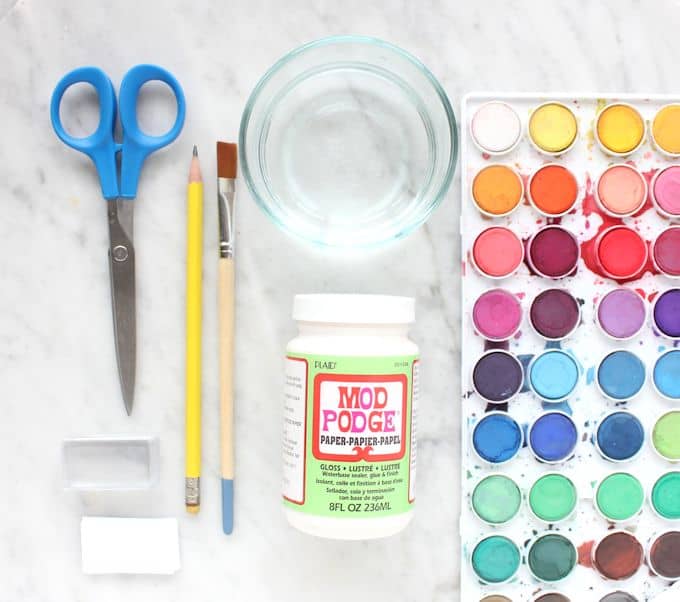
- Paint the pieces of cardstock. To create a beautiful watercolor look, start by painting a rectangle with a lot of water and less pigment.
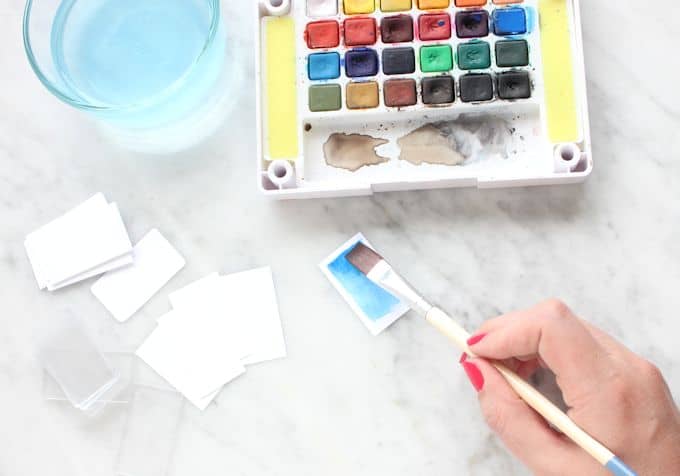
- Get a lot of color on the brush, and go back in and add more color to the rectangle while the first layer is still wet. I especially added more to the top of each one to make it look like a brushstroke. Let the rectangles dry completely.
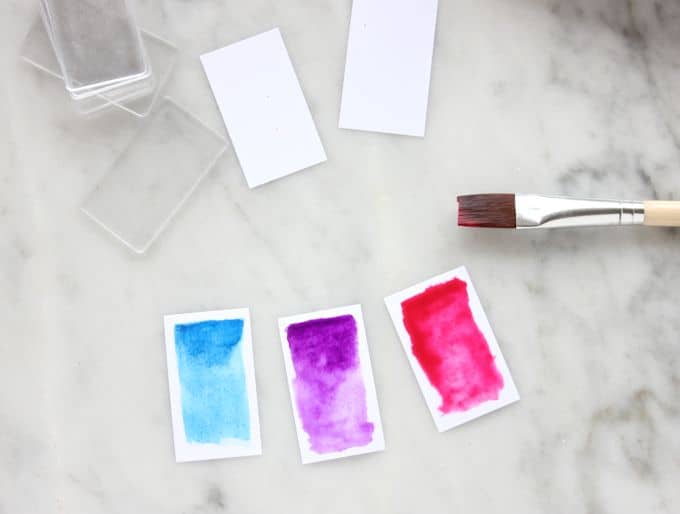
- Use a paintbrush to cover a rectangle with Mod Podge. Add a medium coat.
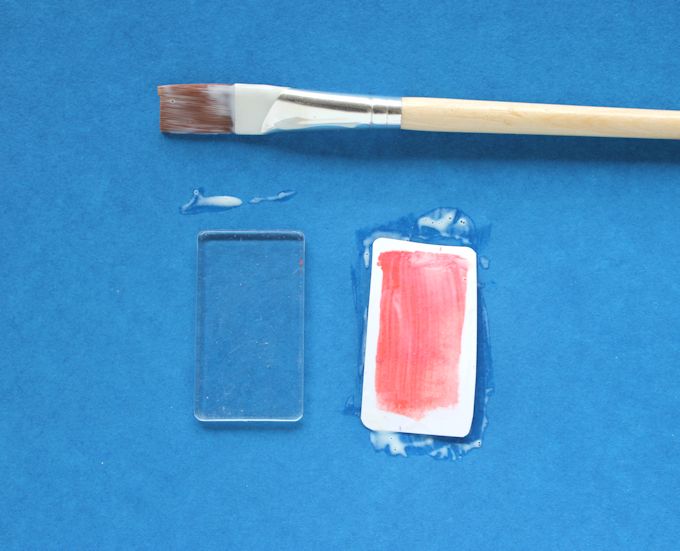
- Attach the acrylic shape on top of the piece of paper. Press them together fully so that there aren't any holes or bubbles. Repeat with each rectangle and let dry completely.
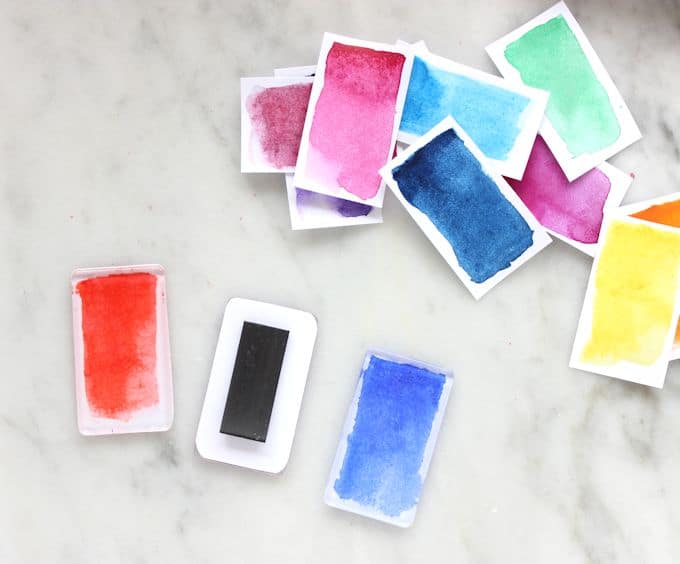
- Trim any paper edges that might be sticking out. Attach magnets to the back using either craft glue or a hot glue gun. You may also want to clean off any Mod Podge that may be on the front with a damp paper towel. Let dry/cool before using.
Notes
Step 4 - I was worried that the Mod Podge would make the watercolors bleed everywhere (and a little bit of that would be ok), but it didn't at all. I would just suggest trying to dab a medium coat over the watercolors and not to brush it on with a lot of force.
You can also spray the watercolor paper with hairspray or acrylic sealer and let dry if you're worried about bleeding.
The reason is because both watercolors and Mod Podge are waterbased. So when a waterbased product like a decoupage medium touches the watercolors, it can "reactivate" them.
