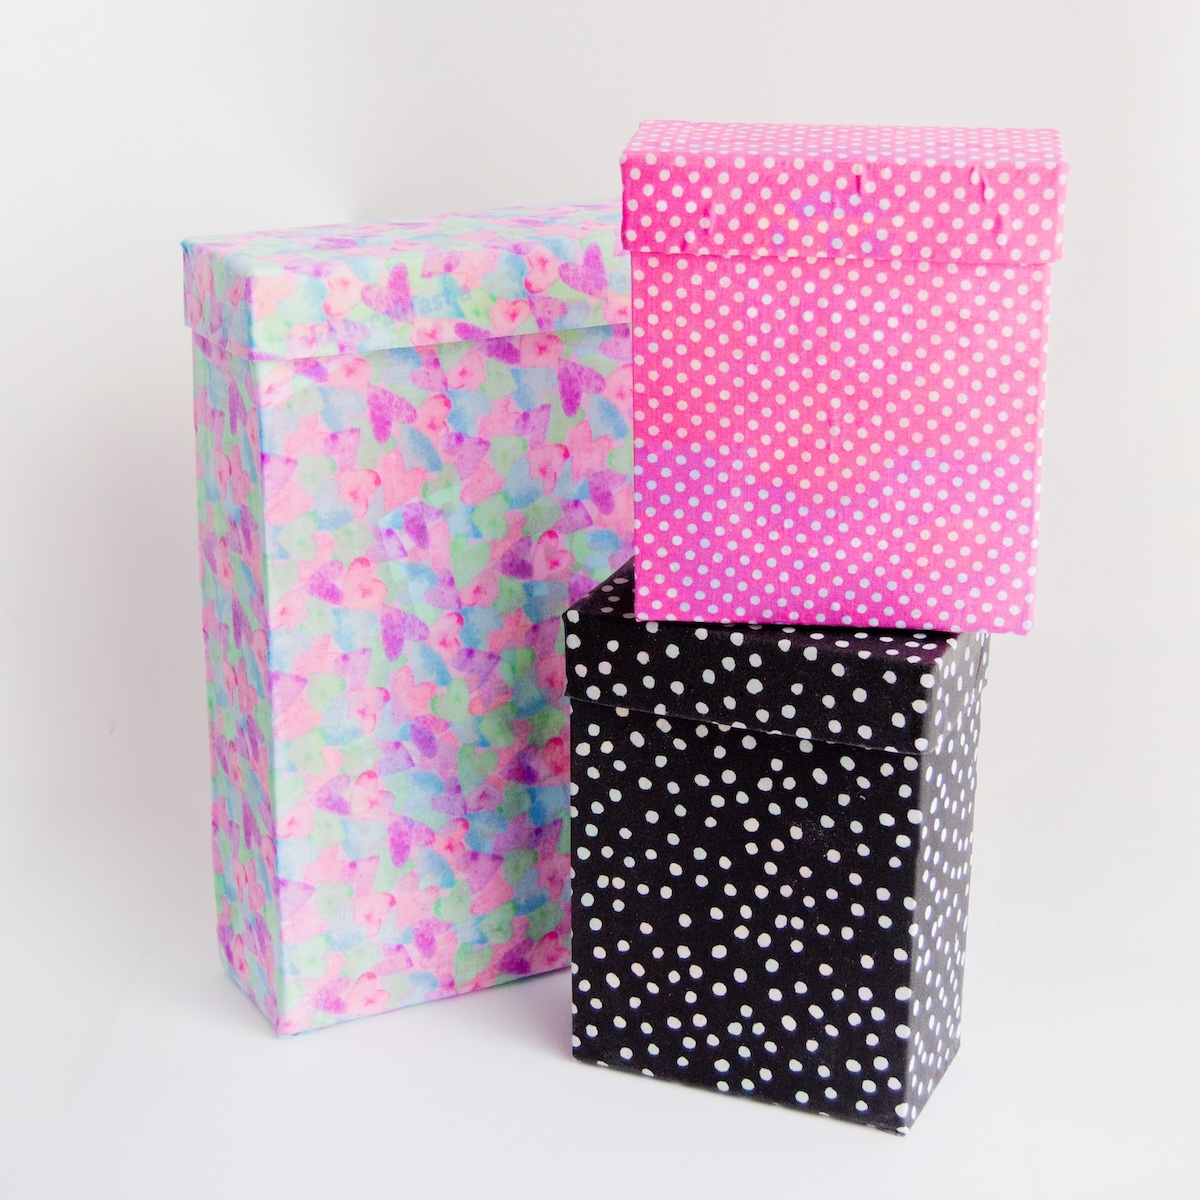
Create reusable gift boxes with Mod Podge and fabric! Upcycle everyday packaging into stylish, eco-friendly gift wrap. Easy & fun DIY!
Skills Required: Beginner. It’s easy to cover this box in fabric with decoupage medium – even if you’ve never used Mod Podge before.

Every holiday season, birthdays, or special occasions, we go through a mountain of wrapping paper—only for it to end up torn and tossed away. But what if your gift wrap could be part of the gift?
Enter DIY recycled gift boxes! With just a little Mod Podge, fabric, and an upcycled box, you can create a beautiful, sturdy, and sustainable way to present your gifts.
Not only do these boxes look super cute, but they’re also a fantastic way to cut down on waste.
Instead of spending money on single-use wrapping paper or store-bought gift boxes, you can turn everyday packaging – like cereal or cracker boxes – into something functional and stylish.
Plus, the recipient can keep and reuse (or regift) their box, making your gift even more special.

This project is perfect for beginners and a great way to repurpose materials you already have at home. You can customize the fabric to match any occasion – festive prints for the holidays, bright colors for birthdays, or elegant patterns for weddings.
These are also AMAZING for small gifts like jewelry, bracelets . . . and other items where it’s hard to find a smaller box that fits just right. You can make it just right!
Whether you want to add a handmade touch to your presents or take a step toward a more eco-friendly lifestyle, these DIY gift boxes are the perfect solution.
Ready to transform your recyclables into something beautiful? Let’s get started!
Gather These Supplies
- Cardboard box, cracker box, or similar
- Mod Podge – any formula is fine (like Gloss, Matte, or Satin)
- Fabric
- Scissors
- Paintbrushes
- Ruler
- Craft knife
- Tape
- Hot Glue Gun
- Pen
You can use this tutorial with any size or shape box.
Tip Before Beginning: If using a lighter piece of fabric, you may want to paint the box white before decoupaging so you don’t see the design underneath. This is especially true if the box has a bright design.

You could also use seasonal colors and fabrics for special occasions like Christmas, and even use these little fabric covered boxes to give other items like gift cards.
Get the printable how to card below:
Make a Gift Box
Instructions
- Use a pen and a ruler to mark 1" all around the top of your box.

- Use scissors and/or a craft knife to cut around the box using the line as a guide. This will be your box lid and body.

- Mark 1/2” down one side of the box, and do the same on the other side, making sure that the mark is on the same side of the box. Connect the two lines together to create a cutting guide.

- Cut the box, following the 1/2” guideline. You should have the box in two pieces as shown in the photo.

- Reassemble the box by gluing the cut side to the box again, but gluing the 1/2” flap inside. This is done to make the box smaller, so that the lid fits well when you put it back on.

- Mod Podge fabric onto the body of the box. Use a layer of Mod Podge to adhere the fabric onto the box, and then another layer of Mod Podge to secure it down. Do one face at a time to make sure that the fabric lays flat on the box. Let each side dry before moving on to the next. Let dry completely.

- Trim the excess fabric. You have the option to leave some excess fabric to fold and Mod Podge into the box, or trim it to the edge of the box.

- For the bottom, trim the excess fabric, fold and Mod Podge as neat as possible. Let it dry.

- Tape the box lid down if necessary – you can also glue it down.

- Apply Mod Podge to the lid of the box and smooth down onto the fabric. Let dry before doing the sides.

- Trim the fabric with the scissors so you can fold onto the sides of the lid. Apply Mod Podge to the sides and smooth the fabric down. Let dry.

- Either Mod Podge the excess fabric into the gift box lid or trim around the edges to remove. You can seal the box before using if desired.

Notes
Are you ready to make a gift box of your own? Let me know in the comments! I’d also love for you to check out these other projects:


They’re beautiful but..
to make a gift box you will need a gift box?? man
These are paper mache boxes from the craft store and not necessary *gift boxes.* They could be anything. So yes to decorate a box for a gift, you do need some soft of a box that you purchase or construct 🙂