Make a Gift Box
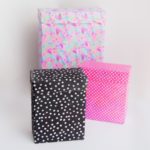
Learn how to decorate a gift box with fabric and Mod Podge! So easy to customize.
Yield: 1 box
Cost: $2
Instructions
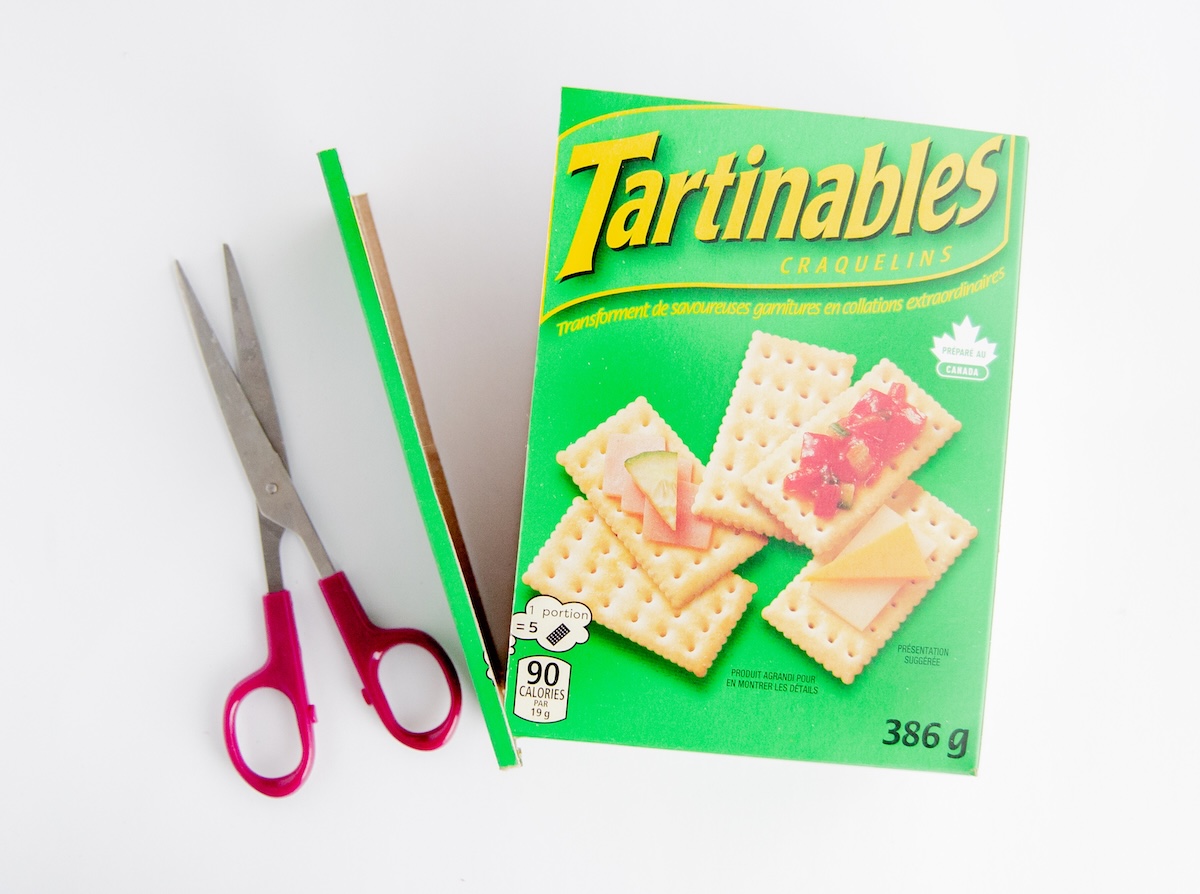
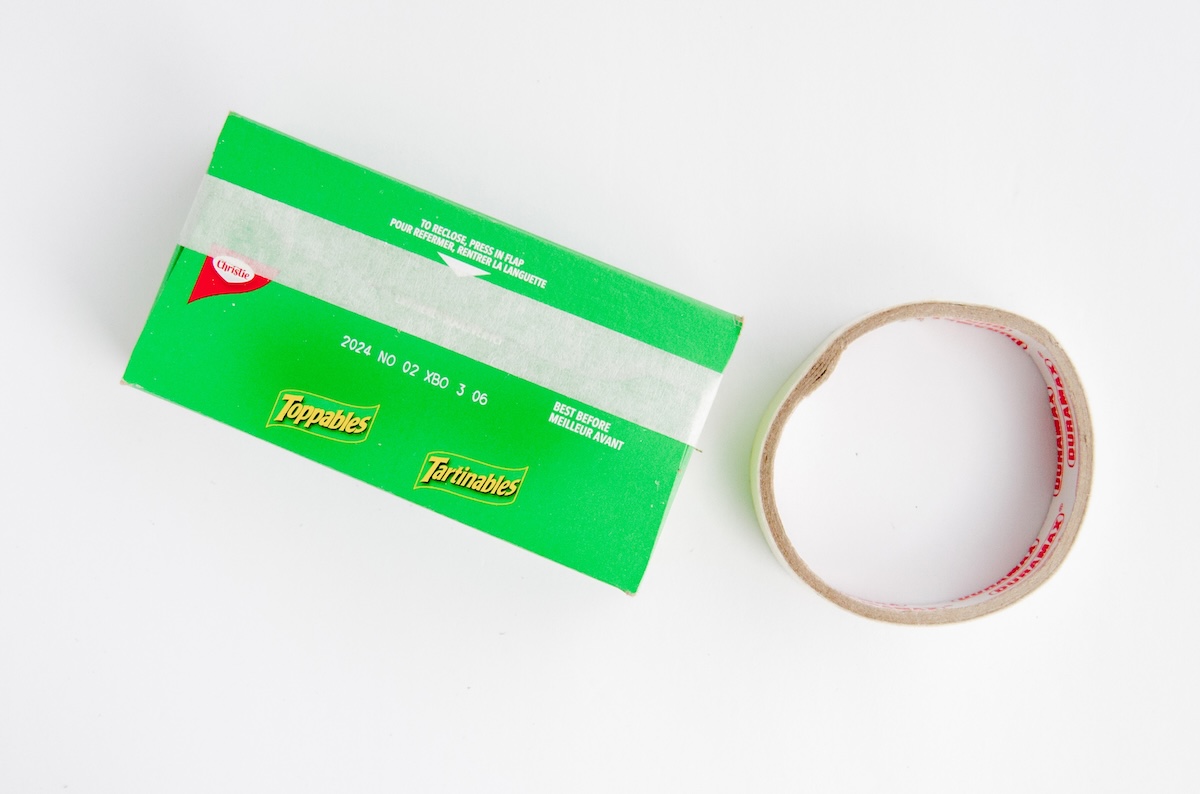
- Use a pen and a ruler to mark 1" all around the top of your box.
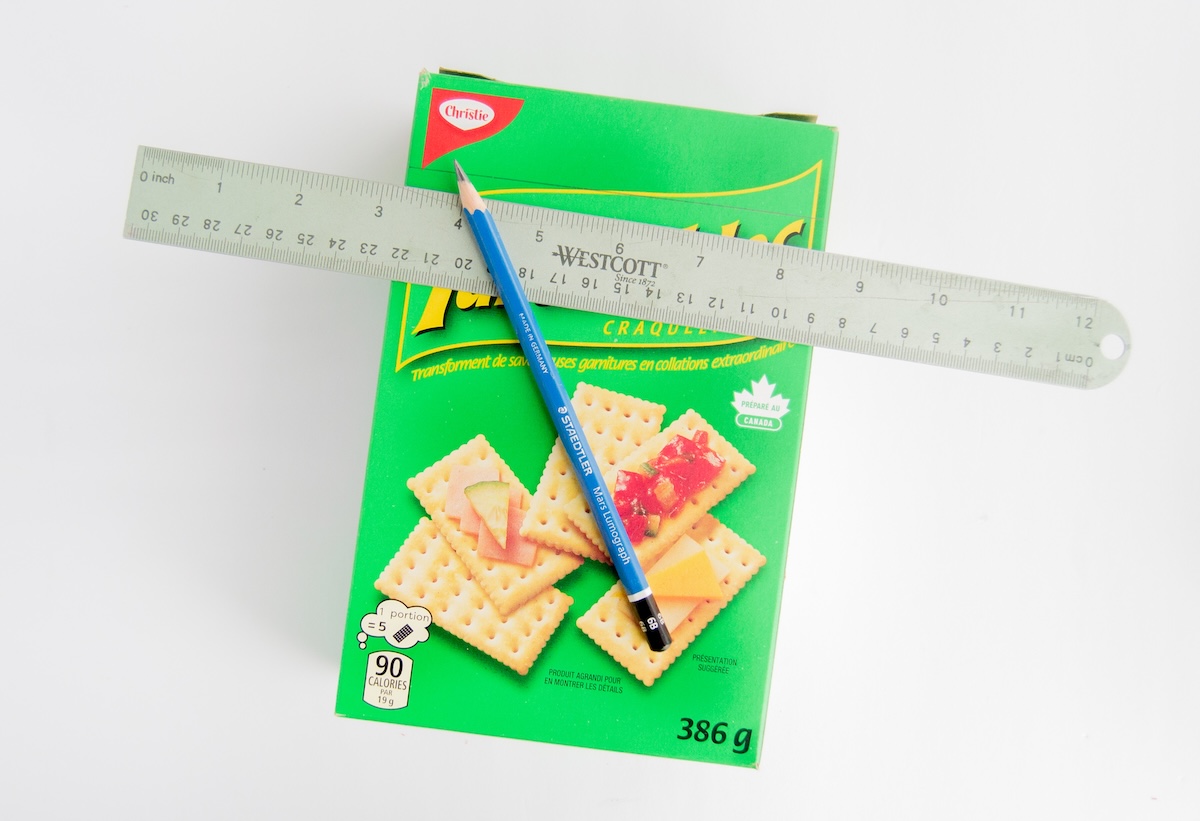
- Use scissors and/or a craft knife to cut around the box using the line as a guide. This will be your box lid and body.
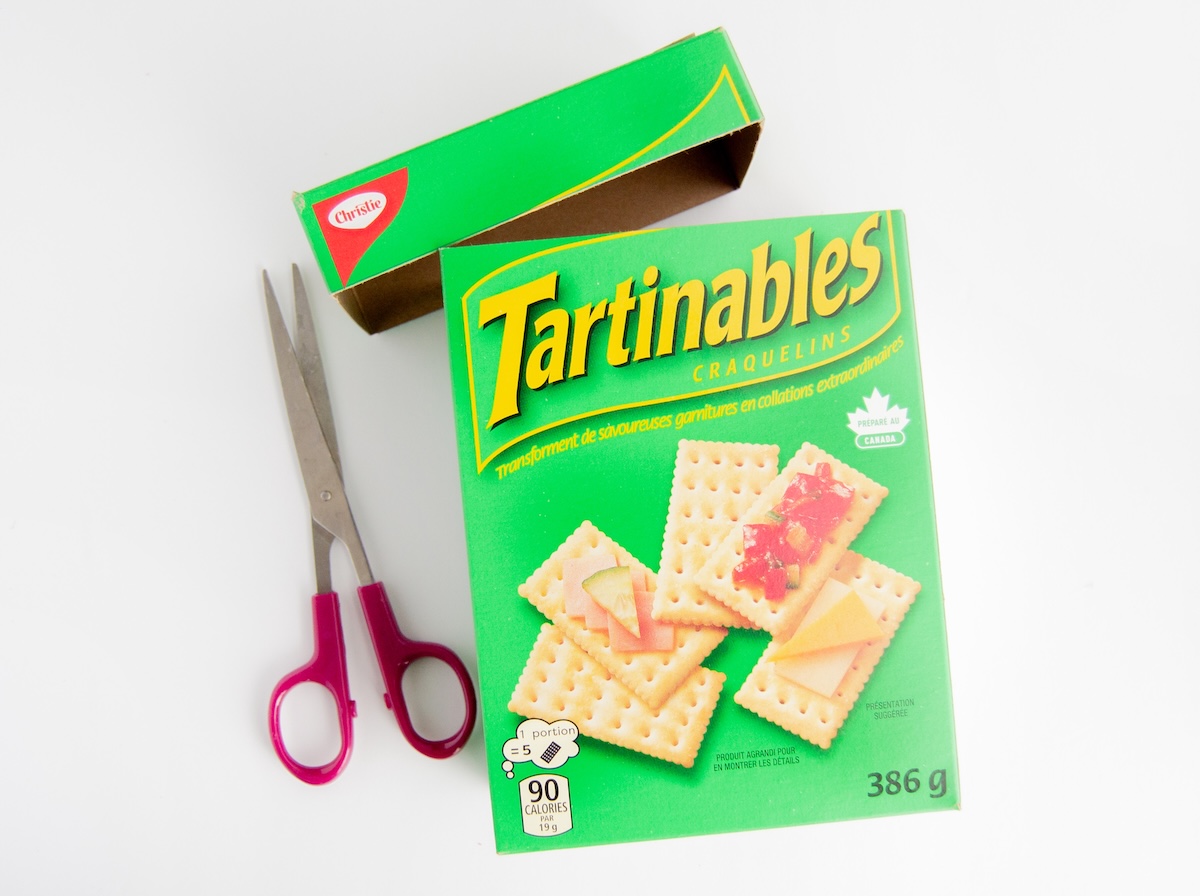
- Mark 1/2” down one side of the box, and do the same on the other side, making sure that the mark is on the same side of the box. Connect the two lines together to create a cutting guide.
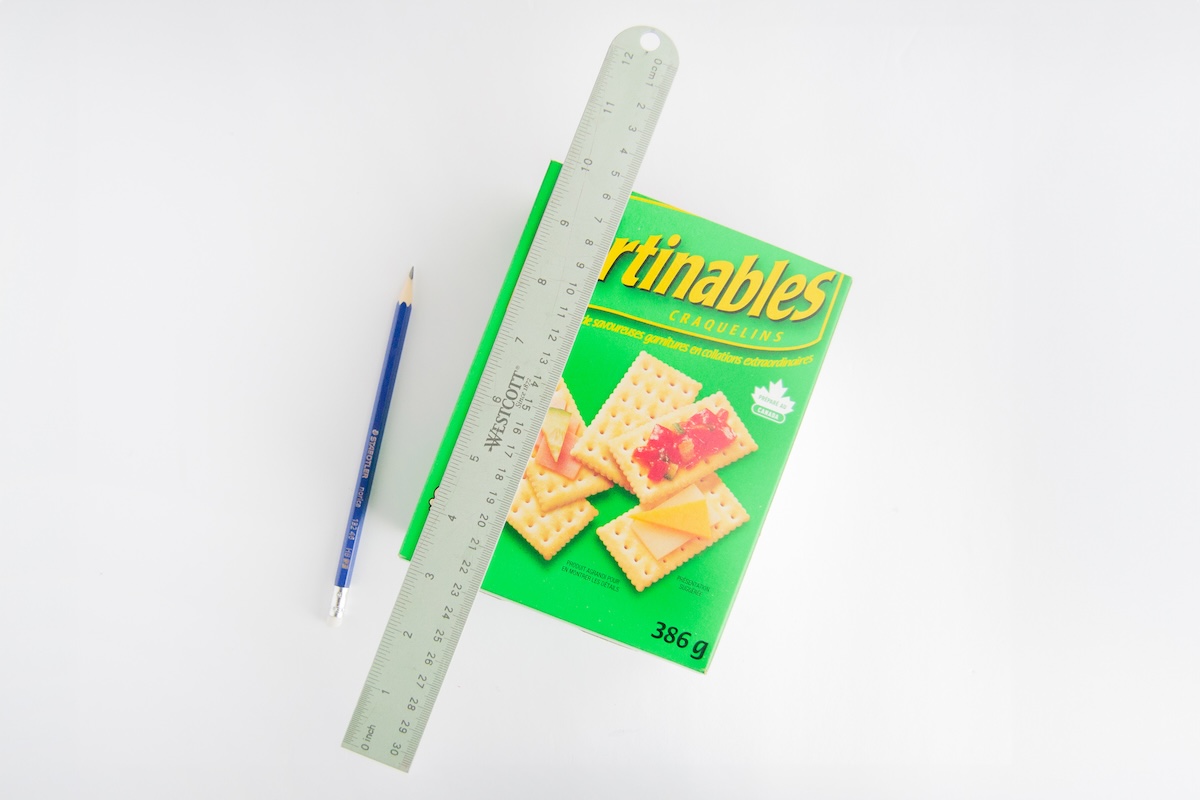
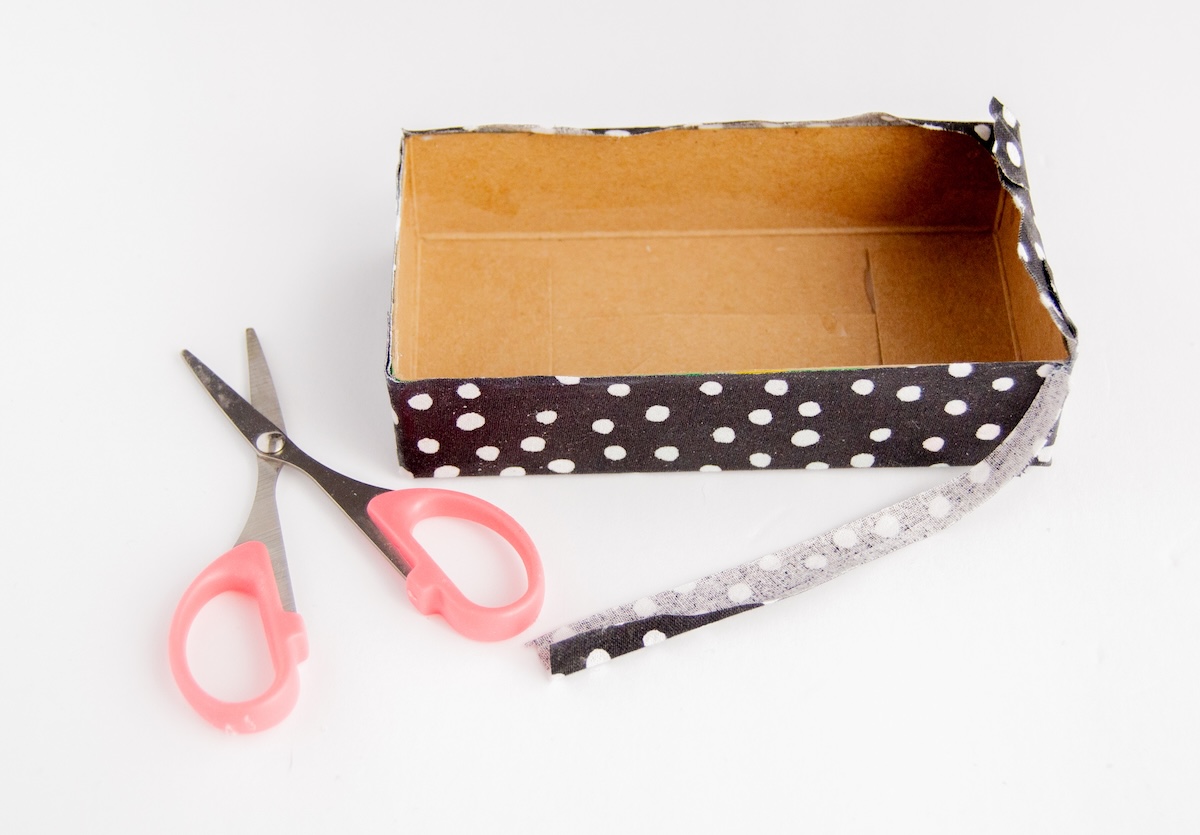
- Cut the box, following the 1/2” guideline. You should have the box in two pieces as shown in the photo.
- Reassemble the box by gluing the cut side to the box again, but gluing the 1/2” flap inside. This is done to make the box smaller, so that the lid fits well when you put it back on.
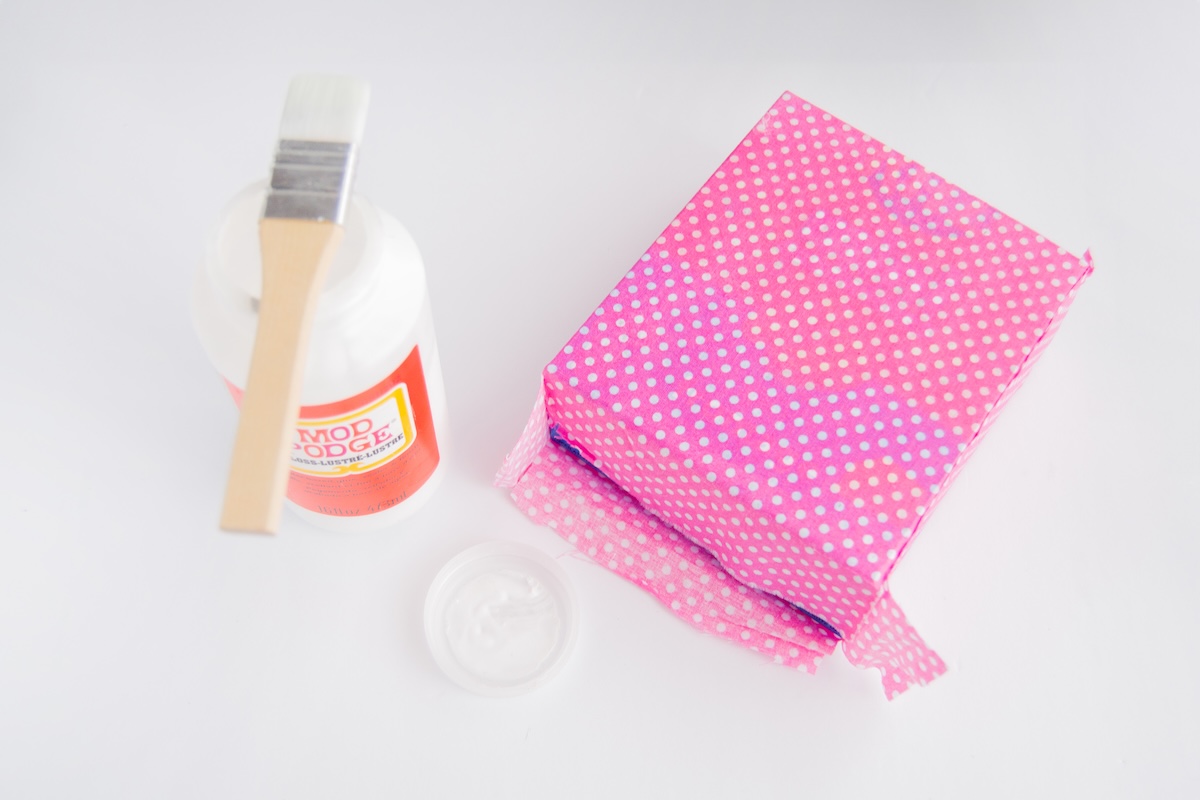
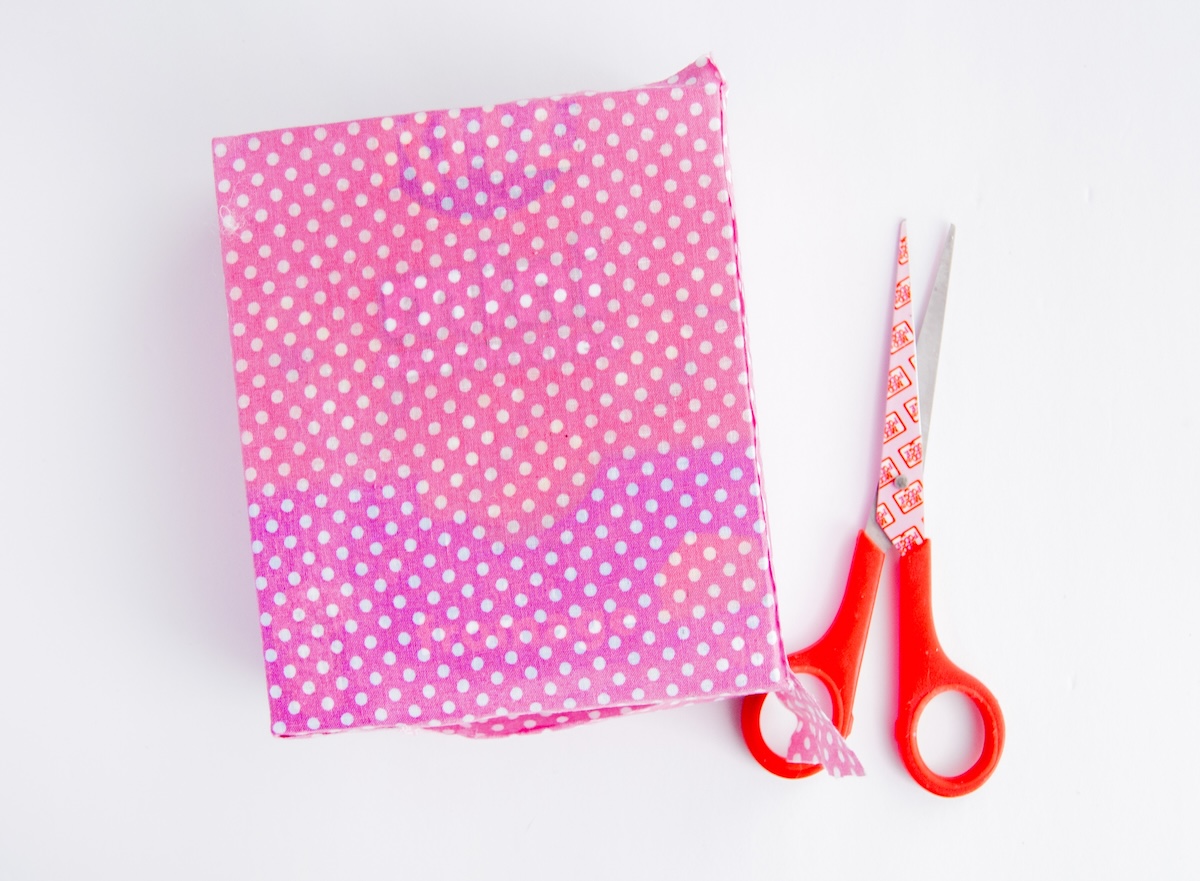
- Mod Podge fabric onto the body of the box. Use a layer of Mod Podge to adhere the fabric onto the box, and then another layer of Mod Podge to secure it down. Do one face at a time to make sure that the fabric lays flat on the box. Let each side dry before moving on to the next. Let dry completely.
- Trim the excess fabric. You have the option to leave some excess fabric to fold and Mod Podge into the box, or trim it to the edge of the box.
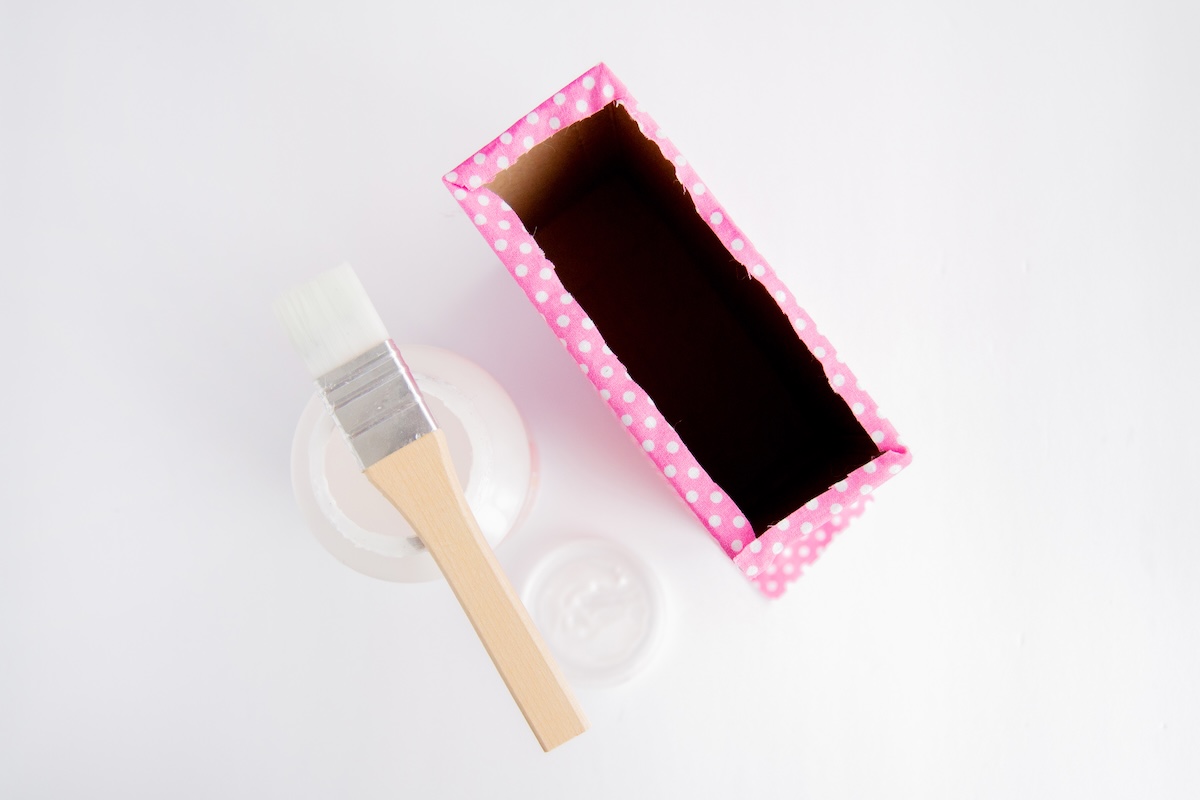
- For the bottom, trim the excess fabric, fold and Mod Podge as neat as possible. Let it dry.
- Tape the box lid down if necessary - you can also glue it down.
- Apply Mod Podge to the lid of the box and smooth down onto the fabric. Let dry before doing the sides.

- Trim the fabric with the scissors so you can fold onto the sides of the lid. Apply Mod Podge to the sides and smooth the fabric down. Let dry.
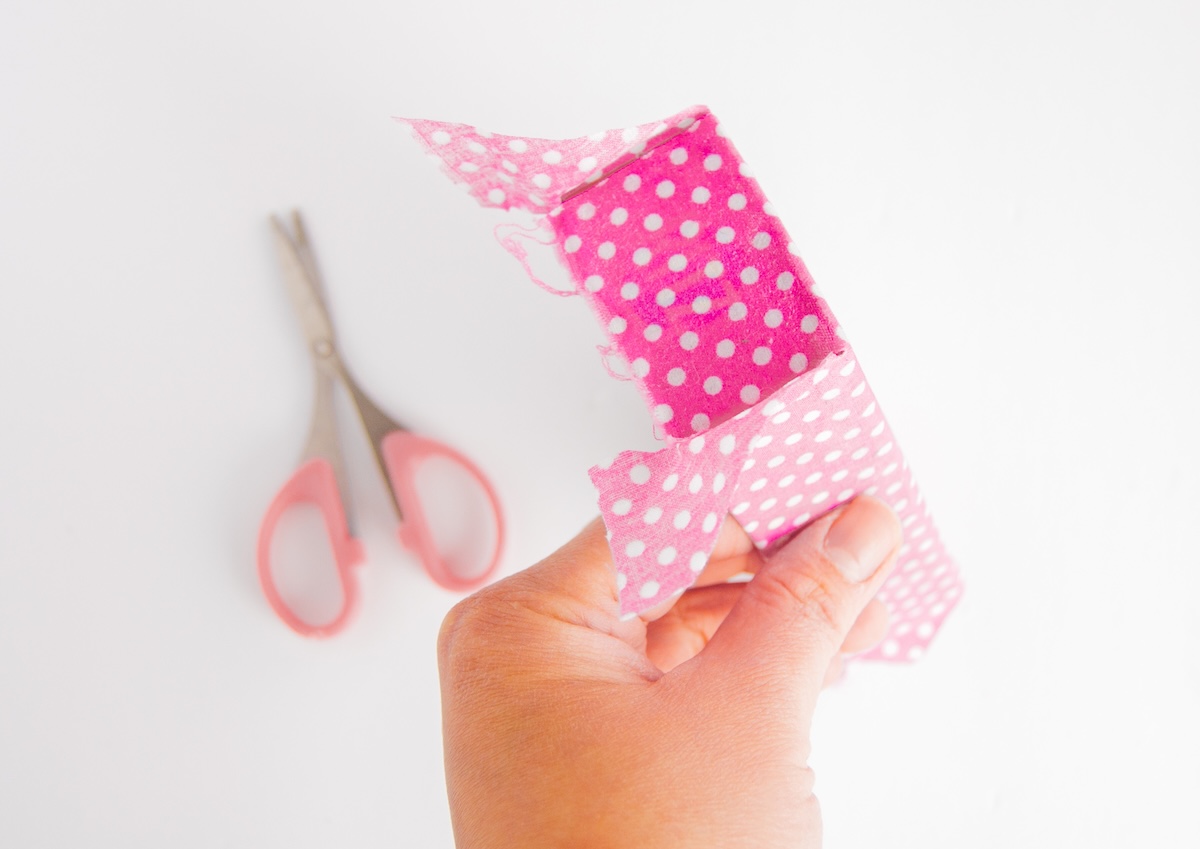
- Either Mod Podge the excess fabric into the gift box lid or trim around the edges to remove. You can seal the box before using if desired.
Notes
I made this project for free! I had everything on hand. I've estimated $2 for cost just in case you don't.
Step 12: You may want to check the lid fitment before Mod Podging the fabric down inside. if it is loose, you can fold the excess fabric and Mod Podge it inside the box, but if it’s tight, you can trim it to the edge of the box lid instead.