In this cute winter craft, you’ll use Mod Podge and dollar store supplies to decorate snowflake votives. So easy and inexpensive!
Skills Required: Beginner. It helps to have a little experience with Mod Podge just because lasercut paper can be fussy. But this project is pretty simple otherwise!
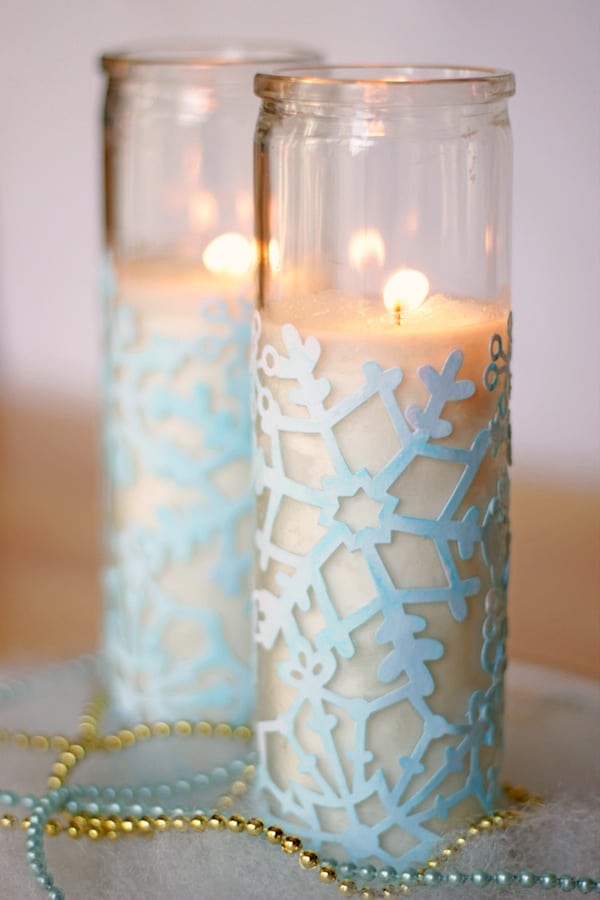
This is Heidi from the blog Hands Occupied. I love making high-impact crafts without having to spend 100 hours laboring to do so. Laser cut scrapbooking paper is a great supply I like to use to save some time and sanity in my crafting, and I used it in this winter craft.
Since the paper I used is a snowflake design, it came white, but I decided it was in need of a bit of color to showcase is beauty. Read on for how I put this pretty winter craft together in about an hour. You’re going to love this decoupage idea!
Snowflake Votives for Winter
Gather These Supplies
- 1 sheet of lasercut scrapbook paper
- Mod Podge Matte
- food coloring
- water
- small bowl
- paint brush
- sponge brush
- waxed paper
- glass jar candles (like these)
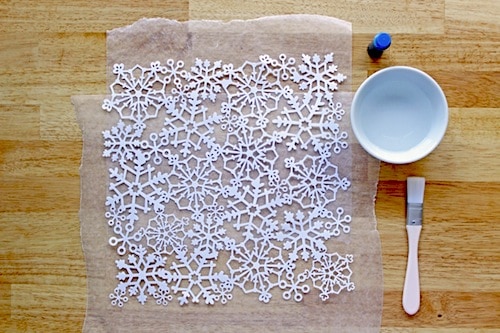
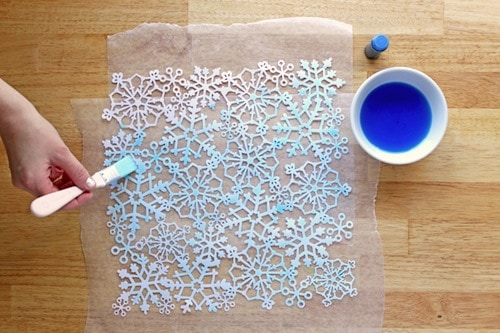
You’ll start your snowflake votives by preparing the laser cut paper. Lay it out on some waxed paper. Mix a few drops of food coloring and some water and paint it onto your paper to dye it.
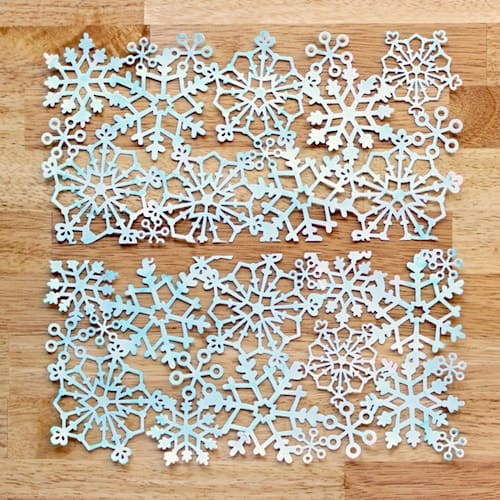
After the paper has dried, cut the sheet in half. Wrap your paper around one of the candles to see how long your wrap needs to be.
There should be enough paper so that it overlaps just a little when held tightly around your snowflake votives. My wraps were 6″ tall by 7.5″ wide.
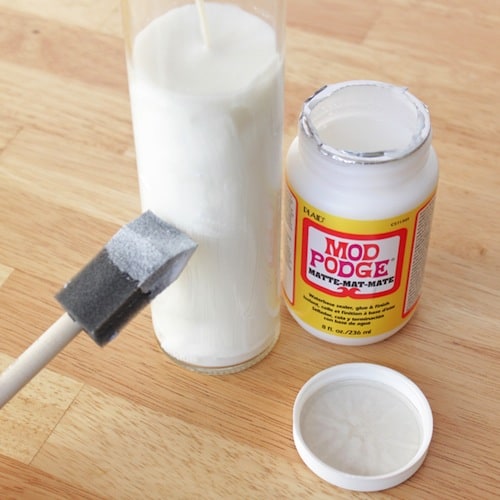
Paint a generous layer of Mod Podge onto the candle jar.
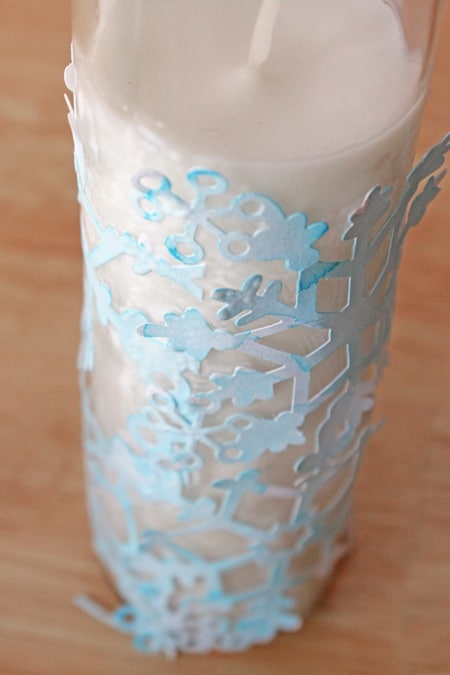
Stick/wrap your paper tightly around the candle. Where there’s paper overlap, add a little Mod Podge to make it stick.
While the Mod Podge is still wet, you can carefully slide the paper into place if it needs adjustment to fit snugly on the candle.
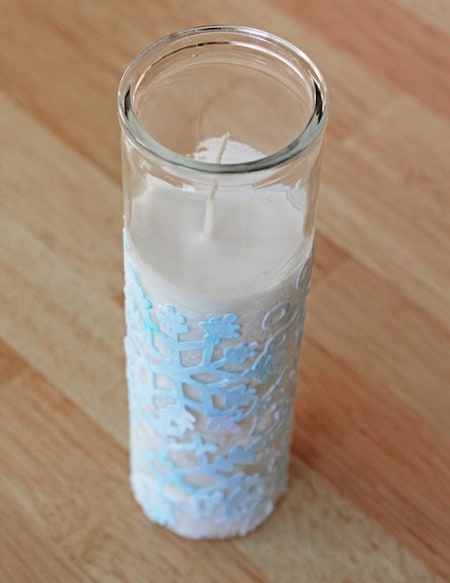
Once the wrap is all in place, paint another thick layer of decoupage over the top of the wrap. Since the paper I used was a thick cardstock, it took a good amount of Mod Podge to secure. Let your snowflake votives dry completely before use.
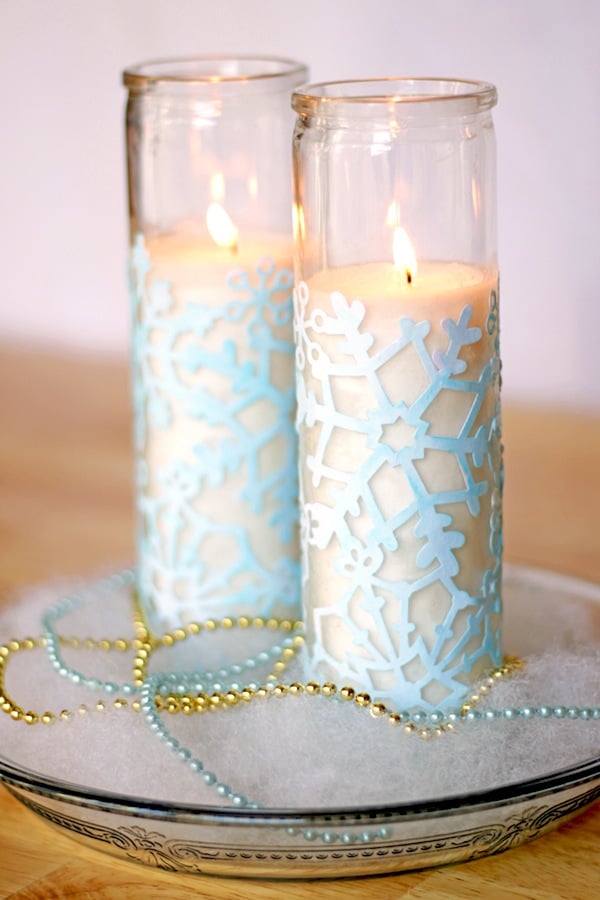
I used my two wrapped snowflake votives to make a nice centerpiece to fill the void in adorable home decor left by the end of the holiday season.
I used a decorative pie plate, some batting, and plastic chained beads to accessorize my centerpiece. Easy!
If you like these snowflake votives, check out these DIY winter village vases and our wood snowflake decor!





What a cute idea. I’d never thought to dye paper with food coloring before. I’ll have try that out!
gorgeous! thanks so much for sharing on Craft Schooling Sunday!
Oh wow, those are too cute, I love them! Stopping by from Tatertots & Jello!
I love the idea of dyeing paper with food coloring! I’ve got to try that sometime. These turned out really nice.
These are awesome!
Great idea! So pretty, too.
KC
This is so stinking cute! I love it!
Great tip!!! These look so beautiful and easy to make. They remind me a lot of the screen printed candles by K. Hall Designs ) but craft projects always make a weekend more fun. I’ll have to try this.
I have a question that isn’t for this project. I personalized plastic tumblers for my bridesmaid with vinyl. I was wondering if I sealing it with mod podge would work. I know mod podge isn’t food safe but it’s only for the outside of the cup. Will the mod podge dry almost invisible or will you be able to see the brush marks?