Learn how to decorate a glass vase – it makes a great gift and is easy to make with Mod Podge and dollar store craft supplies! You can also use for parties and weddings.
Skills Required: Beginner. I’d start with a smaller vase if you’ve never Mod Podged before, as your biggest challenge is going to be wrinkles. A smaller area will be easier to control.
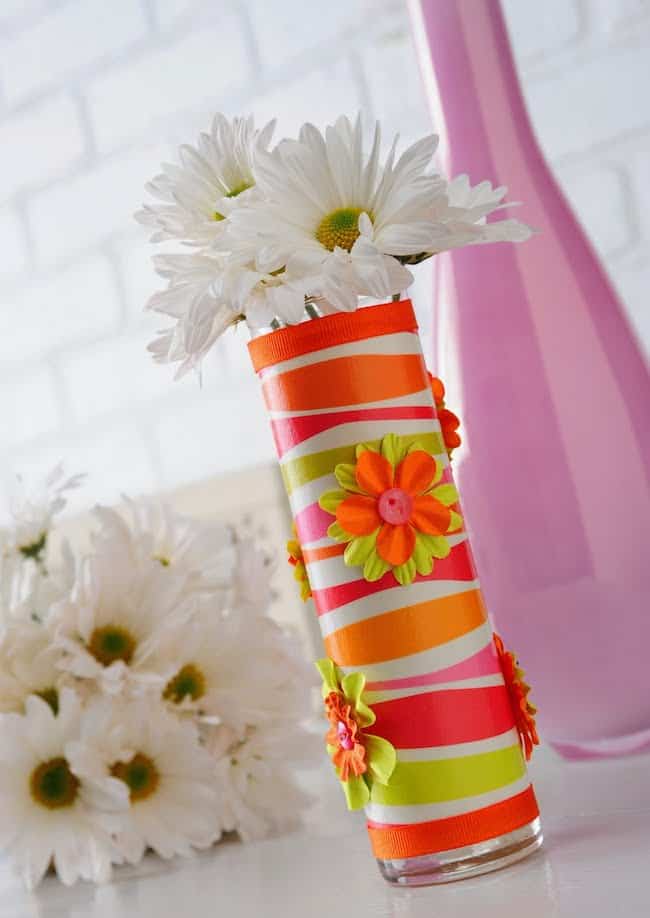
Are you looking for a quick and easy gift? Or a way to add a little “shazam” to your spring home decor? I don’t know why I’m even asking that – of course you are!
A DIY vase just like this one would also work for parties or wedding centerpieces. Though unless you love brights like I do, you’ll probably want to go with a different color palette (please e-mail me to be best friends if you would have this at your wedding).
It took me about ten minutes to make this minus dry time, so if you need several, it won’t take long at all to decorate a glass vase, and the results are pretty great. Scroll down to see how I made it.
Decorate a Glass Vase
Gather These Supplies
- $1 vase from Dollar Tree
- Mod Podge Gloss
- Scrapbook paper – one sheet
- Paper flowers – coordinating
- Ribbon
- Buttons
- Craft glue
- Craft knife
- Ruler
- Scissors
- Paintbrush
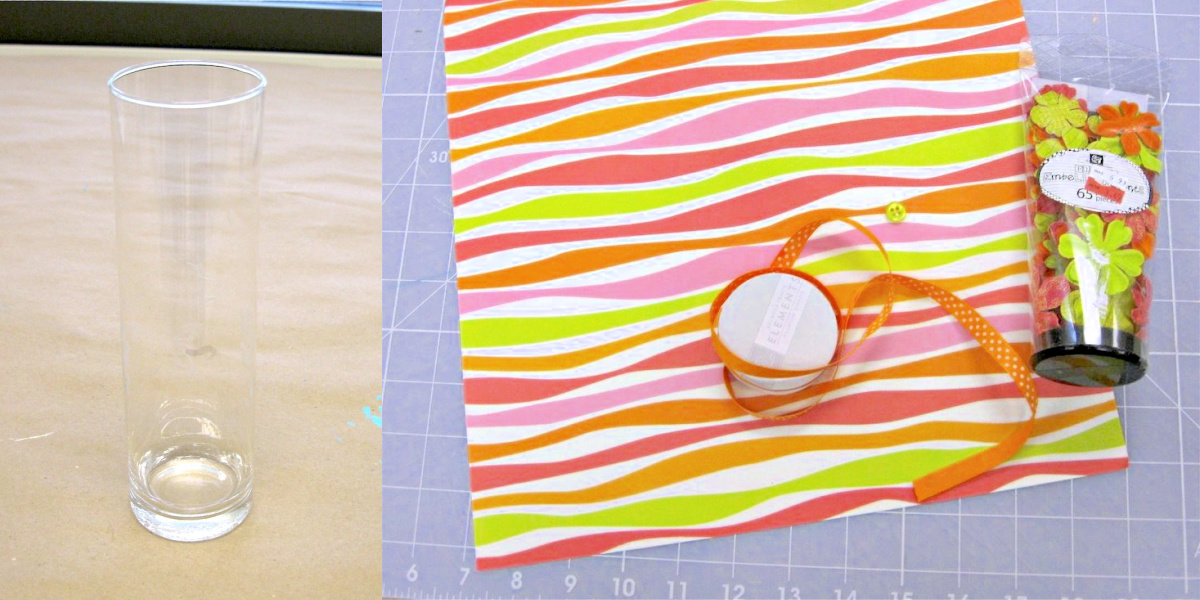
Start with a clear glass vase as well as your paper and embellishments.
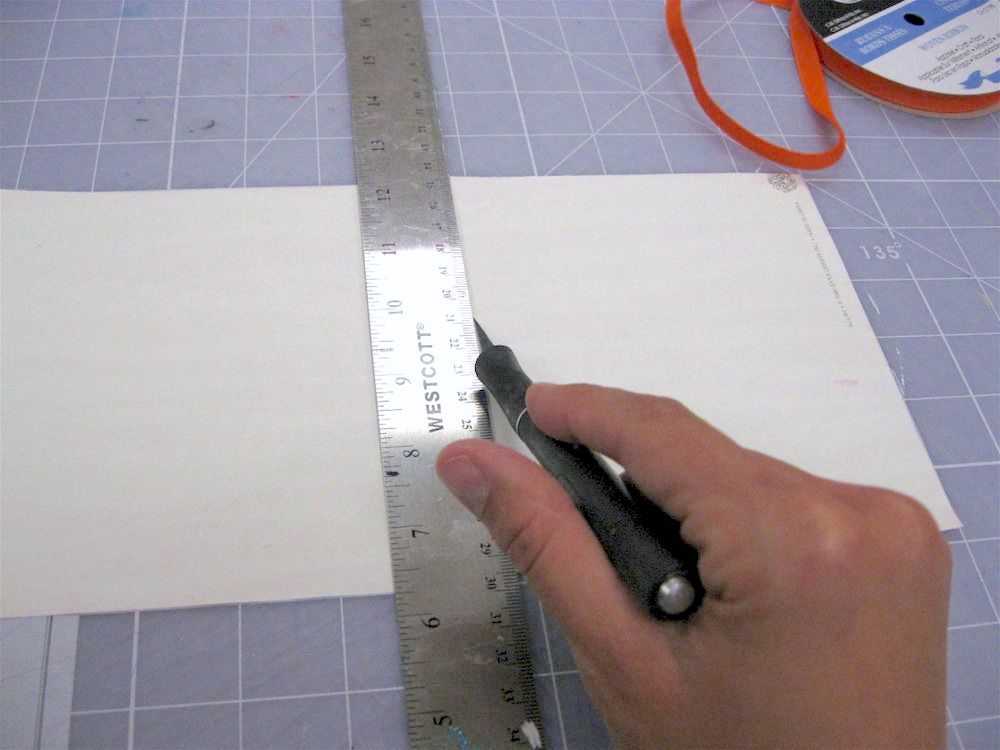
Measure and then trim your paper to fit your vase – I cut the paper a bit shorter so that some glass would be peaking out on each end.
Leave a little bit of length horizontally so that you can have some overlap after you Mod Podge (but not too much, try for 1/8″). Are you ready to decorate a glass vase? Time to bust out the Mod Podge (you’ve been waiting for this!).
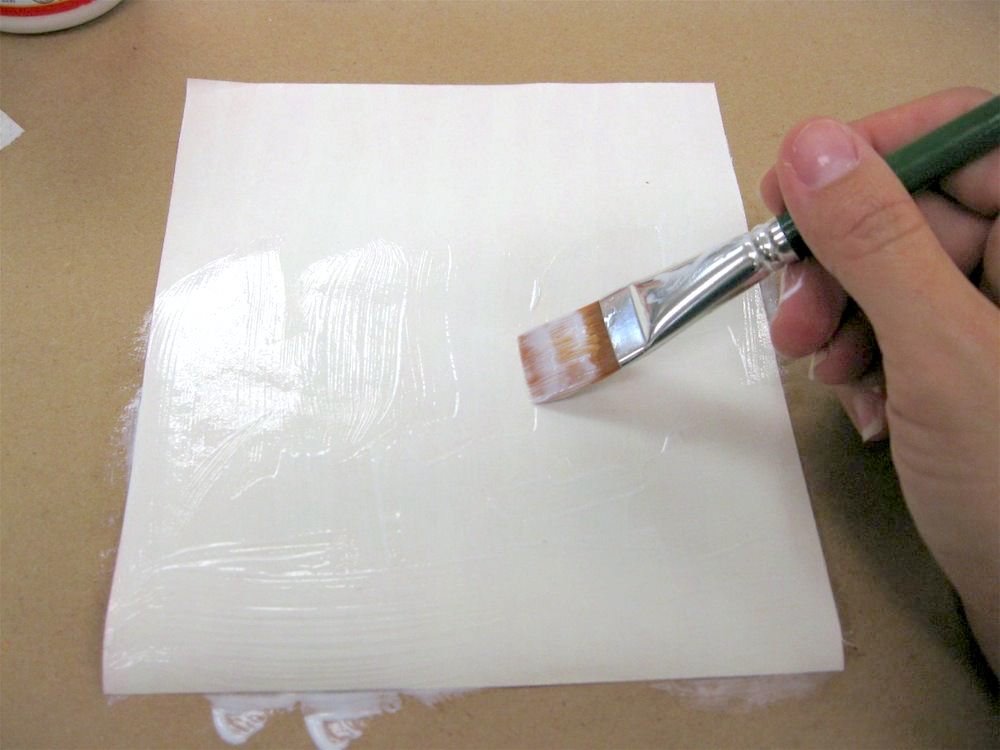
Place a medium layer of Mod Podge over the back of the paper. Work quickly so that the Mod Podge doesn’t dry before you get the vase down (you’ll have bubbles!).
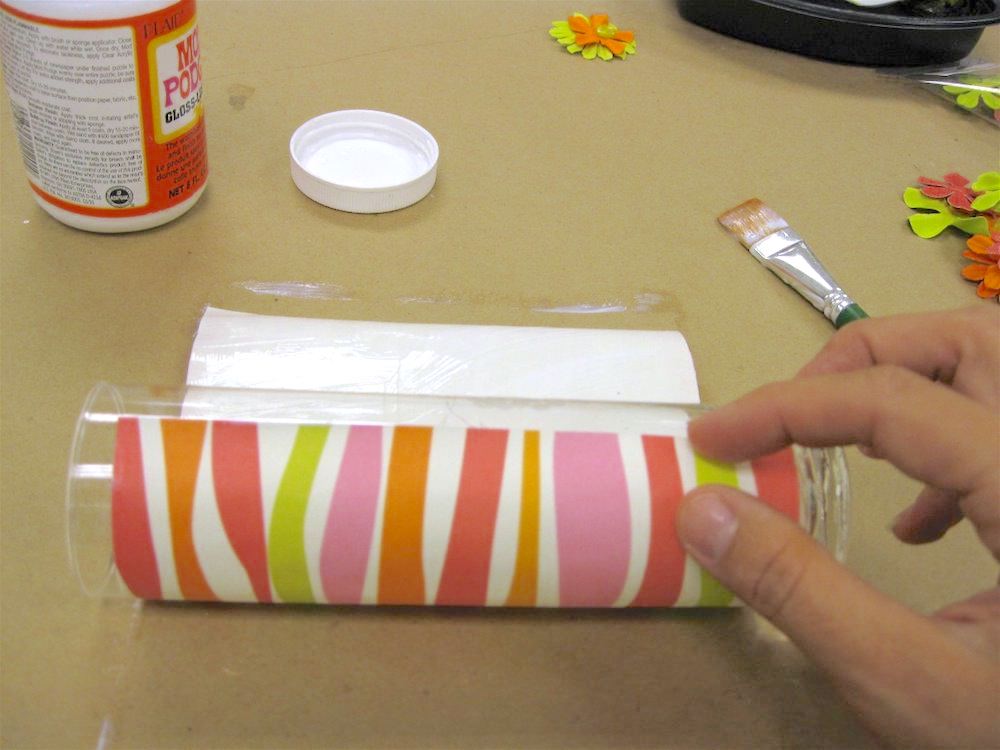
Place the vase down and start rolling – smoothing as you go. Use your hands to smooth thoroughly. Let dry for at least 15 minutes.
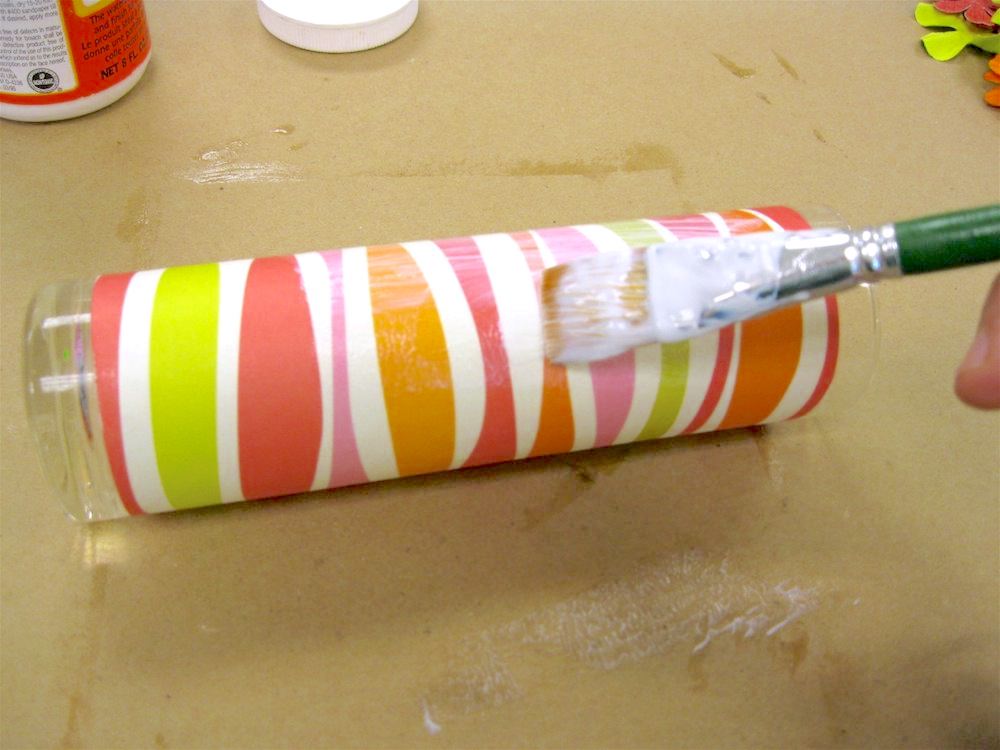
Coat the outside of the vase with two coats of Mod Podge to seal. Let dry.
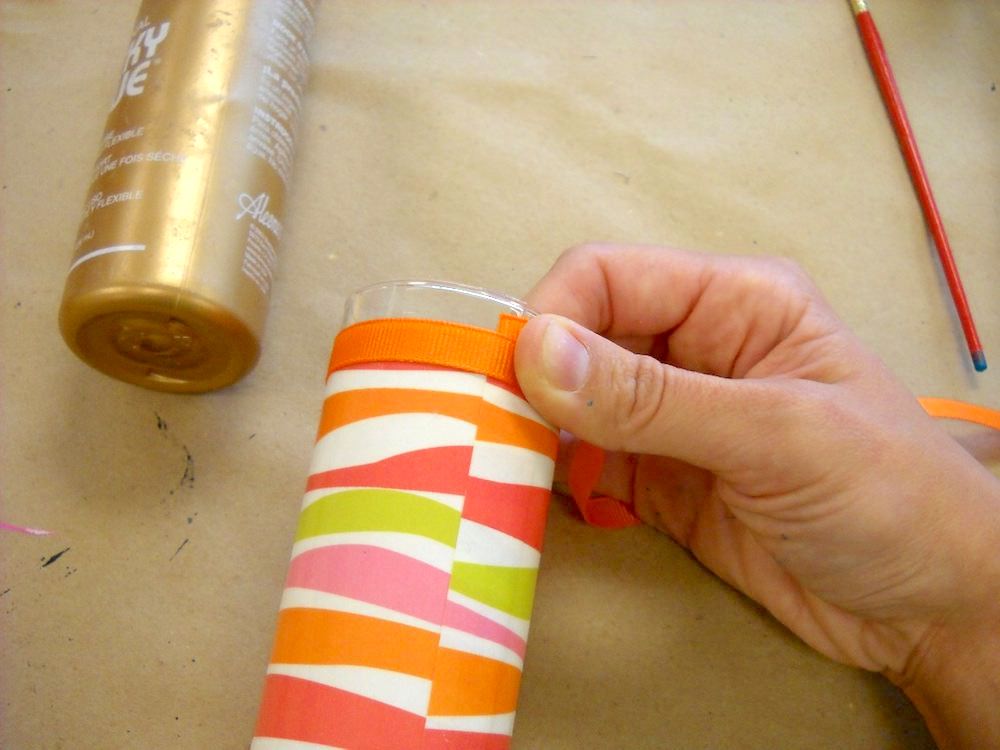
Use the craft glue to adhere the ribbon to the top and bottom, covering where the paper meets the glass.
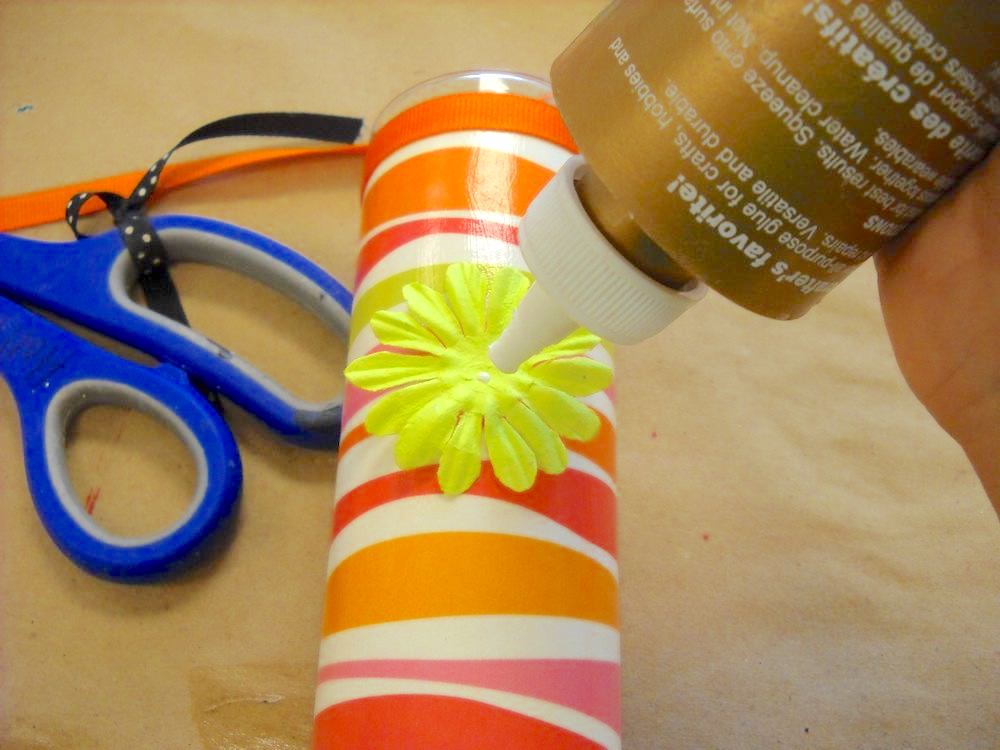
Add flowers and buttons with craft glue. Let dry.

That barely took any time at all, and now you are the proud owner of a brightly colored vase. Are you ready to decorate a glass vase? Check out some of the ideas below!



This is so beautiful Amy:)Love it..
perfect for some Spring decore !
I can’t tell you enough how much I LOVE your blog!!!
Keep up the great work!
I was looking for some ideas about what to do with my kids about the Woman’s Day
This is really nice and interesting blog.I’m glad to know. I admire the time and effort you put into your blog and detailed information you offer.
home decor items
I love this idea!!!!
Thanks for sharing. 🙂
wow, so much fun, would have been great for Purim, from which we’re now recovering! thanks so much for sharing on Craft schooling Sunday, I’m always so happy to see when you’ve dropped by!
I just love your ideas,the are great..can’t wait for more