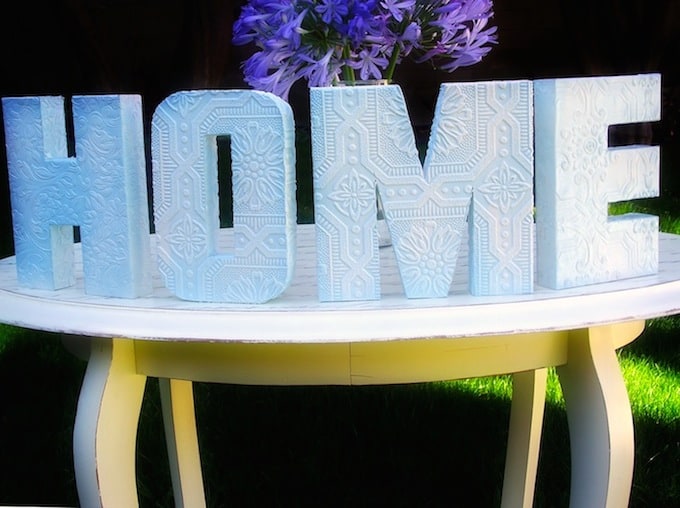
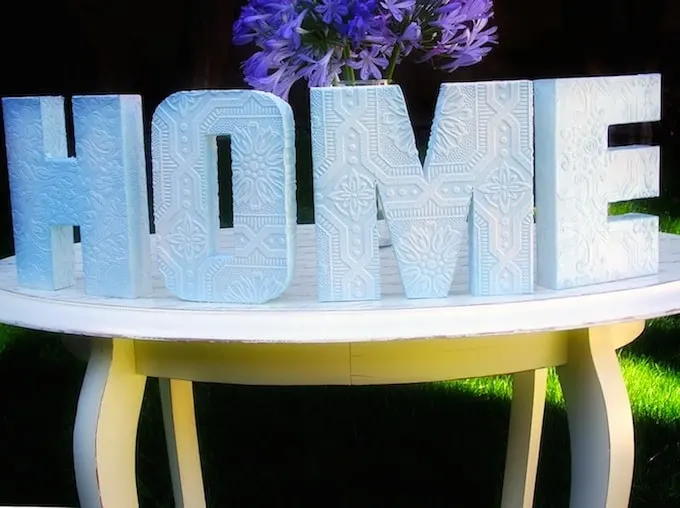
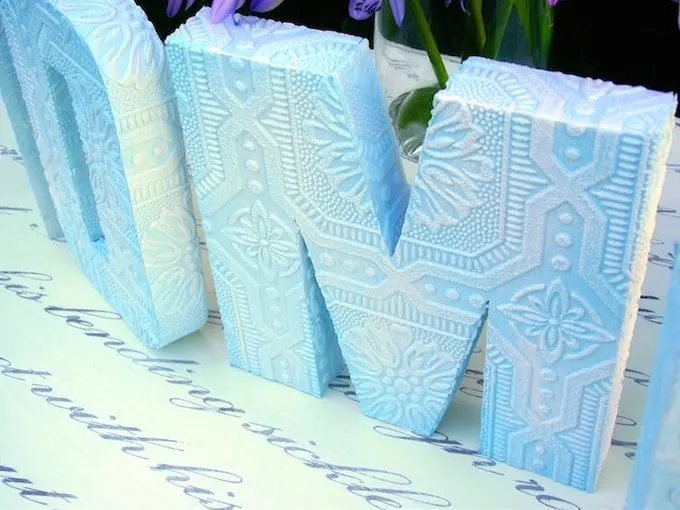
These Mod Podge letters are made with anaglypta – otherwise known as textured wallpaper. These are easy to create and make beautiful home decor!
Well, this Mod Podge letters project marks my one year Man-Podgerversary! Amy and I have exchanged the traditional one year gift – Paper (and Mod Podge!).
It’s been a great year of stretching my imagination and I’m very appreciative to Amy for giving me the opportunity and to all of you who have left comments or asked questions. Thanks so much!
So . . . I’m kinda hooked on Mod Podge letters and typography. A while ago I started making my own letters to use in some HOME signs for my Etsy shop. But I’m always looking for another way to do things.
Relatively recently I learned about Anaglypta – which I assumed was an Egyptian Pharaoh but was told that it is, instead, a Victorian wallpaper made to imitate detailed plaster.
I had come across a big pile of it at a garage sale and, even thought I didn’t know what to do with it I thought it was cool and scooped it up (you can find modern versions of it at wallpaper stores or even Lowes).
I thought, for this project, maybe it would be cool to combine my addiction to Mod Podge letters with my new found appreciation of Anaglypta.
Anaglypta Wallpaper Letters
You will need:
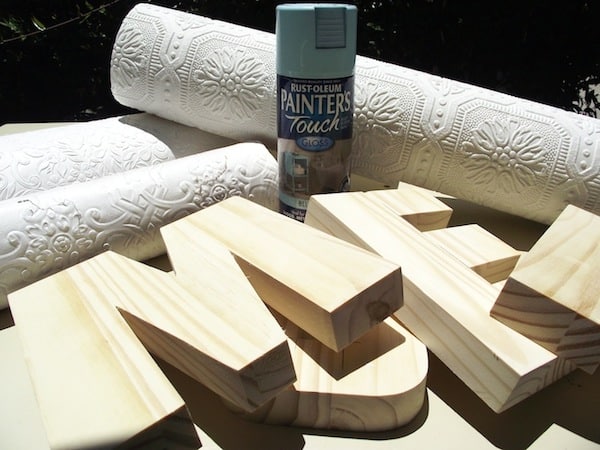
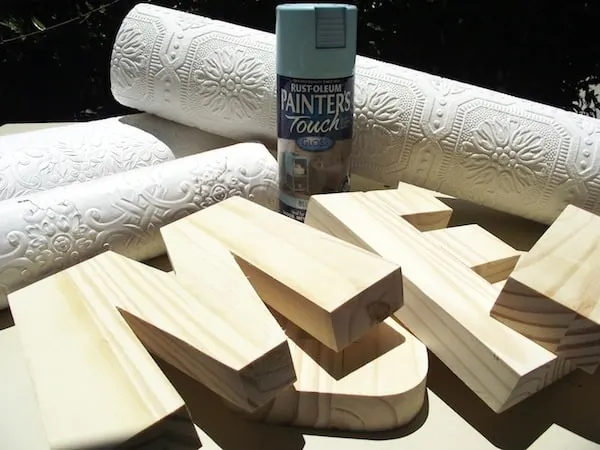
- Letters – I used my own chunky, wood letters but you could use anything – wood, cardboard etc
- Spray Paint
- Anaglypta
- Craft knife (not pictured)
- Mod Podge Matte
- Craft Paint (not pictured)
- Paintbrush (not pictured)

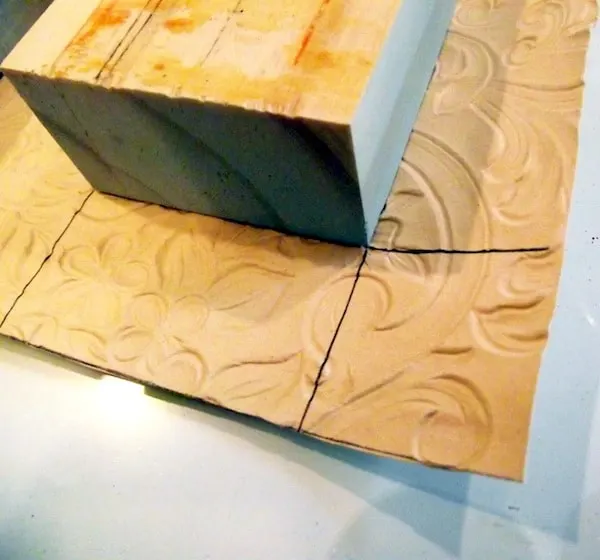
So first I laid my letters on the Anaglypta and laid out my cut lines. My letters are thick and I wanted the paper to wrap around three sides.

I also did a dry fit just to make sure everything lined up.
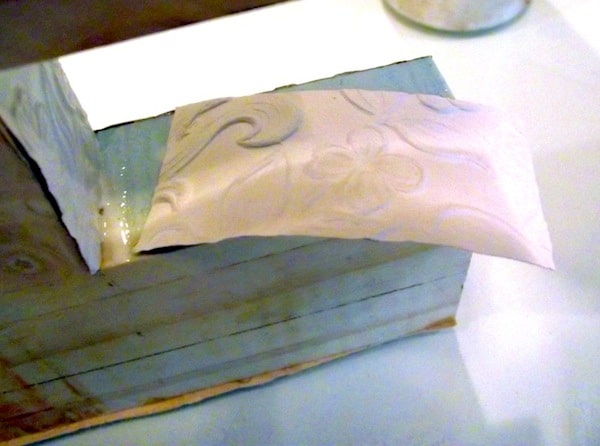

Anaglypta is intended to be wallpaper but I didn’t want to deal with wallpaper paste and Mod Podge proved the ideal alternative – it’s easier to work with and a little more forgiving than straight glue.
I just brushed a fairly thick layer of Mod Podge onto the Anaglypta and then applied it to the letter, folding it around the edges. The dimensions of my letters meant that not all sides could be covered at once so I had to attach some separate pieces. I didn’t worry about matching the pattern up.

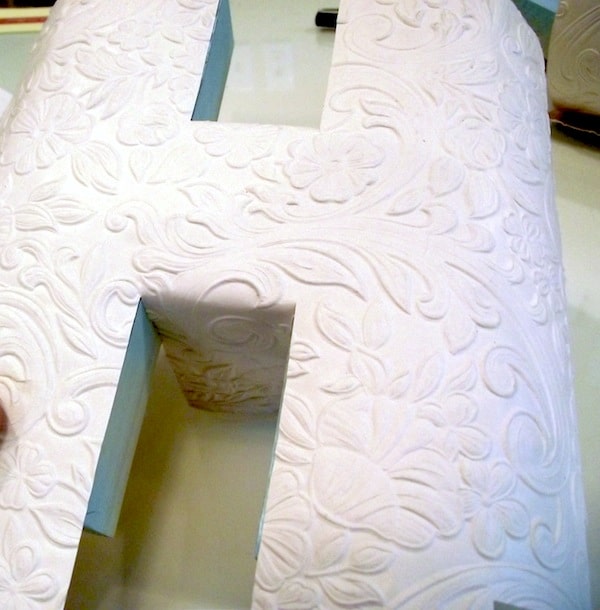
After everything had dried adequately I trimmed off any overhang with my craft knife (make sure it’s really sharp) and I had my letters.

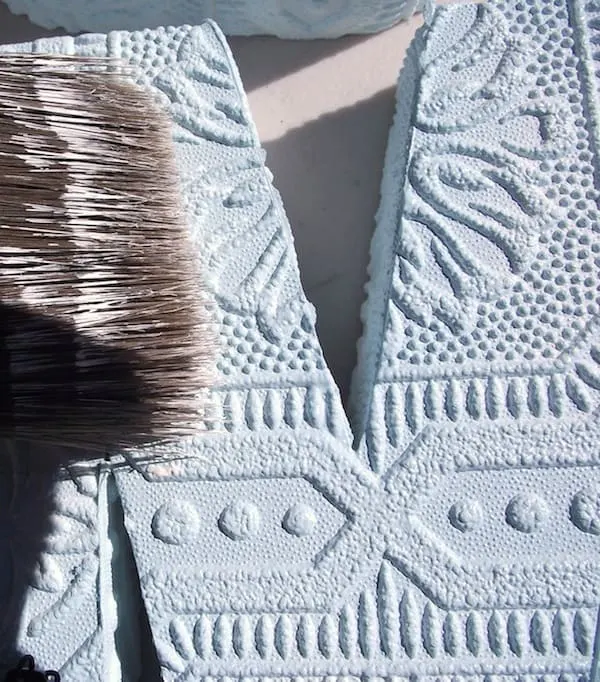
I then gave each letter a light coat of my sky blue spray paint. And then, to emphasize the texture, I went over each letter using a dry brush and just a tiny bit of white – just hitting the tops of the raised pattern.
Once you’re satisfied with the accent color, allow the project to dry completely.
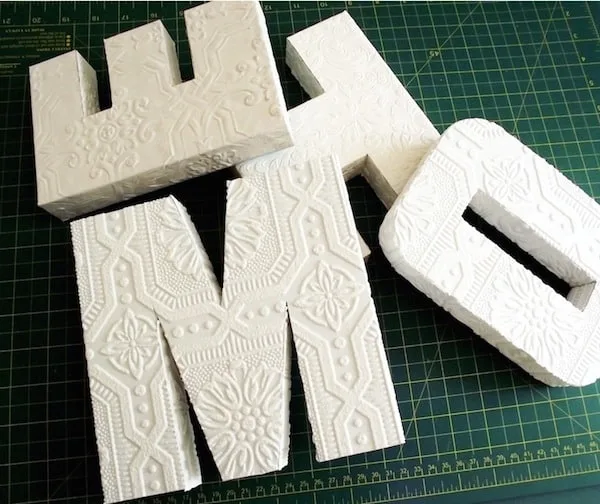
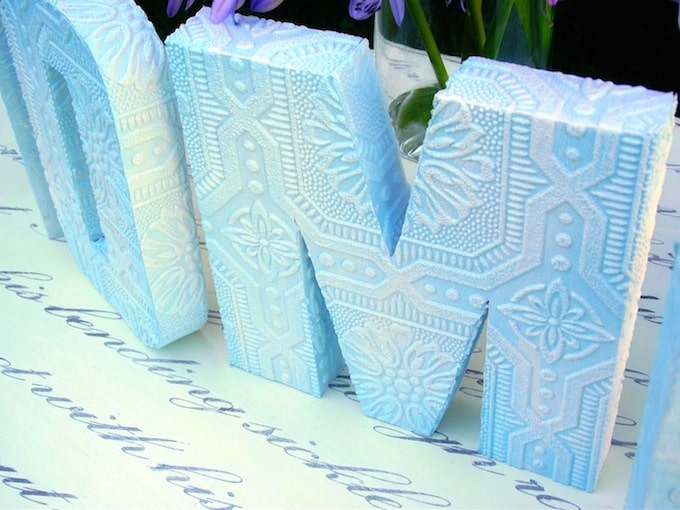
These Mod Podge letters were pretty easy to make and would be even easier if you just did the face of the letter.
You can paint them, or display them anywhere. Wouldn’t they look great on a mantel? Perhaps a dining buffet? They have more of an elegant than a crafty look . . . they would be so pretty for the holidays.
I’d love to know if you try this project! I’d also love for you to try this confetti letter, these beach letters, these comic book letters, this map letter, or these cardboard letters.


SweetPepperRose
Saturday 1st of September 2012
Great project! new follower! I have awarded your blog with the One Lovely Blog and the Very Inspiring Blogger Awards! JoAnn
Kim Wilson
Thursday 30th of August 2012
These are soooooo beautiful!!! I have to try this! Thanks for the tutorial and HAPPY ANNIVERSARY!
emruth
Wednesday 29th of August 2012
I love this! I plan on doing something like it in my little boys' room. :)
Jenn "Rook No. 17"
Sunday 26th of August 2012
Happy Man-Podgiversary! Absolutely beautiful project!
Jenn
Firenze
Friday 10th of August 2012
Oh my word they are so beeeoooootifullll! TFS!Helen -- Firenze Cards