Paint adorable owl rocks with this easy tutorial! Learn how to decorate, seal, and display your whimsical rock art for any occasion.

There comes a time in every crafter’s life when they look at a rock and think: “This could be cuter.”
If that’s you – congratulations, friend. You’ve officially unlocked the magical, slightly ridiculous, totally delightful world of painted owl rocks. These wise little stones are the perfect fall craft for anyone who loves to create something charming, low-pressure, and full of personality.
And here’s the best part: rocks are free. Or at least, they can be depending on what you have access to.
You can make dozens of owls for your garden, your bookshelves, your desk at work (because everyone needs a rock owl staring at them through their spreadsheets), or even to leave around your neighborhood as random acts of crafty kindness.
For this project, I made two styles of painted owl rocks to impress everyone year-round:
- 🦉 Everyday owls: Cute and colorful, perfect for anytime decor.
- 🎃 Halloween owls: Because who doesn’t want an owl dressed up as Frankenstein, a mummy, or Dracula? They’re spooky, kooky, and completely adorable.
In the tutorial below, I’m going to show you how to make the everyday owls. The process is the same for the Halloween version.
Pro Tips for Success
Keep the following tips in mind while doing your project:
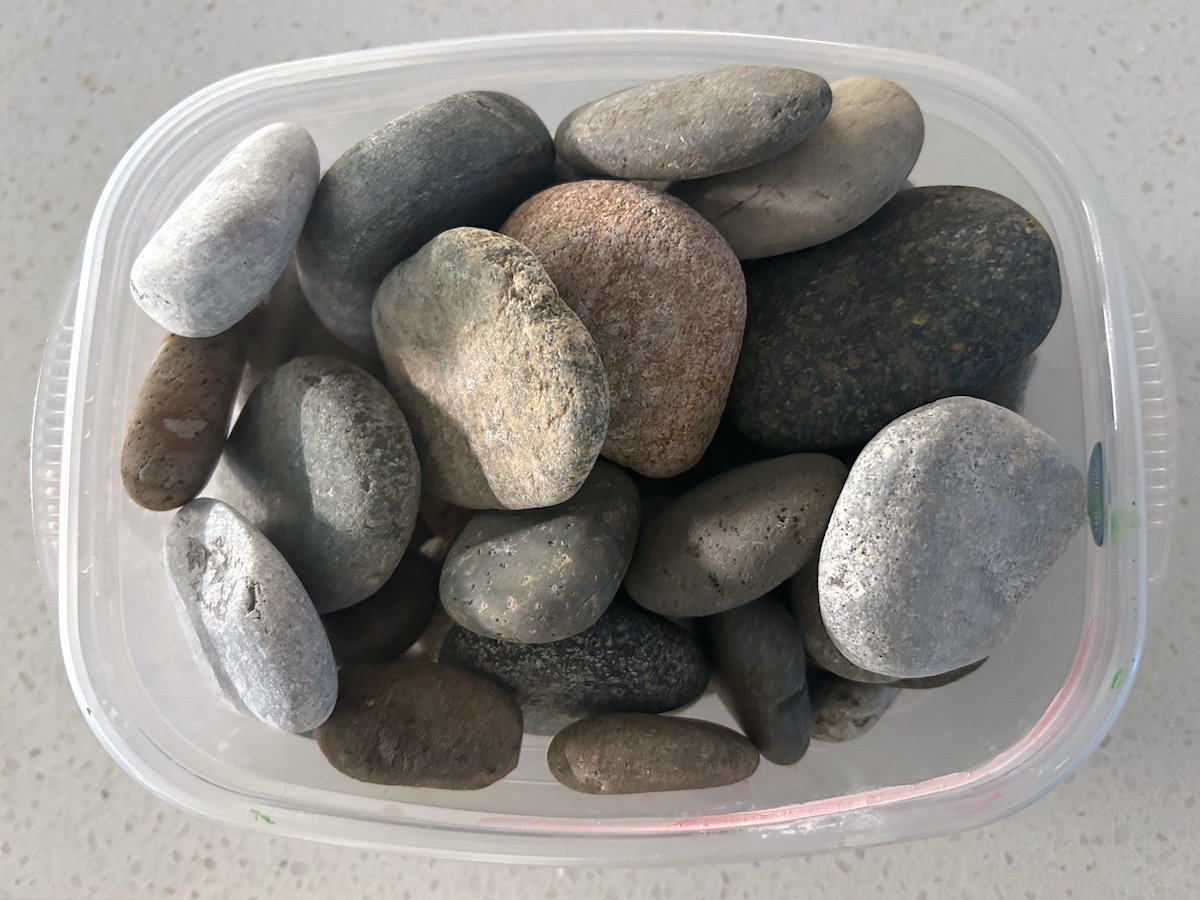
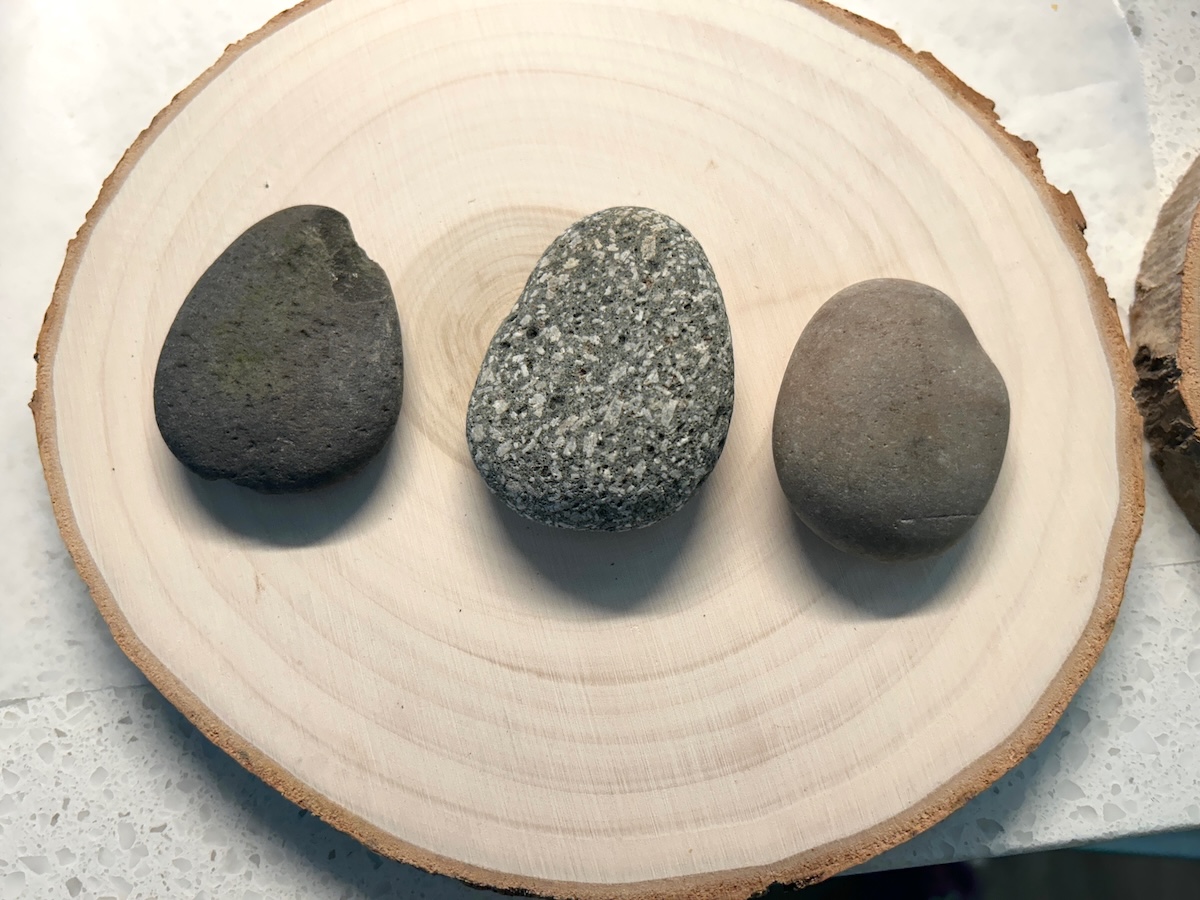
✅ Use smooth rocks — flat river stones work beautifully and are easier to paint (and draw on with paint pens). Check your garden, natural areas (where allowed), or craft stores if you want guaranteed smooth surfaces.
✅ Wash and dry your rocks first — you don’t want dust and dirt getting trapped under the paint.
✅ Work in layers — don’t try to paint everything at once.
Whether you’re crafting a parliament (yes, that’s what you call a group of owls – you’re welcome) of everyday owls, a trio of spooky Halloween cuties, or a mix of both, these painted rocks are sure to put a smile on your face.
Ready to make your rocks wise, weird, and wonderful? Let’s get painting! Here’s the printable how to:

Owl Painted Rocks
Equipment
- Garden shears or other pruners to cut the twigs
Materials
- Wood plaque
- 3 Rocks small, flat, so you can glue them to the plaque
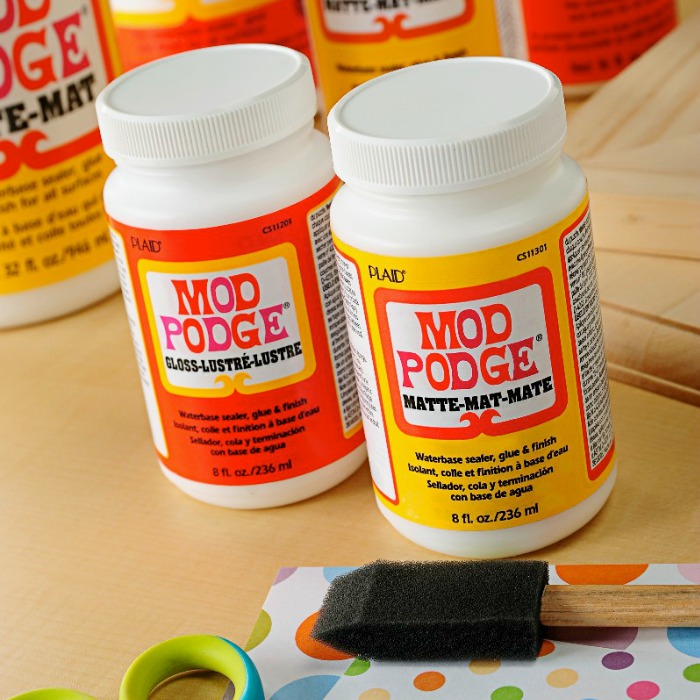
- Mod Podge Satin
- Spray primer white
- Acrylic paint colors of your choice
- Paint pens I prefer Posca or Sharpie
- Twigs bits and pieces
- E-6000
- Craft glue
- 1 piece Printer paper
- Eraser optional, for any pencil lines
Instructions
- Wash your rocks with soap and water to remove dirt and dust. Let them dry completely. If your rocks are rough, lightly sand them or brush off loose bits for a smoother painting surface.
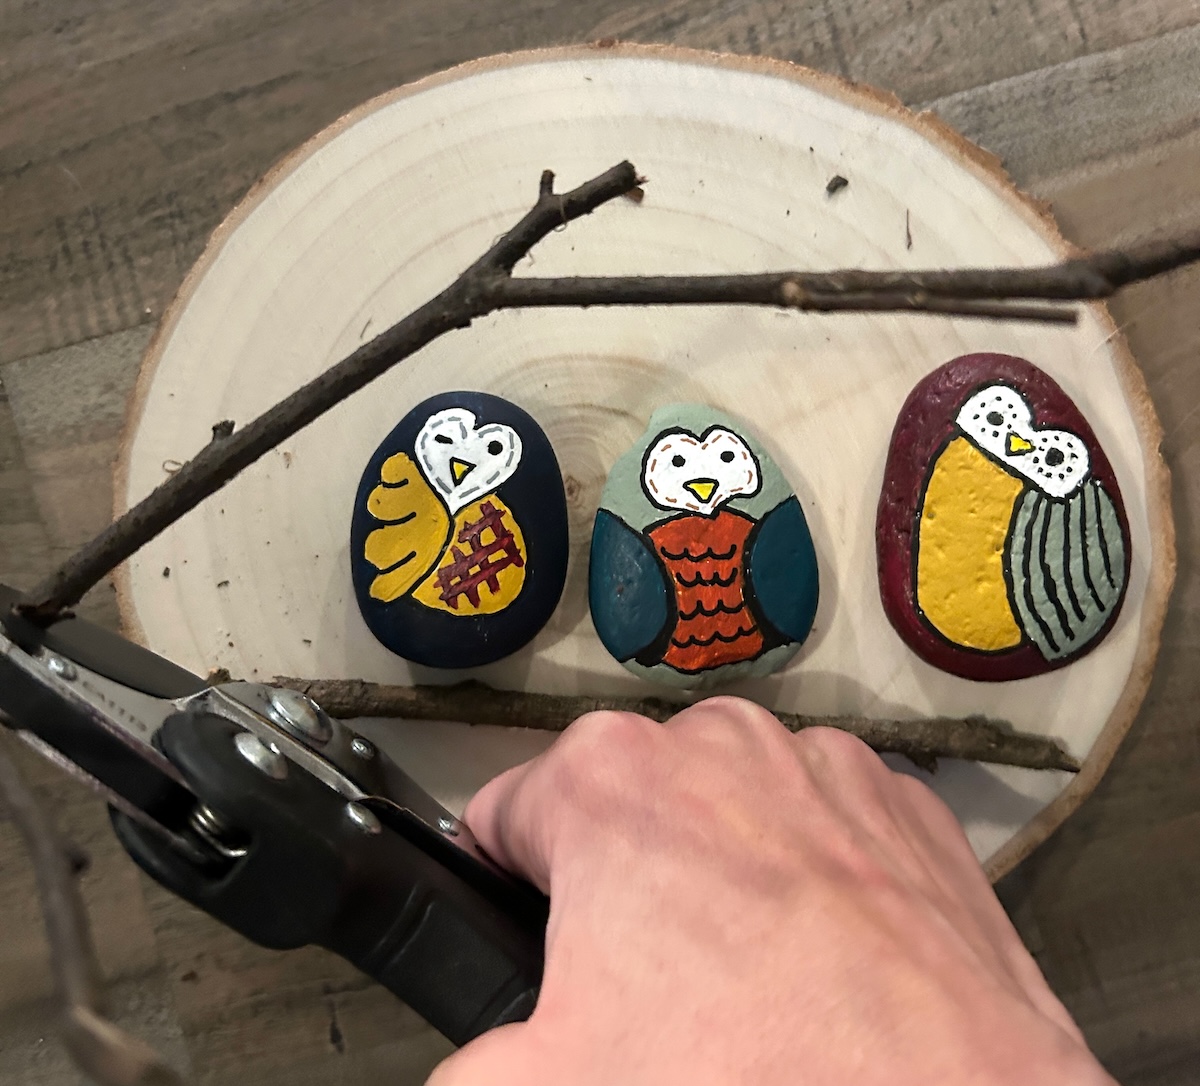
- Lay your stones out on your wood plaque. This is the time when you begin to visual your design and how you want to situate the rocks. You want to make sure everything fits before you start painting.
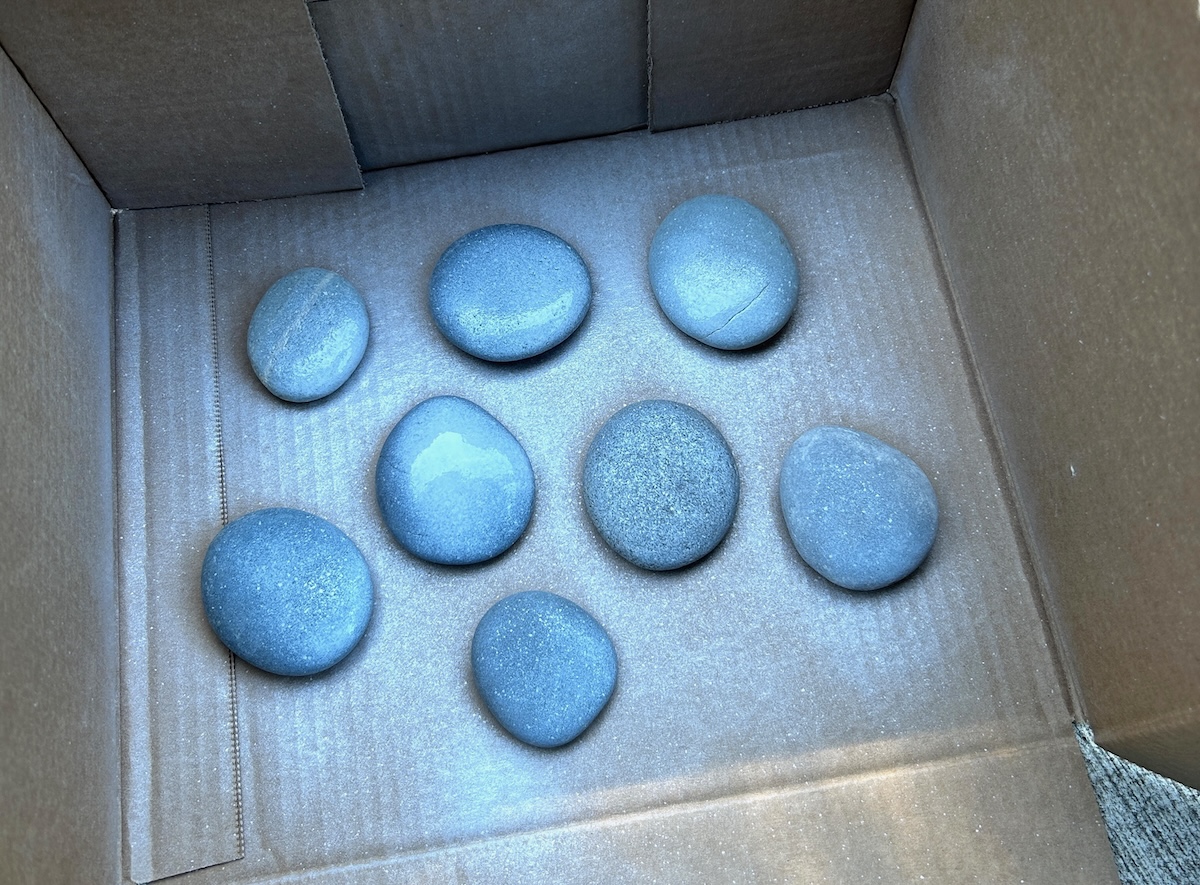
- Use the spray primer to coat the rocks in white. Technically you don't have to, but it will help the paint colors look brighter and less dingy.
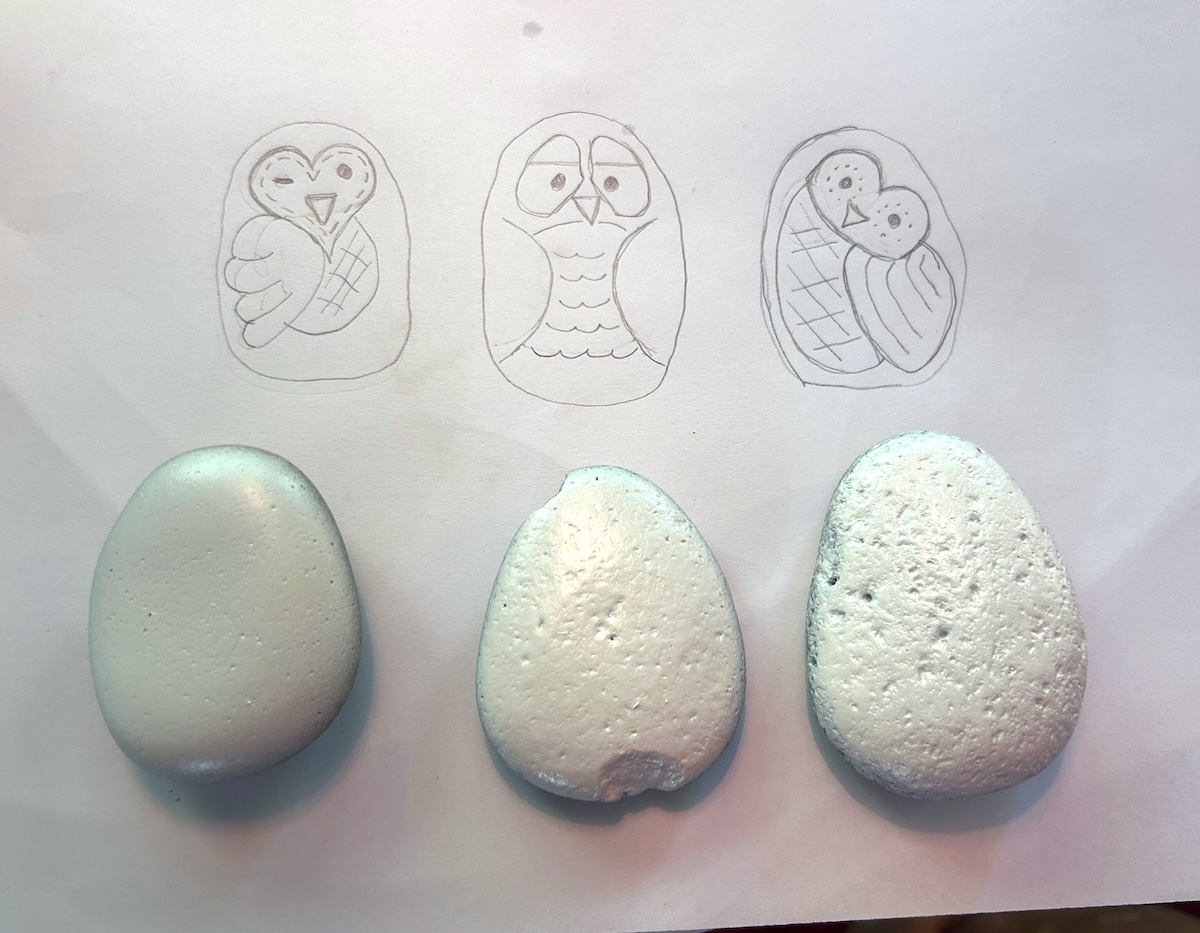
- Use the pencil and paper to generally sketch out your design for the owls. You're welcome to use my design(s) or create your own. You'll want a face with eyes and a beak, wing(s), and feathers on the chest.Use a pencil to lightly draw the designs onto the rocks. Don’t worry about perfection. You'll be painting over the top.
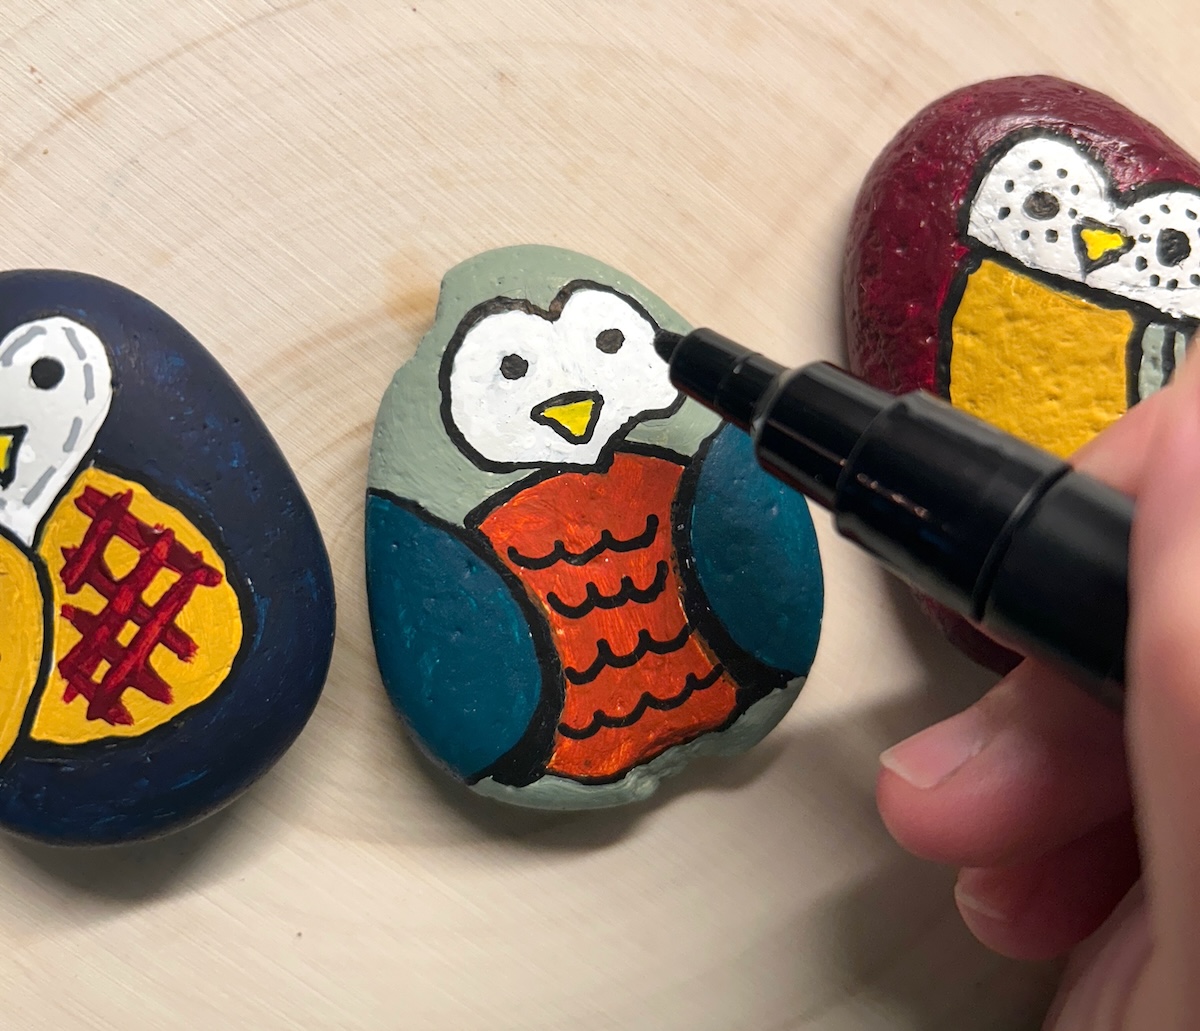
- Use a paint pen to outline the pencil design of each owl. Let dry. Then start filling in the details with small brushes and craft paint. Or you can use additional paint pens (but those always have limited colors).

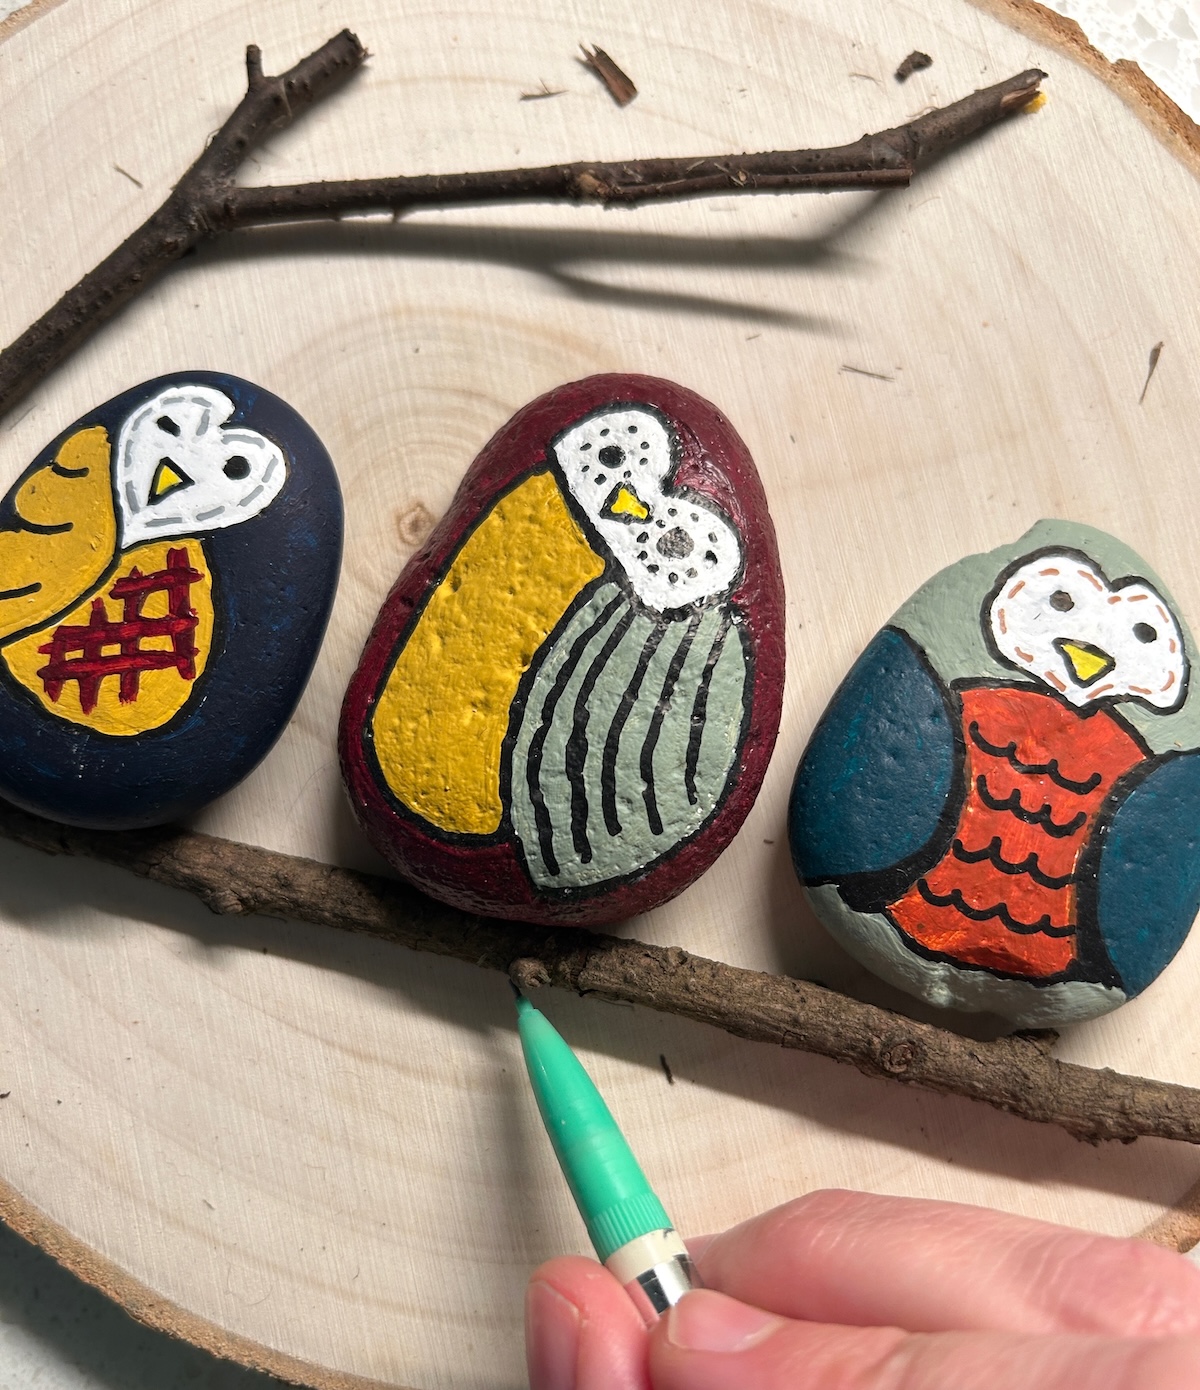
- Paint in the details: big round eyes with tiny black pupils, a small triangle beak, wings, and chest feathers. I used fine paint pens for all the details. Let dry.
- Now you're going to assemble the plaque. Begin by trimming your twigs down to size with pruners.
- Lay out the branches and owls on the plaque. Make some pencil marks directly underneath the twigs so you know where to place them. Don't glue anything down yet.
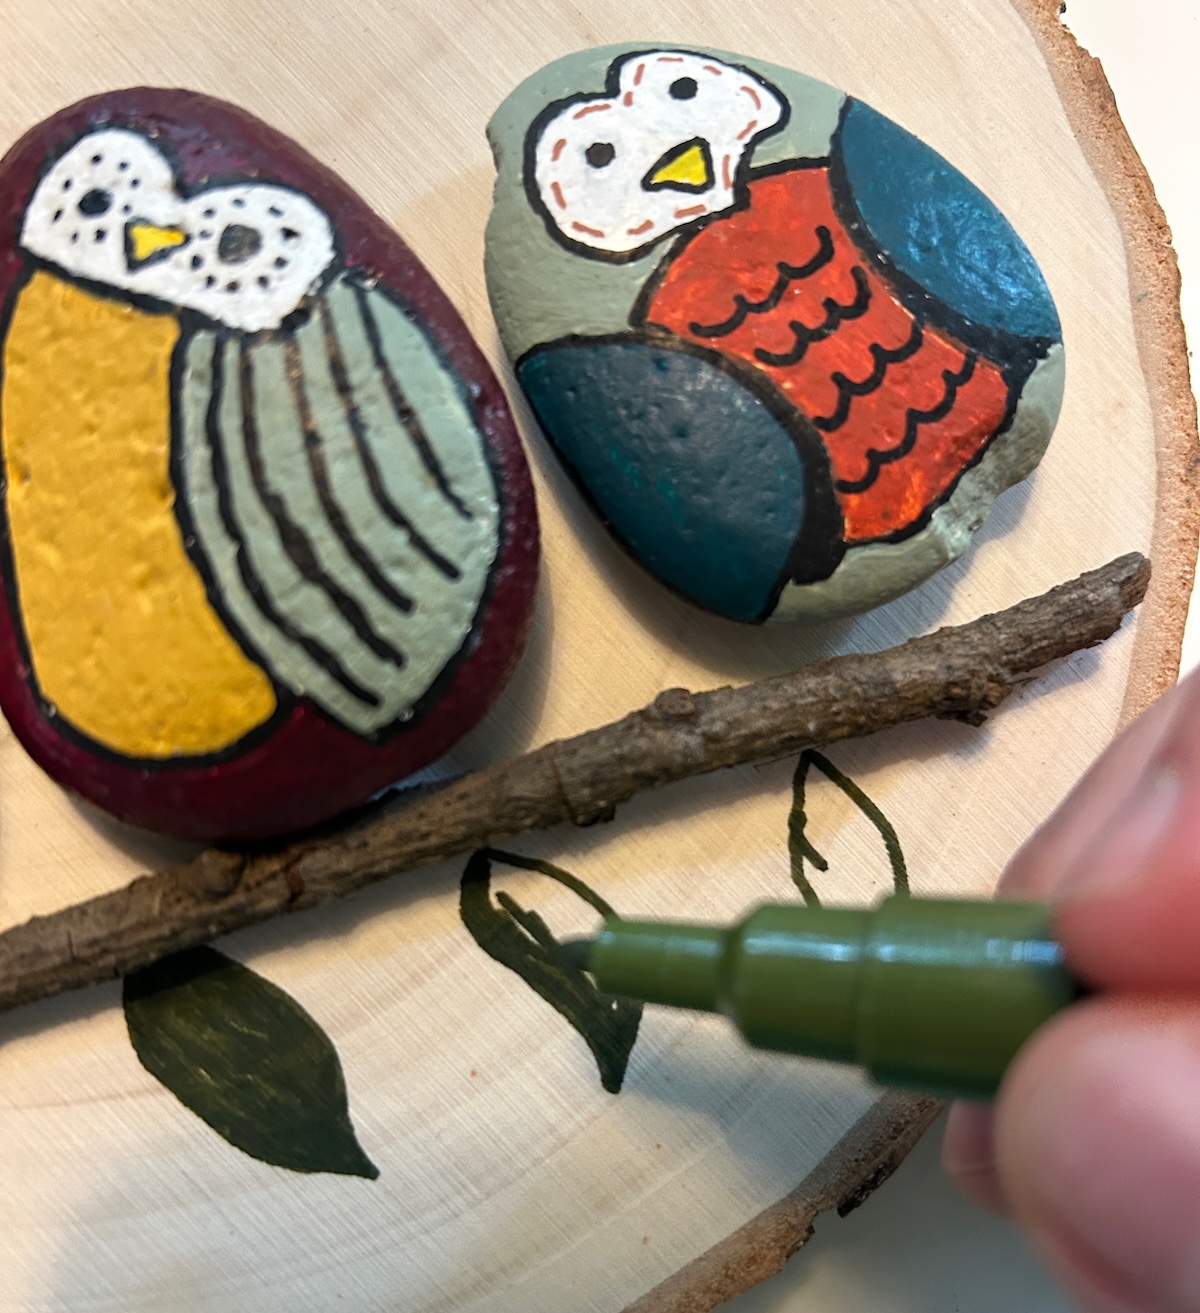
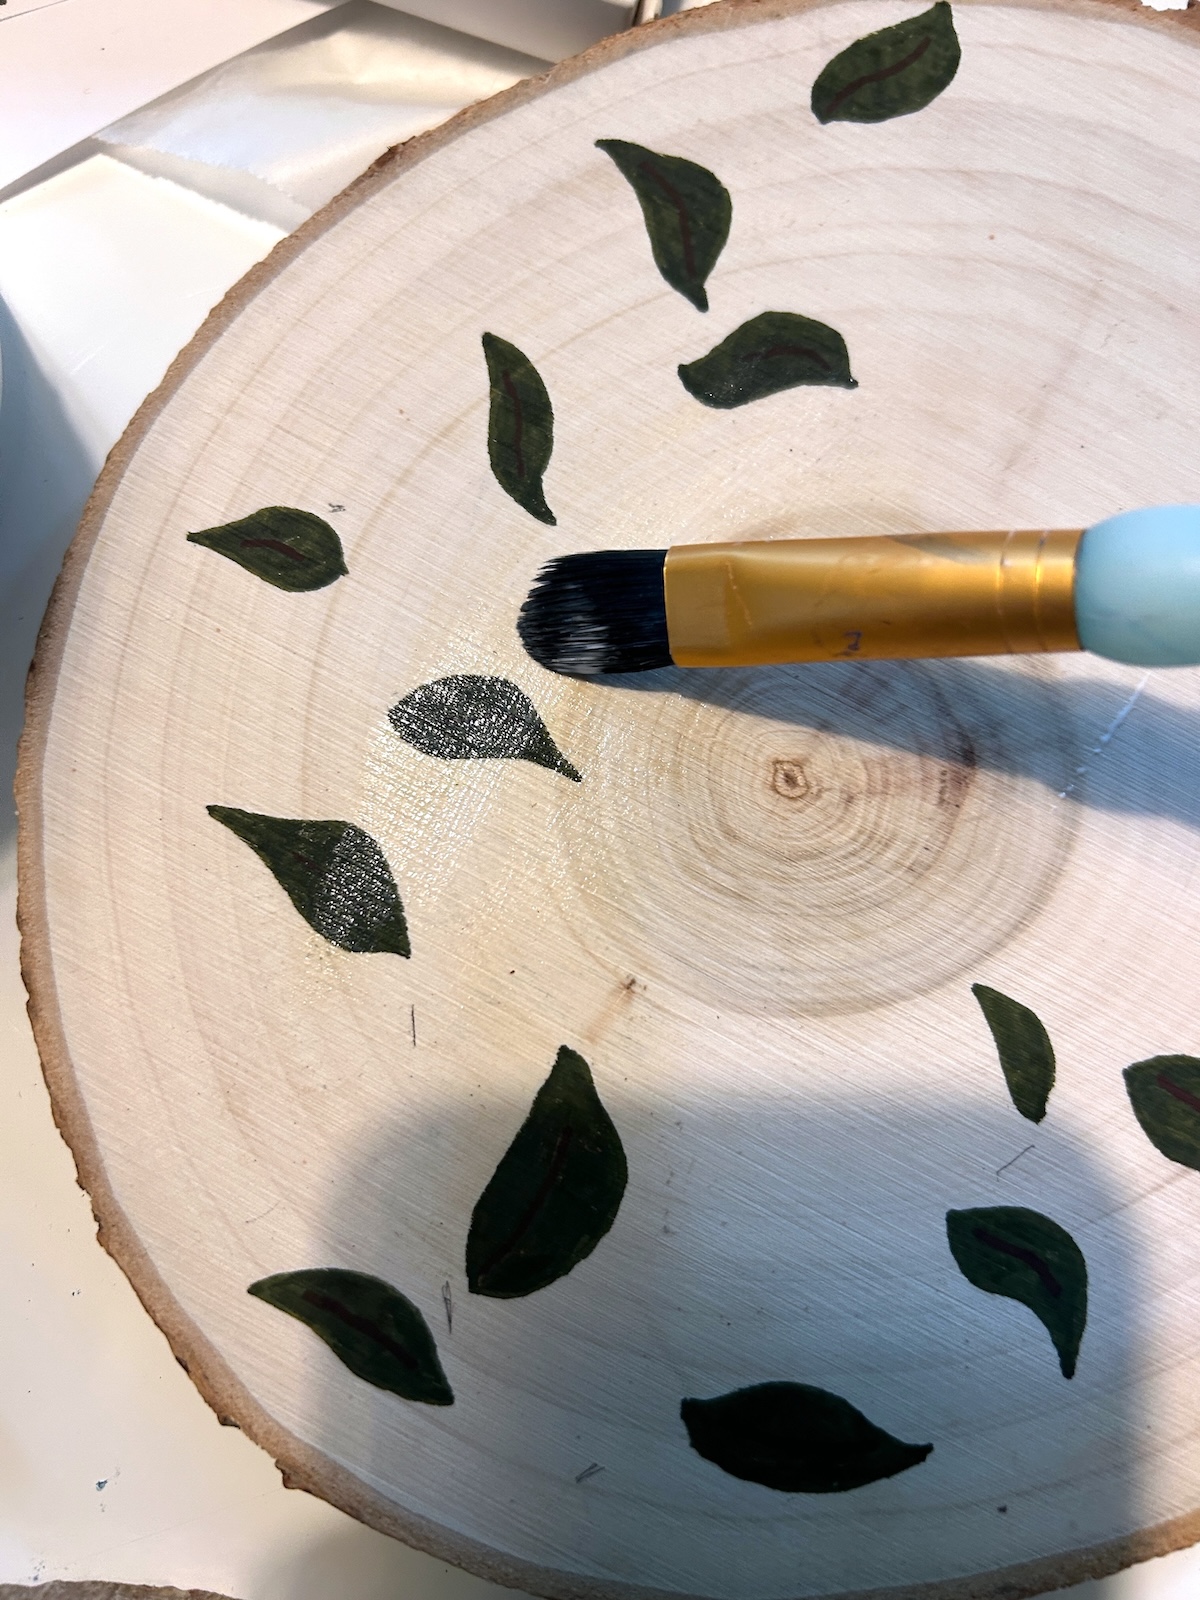
- Directly underneath the twigs (and randomly), draw leaves using paint markers. If you need to pull up the twig to draw you can – the pencil marks from the previous step will tell you where the branch should be placed.
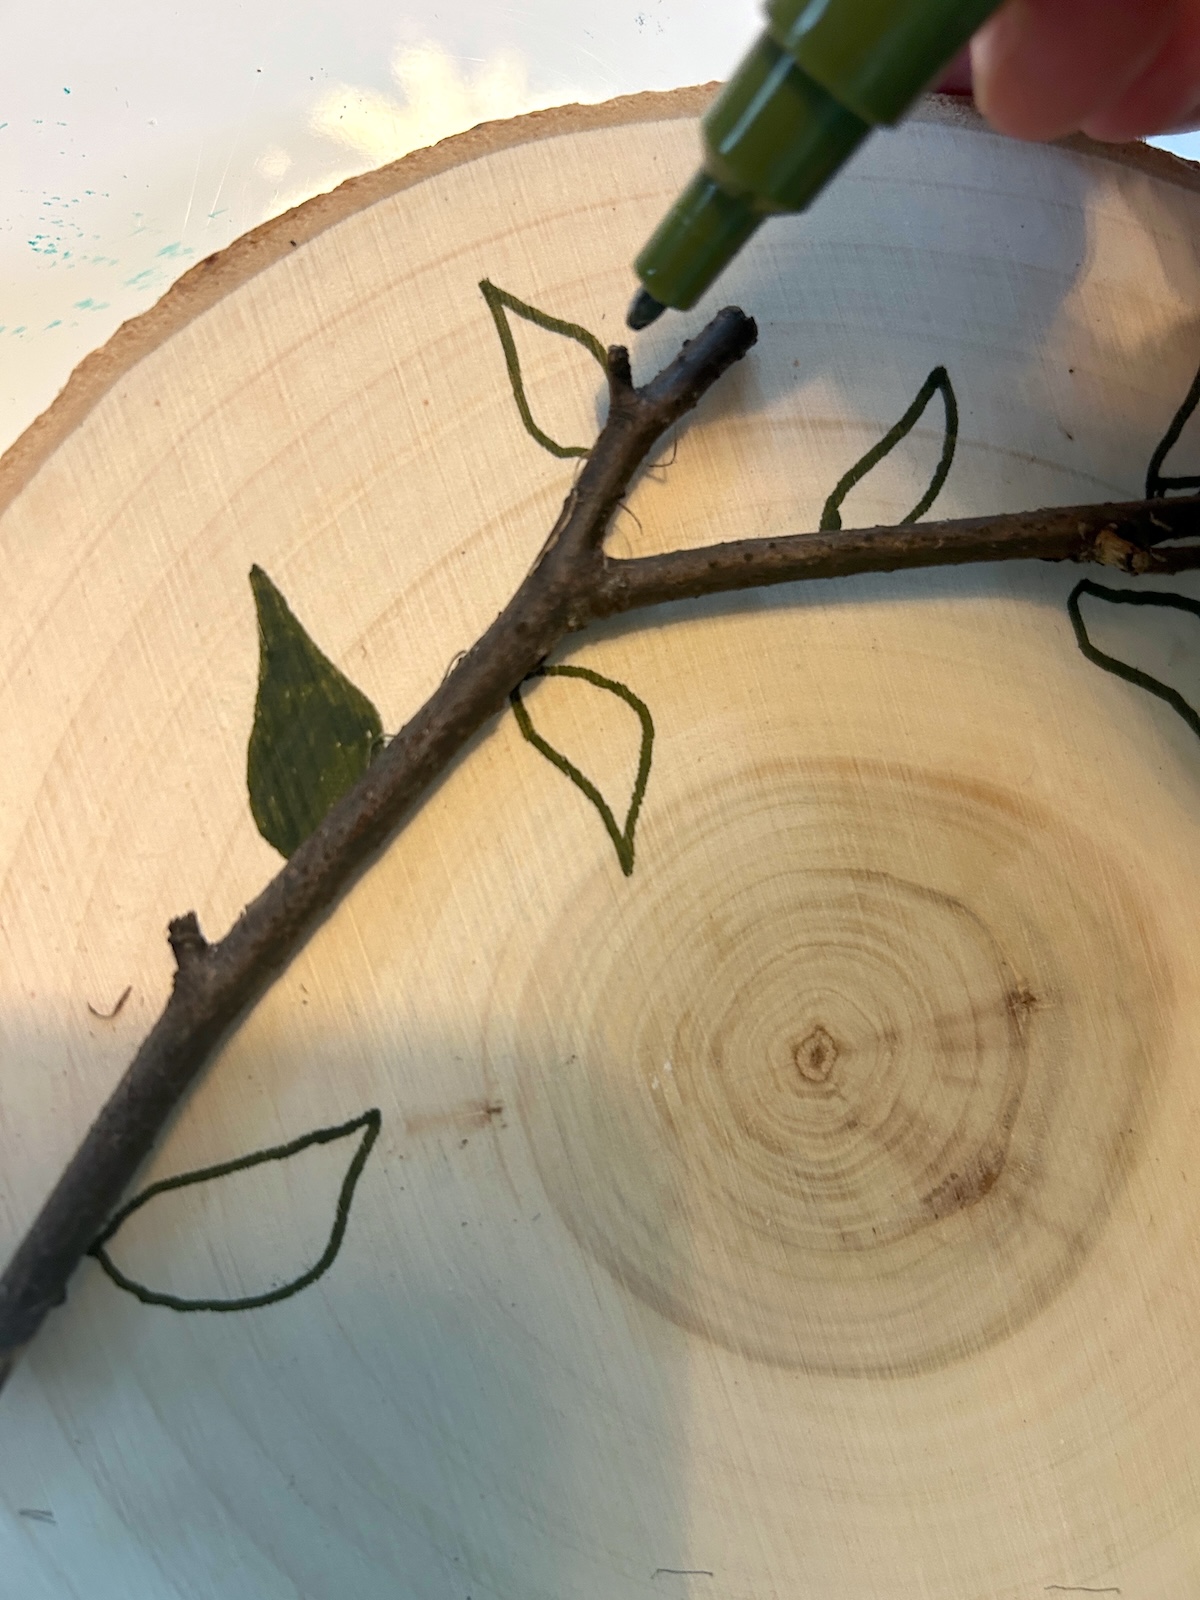
- On the bottom branch, you're going to add leaves just on the bottom branches. Let dry.
- Seal your rocks at this time, using the Mod Podge of your choice. I also sealed the plaque too, so everything would have the same finish. Let dry.
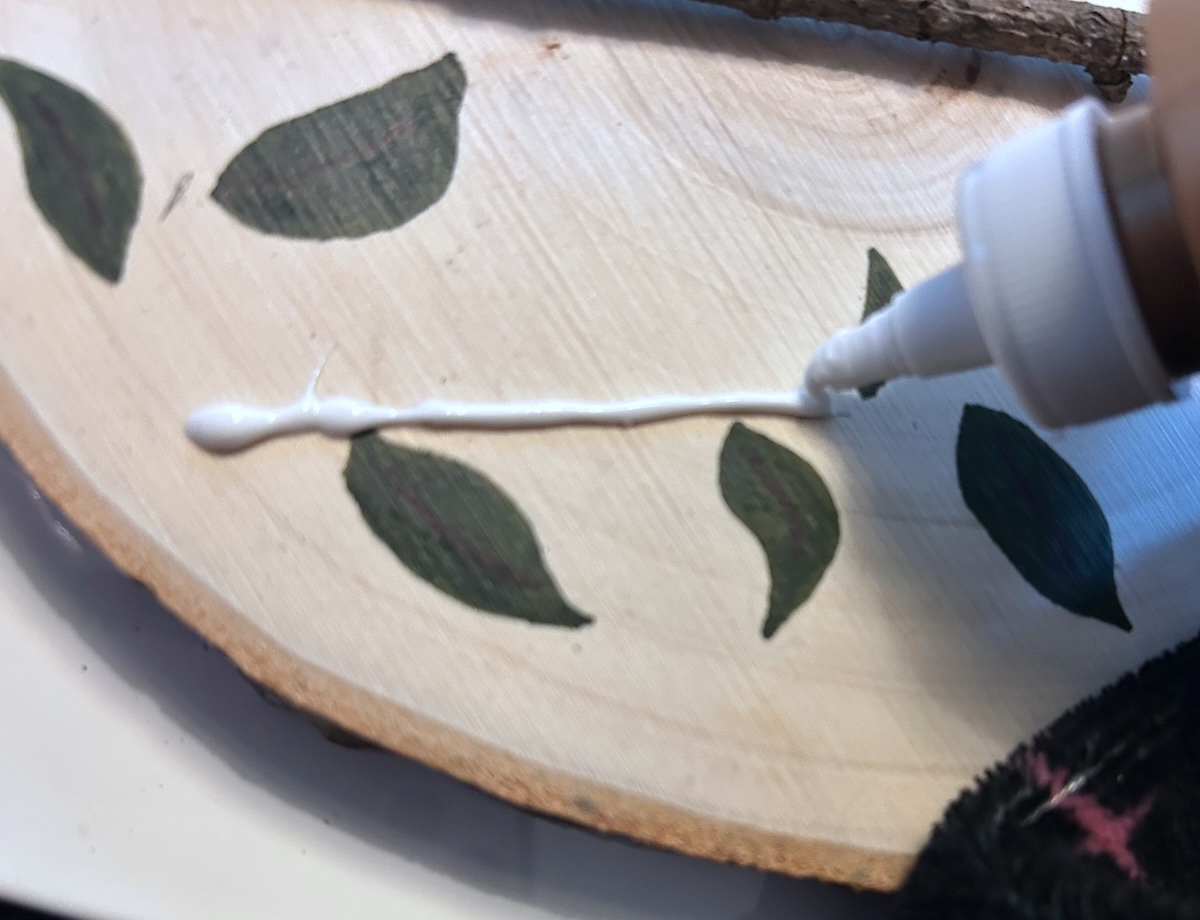
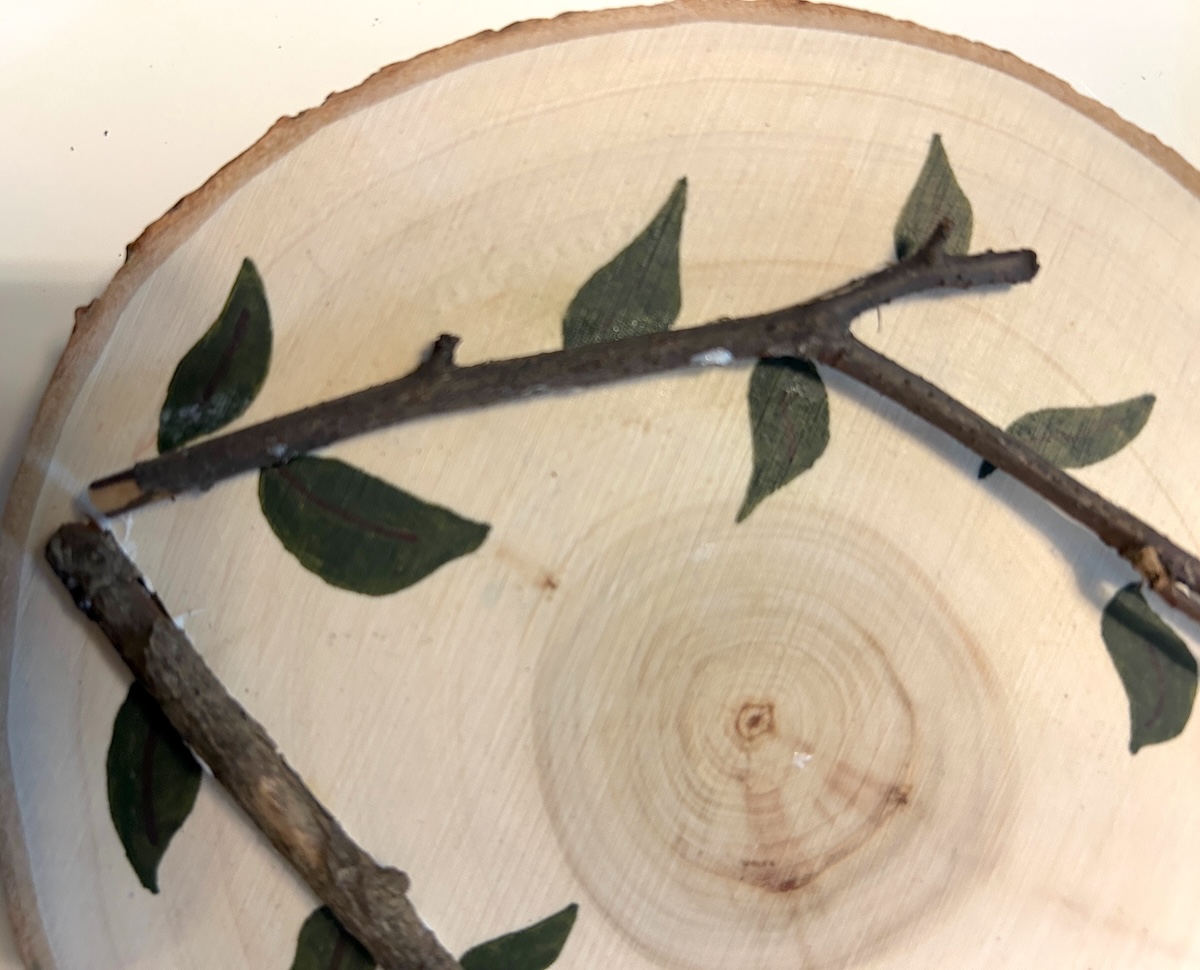
- Place lines of glue on the plaque where the twigs are going to go. The twig might not touch every part of the glue and that's okay – it will dry clear.
- Press them into the craft glue and let dry.
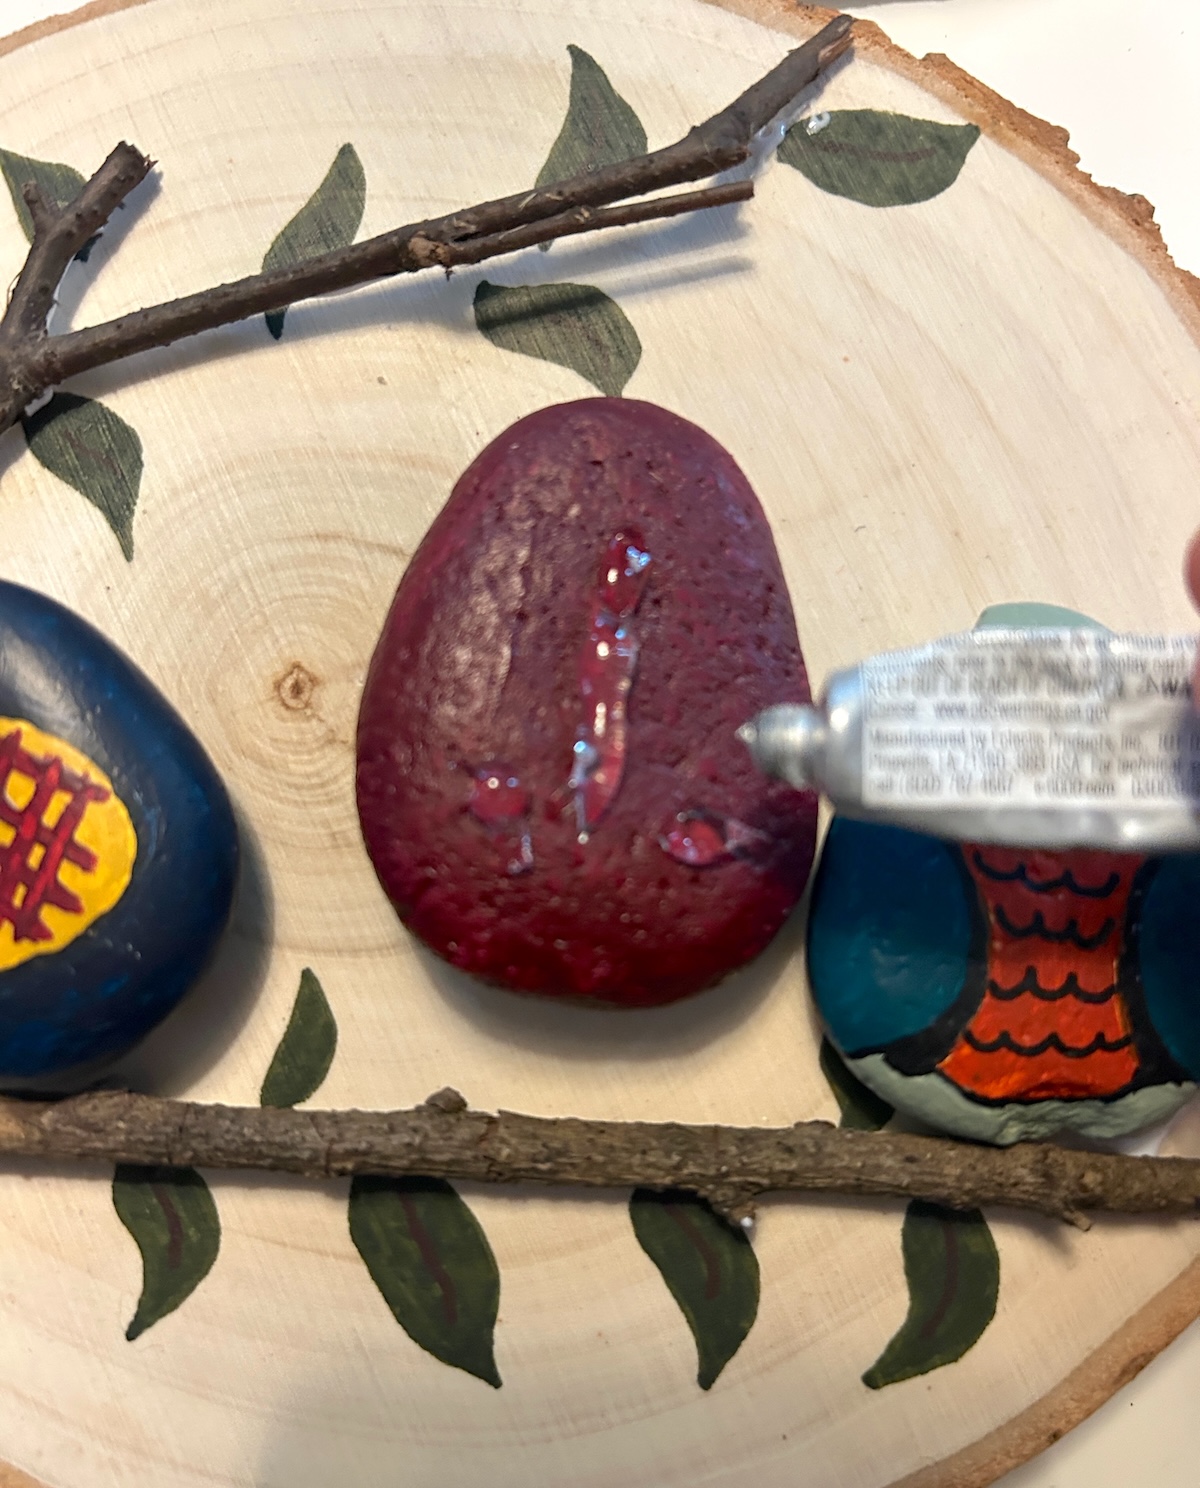
- Since the rocks are heavier, use E-6000 to attach those to the plaque. Add glue to the backs of the stones, and press down to attach. Let dry on a flat surface overnight.
Notes

If you enjoyed this project, I’d love to hear in the comments!