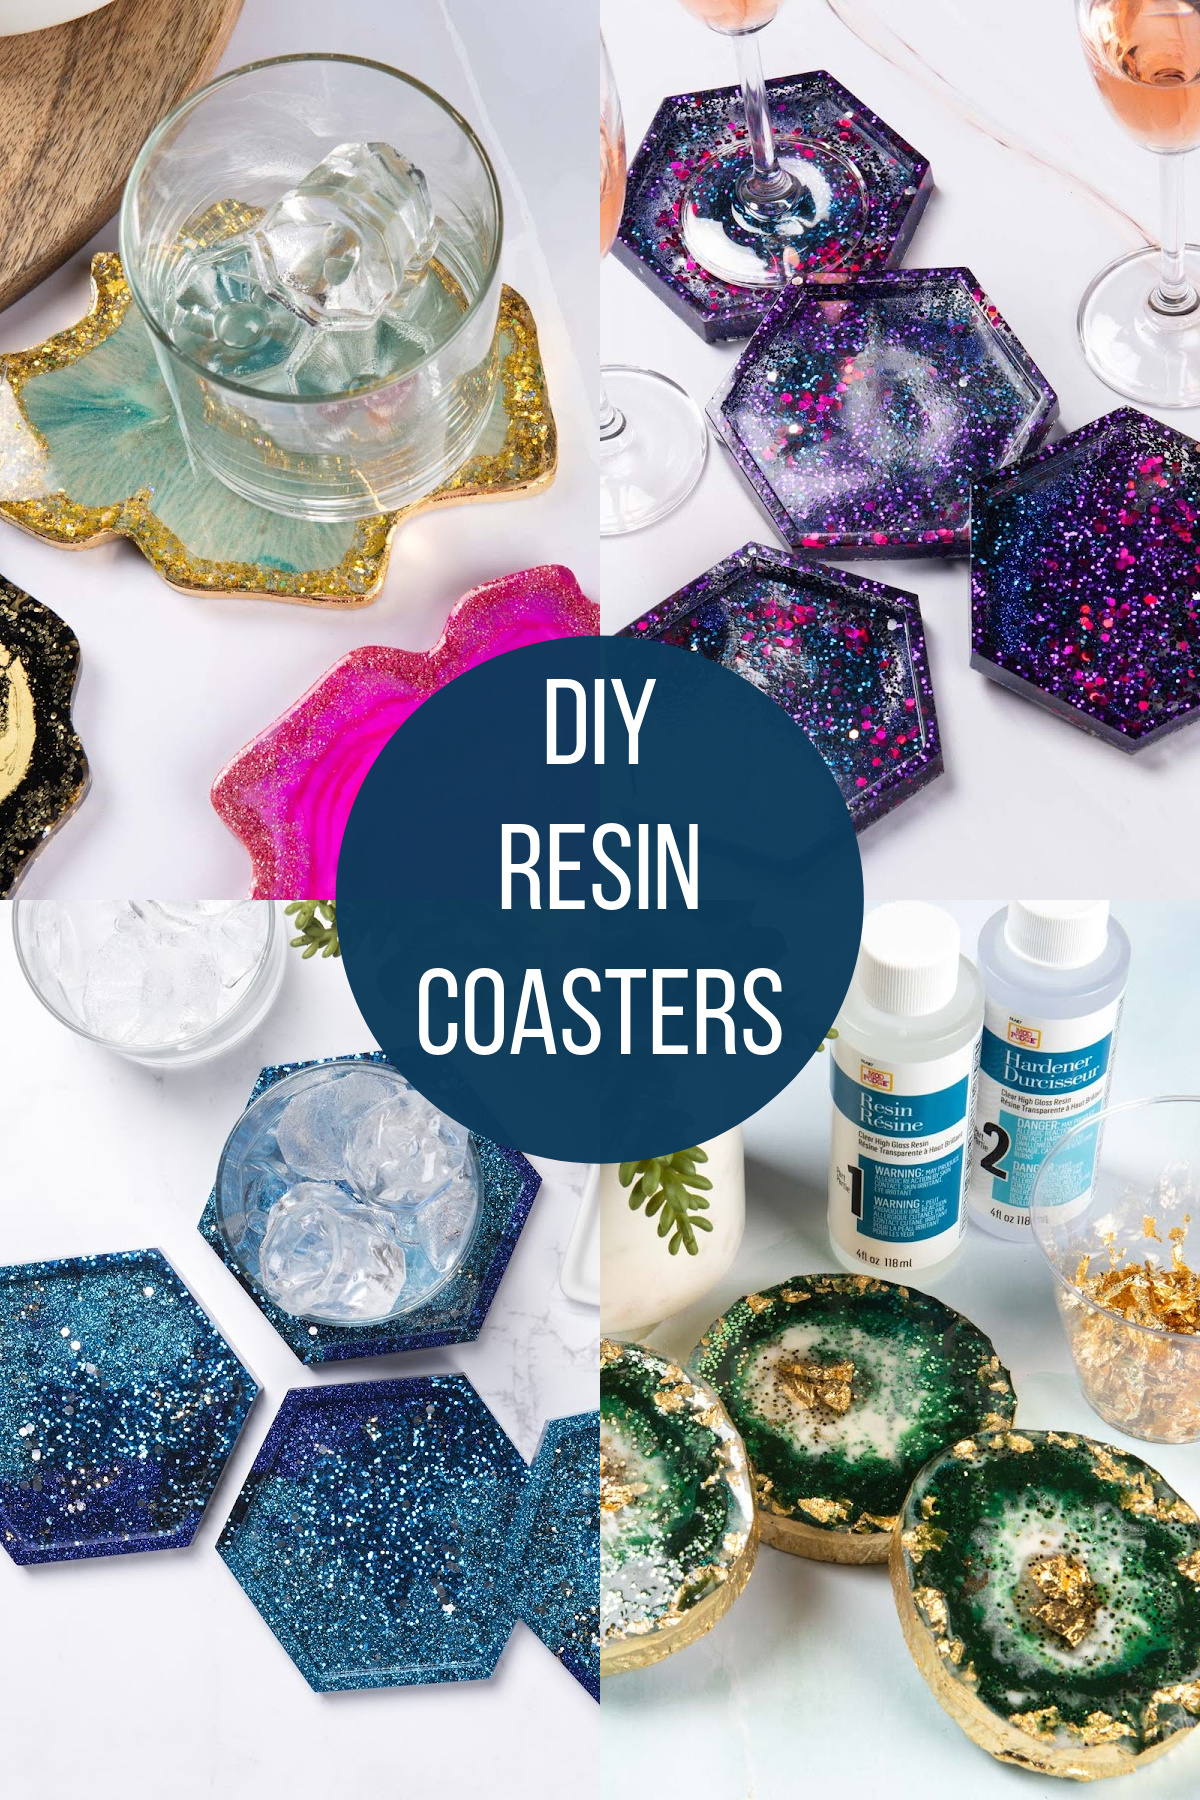
DIY resin coasters are easy to make in four steps! You’ll learn how to customize your creations with colorful ink, glitter, and more. So pretty for home decor and gifts.
Skills Required: Advanced Beginner. I recommend having some experience with resin if you’re going to attempt these coasters. At least try one sample project or small piece before attempting a final piece.
Have you ever worked with casting resin before? If you don’t know how to use resin, this is going to be a great place for your crafting journey to begin.
I’m excited to share with you everything I know about making Mod Podge resin coasters. You are in for such a treat!
Coasters are perfect for home decor or gifts. And while resin dries clear, you might notice that these coasters are not. I will show you how to add color (and more) to the project. It’s easier than you might think.
Once you get started crafting with resin, you’ll never want to stop making. Trust me.
Working with Resin
Before we get into the projects, I wanted to share some things you should read about using resin if this is your first time. Generally speaking, this is the four step process.
- Prepare Your Supplies – this includes any taping if necessary, laying out everything you need, and organizing your protective equipment.
- Mix the Resin – always observe packaging instructions and mixing amounts (which are usually 1:1). You may want to mix in things like glitter, alcohol inks, and paint at this time.
- Pour the Resin – pour the resin into the molds. For things like dried flowers and other larger objects that you want to place into your coasters, do that at this time.
- Remove Bubbles – let the coasters sit for a few minutes, then remove bubbles by blowing through a straw, exhaling on the surface, or using a torch.
Once you’re done with these steps, you’ll let the project set for 24 hours and then de-mold. It’s that easy!
How do I mix the resin?
Always read and follow the instructions of your specific resin. Generally speaking, you’re going to pour equal parts of resin and hardener into a cup.
You’ll stir the two parts, then pour into or onto your project.
How long after mixing the resin will it then begin to harden?
Resin typically a working time of 20 – 30 minutes. During this time, you can mix in additives such as alcohol inks or glitters. You can also layer resin.
How can I thin out the resin mixture?
Place both parts into a warm water bath of 80°F, but be aware that the working time will be less than 20 – 30 minutes.
How long does it take resin coasters to cure?
Your coasters will begin drying within the first 24 hours. However, a resin project will be fully cured after 7 days.
How should I prepare my work space?
When working with resin, it is best to work in a room that is well ventilated with fresh air and work in temperate 70°F.
Make sure your work table is level and is covered with wax paper or a large plastic sheet. This will make it easier to wipe away resin and hardener spills.
Note: Mixed resin spills, once cured, will peel off the wax or plastic covered work surface easily. And always wear your personal protective equipment.
Are you ready to make the coasters? Continue on!
Supplies You’ll Need
- Clear epoxy casting resin, like Mod Podge Resin
- Silicone coaster mold(s)
- Glitter (or other mix ins)
- Cups for pouring and cups for mixing (if they don’t come with your kit)
- Craft sticks or other stir sticks
- Gloves
- Respirator
- Timer
- Butane torch for popping bubbles
- Drop cloth (or something else to protect your surface)
- Clear bumper feet
Each coaster mold takes about 2 oz. of epoxy casting resin. Keep that in mind depending on how many molds you have and how many coasters you would like to produce.
Mix the Resin
If you have four coaster molds, you can mix all 8 oz. of resin. If you only have one mold, you can use a UV dryer to speed up drying or do the project over four days.
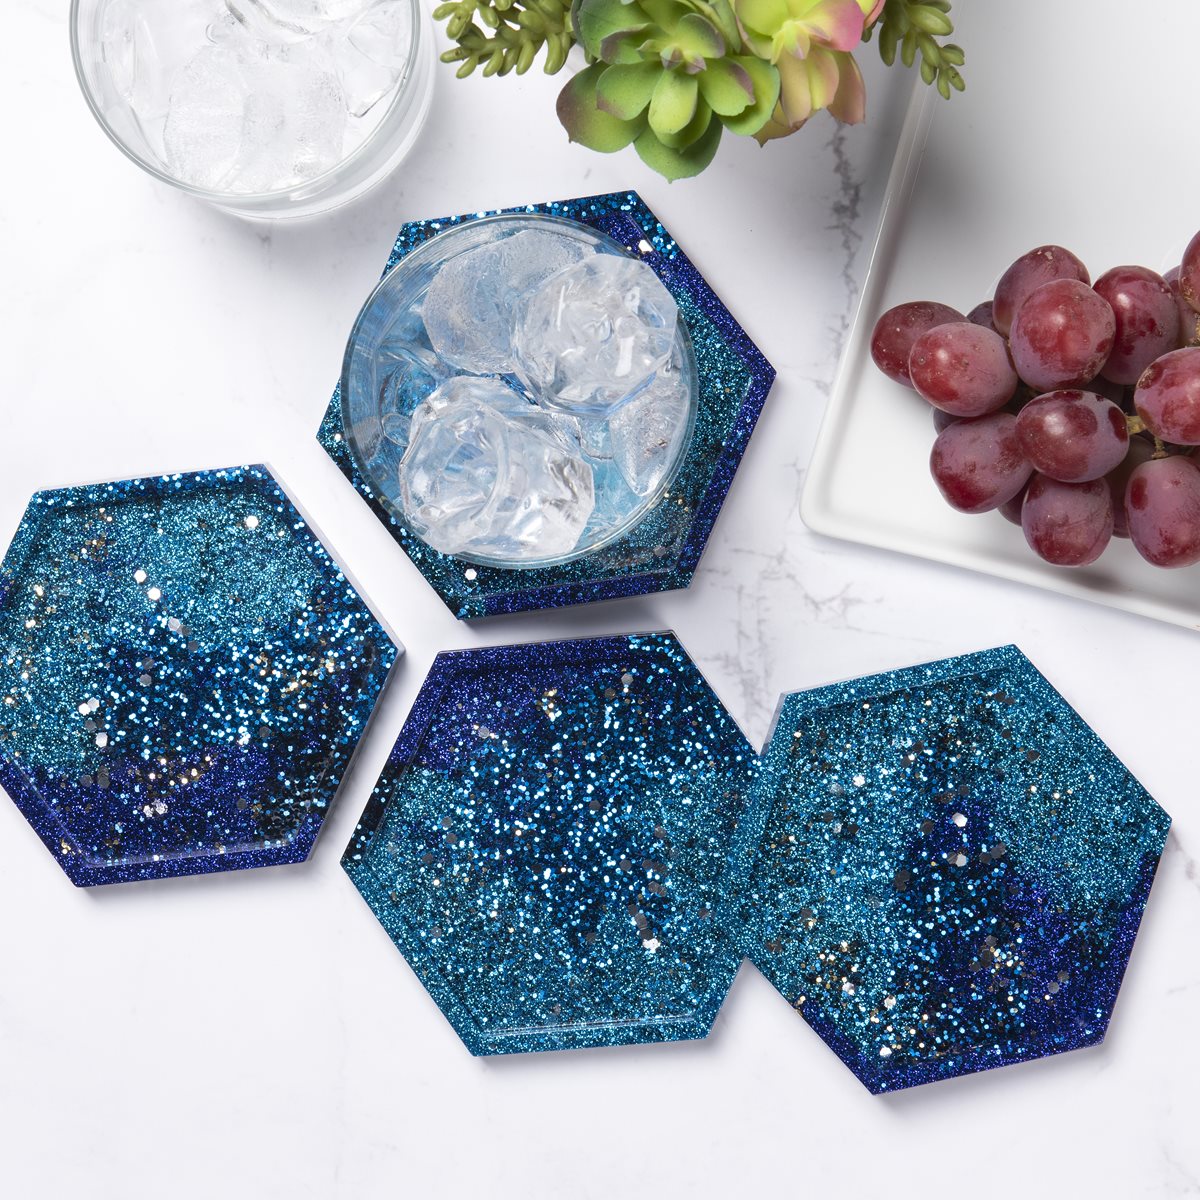
For one resin coaster, mix 2 oz. of product in a 1:1 ratio of hardener and resin. Split evenly into three cups.
In one cup, add a pinch of a blue glitter, in the second, add a pinch of a different blue glitter, in the third, a pinch of another blue glitter. Stir each cup slowly until glitter is combined with the epoxy resin.
Pour the Resin into the Mold
Pour each resin mixture into the coaster mold slowly, in a swirling motion, only pouring a little of each color at a time. Layer the colors and use a craft stick to gently swirl the colors together. Let set for two minutes.
Remove the Bubbles
Remove any bubbles carefully using a butane torch. Alternatively, you can exhale on the epoxy resin or blow through a straw. Leave for five more minutes, see if any additional bubbles appear, and repeat.
Remove Coasters from the Mold
Let dry for 24 hours and remove your coaster from the mold. They will be fully cured in 7 days. At this time you can add clear bumper feet to them if you like.
There’s a video that illustrates the very simple process below:
Do you want to see some different versions of these DIY resin coasters? Check out these two additional projects below, with the listed variations in supplies and instructions.
Galaxy Coasters
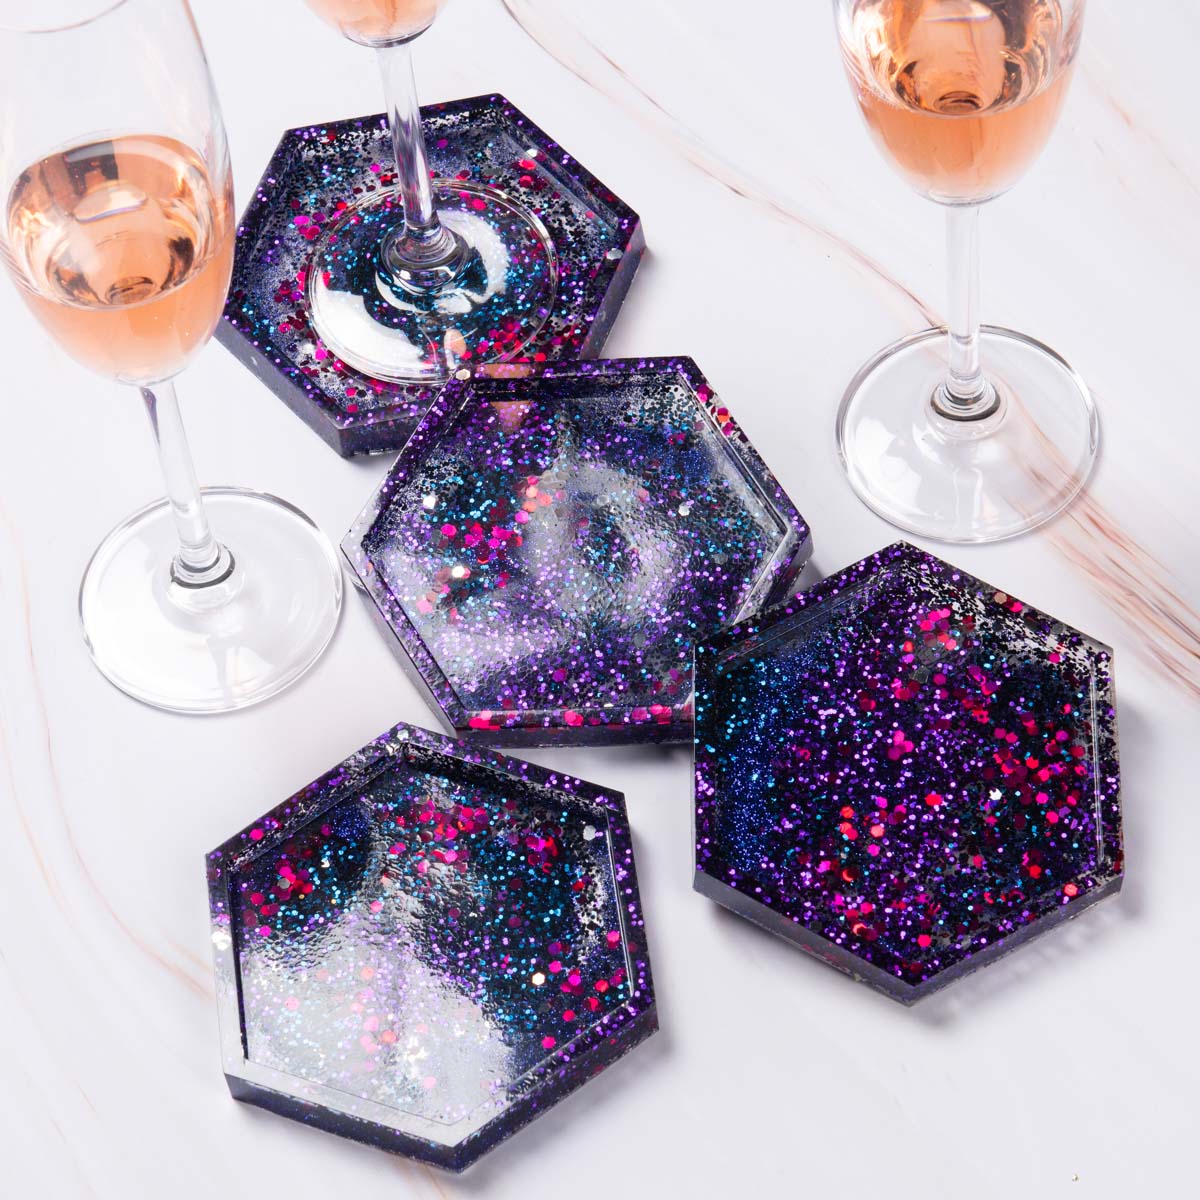
These resin coasters use purple, blue, magenta, and black glitter. Mix 4 oz. of resin according to instructions. Add a pinch of purple, blue, and magenta glitter to the resin.
Pour approximately 1 oz. or 1/4th of the resin into each mold. Use the torch to remove bubbles and let set an hour. Mix the remaining 4 oz. of resin.
Add the purple, blue, and magenta glitters again – and this time add black. Pour the mixture to fill each mold and remove bubbles.
Rainbow Coasters
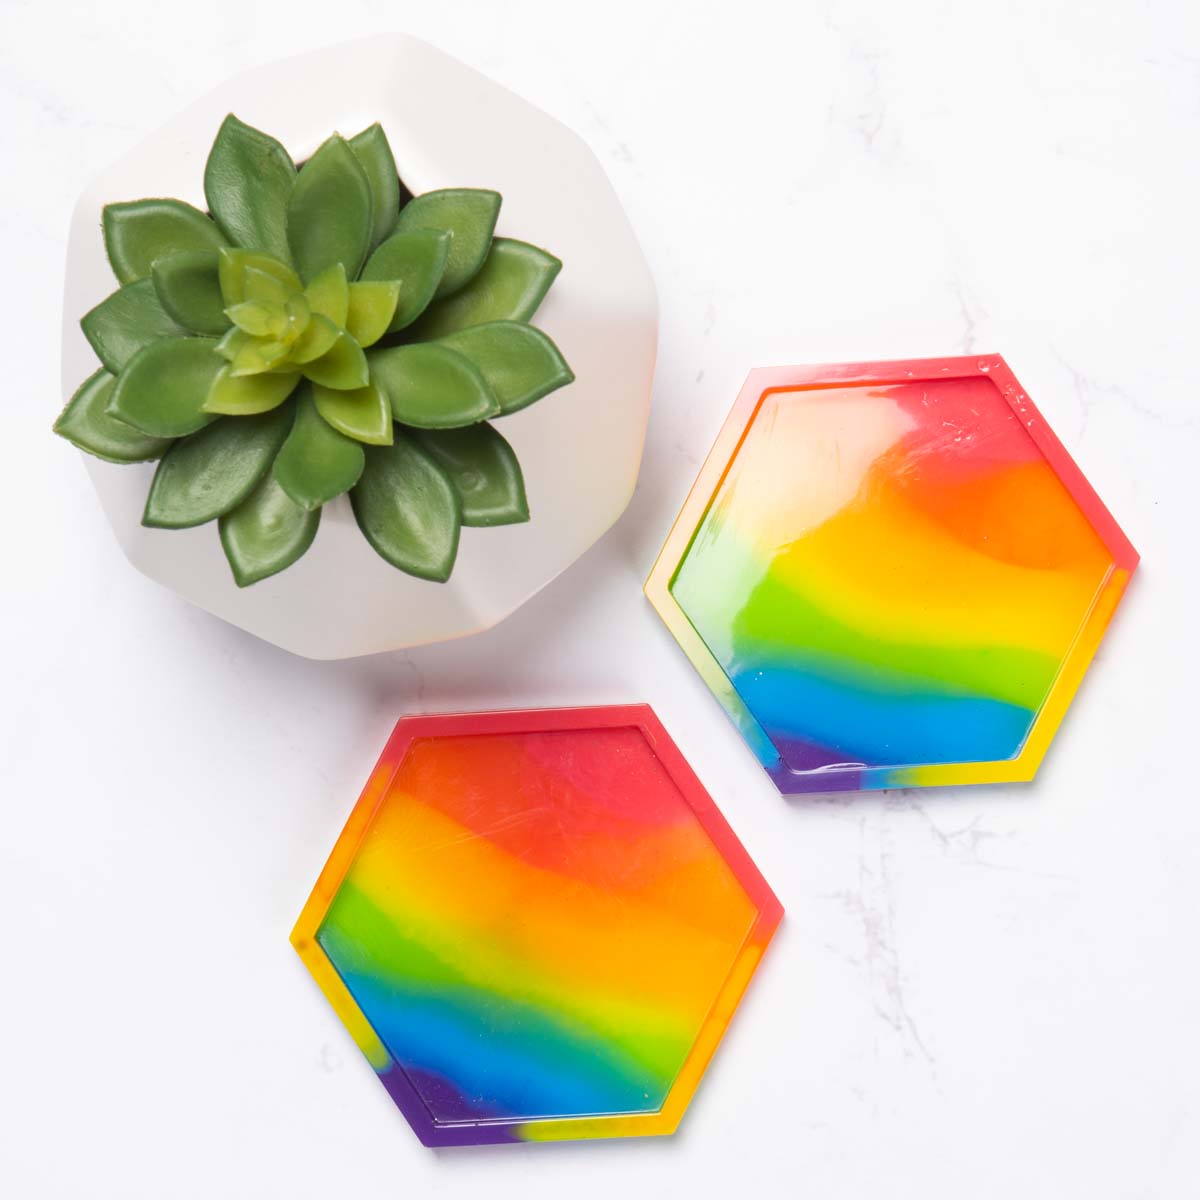
You’re going to need six acrylic paint colors and multiple cups to mix. Mix resin according to instructions on packaging. Mix 2 drops of each paint color with resin in their individual cups.
Allow the colored resins to sit for 25 minutes. Pour into the mold in rainbow order as shown above. Remove bubbles and let set for 24 hours.
Don’t forget to check out our wood slice or geode versions! I’d love to hear your questions about making these in the comments! I’d also love to know what you’d put in your coasters. Let me have it!



I messed up making my coasters. I bought round molds that would have a lip so that any drink condensation would be contained. Well when I popped them out of the molds they had all these holes in the surface of what should be the top of my project, but was the bottom of the mold. I tried fixing it but it made it worse. Is there anyway to get the artwork I placed in the resin out, so I can try again?
Even if you broke the resin the artwork would rip. So unfortunately no. For the future if you want to post pics here: https://www.facebook.com/groups/craftywithmodpodge/ and get feedback you can!
Love these ideas
Thank you so much!
Should you wipe the mould with something before a pour?
If it’s not silicone, use a mold release agent! Check out this post (and the comments): https://modpodgerocksblog.com/how-to-use-resin/
Can you use Plasticine for making moulds?
Apparently you can! I never have but check this out: https://www.youtube.com/watch?v=Q99Ywx31HK0
I cant wait to try making these! I’m a little confused tho. In some areas you say to you casting resin, and in other parts, you say epoxy resin. Which one am I supposed to use? Thank you 🙂
It’s the same thing!