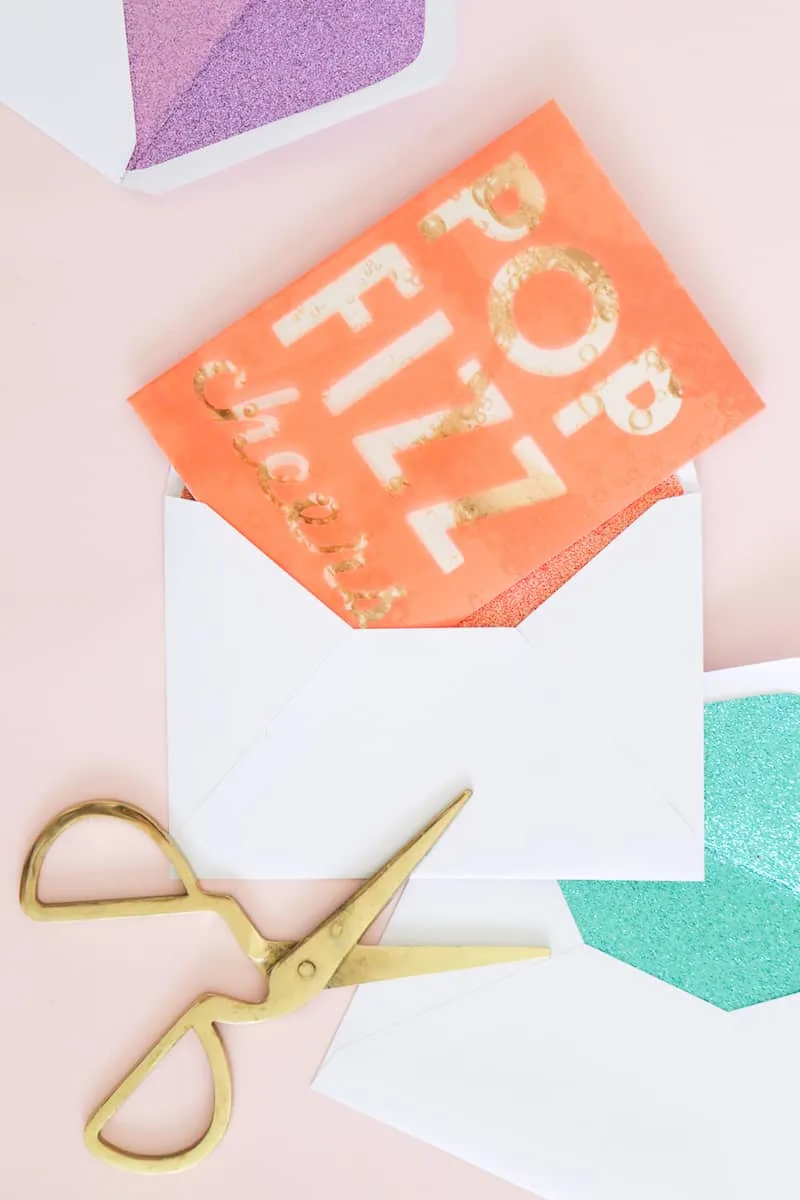
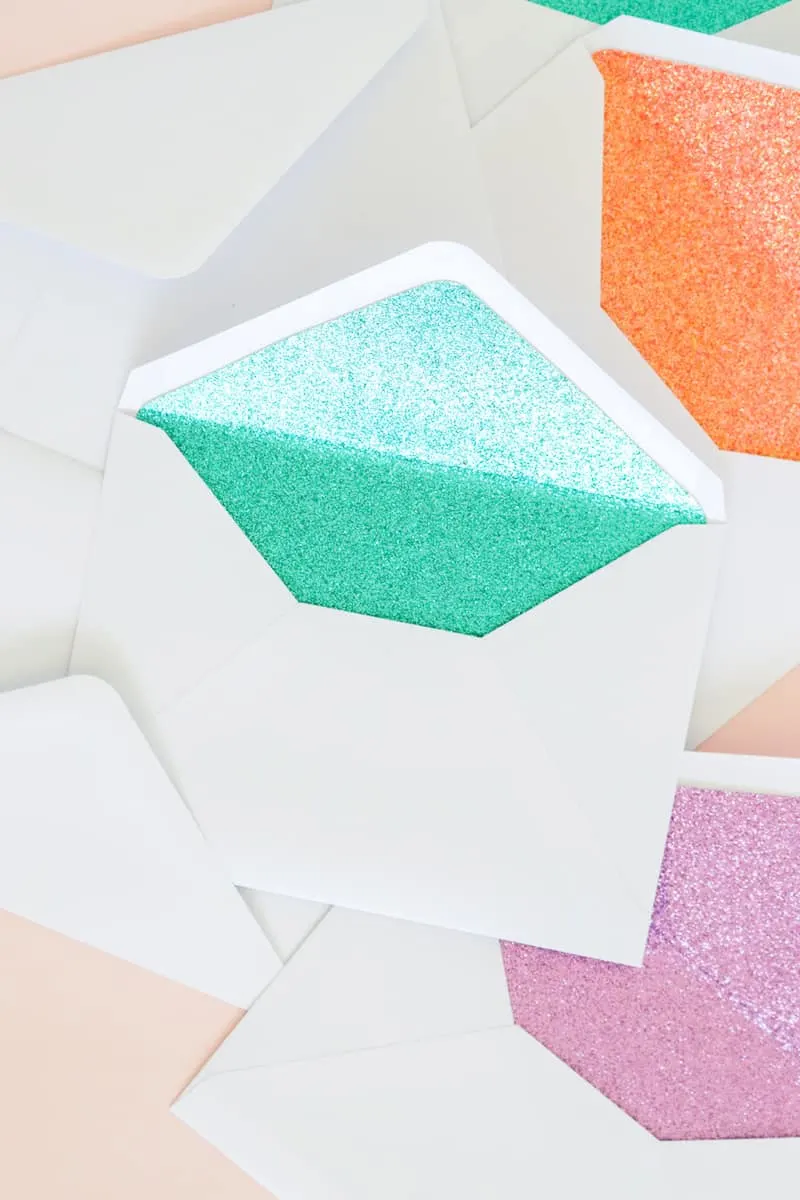
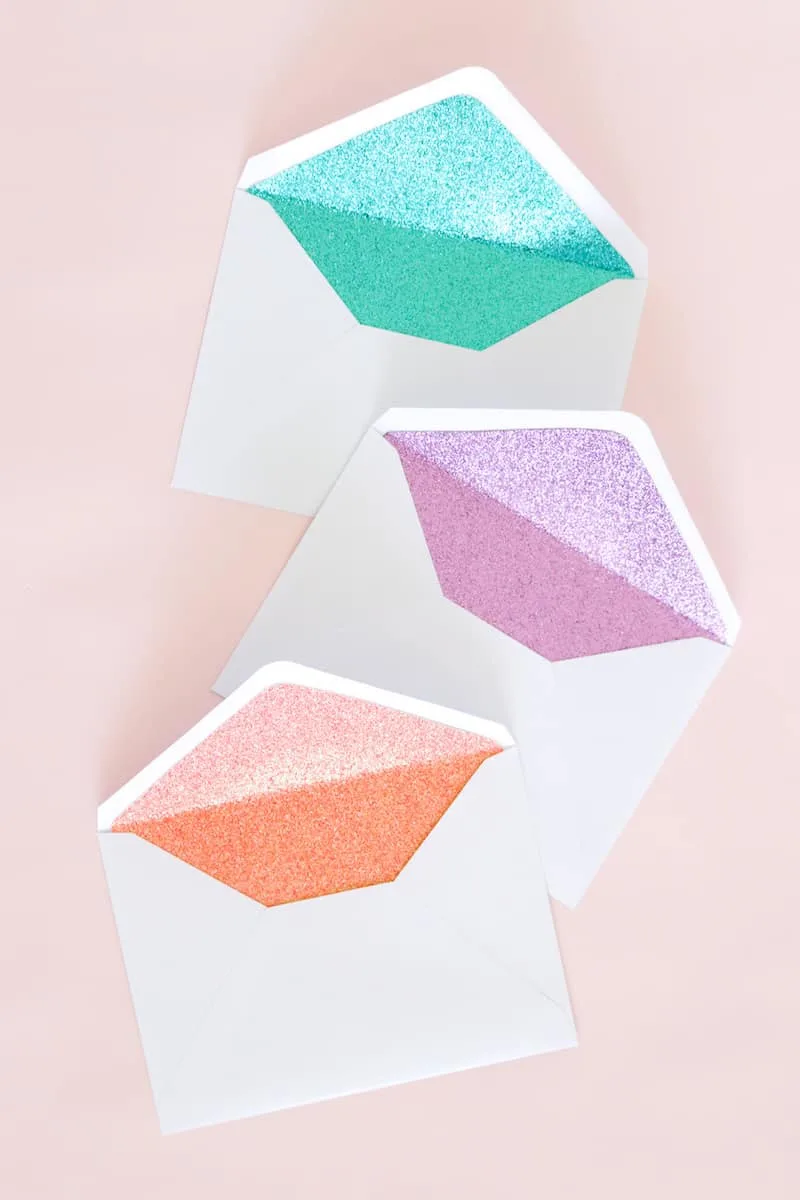
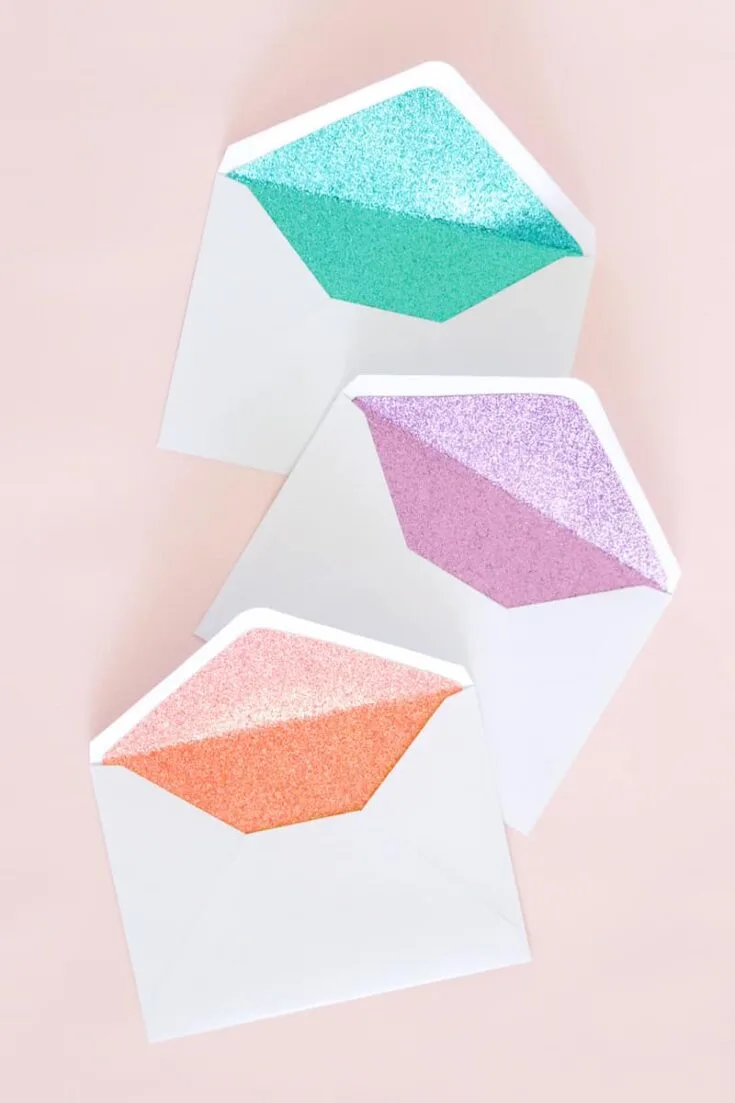
These DIY glitter lined envelopes are easy to make and add a surprise pop of color when the envelope is opened! Glitter envelopes are perfect for party invitations.
Skills Required: None. Even if you’ve never crafted before, this is a pretty easy project! Just make sure to check fit so that you can bend the envelopes and close them.

Even with the rise of email and social media, I still love receiving mail. Granted, I prefer it when it’s not a bill or advertisement. Whether you’re sending or receiving mail, it’s fun to add a personal touch to plain letters and envelopes.
These DIY glitter lined envelopes are easy to make and add a surprise pop of color when the envelope is opened! Did I mention you can get the supplies from Dollar Tree? I love Dollar Tree crafts, and this is a fun one!

Using glittery cardstock and Mod Podge, you can add glitter to the inside lining of any envelope that the receiver only sees when the envelope is opened. The best part is this party project is ready in 10 minutes or less!
Gather These Supplies
- V-flap envelopes
- Glittery cardstock
- Scissors
- Pencil
- Mod Podge Gloss
- Paint brush or foam brush
Step 1: Lay the cardstock glitter side down on a hard surface and lay the envelope opened on top. Trace the outside edge of the envelope onto the cardstock.
Step 2: Cut out the shape drawn, but cut along the inside edge about 1/4 inch inward so that the cut cardstock is actually smaller than the envelope.
Then check the size by inserting the paper into the envelop and verify that when fully inserted the sticky layer on the flap is completely visible as you will still need this to close the envelope.

Step 3: On the backside of the cardstock, brush on a thin layer of Mod Podge and carefully insert the glitter paper back into the envelope and press in place so that the glitter peeks out of the flap but does not cover the sticky portion.
Step 4: Allow to dry for several minutes. Then carefully fold the flap over to bend the cardstock in the correct place.

Now these glittered lined envelopes are ready to use! Receivers will open their letters to reveal a glittery surprise inside their envelope, and that’s just as sweet as a personal card or letter. And the best part – there’s little mess for the recipient!
Glitter Envelopes

Learn how to make glitter lined envelopes using cardstock and simple supplies.
Materials
- V-flap envelopes
- Glitter cardstock
- Mod Podge Gloss
Tools
- Scissors
- Pencil
- Paintbrush
Instructions
- Lay the cardstock glitter side down and lay the envelope opened on top. Trace the outside edge onto the cardstock.
- Cut out the shape drawn, but cut along the inside edge about 1/4 inch inward so that the cut cardstock is actually smaller than the envelope.
- On the backside of the cardstock, brush on a thin layer of Mod Podge and carefully insert the glitter paper back into the envelope. Press in place so that the glitter peeks out of the flap but does not cover the sticky portion.
- Allow to dry for several minutes. Then carefully fold the flap over to bend the cardstock in the correct place.
Did you enjoy these sparkly envelopes? You need to check out these other awesome ideas:
