It’s so easy to make this “pugs and kisses” valentine box! So sweet for either boys or girls, and great for the classroom.
Skills Required: Beginner. You’ll need to be able to use craft paint and then also cut craft foam (I provide a pattern!).
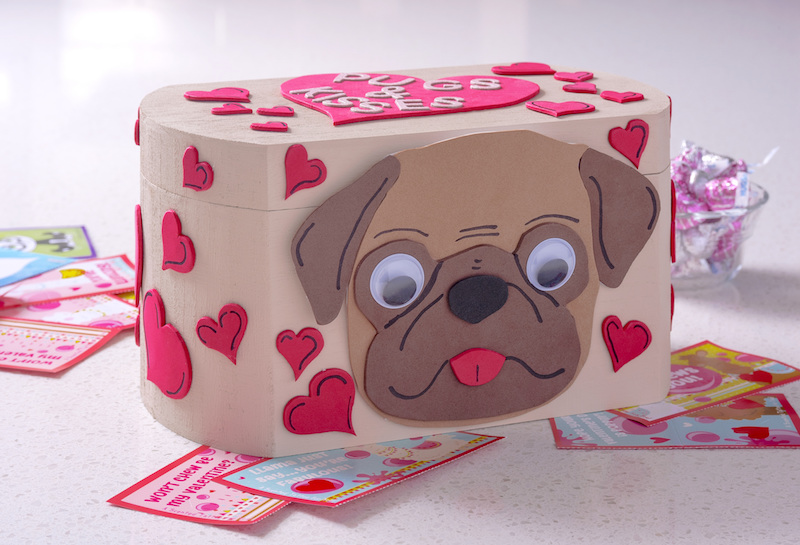
Are your littles ready for Valentine’s Day? I’ve done a roundup of valentine boxes before, because making them was one of the great joys of my childhood. With a cereal box and cardstock, I could take over the world!
This year I decided to make a version using my favorite breed of dog – the pug! Who would like some “pugs and kisses” this Valentine’s Day? I know I would!
This pugs and kisses valentine box is so easy to make, and I’m excited to be able to provide a pattern for you too. All you need to do is be able to paint, cut, and glue.
My Valentine’s Day box was made in cooperation with Michaels this year. Fall in love with Michaels exclusive Valentine’s Day craft kits!
Let’s dive into the project . . .
DIY Valentine Box
Gather These Supplies
- Oval wooden box
- Acrylic paint – I used Martha Stewart Linen
- Pug face pattern
- Craft foam – various colors (light brown, dark brown, red)
- Mod Podge – Hard Coat or Sparkle (optional)
- Glitter adhesive letters
- Wiggly eyes
- Sharpie
- Paintbrush
- Scissors
- Hot glue gun

Paint your wood box and let dry. Give it another coat. Once that is dry, coat your valentine box with Mod Podge and let dry. This is optional, but I think a perfect Mod Podge formula for this is the Sparkle. It will be the perfect bling for the holiday!

Print out your pug pattern – you don’t have to do it in color, I just did this so you could see the various colors.

Cut the pug head out of the foam based on the colors in the pattern. You’ll end up with separate pieces . . .
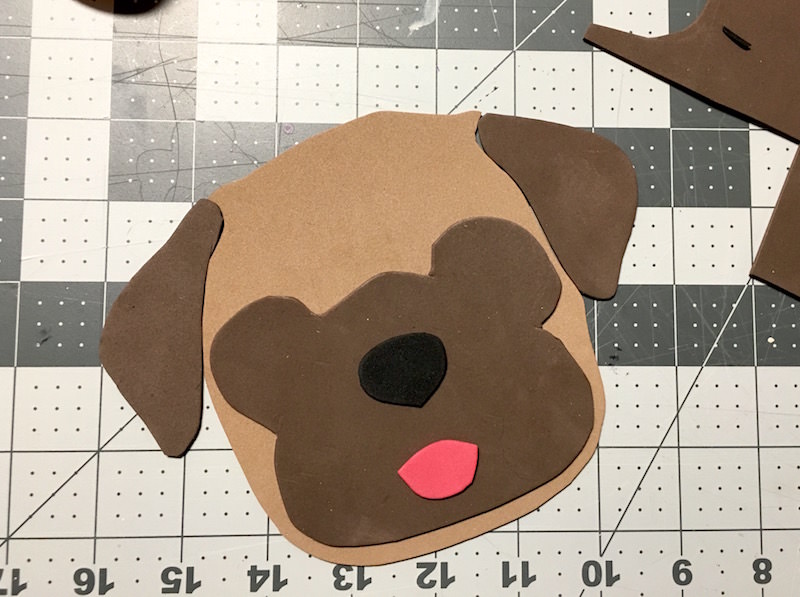
. . . that look something like this.
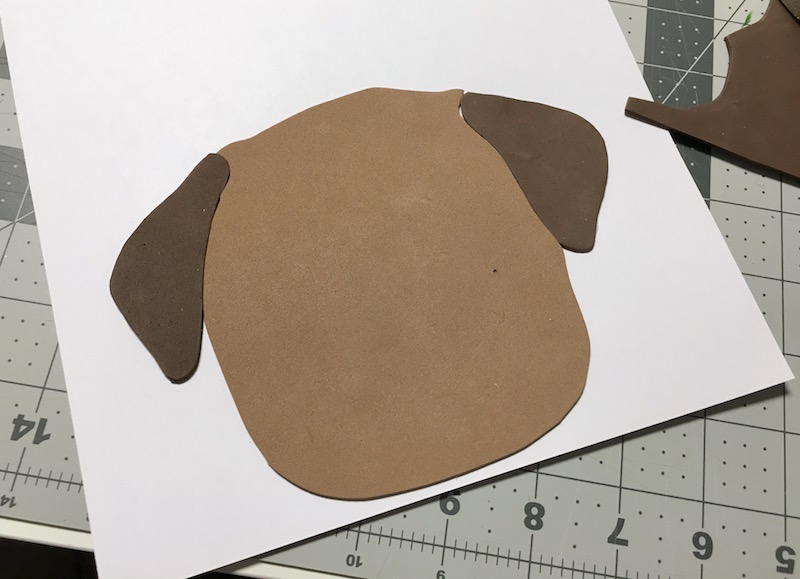
Place the foam pieces on a piece of thicker paper, foam, or even a cereal box. Glue or hot glue the pieces down.

Add the wiggly eyes with hot glue as well – plus the nose and tongue.
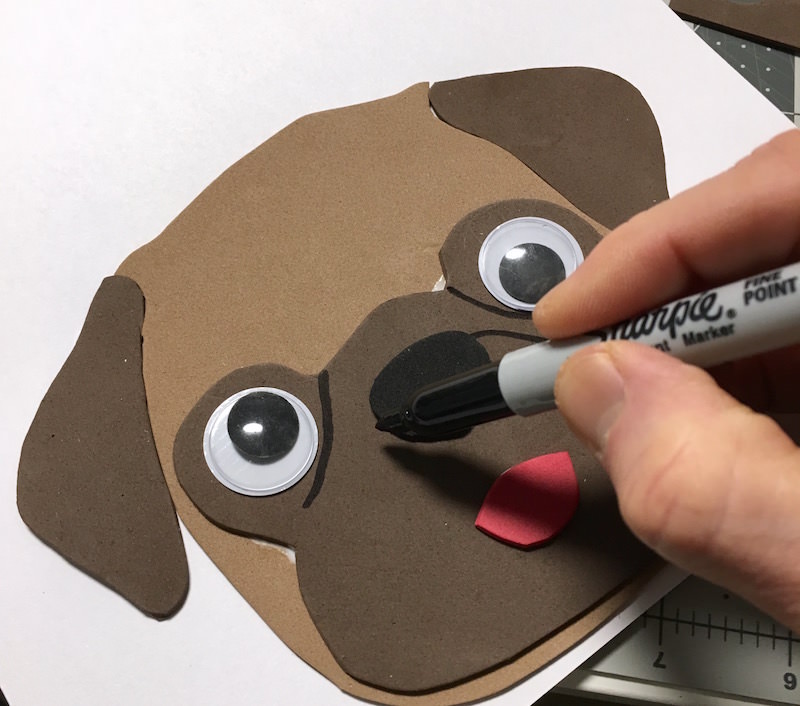
Your pug Valentine’s Day box won’t be complete until you add the wrinkles and highlights on the face You’ll do that with a Sharpie, and the pattern shows you where to put those lines (you can add a few more wrinkles over the eyes if you want to).
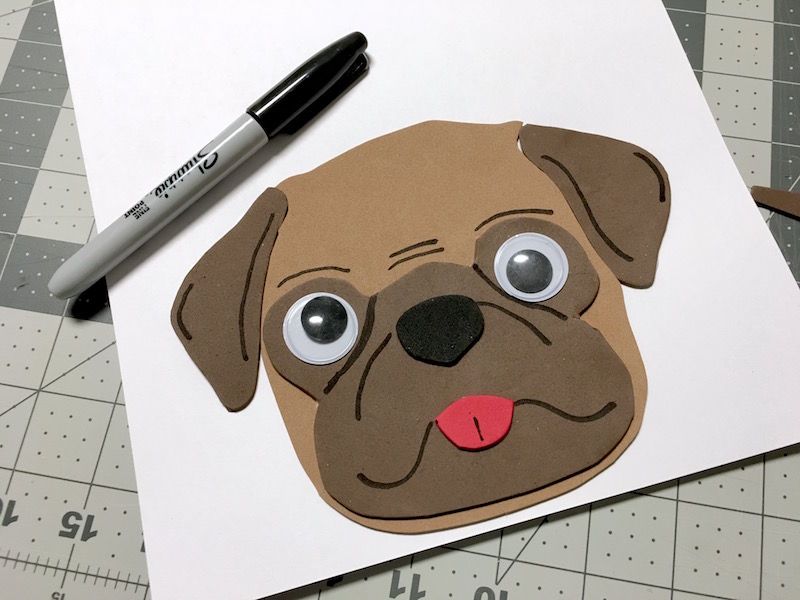
Once your pug face is complete, cut out the head and glue it to the front of the box, right below the clasp (leaving the top unglued). The clasp should be able to operate behind the head.

Cut out one large hot for the top of the box – and several smaller hearts of various sizes to add to the rest of the box.
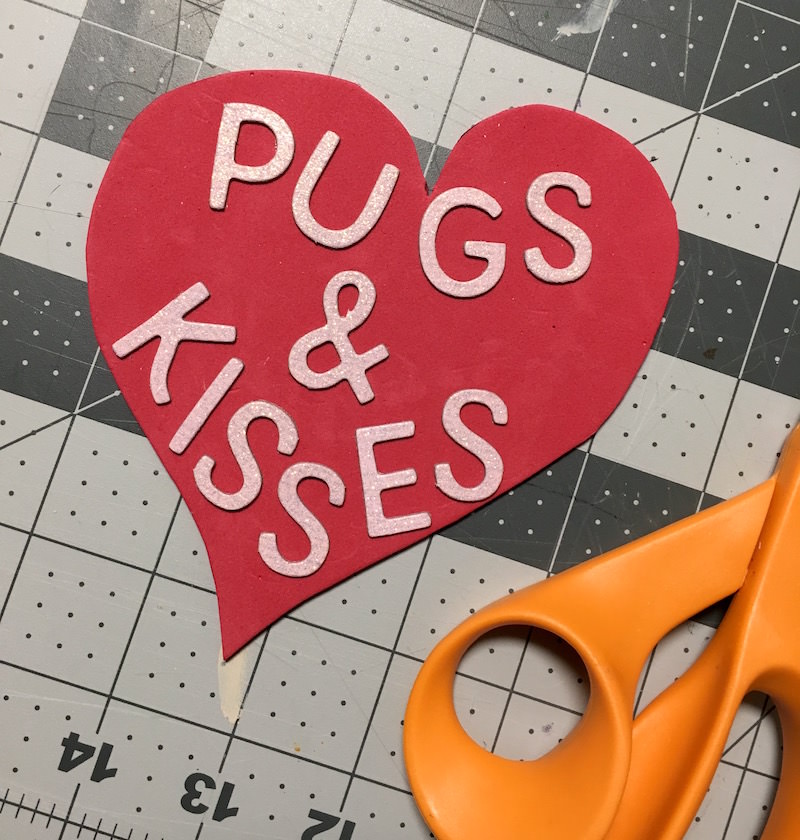
Add the letters spelling “pugs and kisses” to the top of the box, inside the large heart.
Then glue the rest of the hearts on the box – and add little accents to the hearts with the Sharpie. Let dry before using.
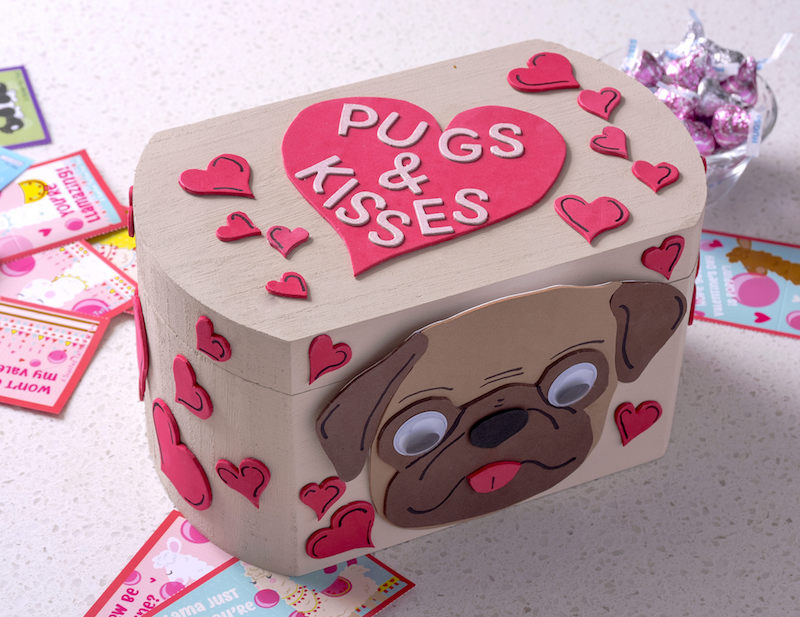
Kids can place the box on their desk and let the Valentines fill it up!
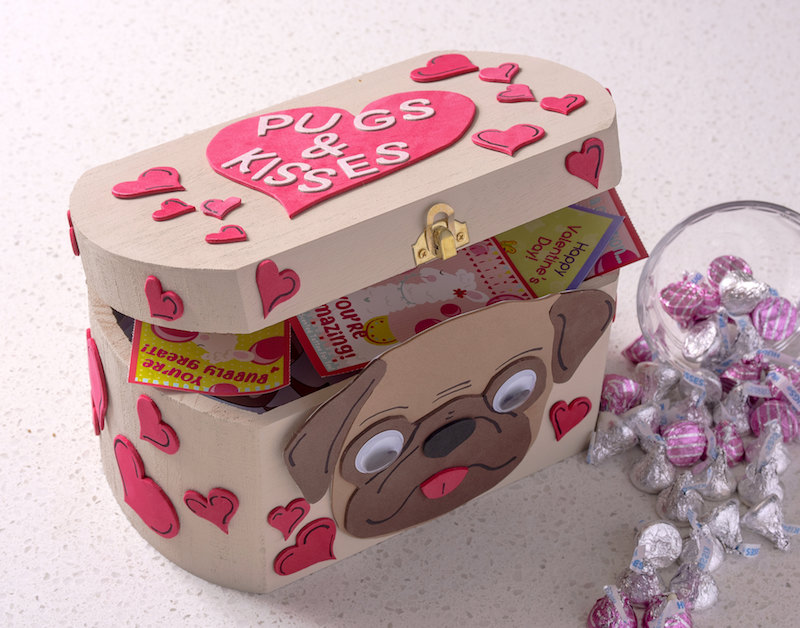
I love that you can use it year after year, and this cute little box is great for gifts or candy, too. Happy Valentine’s Day!
If you enjoyed this craft, I’d love for you to check out these other pet related posts:


Ok what am I missing here. No template for the pug face? Printable? This isn’t helpful.
The printable is at https://blueprintsocialllc.app.box.com/s/o6omz2q7zp89s3k5xeia4iwzbd489qii and is linked in the text – search for “pug face pattern”