Make a DIY plant stand for spring or summer with this easy tutorial! Simply use paint, wood rings and wood balls from the craft store.
Skills Required: Beginner. You’ll be doing a lot of spray painting for this project. My recommendation for success is multiple, light coats and lots of patience.
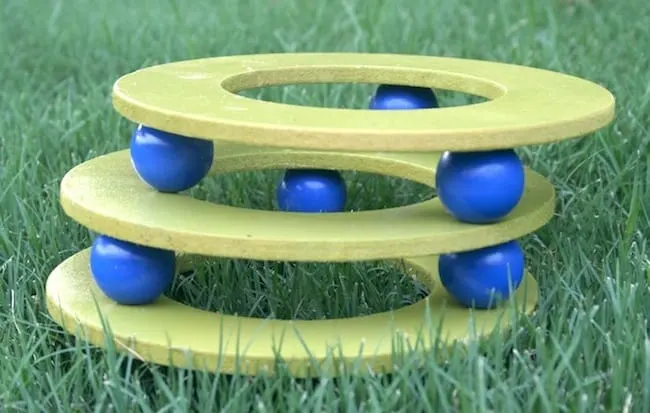
What are these, you ask?
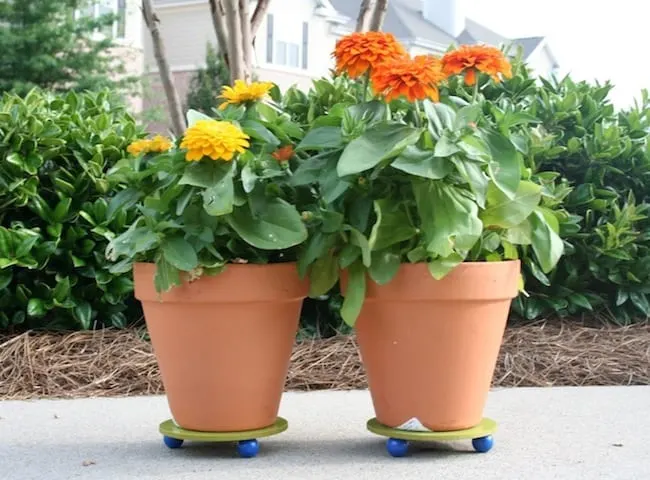
They are plant stands for these!! Yes, I made these DIY plant stands with supplies I had on hand and some new Krylon spray paint called Dual Paint and Primer. And of course . . . Mod Podge.
It’s super easy to make a DIY plant stand. I like this wood craft for outside plants because they allow proper draining and air flow. But let’s just be honest – I like the color too. I could use little clay trays, but I don’t want to!
You might not want to either . . . and you might want to make some smaller or larger versions to dress up your garden. If you do, it’s really easy.
TIP: If you love spray paint like me, you might already know this, but I’ll tell you anyway. Your best bet when using spray paint is several light coats as opposed to a few heavy ones. You have to have patience when drying (trust me, it’s a struggle), but you’ll get better results for the finished project!
DIY Plant Stand
Gather These Supplies
- Krylon Dual Paint and Primer – True Blue and Ivy Leaf
- Mod Podge Outdoor
- 6″ Wood Floral and Craft Rings
- 1″ wood balls – 3 per ring
- E-6000 (optional)
- something to spray paint on
- Paintbrush
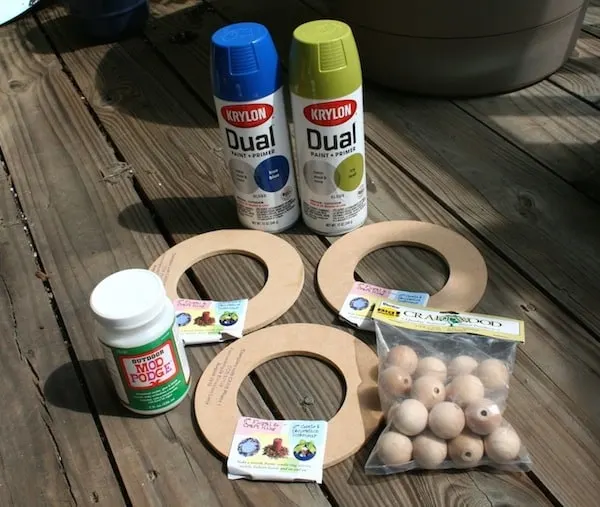
Here are the goodies to make your plant stand. This tutorial is going to be so easy for you. You don’t have to be an expert crafter to do this by any means!
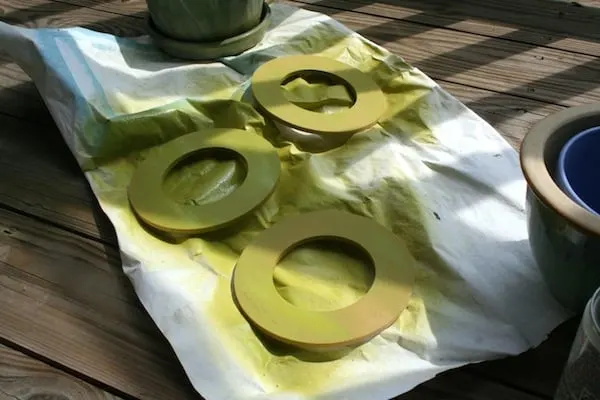
Spray paint the rings with several coats of spray paint on both sides.
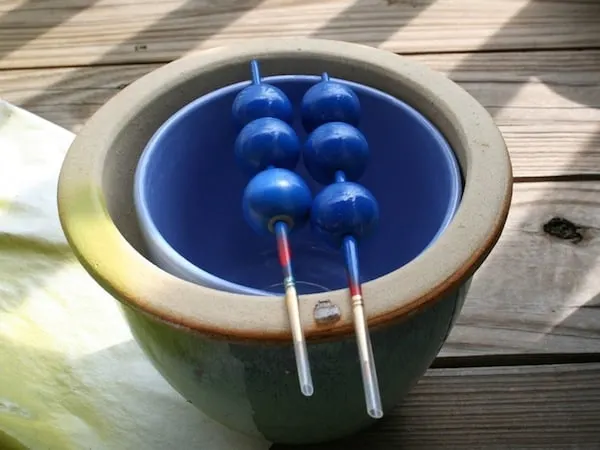
Spray paint the balls with several coats. I used small paint brushes to hold them (they had holes). Barbecue skewers and a styrofoam block also work well for this purpose.
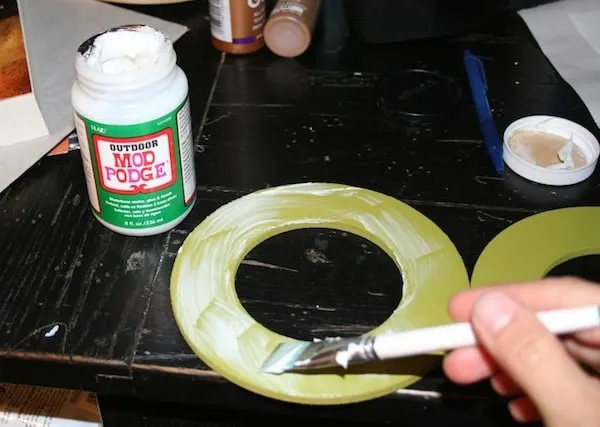
The spray paint is indoor/outdoor, but Mod Podge Outdoor will offer extra protection.
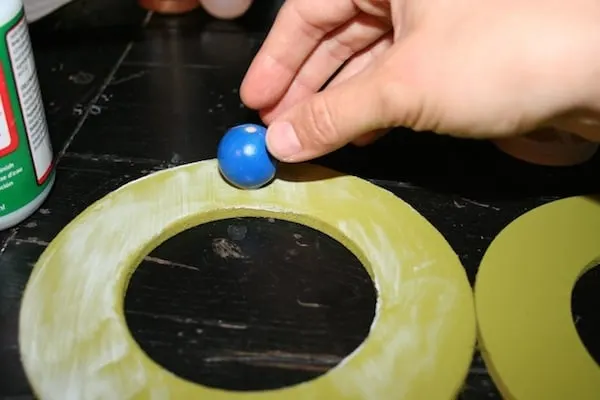
Plus you can use it to glue the balls on (and it’s water resistant). Let your DIY plant stand dry.
Tip: If these are going outdoors in harsh(er) weather, I’d use E-6000 to glue for a really tough bond. Mine are going on a very covered porch!
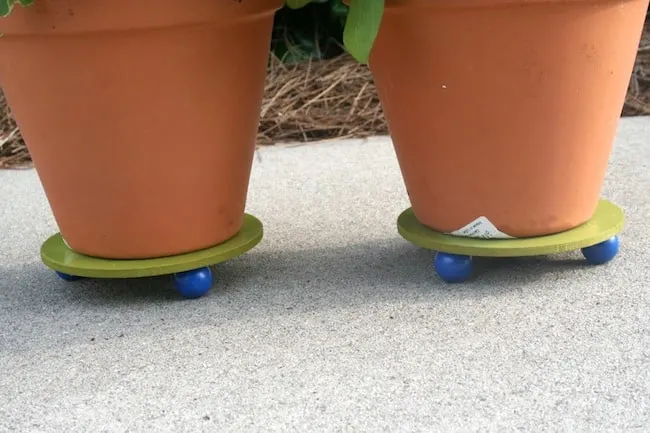
Wait about 24 hours before placing your plants on top! I love them. What a great display on my patio or porch.
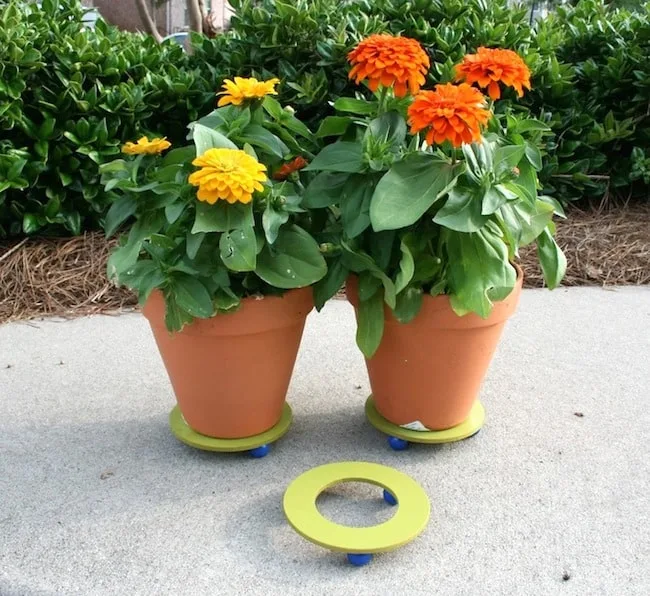
I’m so happy with them! A DIY plant stand adds a bright and cheery touch to my porch. You can make a few, or a whole bunch in several colors.
DIY Plant Stand

This is the easiest DIY plant stand you'll ever make! It requires just a few simple craft store supplies.
Materials
- Spray paint - 2 colors
- Mod Podge Outdoor
- 6" Wood Floral and Craft Rings - 3
- 1" wood balls - 3 per ring
- E-6000 (optional)
Tools
- Paintbrush
Instructions
- Spray paint the rings with several coats of spray paint on both sides, letting dry between coats.
- Spray paint the balls with several coats of another spray paint color, letting dry between coats.
- Glue three wood balls on the bottom of each floral ring (spaced evenly) using E-6000; let dry.
- Coat the rings in Mod Podge Outdoor or use Mod Podge spray sealer for extra durability. Let dry for 24 hours before using.
Notes
TIP: I used small paint brushes to hold the wood balls while painting (they had holes). Barbecue skewers and a styrofoam block also work well for this purpose.
What do you think of this spring craft? Let me know in the comments! I’d also love for you to check out these other garden and plant friendly crafts using Mod Podge:

Pati Gulat
Sunday 17th of February 2013
I think this is a great idea but I believe I will put casters on mine so I can roll them around. You can get some cheap ones at Home Depot....
Doreen
Thursday 29th of March 2012
Hi AmyI know I'm a little late to the party, but in scrolling through your blog, spotted these lovely plant stands, and placed the project at the top of my list.Hope all is well.
Amandaf
Wednesday 31st of August 2011
Such a great idea. Thanks for the inspiration. Love to have new ideas for the kids in the school holidays.
creativejewishmom/sara
Wednesday 20th of July 2011
love these Amy! And so happy to see you're enjoying some flowers this summer, so essential! xoxoxo Sarathanks for sharing on Craft Schooling Sunday!
Lisa G.
Saturday 16th of July 2011
These are great idea..there is always something new here.