Learn how to make stunning DIY drop earrings with polymer clay, embossing powder, and a silicone mold. Perfect for gifts or everyday wear!
Skills Required: Beginner. You’ll be adding clay to molds, using embossing powder, and assembling the jewelry. If you’ve crafted before you should be fine!
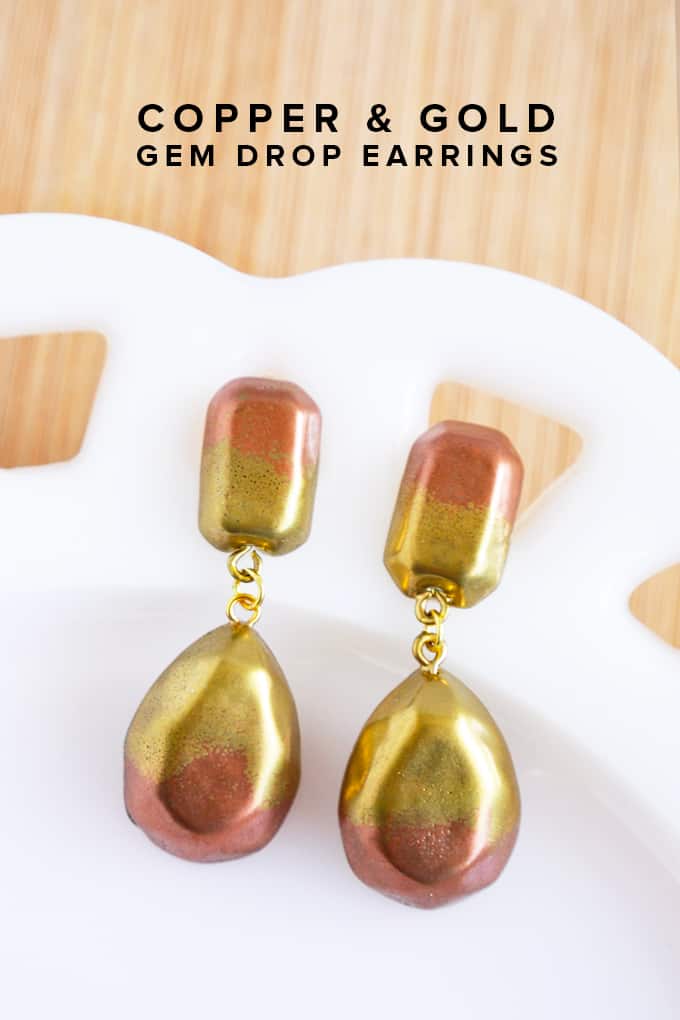
Hi friends! Aki here from Minted Strawberry, and I’m so excited to share one of my favorite DIY jewelry projects with you. If you’re a fan of handmade fashion, you’re going to love this creative and customizable craft.
Today, I’m walking you through how to make your very own DIY drop earrings using polymer clay and embossing powder.
This project is perfect for anyone who loves the unique look of handcrafted accessories, and the best part is you can personalize them with your favorite metallic colors!
I’m a big fan of the double-dipped effect, so I’ll be using copper and gold to create a striking two-tone finish.
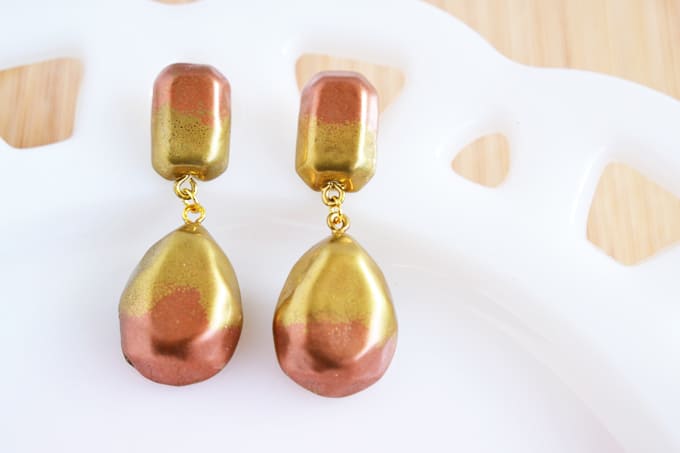
These earrings are not only gorgeous but also surprisingly easy to make. Using simple tools like a silicone mold and a heat gun, you’ll be amazed at how professional your results look.
They make fantastic gifts or a fun treat for yourself—ideal for Mother’s Day, birthdays, or any occasion.
Let’s gather our supplies and get started on this fabulous DIY jewelry project. With just a bit of creativity and effort, you’ll have a one-of-a-kind pair of earrings that truly shine.
Gather These Supplies
- Silicone gem mold
- Polymer clay in white
- X-Acto knife
- Heat gun
- Embossing powder in Copper and Gold (or colors of your choice)
- Embossing ink
- Eye pins
- Earring posts
- Jump rings
- E-6000
- Jewelry pliers
- Wire cutter
I hope you have a blast with this tutorial. Get the printable how to below:
DIY Dangle Earrings
Equipment
- Silicone mold(s) gems
- Heat gun
- Jewelry pliers
- Wire cutter
Materials
- Polymer clay in white
- Embossing powder Copper and Gold, or colors of your choice
- Embossing ink
- Eye pins
- Earring posts
- Jump rings
- E-6000
Instructions
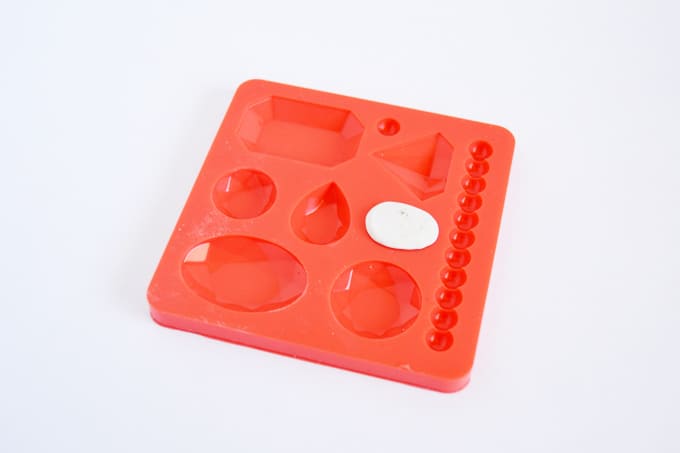
- Knead your polymer clay until pliable with your hands, and press into the mold to make gems in the shape that you like. Chill the polymer clay in the fridge while still in the mold to handle it better, about 20 minutes. Make two sets of each shape (a top and bottom).
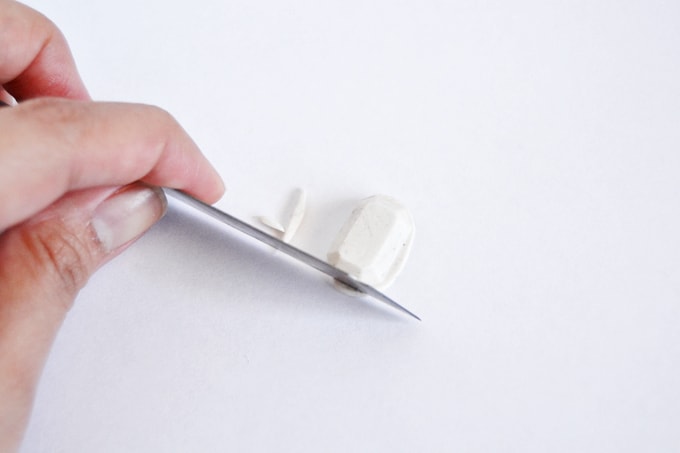
- Cut off the excess clay with an X-Acto knife or box cutter.
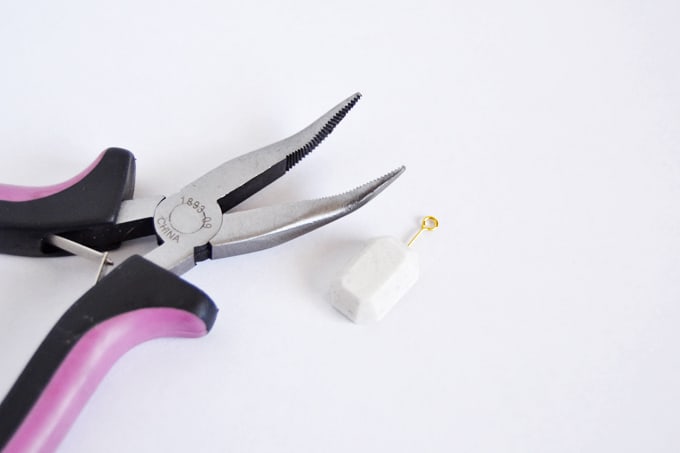
- Attach an eye pin on the sides where you want your shapes to connect using bent-nose jewelry pliers. Make sure the clay is still chilled before you do this step will prevent the gems from deforming.Bake your clay according to the package's directions.
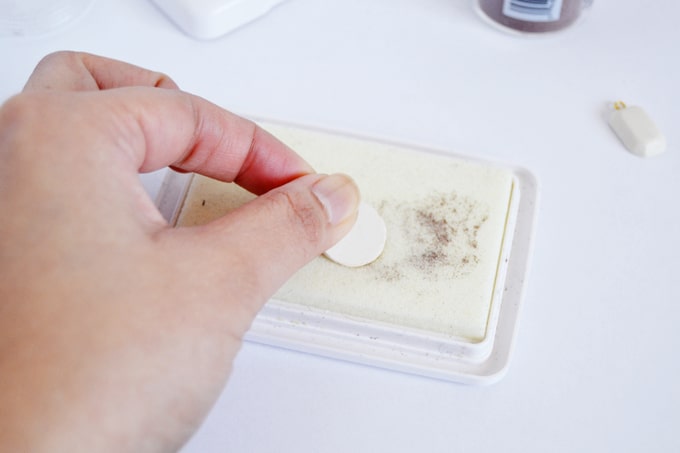
- After it cools, press about half of the gem (the side without the eye pin) in an embossing ink pad as shown in the photo.
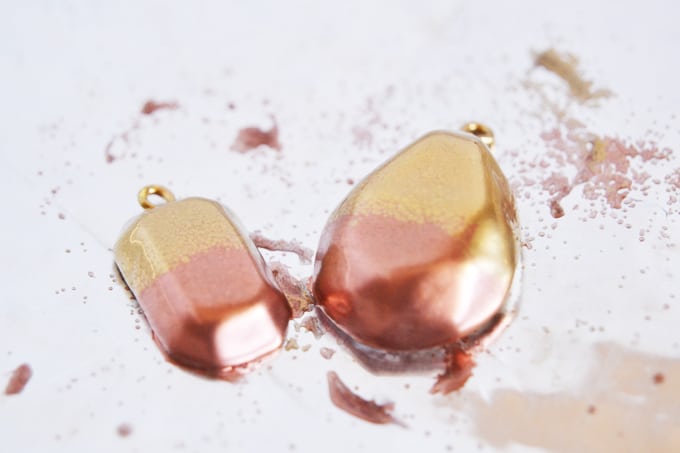
- Next, dip it into your copper embossing powder and tap the excess out. Using your heat gun, melt the embossing powder until it's shiny and flat (it takes about 1-2 minutes).
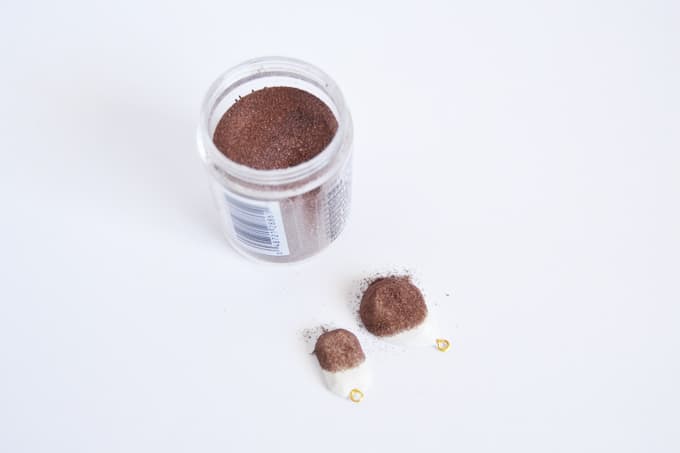
- Do the same with the rest of the white parts, except this time dip it into the gold embossing powder. Brush off the powder in the areas where you don't want the gold in (like the majority of the copper areas).
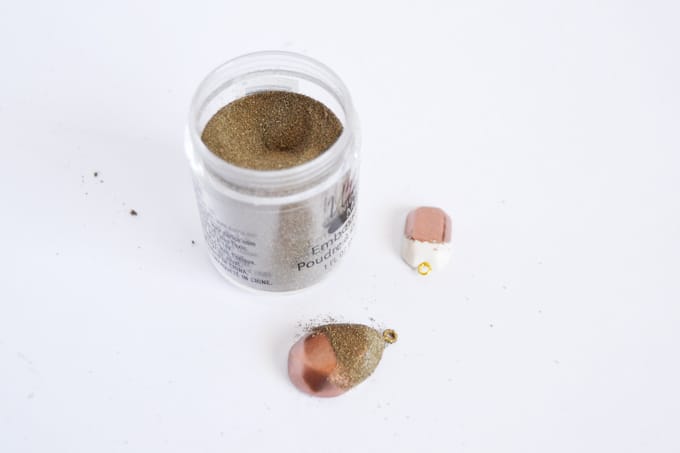
- Coat the backs of the gems that will dangle down.Since the back of the gems with the ear post won't be seen (they'll be pressed into your ears), I skipped coating it in embossing powder. You may choose to do it.
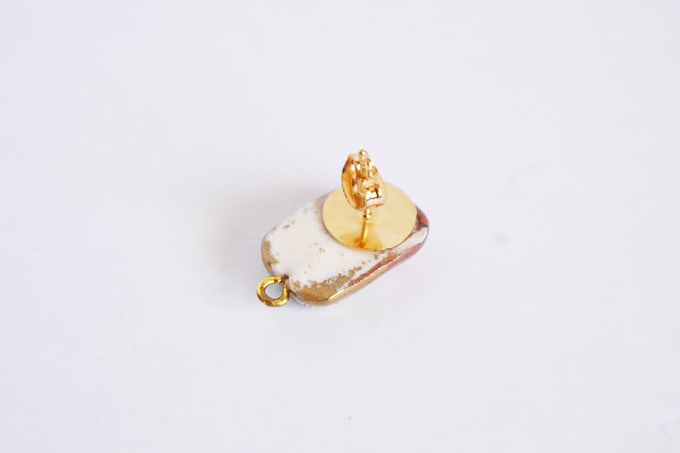
- After embossing your gems, attach an earring post on the back of the top earring piece using some E-6000 glue.
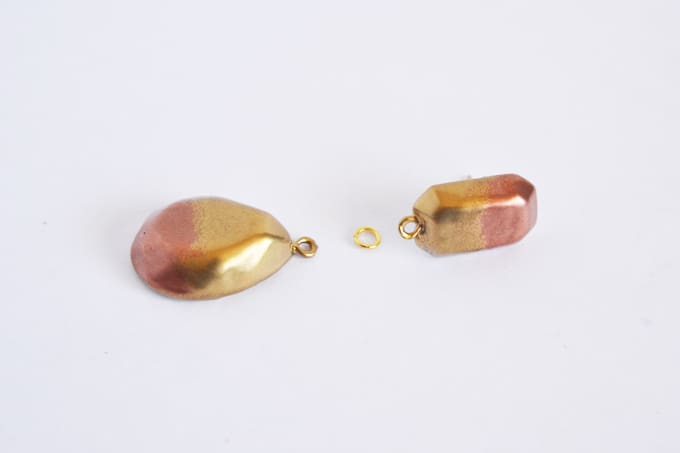
- Finally, attach both of the pieces with a jump ring and jewelry pliers.
Notes
If you enjoyed these earrings, I’d love for you to check out these other decoupage jewelry projects:
Bangle Bracelets • Clay Earrings • Clay Jewelry • Decoupage Earrings • Fabric Scrap Necklace • Hot Glue Rings • Glass Cabochons • Lace Earrings • Leaf Pendant • Paper Beads • Paper Earrings • Photo Pendant • Resin Jewelry • Shrinky Dink Jewelry • Washer Necklaces • Wood Pendant



DIY drop earrings tutorial is fantastic. The copper and gold combination that you chose for these earrings is stunning…loved it!