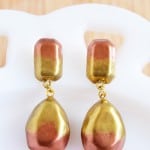
DIY Dangle Earrings
Learn how to make easy drop earrings out of clay! No knowledge of jewelry making required.
Yield: 1 pair of earrings
Cost: $5
Equipment
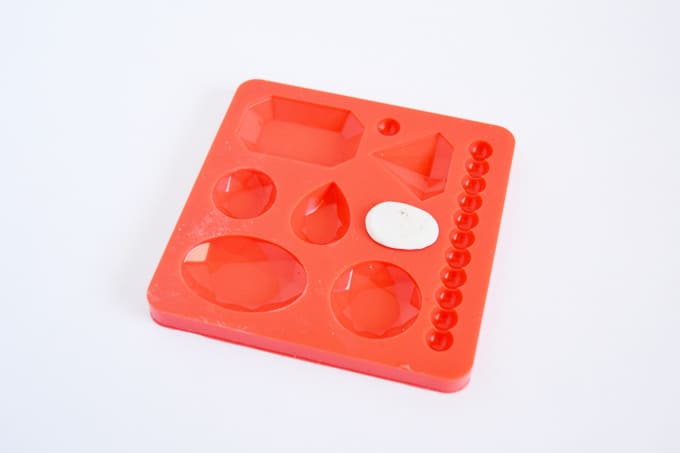
- Silicone mold(s) gems
- Heat gun
- Jewelry pliers
- Wire cutter
Materials
- Polymer clay in white
- Embossing powder Copper and Gold, or colors of your choice
- Embossing ink
- Eye pins
- Earring posts
- Jump rings
- E-6000
Instructions
- Knead your polymer clay until pliable with your hands, and press into the mold to make gems in the shape that you like. Chill the polymer clay in the fridge while still in the mold to handle it better, about 20 minutes. Make two sets of each shape (a top and bottom).
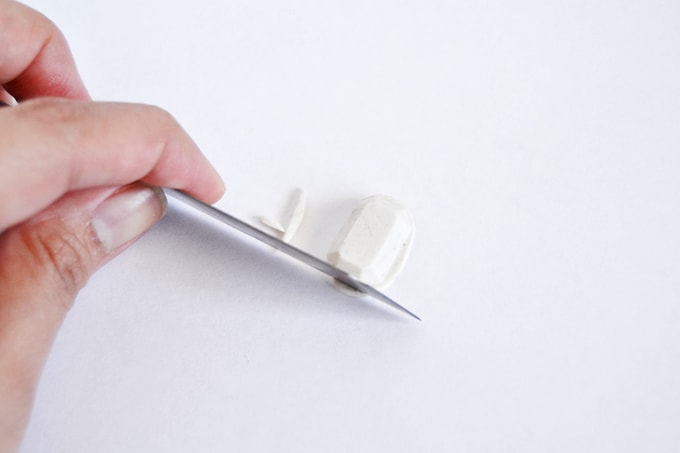
- Cut off the excess clay with an X-Acto knife or box cutter.
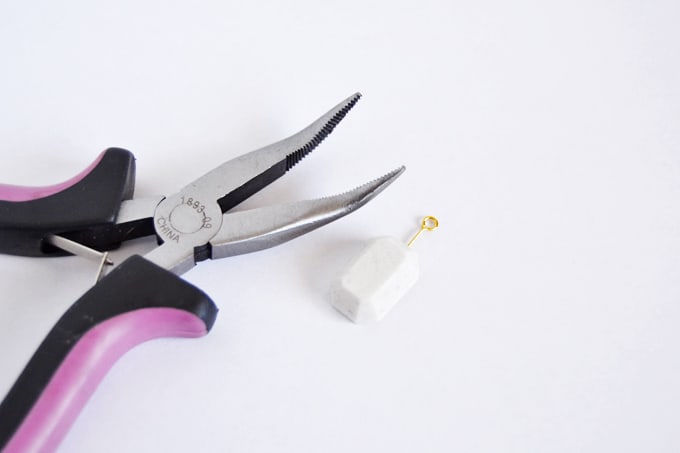
- Attach an eye pin on the sides where you want your shapes to connect using bent-nose jewelry pliers. Make sure the clay is still chilled before you do this step will prevent the gems from deforming.Bake your clay according to the package's directions.
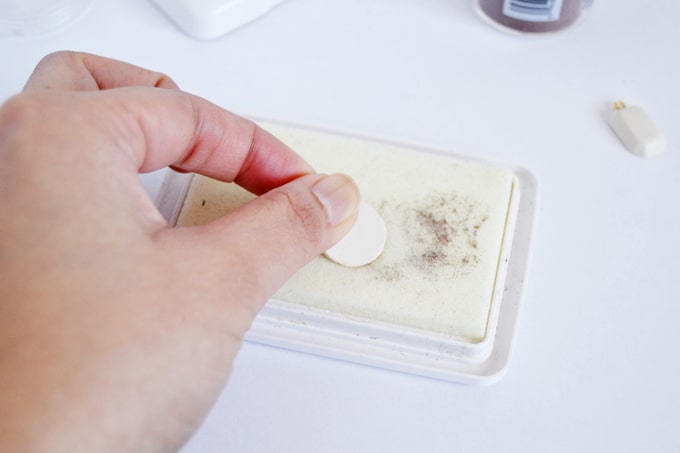
- After it cools, press about half of the gem (the side without the eye pin) in an embossing ink pad as shown in the photo.
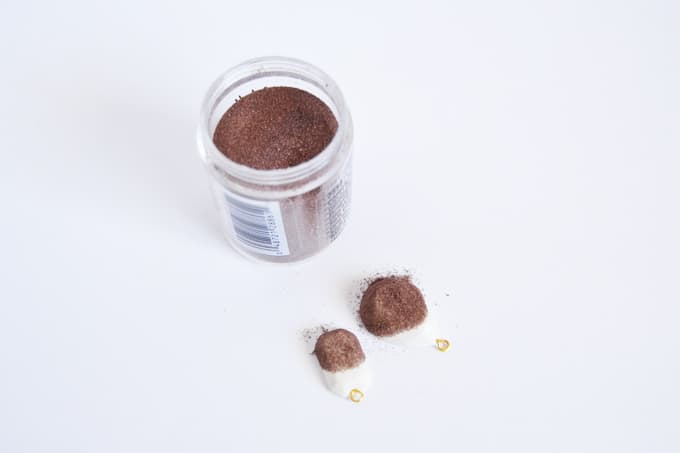
- Next, dip it into your copper embossing powder and tap the excess out. Using your heat gun, melt the embossing powder until it's shiny and flat (it takes about 1-2 minutes).
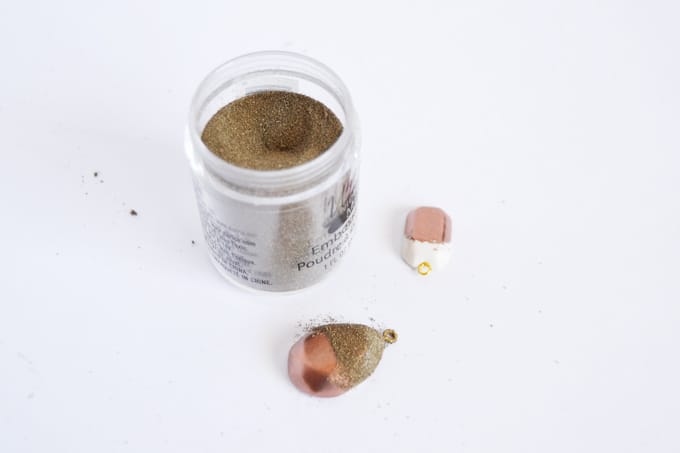
- Do the same with the rest of the white parts, except this time dip it into the gold embossing powder. Brush off the powder in the areas where you don't want the gold in (like the majority of the copper areas).
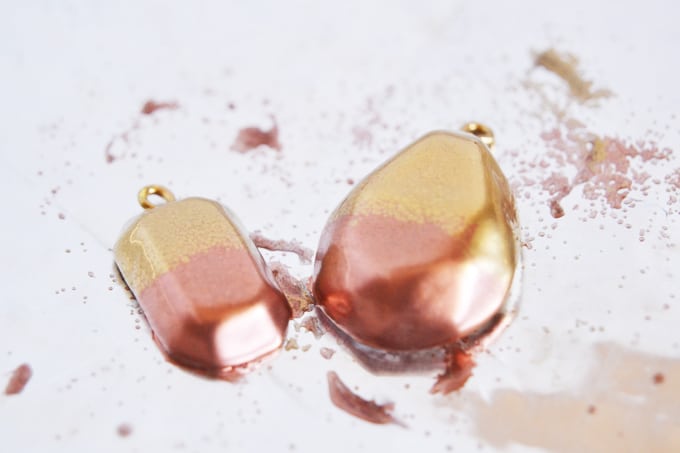
- Coat the backs of the gems that will dangle down.Since the back of the gems with the ear post won't be seen (they'll be pressed into your ears), I skipped coating it in embossing powder. You may choose to do it.
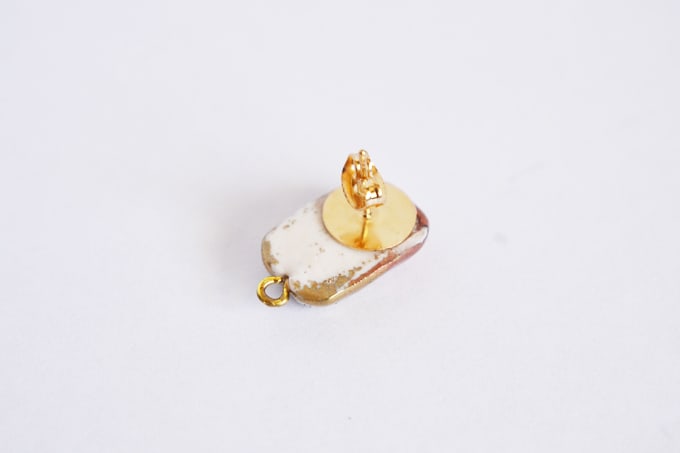
- After embossing your gems, attach an earring post on the back of the top earring piece using some E-6000 glue.
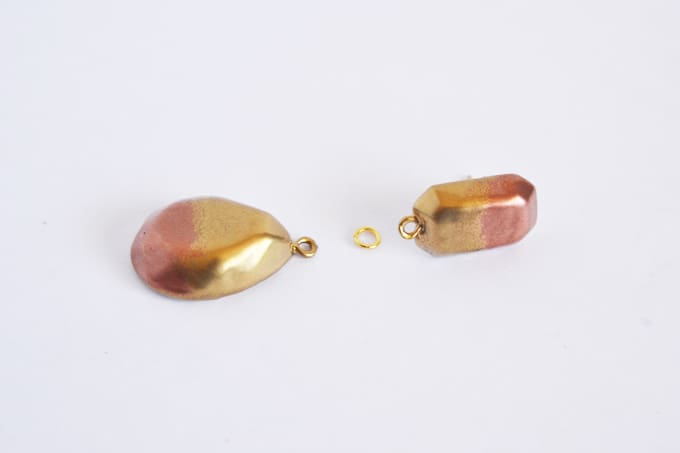
- Finally, attach both of the pieces with a jump ring and jewelry pliers.
Notes
You have the option of coating the back as well with embossing powder, but I only did the back of the teardrops for mine.