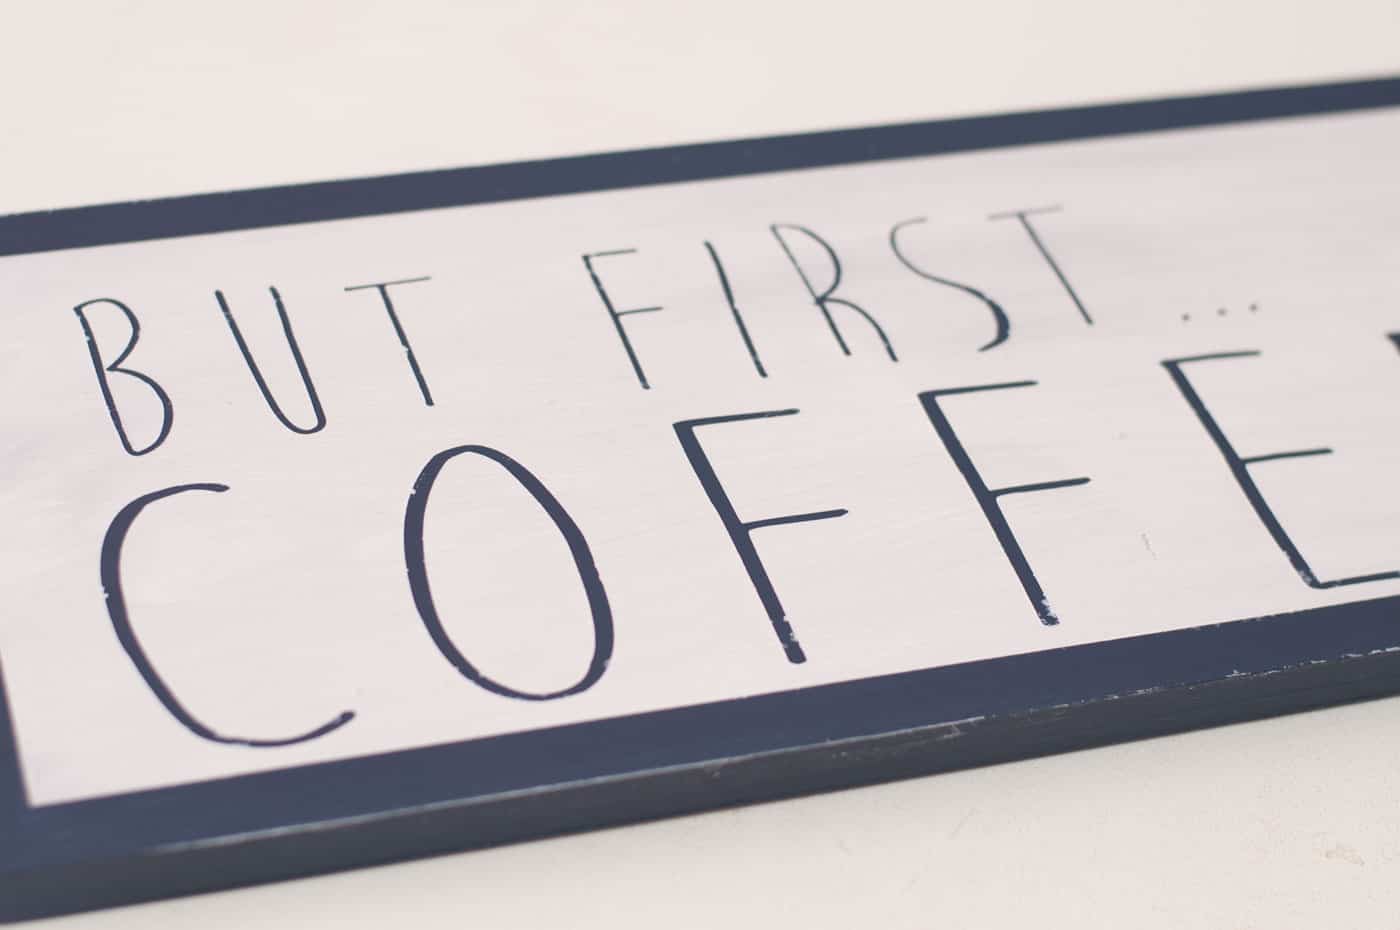
This DIY coffee bar sign project is EASY! Anyone can do it. You’ll use a piece of scrap wood, some vinyl lettering in your favorite font, and paint. Seal it all up with a coat of Mod Podge.
Skills Required: None. You’ll be painting and cutting vinyl. Even if you’ve never crafted before, you can accomplish this project.
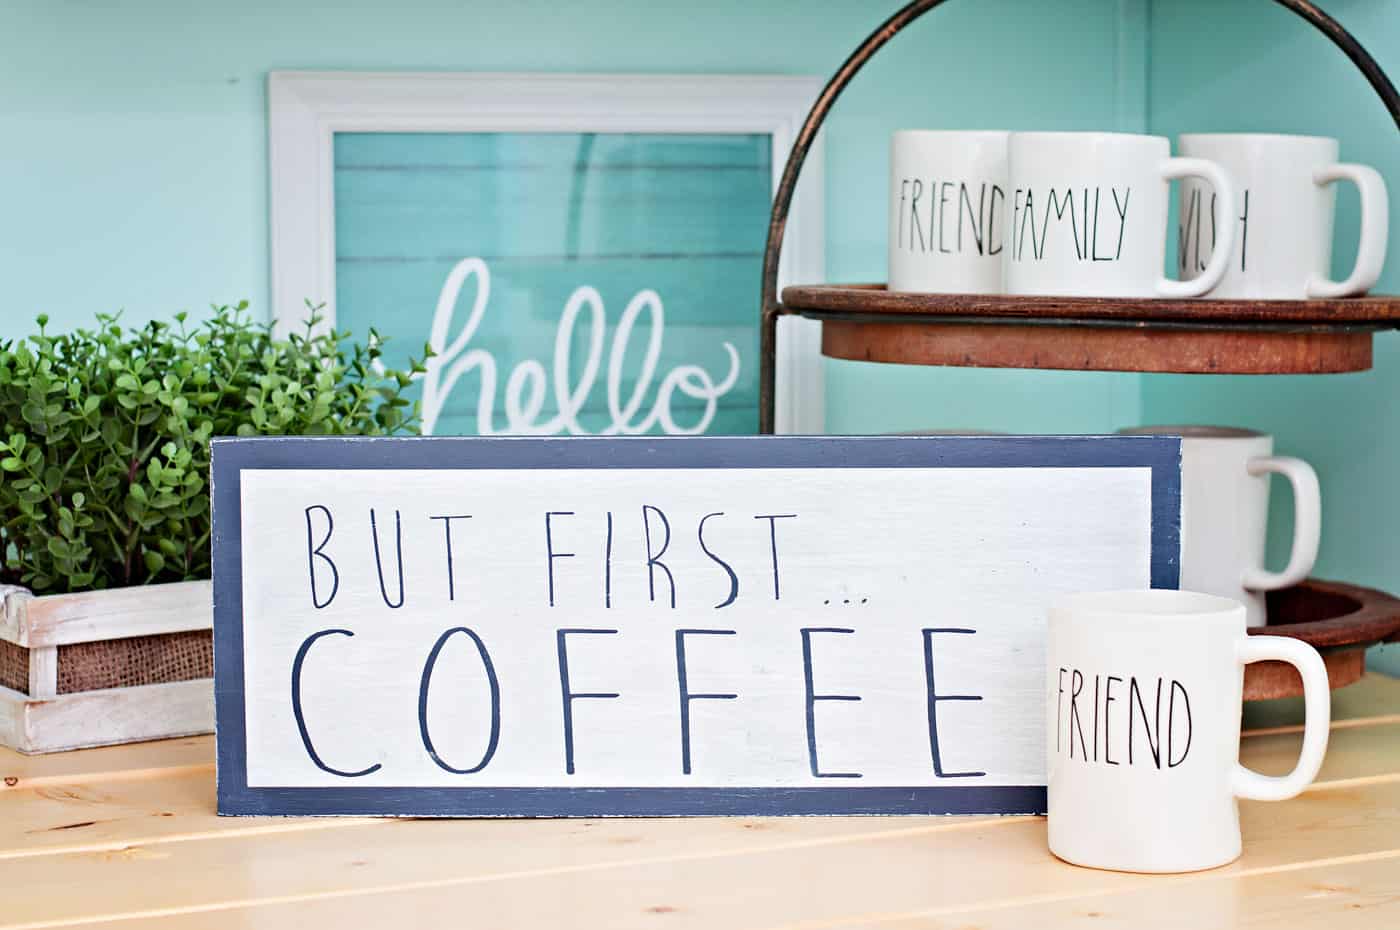
I have a TON of scrap pieces of wood in my shed I save from projects. You never know what other home decor projects you can do with it. You know what scrap wood is really good for? Making signs! It’s easy to make them for all over the home.
I’ve been working on redecorating my kitchen, and one of the first things I wanted to do was create a coffee bar area. I had everything set up, but I thought it needed a cute DIY coffee bar sign.
I wanted it to be in farmhouse style, so I came up with this idea using a very similar font to Rae Dunn. I love how it turned out!
Finding Scrap Wood
Before you start this wood project, I wanted to share a few sources for scraps. My goal in making these kinds of signs is to always get the wood for free.
So far I’ve been successful, because it seems everyone has scraps they’d love to give away. Here are some good sources:
- Pallets from behind grocery stores
- Local hardware store
- Big box home improvement store – ask near the saw area
- Construction sites
- Dumpsters behind woodworking shops
- Neighbor or friend’s scrap wood pile (just ask around!)
Of course wherever you get the wood from, be sure to ask before you take it and also be careful (like at a construction site).
Make sure you handle the wood with gloves if there might be nails in it, and keep some sandpaper on hand if the wood is a little rough and you need to smooth it out.
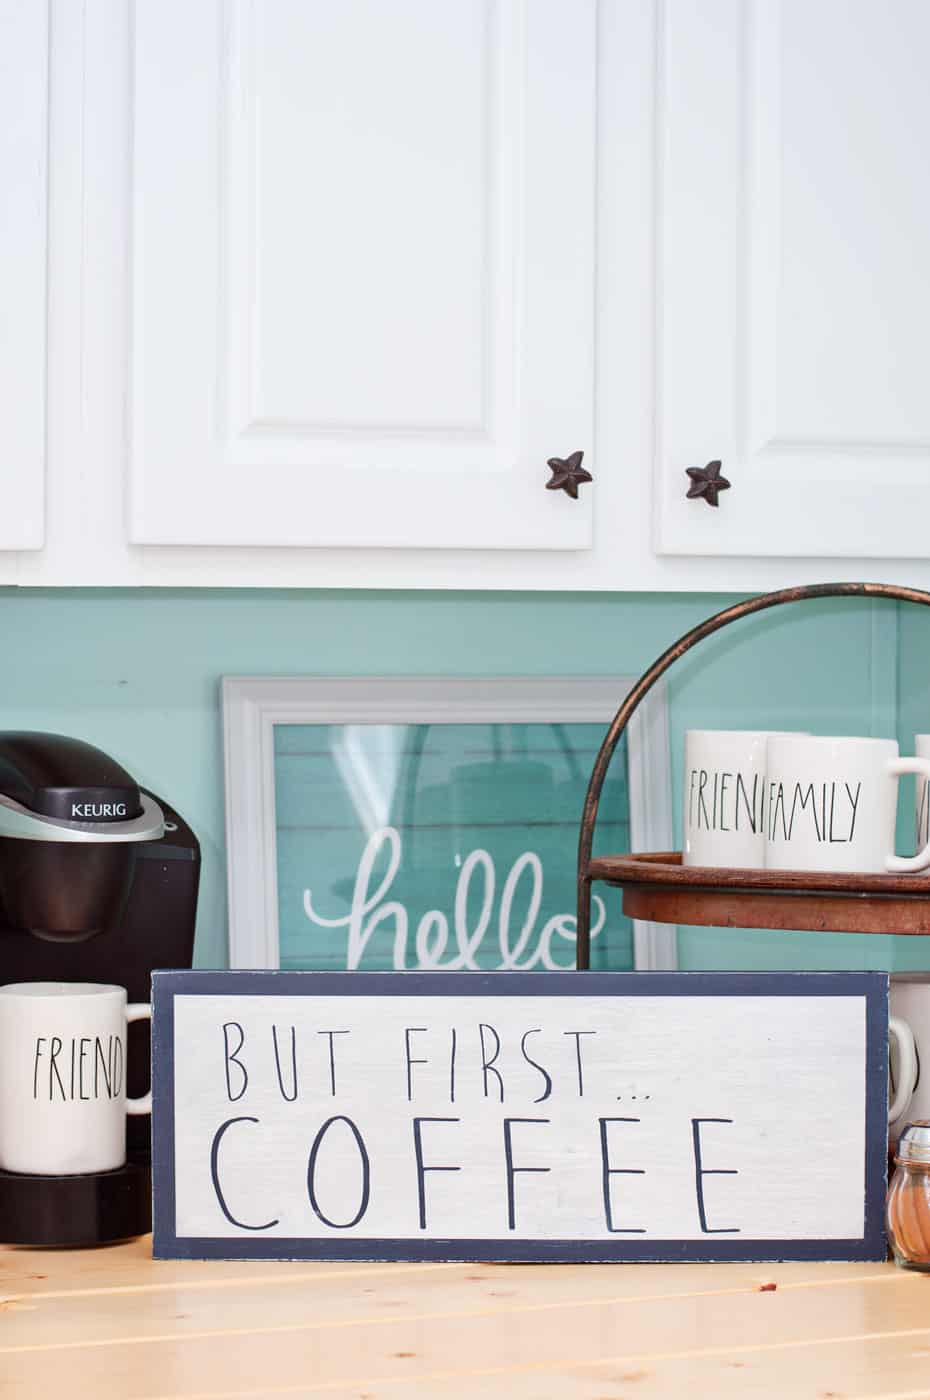
Once I grabbed the perfect size piece of scrap wood, I got started! Here’s what you need.
Gather These Supplies
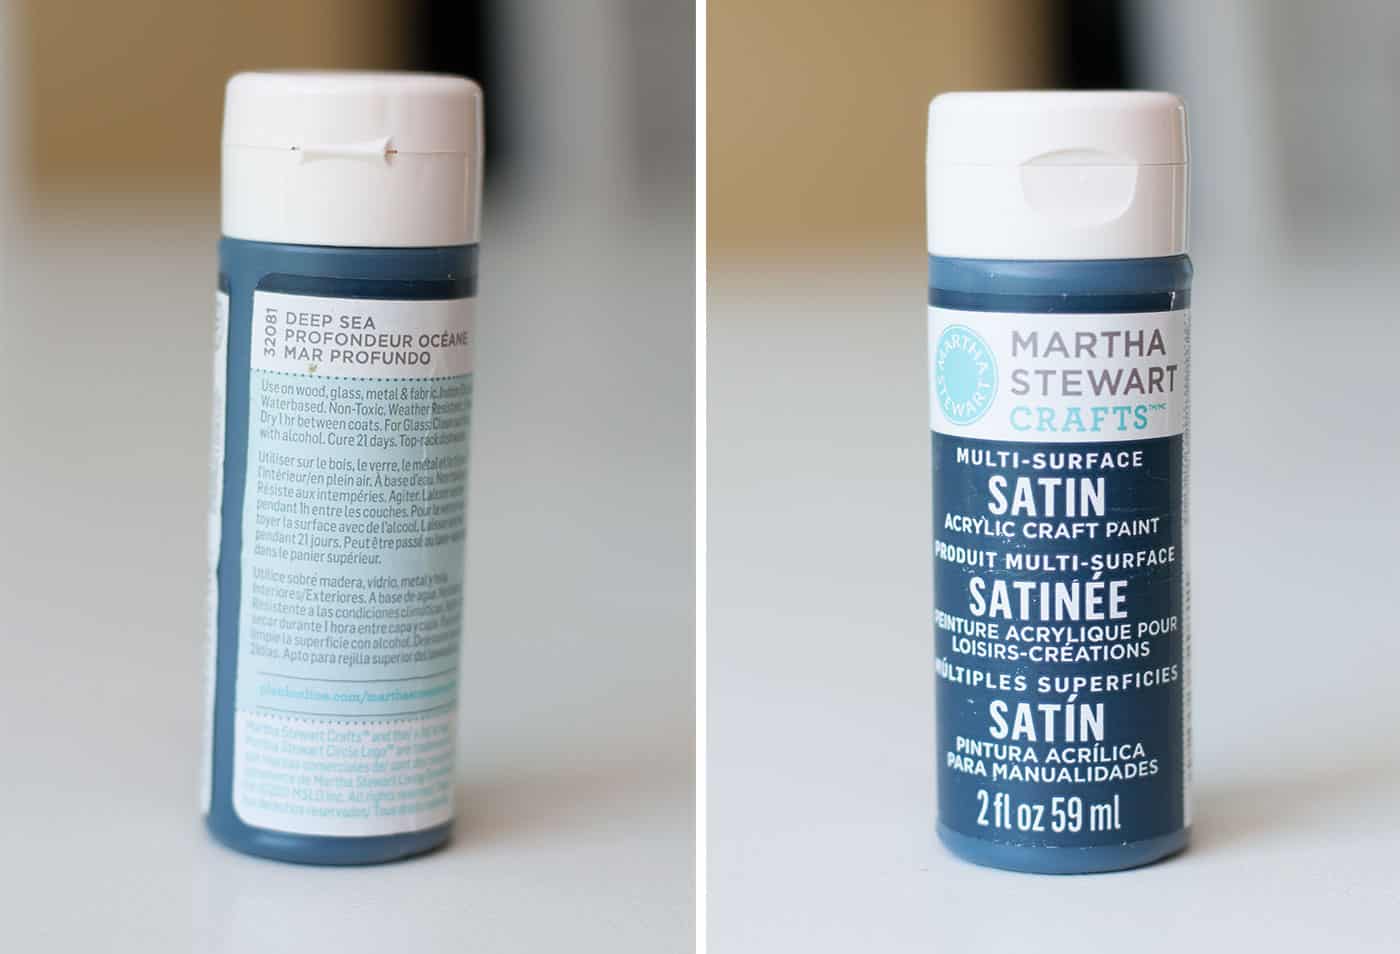
- Acrylic paint
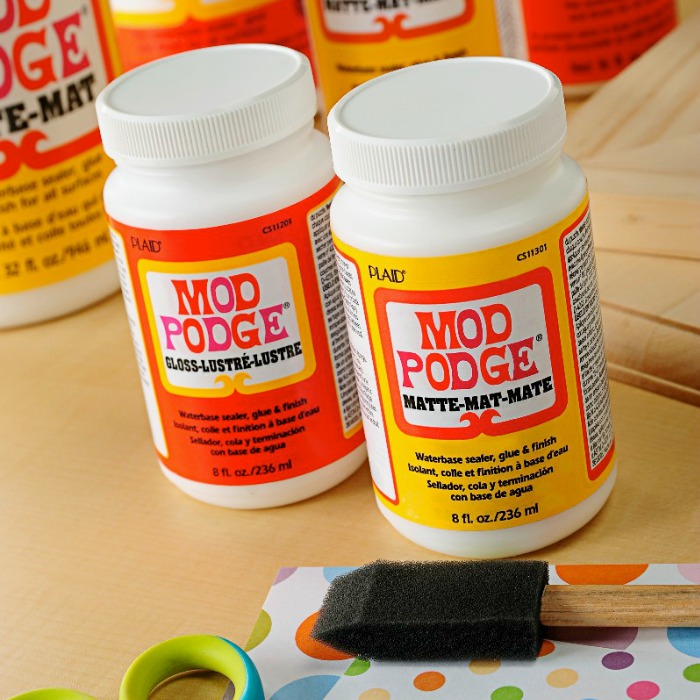
- Mod Podge Clear Acrylic Sealer
- Silhouette Cameo
- Adhesive vinyl
- Clear transfer tape for vinyl
- Piece of scrap wood, any size
- Sandpaper (optional)
I plan on hanging my sign on the wall with some Command strips. I use them all the time; I hate putting holes in the wall if I don’t have to. Plus it helps so I don’t have to add hooks to the back of my signs!
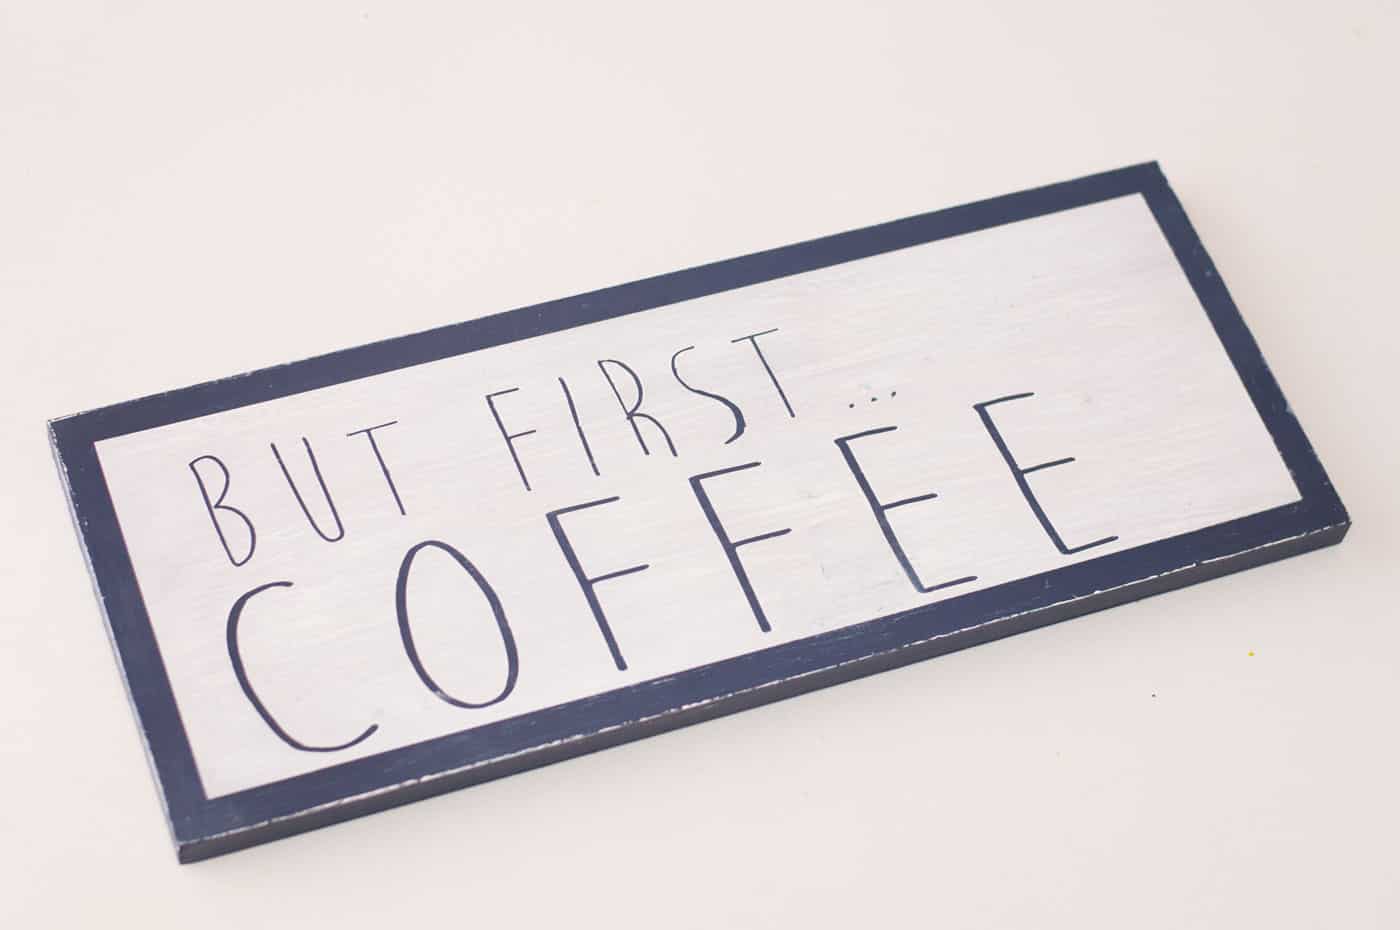
Get the printable how to card below:
Coffee Bar Sign DIY
Equipment
- Silhouette Cameo
- Tweezers
Materials
- 1 piece scrap wood any size
- Acrylic paint two colors
- Adhesive vinyl and transfer tape
- Painter's tape I used washi tape
- Mod Podge Clear Acrylic Sealer or finish of your choice
- Sandpaper optional
Instructions
- Paint your scrap wood with acrylic paint. Let dry. Paint multiple coats if necessary.
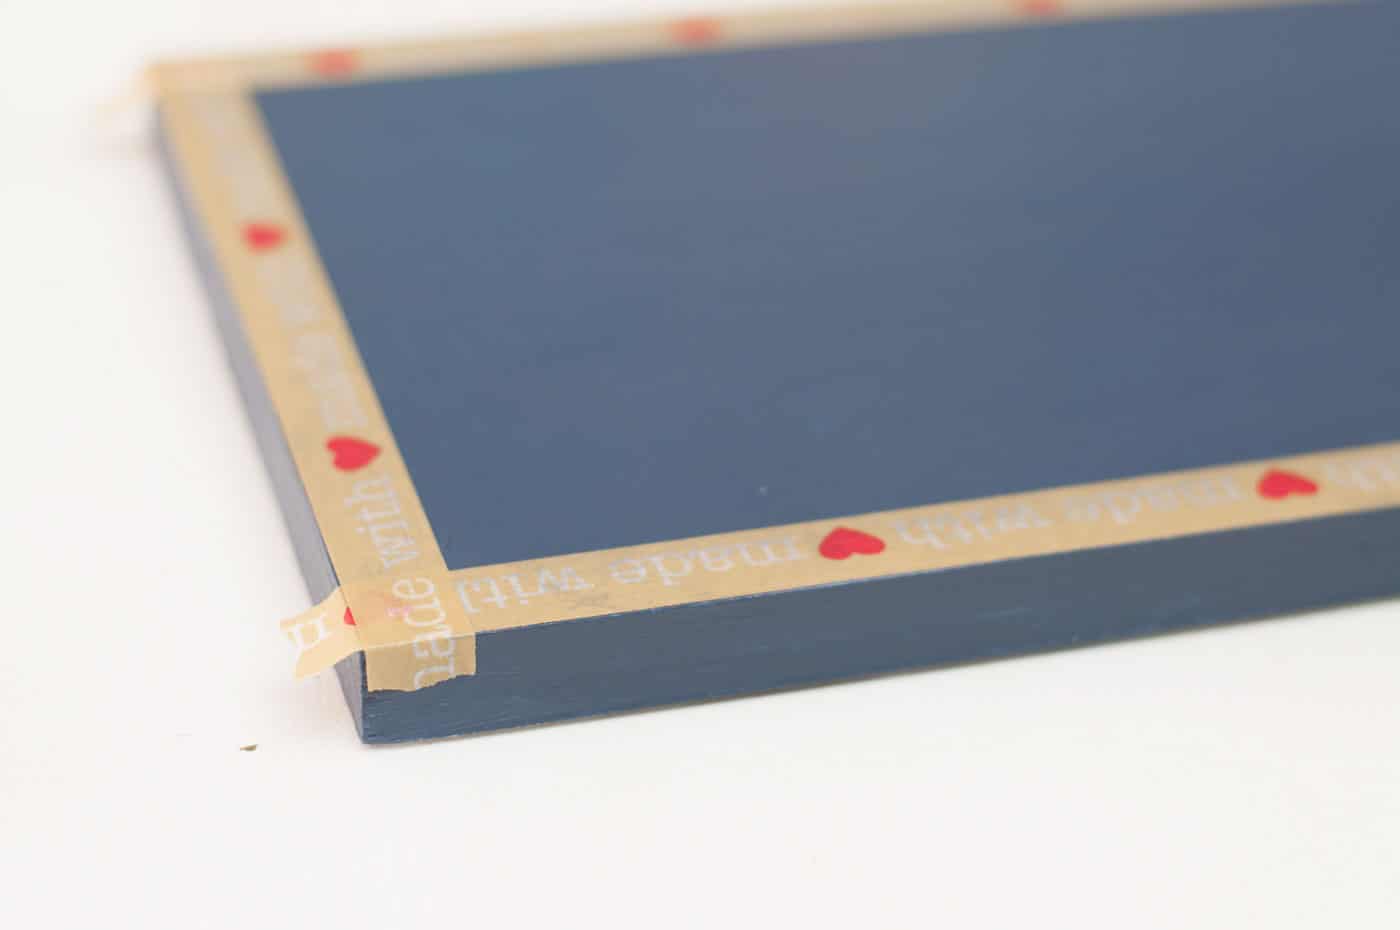
- Tape off the sides so that you can keep the base paint color around the edges.
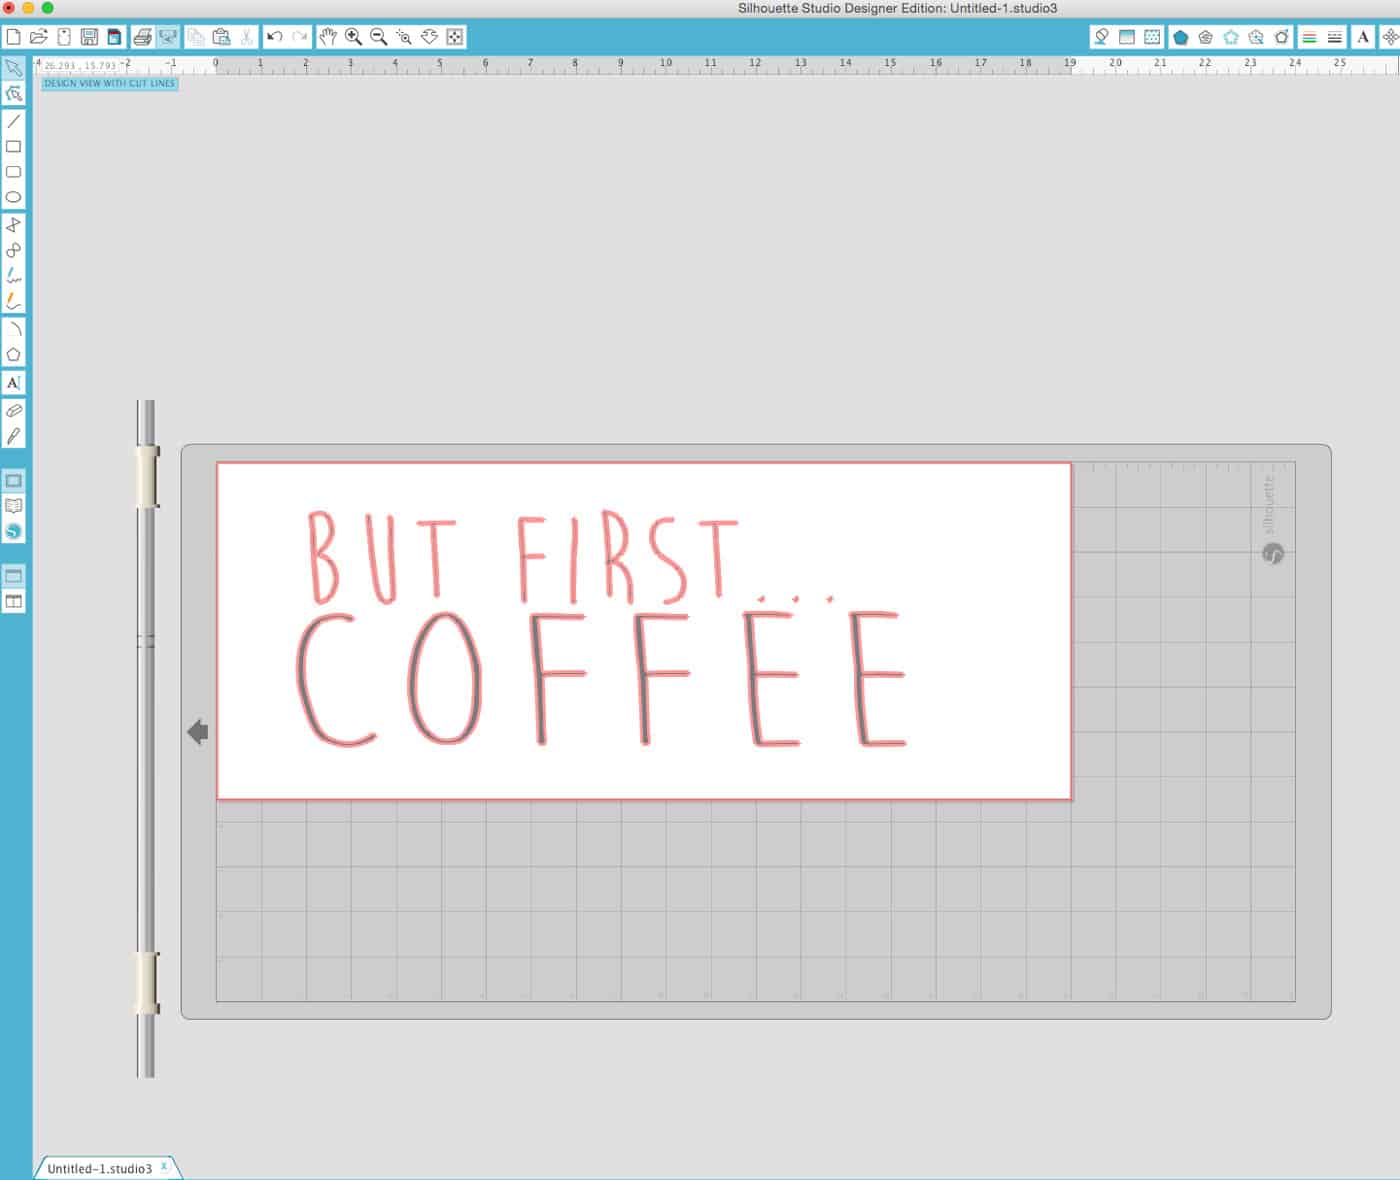
- I used my "trusty" Silhouette Cameo to cut out my wording for the sign, and basically make a stencil for the paint. I found an amazing font that actually matched my coffee cups (Moon Flower).
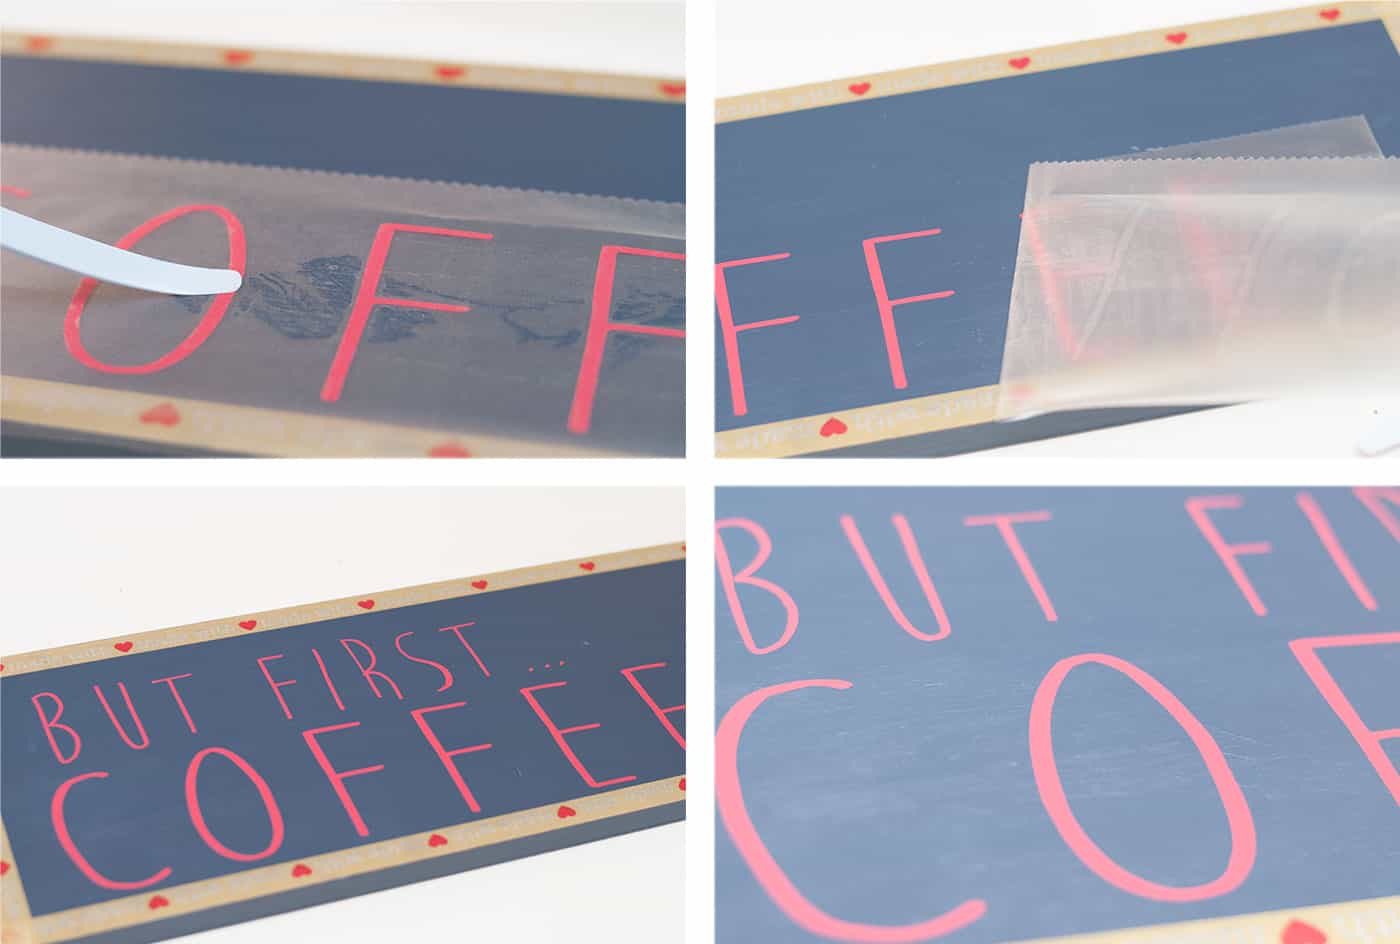
- Transfer the wording to the board using transfer tape, making sure to smooth it down. You want to make sure the vinyl sticks to the board very well so that when you paint, it won't bleed through.
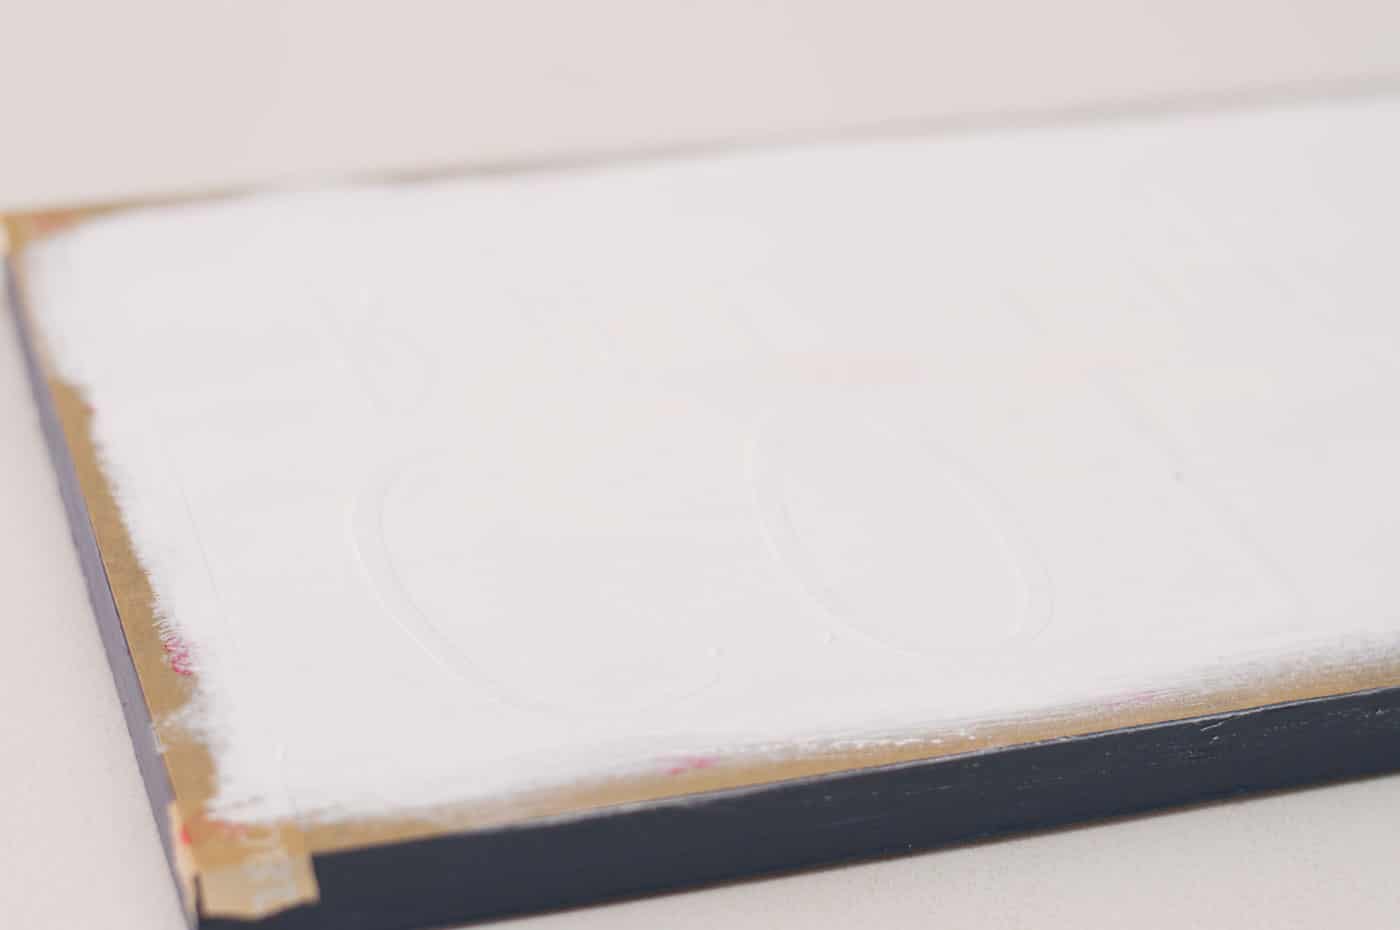
- Paint over the whole sign with your second color. I used two coats. Pull off the adhesive letters and let dry. Tweezers can come in handy here to help you grab the ends.
- Seal your project with Mod Podge. You can use the spray or the liquid. Let dry.
If you enjoyed this DIY coffee bar sign, let me know in the comments! Plus check out these other ideas for decorating your home:



Those are my first words in the AM! Crazy cool! I just saw another lovely project over at Persia Lou’s using a silouette… It’s a sign that I must get one 😉
THIS IS REALLY A QUESTIO. I HAVE A WOOD CARVING THAT IS STARTING TO FADE. WILL MOD PODGE PROTECT IT FROM BRIGHT LIGHT?
I HAVE USED MOD PODGE FOR SEVERAL YEARS BUT HAVE NEVER TRIED IT ON A
WOOD CARVING. MY SON GAVE ME THE CARVING AND HE HAS SINCE PASSED AWAY.
I DON’T WANT TO RUIN THE CARVING. IT IS VERY LIGHT AND I AM TRYING TO KEEP IT FROM ANY MORE FADING.I LOVE MOD PODGE AND WILL ALWAYS USE IT ON MY PROJECTS.I ALSO LIKE THE IDEAS I GET FROM THIS POST.