Brighten up a shelf with fabric in this fun decoupage bookcase project! You’ll be surprised at how easy it is to do with Mod Podge.
Skills Required: Beginner. Ideally you’ll be able to remove the back of your shelf which makes this project really easy. If you can’t, it just requires a bit of measuring and cutting for each shelf.
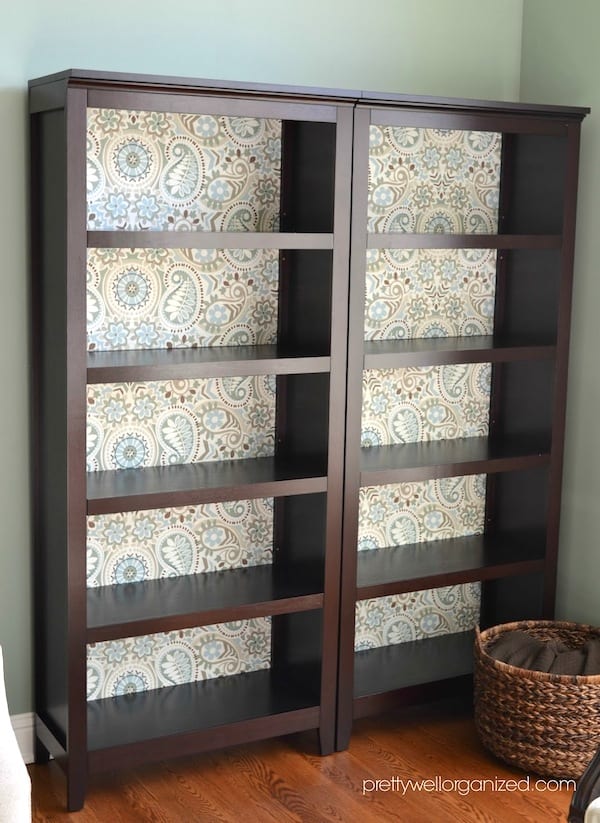
One thing that’s on my to-do list for this January is to “re-do” my bookshelf – just like this decoupage bookcase with fabric project that you see above.
And all I mean by that is I need to take all of the books off, go through them, dust, reorganize, and make a giveaway pile. Every once in awhile you have to re-assess, right? And you know how one home decor project always leads to a slew of other projects. That’s the way it works.
If you are thinking of doing a decoupage bookshelf of your own, you should consider a complete revamp like this one by Wendy. She did it with fabric, and it looks gorgeous and isn’t as hard as you would think.
My opinion is that a room is brighter and a bit more fun with touches like this. To learn how she made her decoupage bookcase, check out the tutorial below.
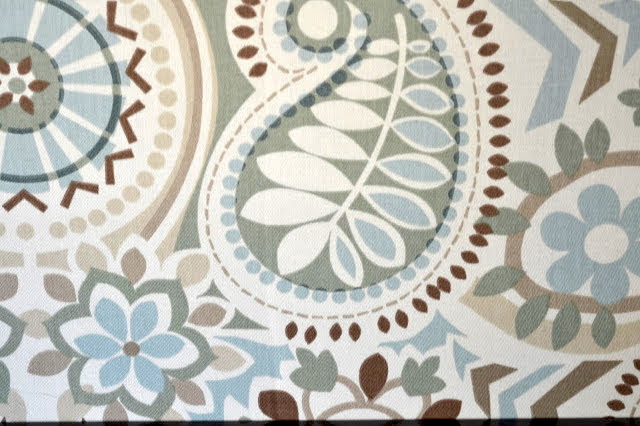
IMPORTANT TIP: I wouldn’t use really thin cotton for this project, nor would I use a very thick home decor weight fabric. Midweight cotton or poly-cotton blend is perfect (especially for beginners).
Decoupage Bookcase
Equipment
- Brayer or squeegee
- Tape measure
Materials
- Bookshelf
- Mod Podge Hard Coat
- Fabric enough to cover the backs of the shelves
Instructions
- Remove all books from the bookshelf and either take off the back of the bookshelf or measure the shelves using a tape measure.

- Trim the fabric down to size using scissors.
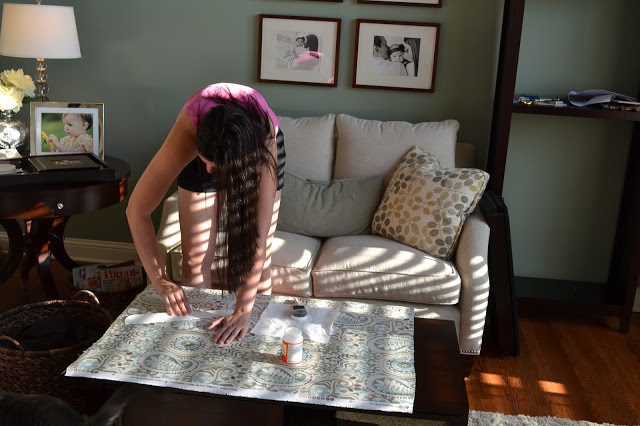
- Lay the bookshelf or backing down on a flat surface. Add a medium layer of Mod Podge to the back of the bookshelf and spread. Press the fabric down and smooth, working quickly. If your backing is very large, work in sections.

- Smooth down using a brayer or squeegee and let dry for an hour.

- Apply another coat of Mod Podge over the back of the shelves and let dry again.
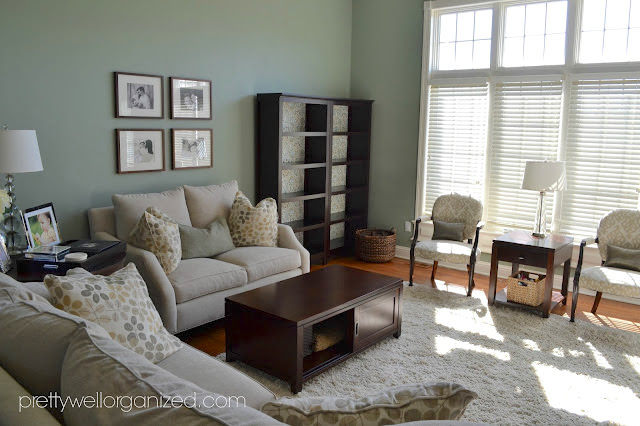
- If you did the entire backing, trim with scissors if necessary. Replace backer with screws or nails.
If you enjoyed this decoupage furniture project, I’d love for you to check out these other ideas:




Perfect!!