This comic book clock is the perfect gift idea for someone who loves comic books. And you won’t believe what it’s made out of . . . a charger!
Skills Required: Beginner. You’ll use a wood charger and wall clock kit, which requires basic tool and drill knowledge. The Mod Podging happens in smaller sections so wrinkles shouldn’t be too much of an issue.
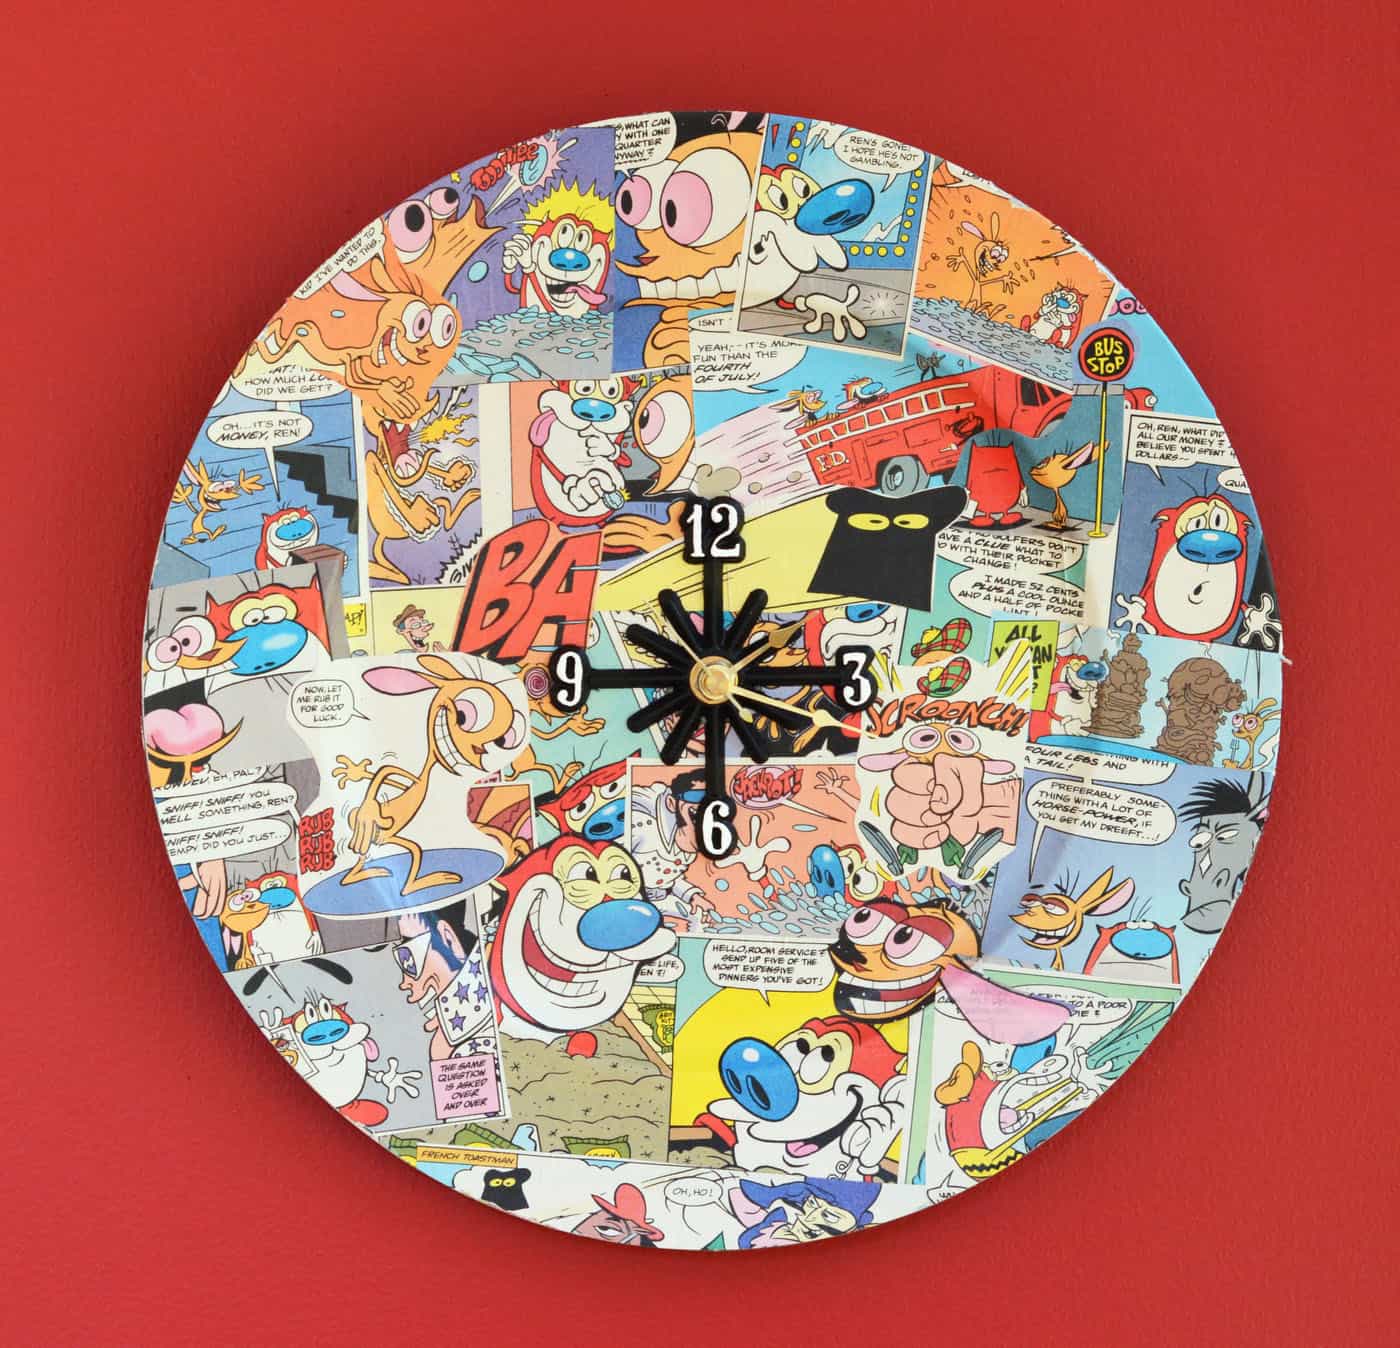
Hi guys! It’s Ashlee from My So Called Crafty Life! Today I am here to share a really fun DIY clock idea with you guys, decoupaged with comic books.
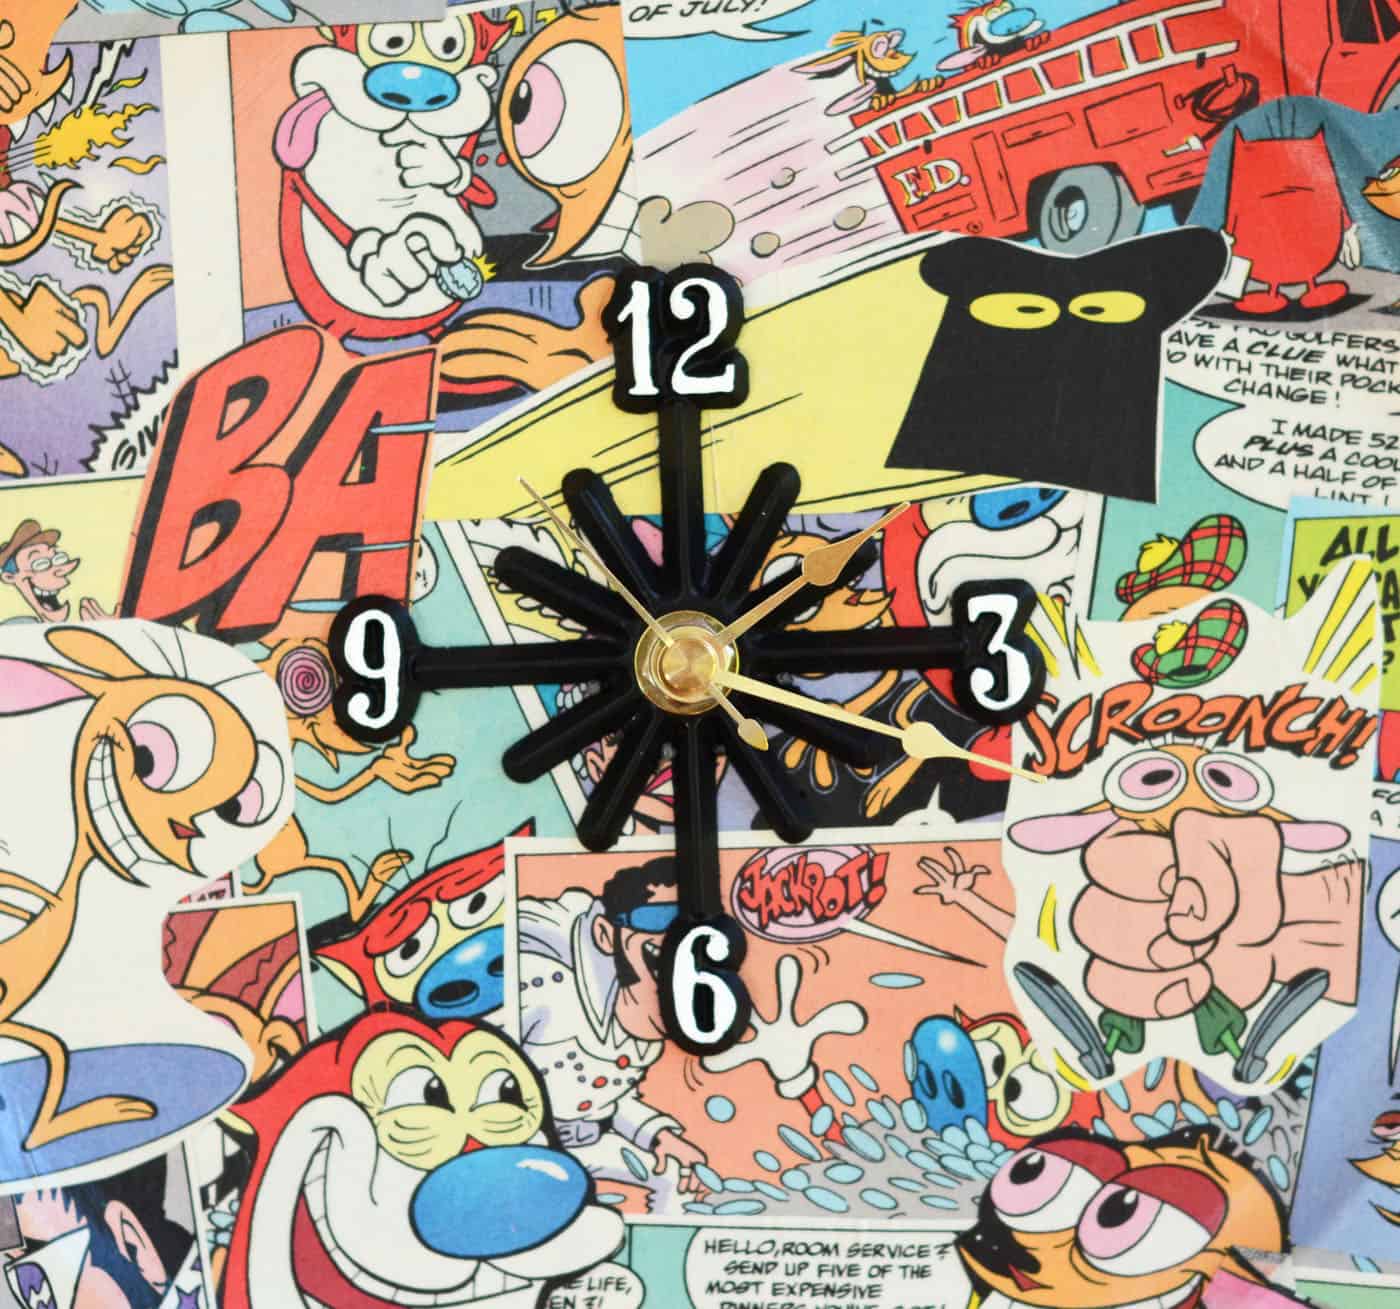
This fun personalized clock was made with a charger, a clock kit, and decorate it with paper ephemera. This is a simple and easy gift that I think would be wonderful for just about anyone on your list!
Comic Clock
Here’s What You Need:
- Charger
- Paper ephemera
- Clock kit
- Number plate
- Mod Podge Matte
- Paintbrush
- Scissors
- Craft knife and mat
- Drill with bits
- Glue
Instructions:
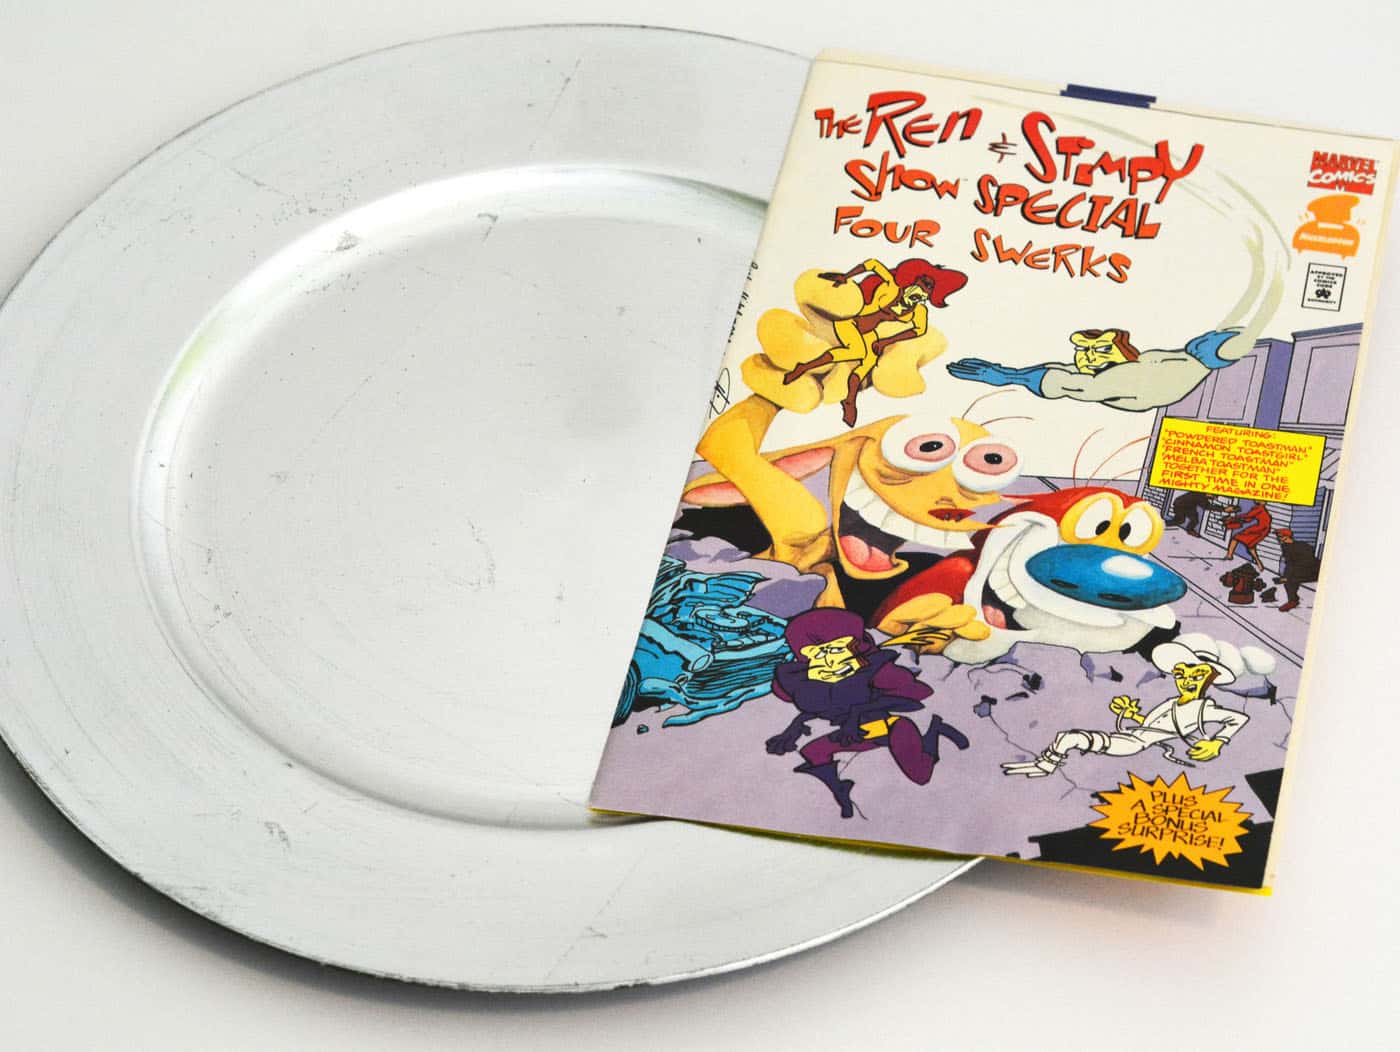
The first thing you need to do is clean your charger and dry it and gather your paper ephemera. I used a Ren and Stimpy comic book.
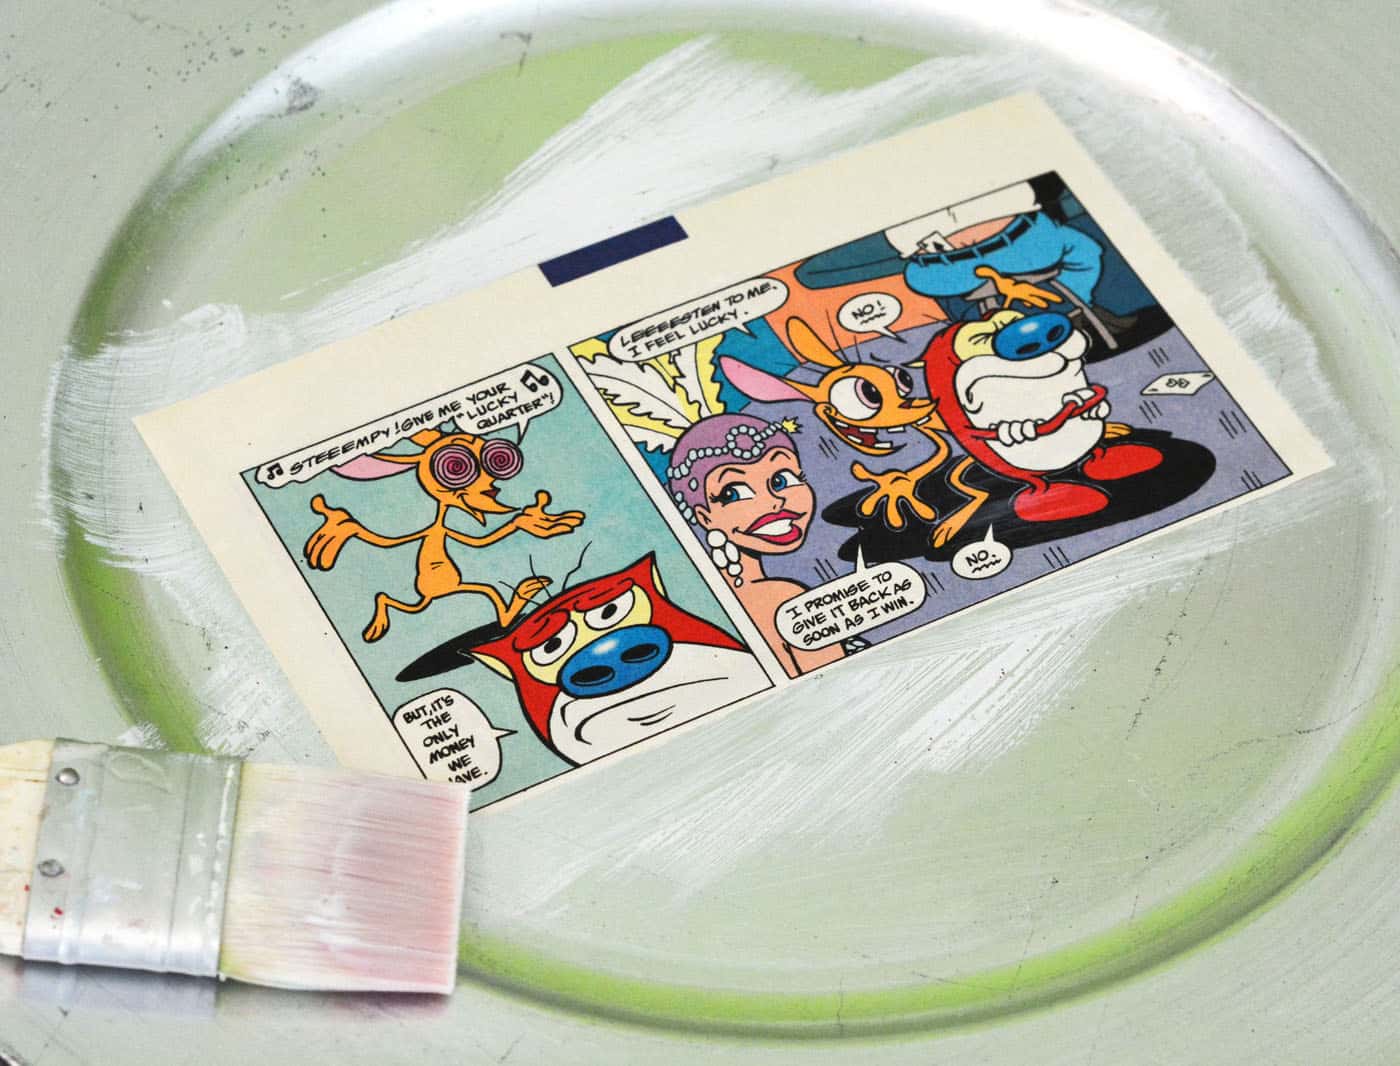
Now start cutting up comic blocks or paper elements. Paint a little Mod Podge Matte on the plate and then smooth a piece of paper over the medium smoothing out any bubbles or wrinkles.
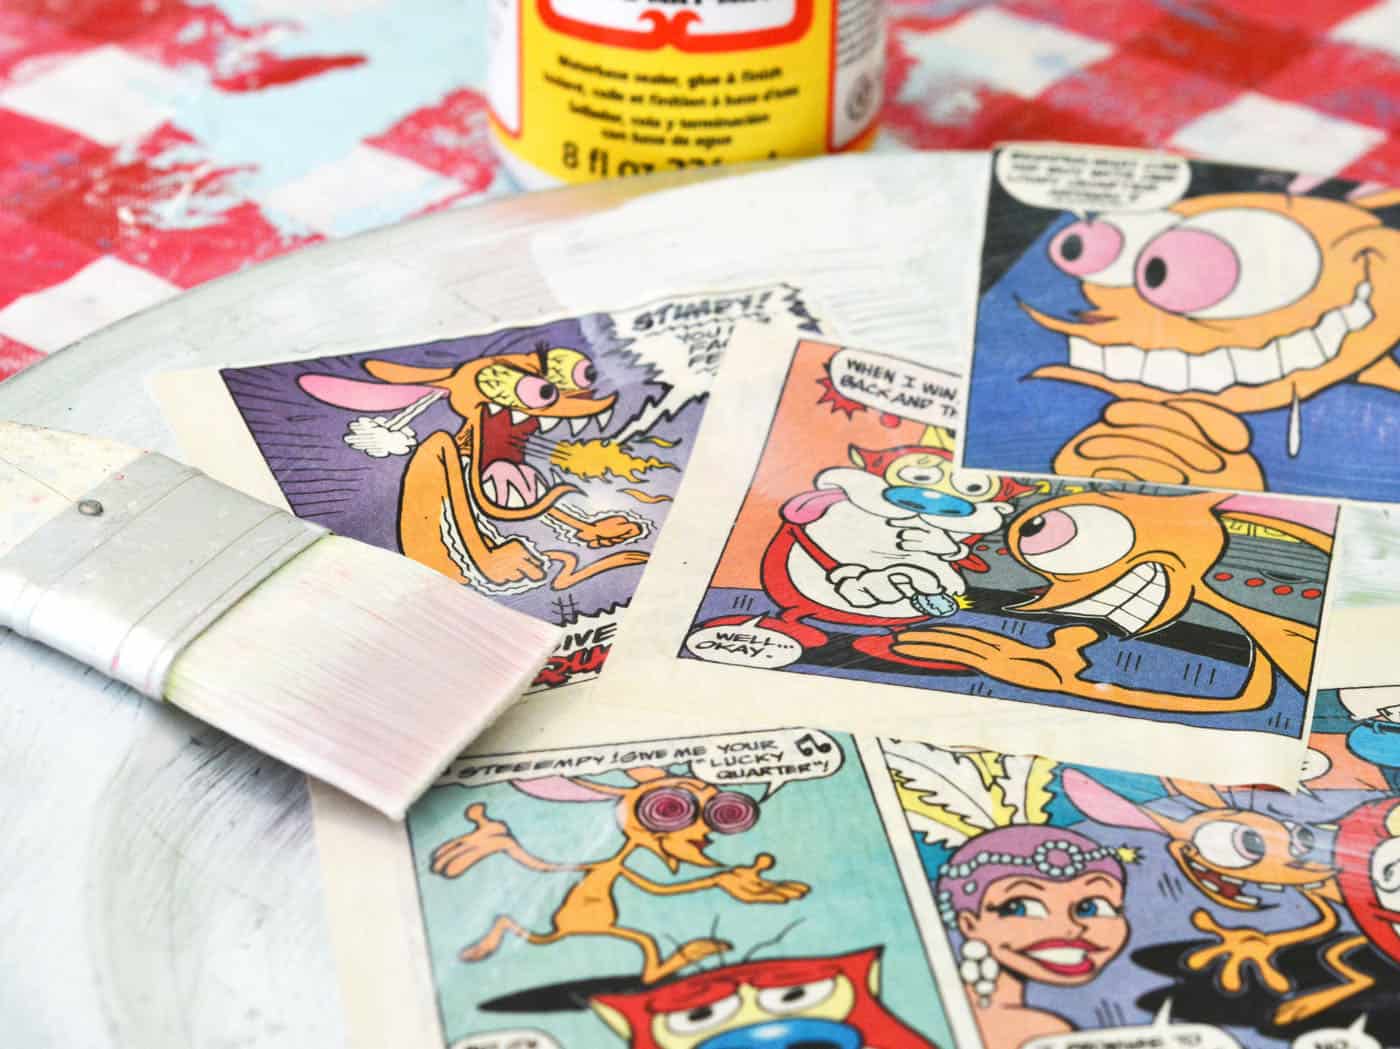
Continue building your plate with papers, keep layering papers on the plate with the Mod Podge Matte. It’s ok if the paper goes off the side. We will cut it off later.
Once you have your charger completely filled with paper elements and the design is how you like it, paint a layer of the Mod Podge over the top of your comic book clock and set aside to dry.
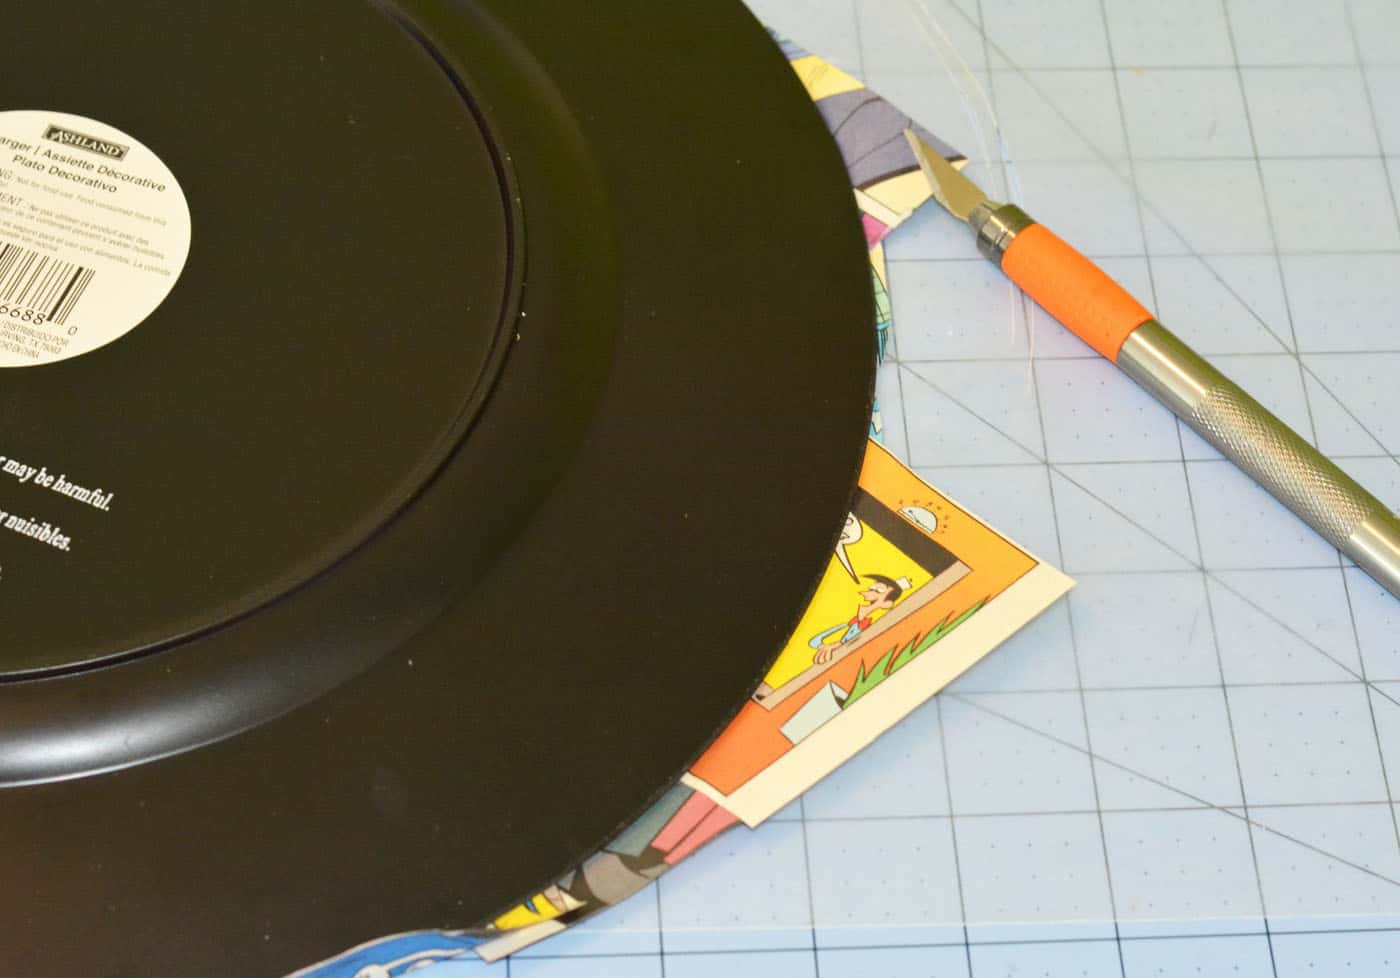
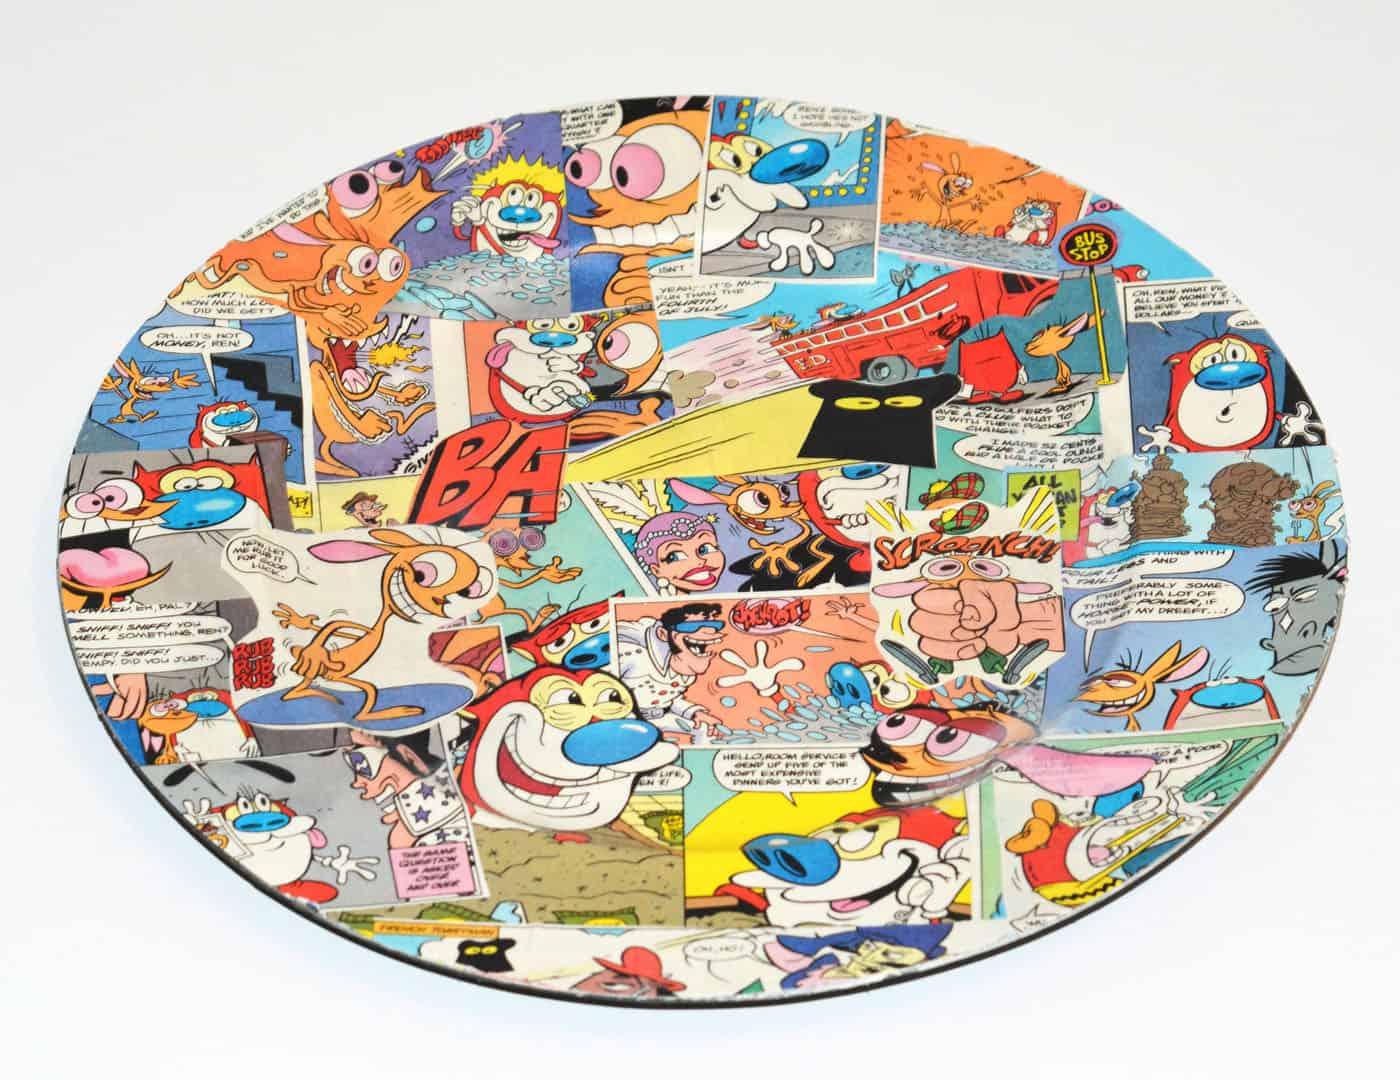
Now you are ready to cut off the excess paper. Flip the charger over so the back side is facing up. Cut on a protected surface like a cutting mat or board. Using your craft knife, cut around the clock cutting off any excess paper and leaving a clean edge.
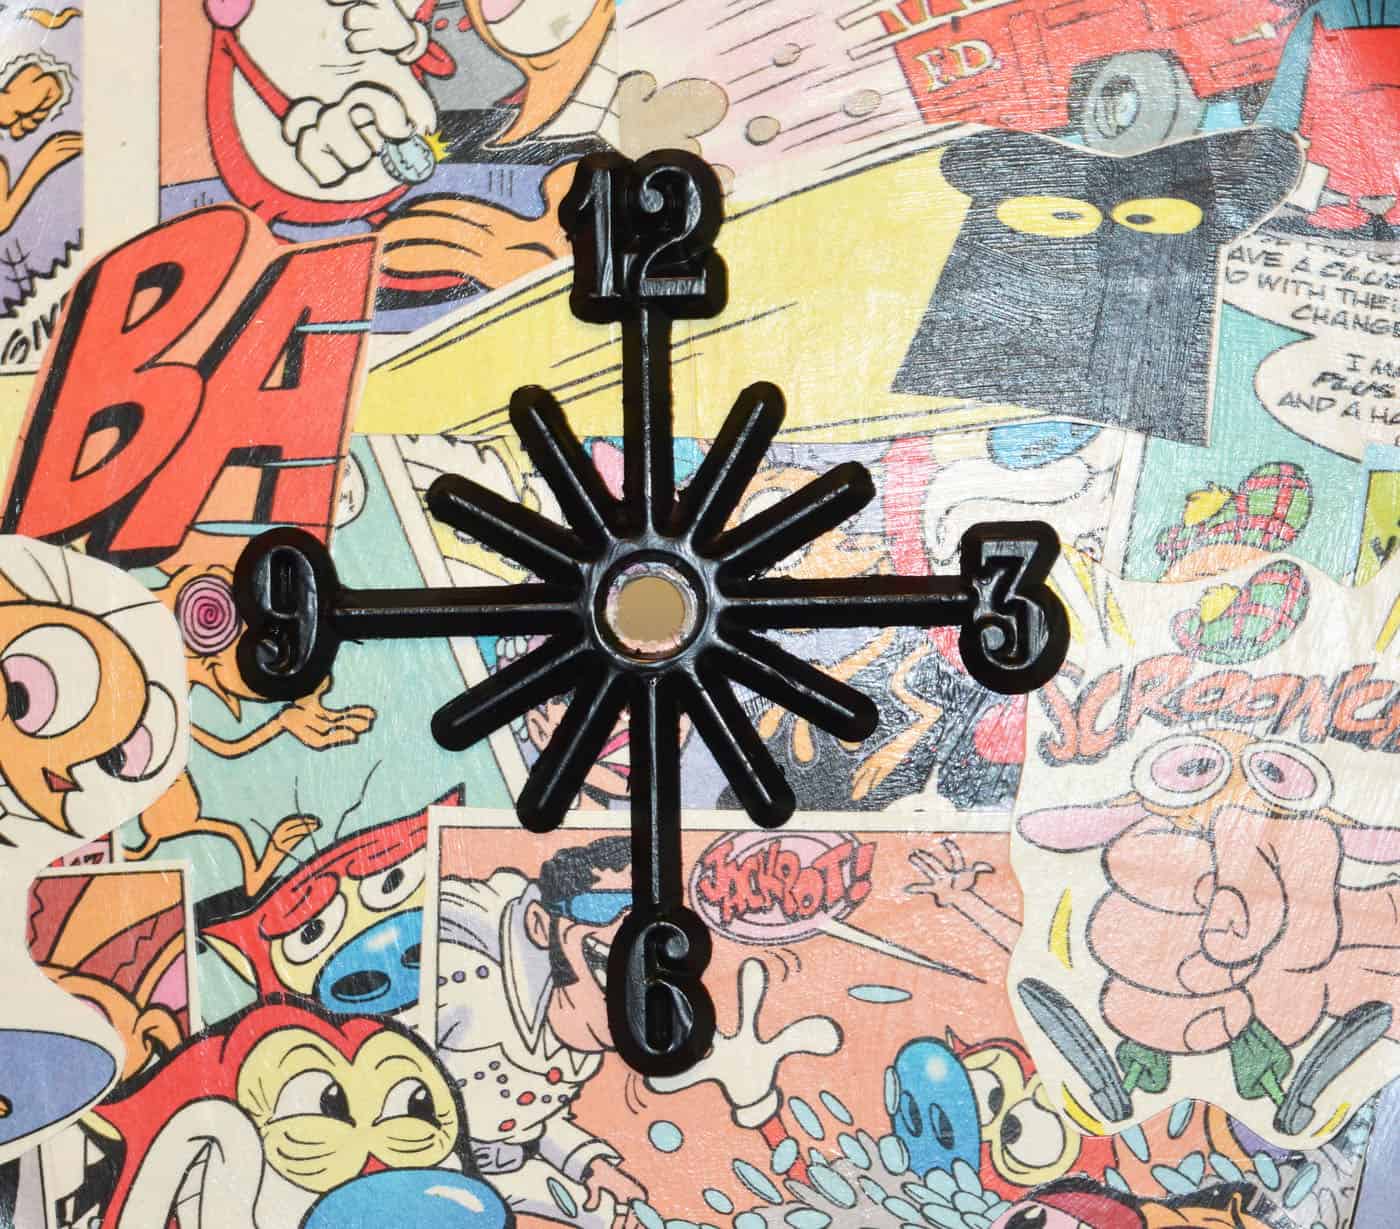
Next, paint your number plate. While it dries, you can cut your center hole.
Using a drill with a drill bit the same width as the bolt in your clock kit, drill a hole through the center of the charger. When your number plate is dry, glue it onto the front of the charger, lining up the holes.
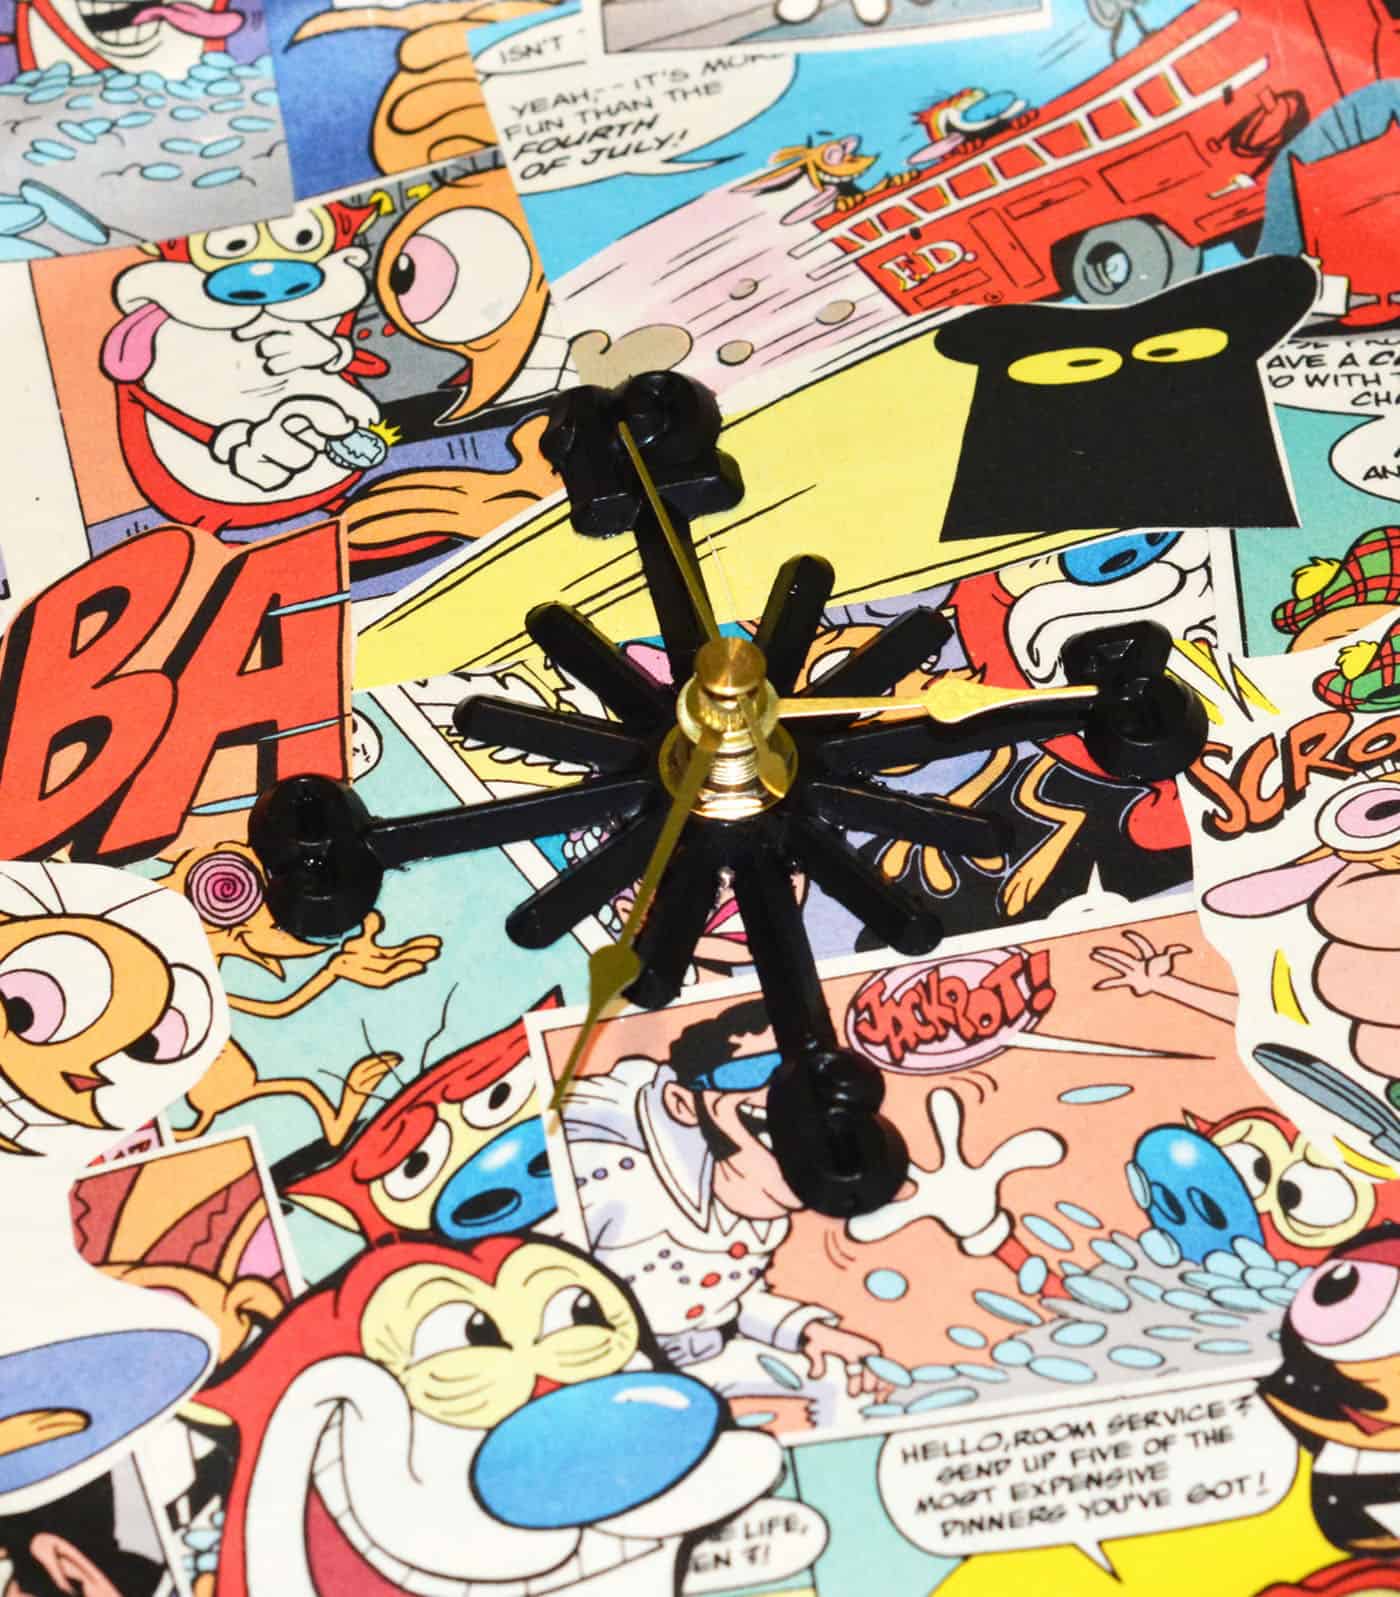
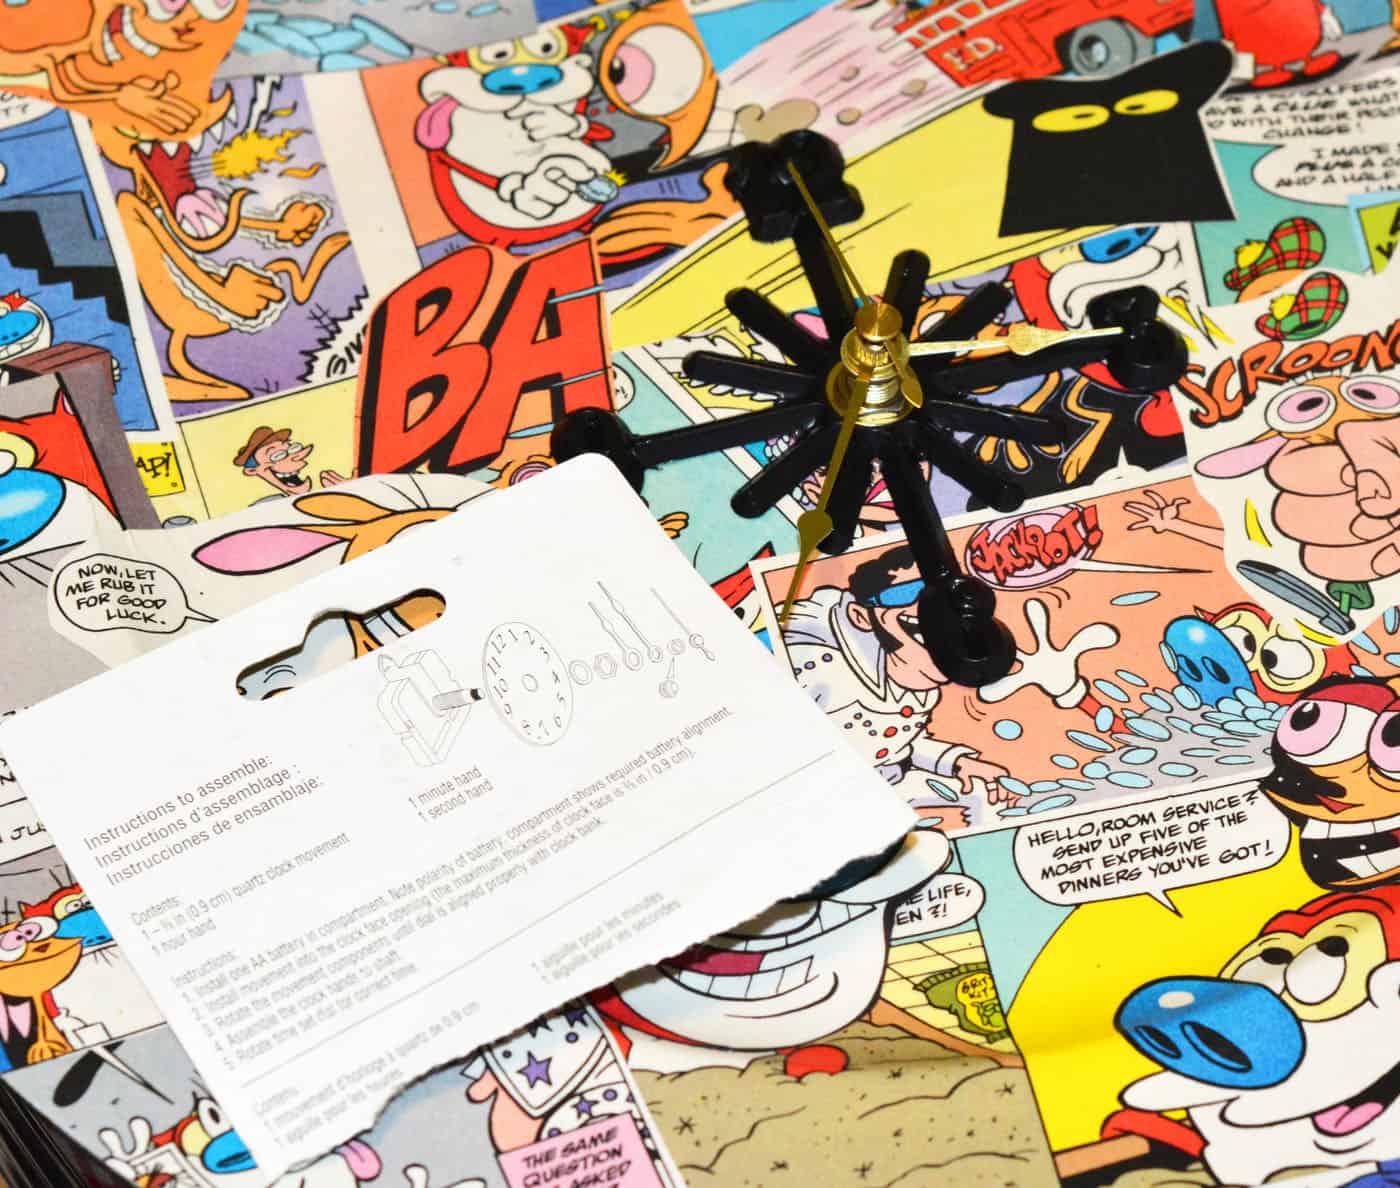
To finish your clock, follow the instructions that came with your clock kit to finish assembly.
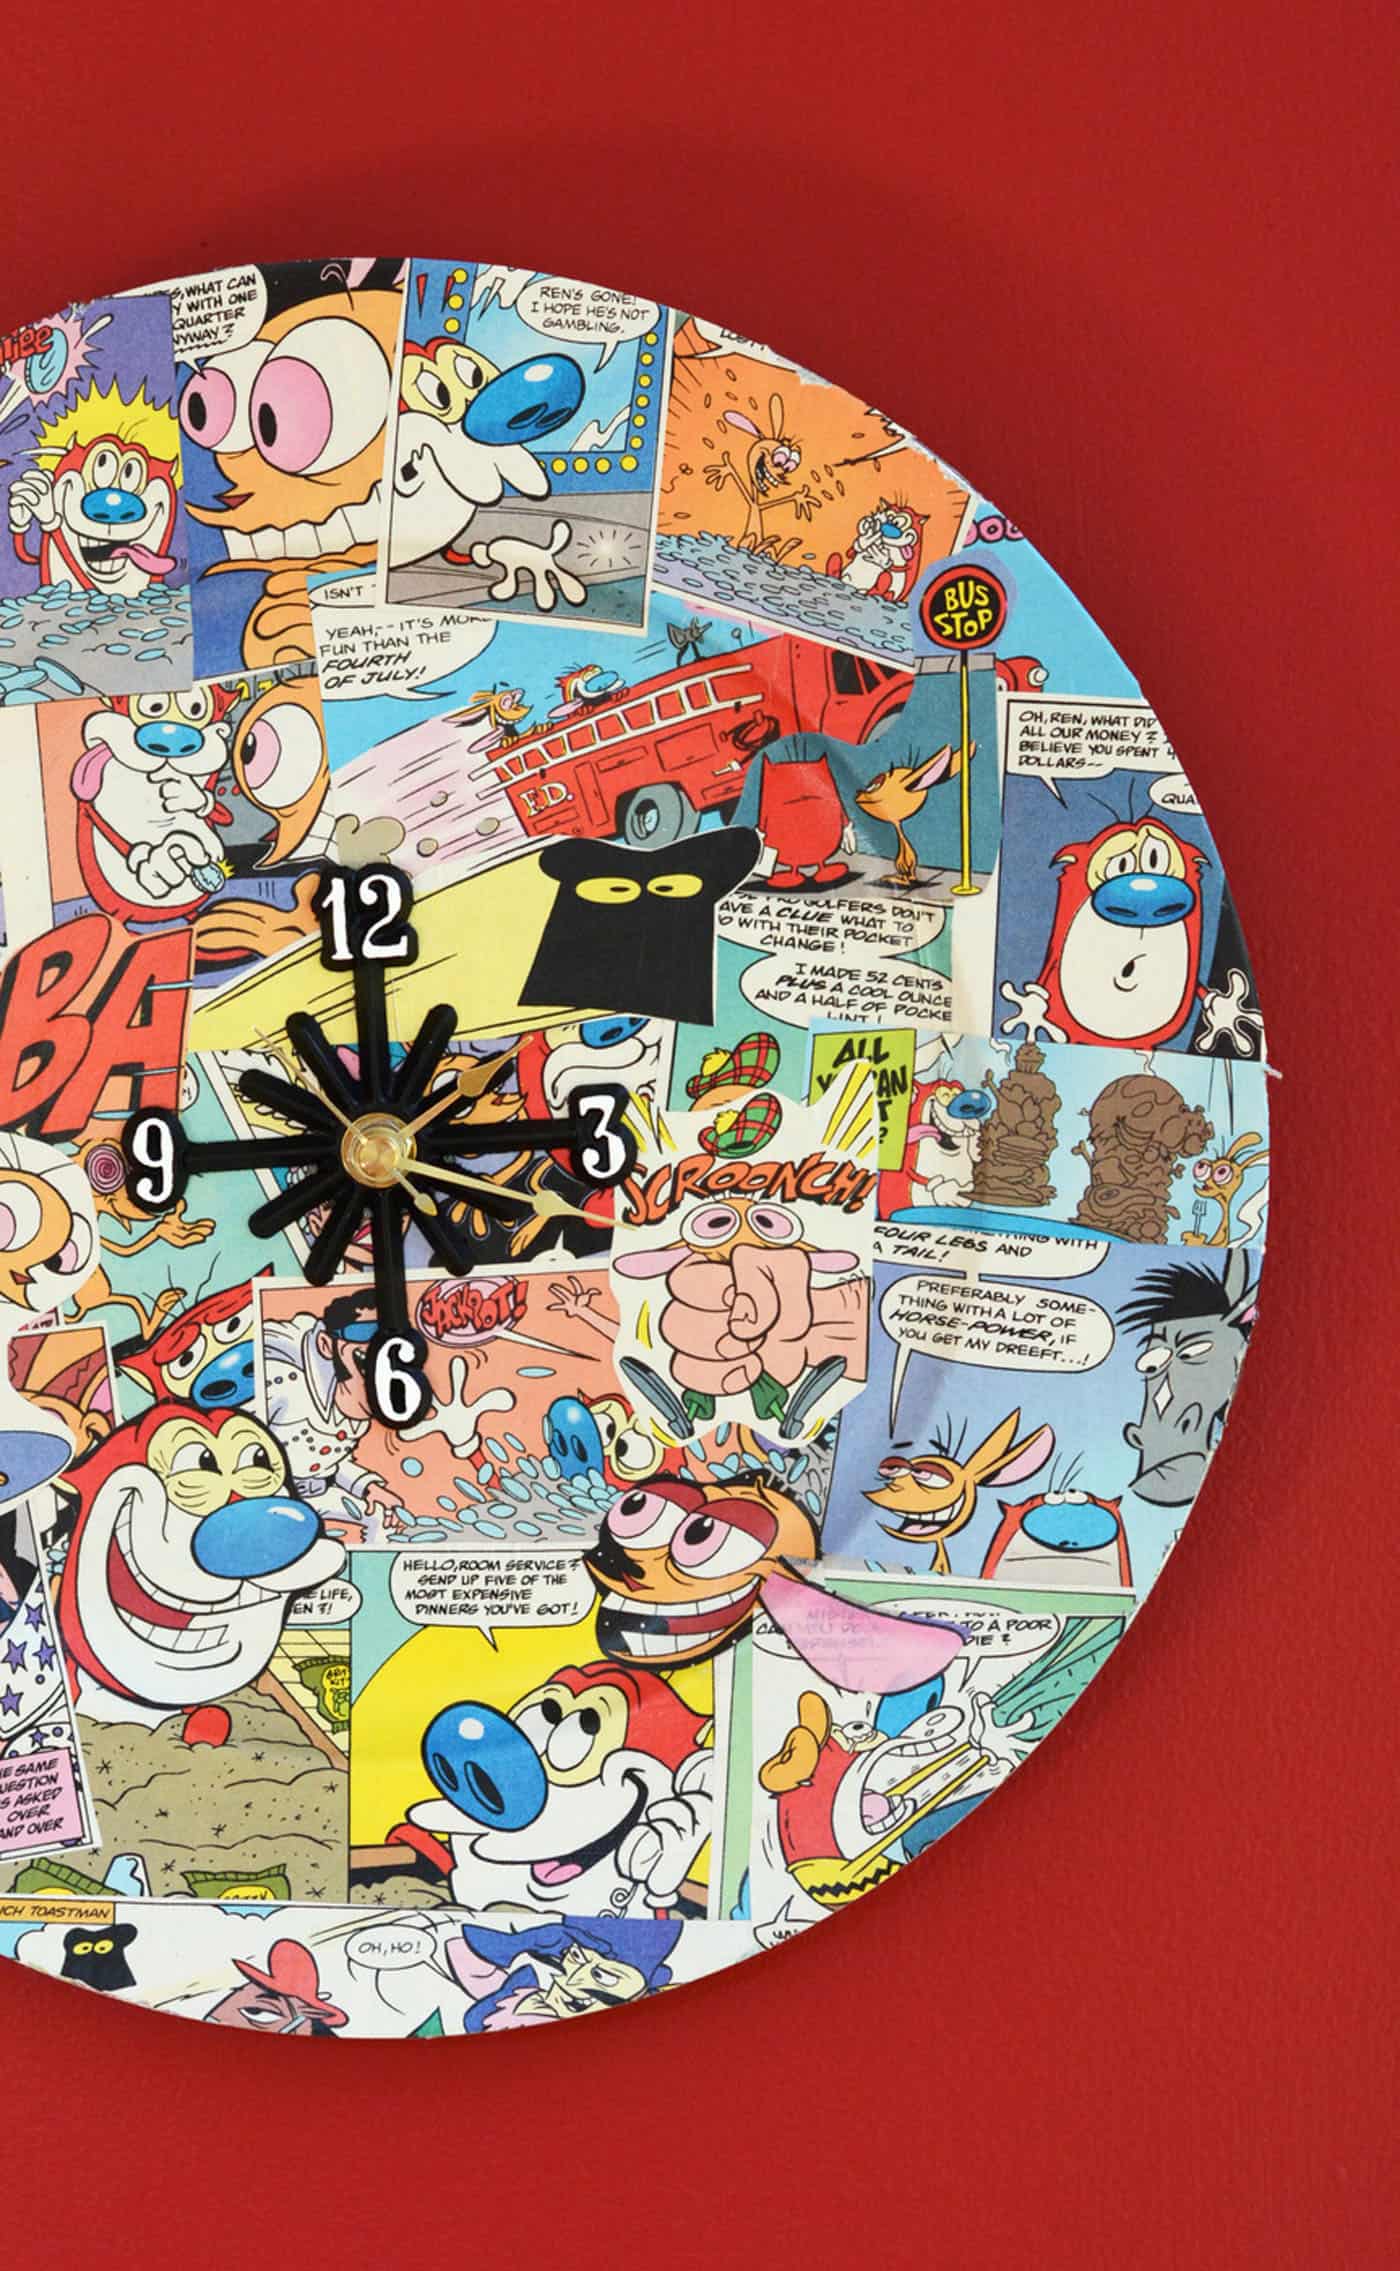
I love how my clock turned out! I made this one for my brother, who as a child of the 90’s loves Ren and Stimpy, like so many of us! This clock was really easy to put together, and fun!
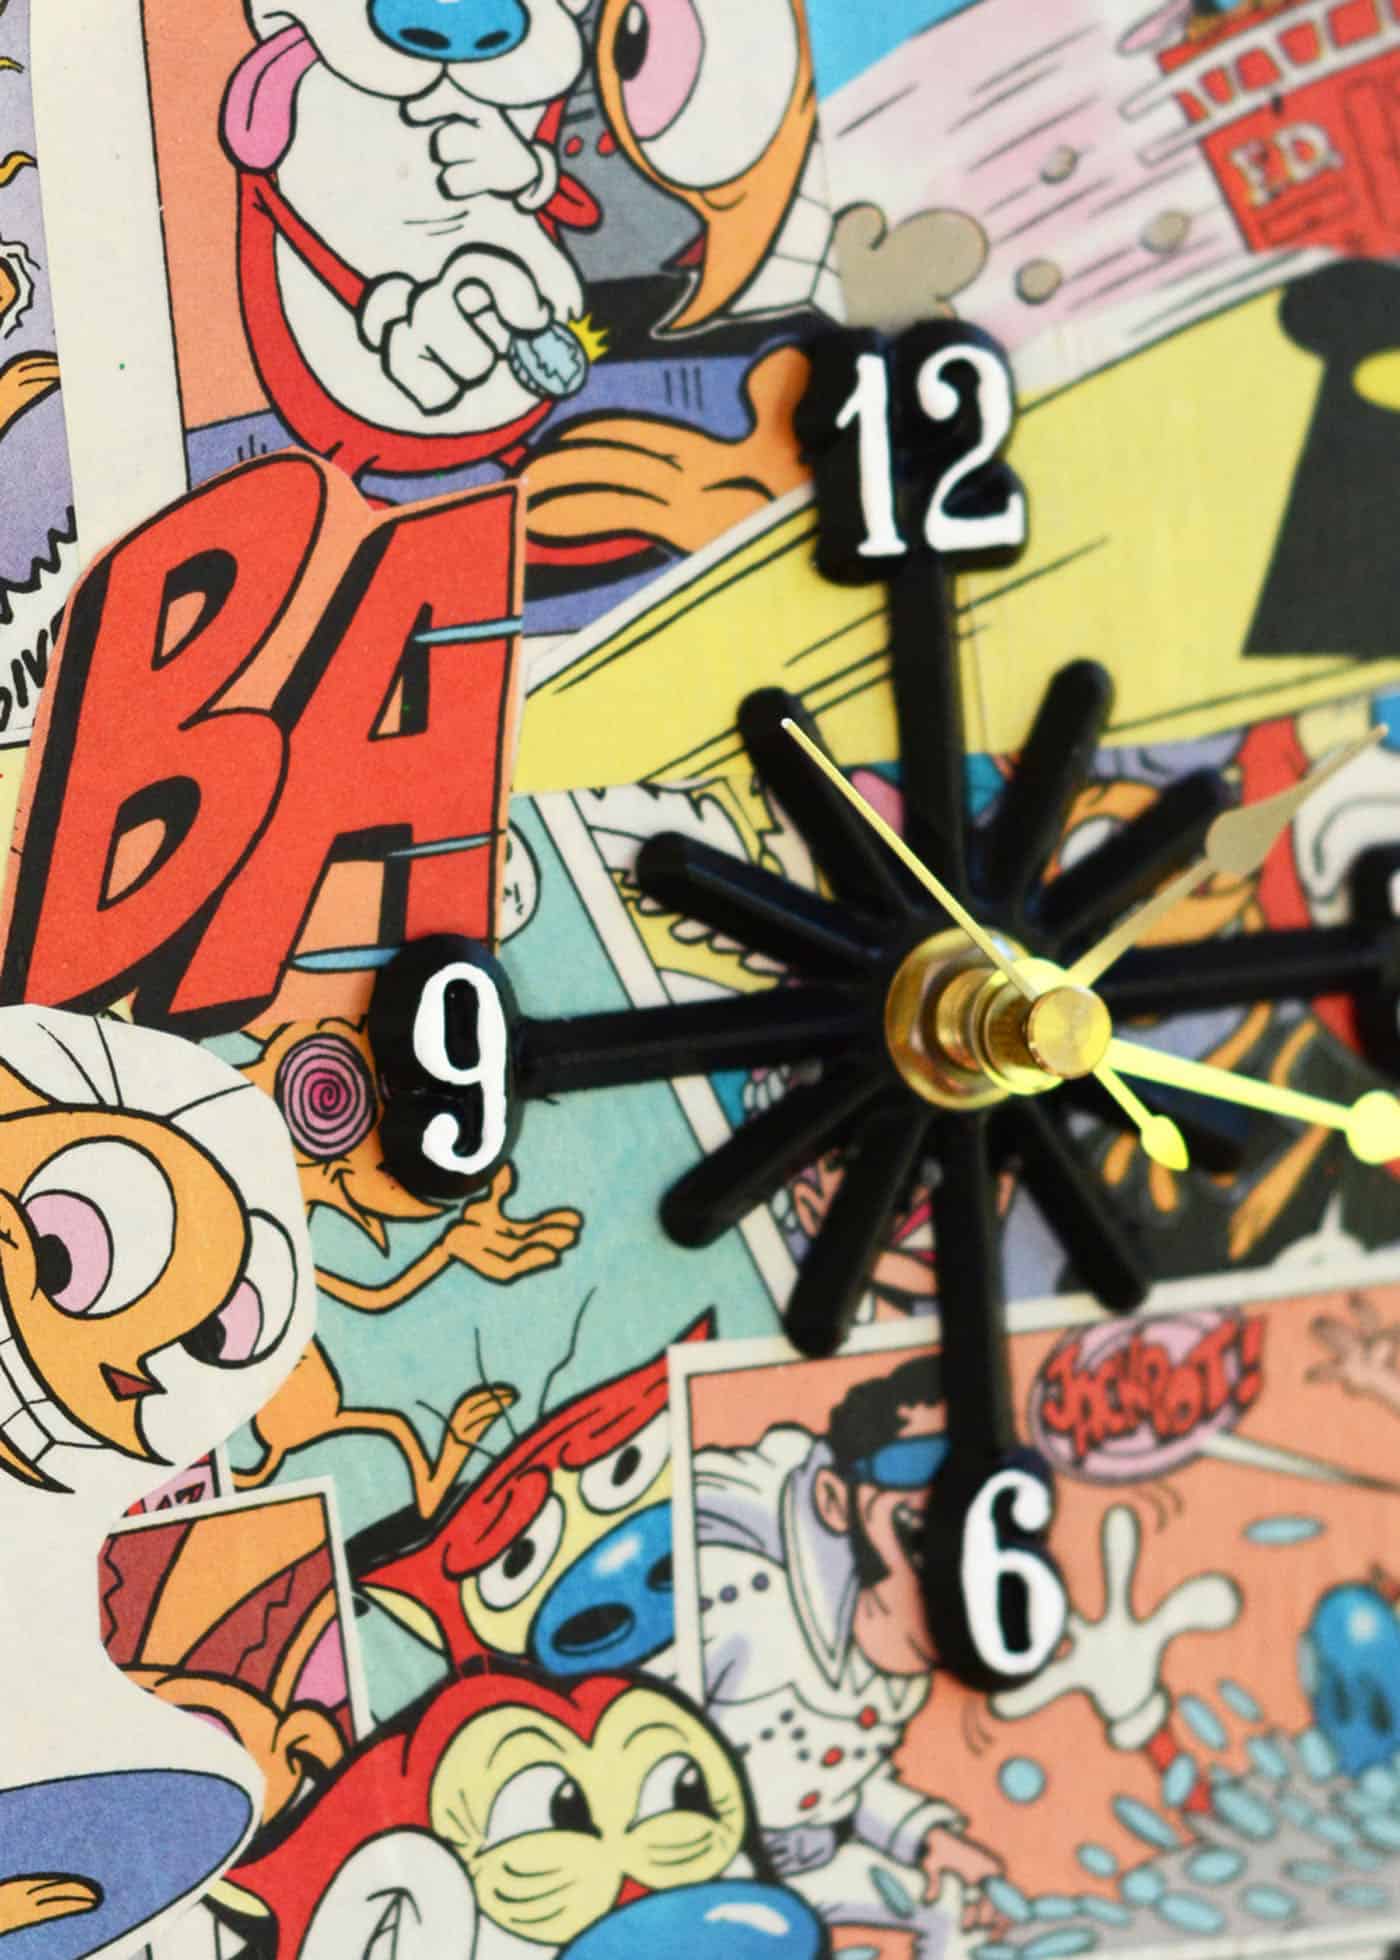
I love how easy you can customize this comic book clock just by the shape of your charger and the paper ephemera you use.
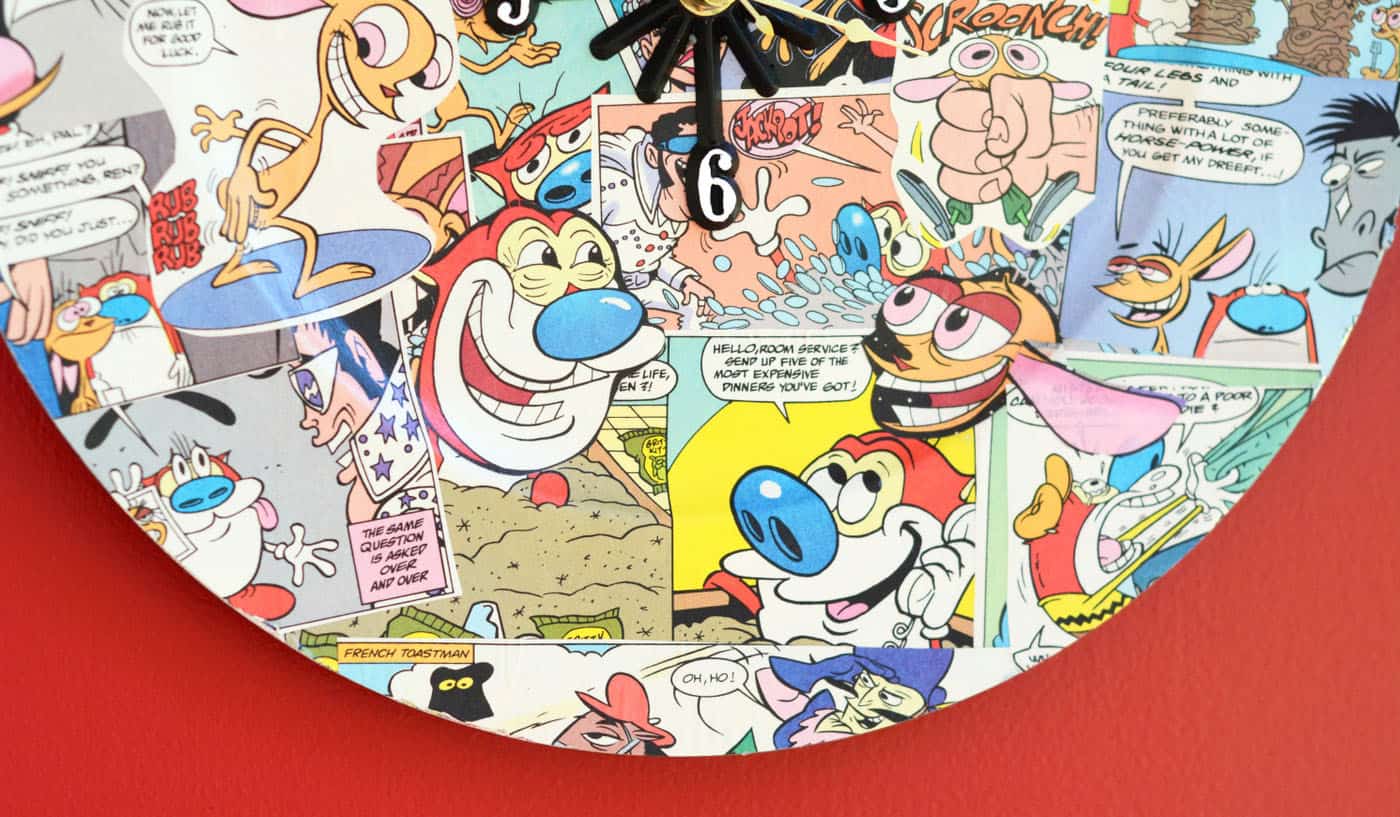
You can make it a one of a kind gift for someone special on your list. I hope you will give it a try this year, I think you’ll love it as much as I did!
If you liked this comic book craft, check out another tutorial I did – a comic book pencil cup.
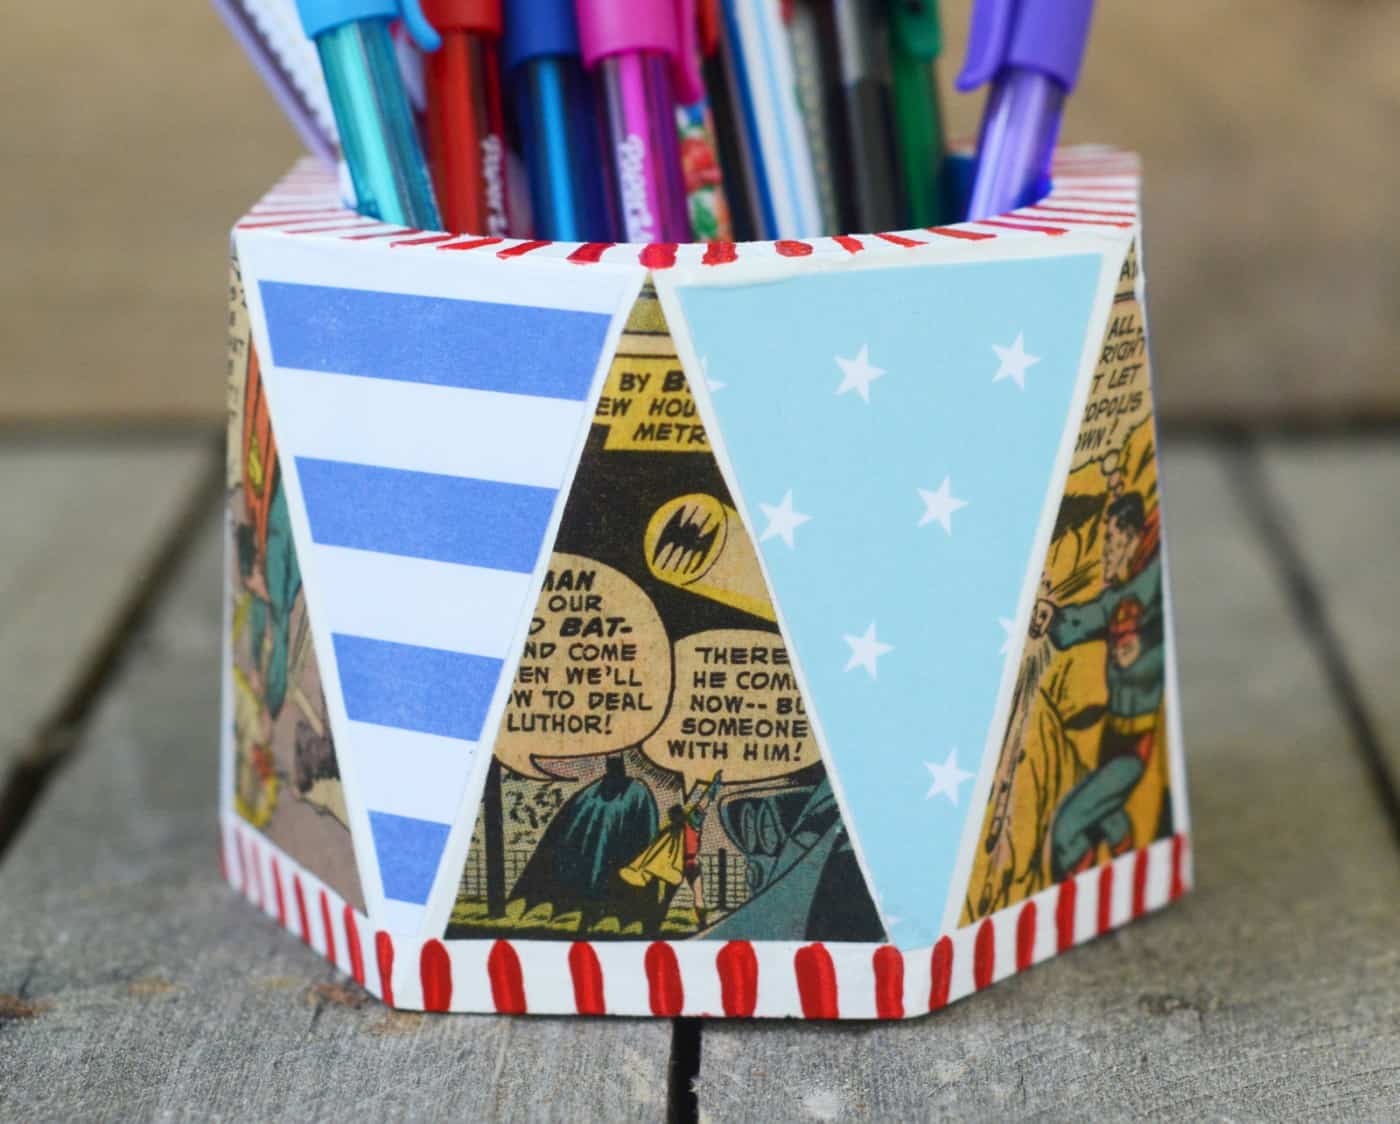
I’d also love for you to check out these comic book coasters, comic book letters, and a comic book canvas.





This is too cute! beautifully done 🙂
I think next year, I will do something similar but using family photos! I will make each one personalized for each family! Thanks for next years Christmas presents. Awesome idea you gave me
What do you mean when you say chargerr?
Hi Teri! It is a decorative plate that goes underneath plates at fancier meals. You can see some examples here: https://amzn.to/3JANAcd