Give your mailbox a personality makeover! This easy DIY project adds color, charm, and a fun surprise inside using Outdoor Mod Podge.
Skills Required: Beginner. You’ll be spray painting and applying Mod Podge to the inside of the mailbox. I have a how-to at the bottom of this close that gives tips for painting.
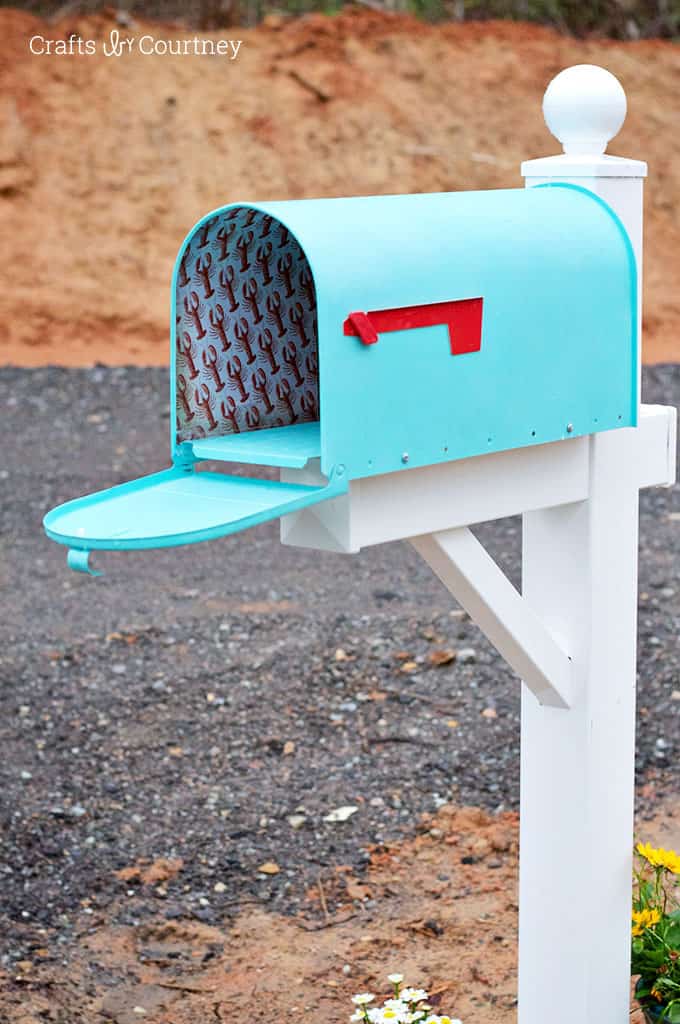
You know that feeling when you drive up to your house and something just feels off? Maybe it’s the bland mailbox staring at you like a lost puppy. Well, that’s exactly how I felt when I moved into my new home.
Sure, it had a sturdy post and a perfectly functional mailbox – but it had zero personality. And if there’s one thing I love, it’s making everything in my space feel like “me.”
So, what’s a crafty person to do? Give that mailbox a glow-up, of course! I wanted something that matched my beachy, coastal vibe, so I grabbed a can of outdoor spray paint in the most perfect shade: Nautical Blue.
I mean, the name alone told me it was meant to be! But after that first coat dried, I stepped back and thought… it still needs something extra.
That’s when inspiration struck. What if I lined the inside with decorative paper? Game changer. I ran to the craft store, grabbed some Outdoor Mod Podge, and got to work. Suddenly, my little mailbox went from “just painted” to full-on custom and fabulous.
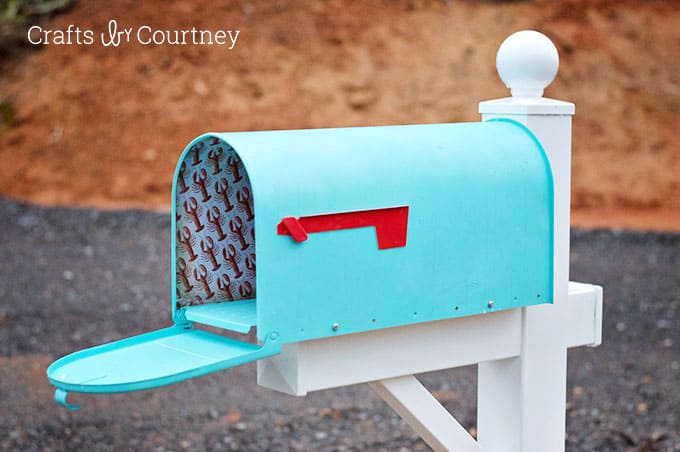
And this project is more than just cute. It’s actually useful. Now when I give directions, I can just say, “Look for the bright, beachy mailbox!” No more “third dirt road on the left past the tree that used to have a tire swing.”
Plus, wouldn’t this make the perfect housewarming gift? Personalize it with someone’s favorite colors or themes, and boom – best gift ever. Ask first . . . of course. Just in case they are boring and like plain mailboxes 😮
If your mailbox needs a little personality, this DIY is for you. Get the full tutorial below and let’s make getting the mail fun again!
Paint a Mailbox
Equipment
- Painter’s tape
- Sandpaper
Materials
- Mailbox
- Mod Podge Outdoor
- Outdoor spray paint
- Outdoor primer optional
- All purpose cleaner
- 4 pieces Scrapbook paper optional
Instructions
- If at all possible, remove the mailbox from the post. If you can't you'll have to tape paper around it to protect the post.
- Smooth out an areas that need it with sandpaper. You can also remove any rust at this point as well.
- Clean the mailbox with mild soap and water. It helps to use warmer water and a scrub brush. Rinse with water and let dry.
- If there is any flaking paint or rust, sand smooth with sandpaper.
- If you can, spray with a white primer as a base. Hold the can 6-8 inches from the surface and use a sweeping motion. Apply several light coats, allowing to dry between coats.
- Apply your selected color to the mailbox. Use an outdoor spray paint . Add a total of three coats and let stand 24 hours. Remember to keep the can 6-8 inches, and the coats should be light. Use a sweeping motion.
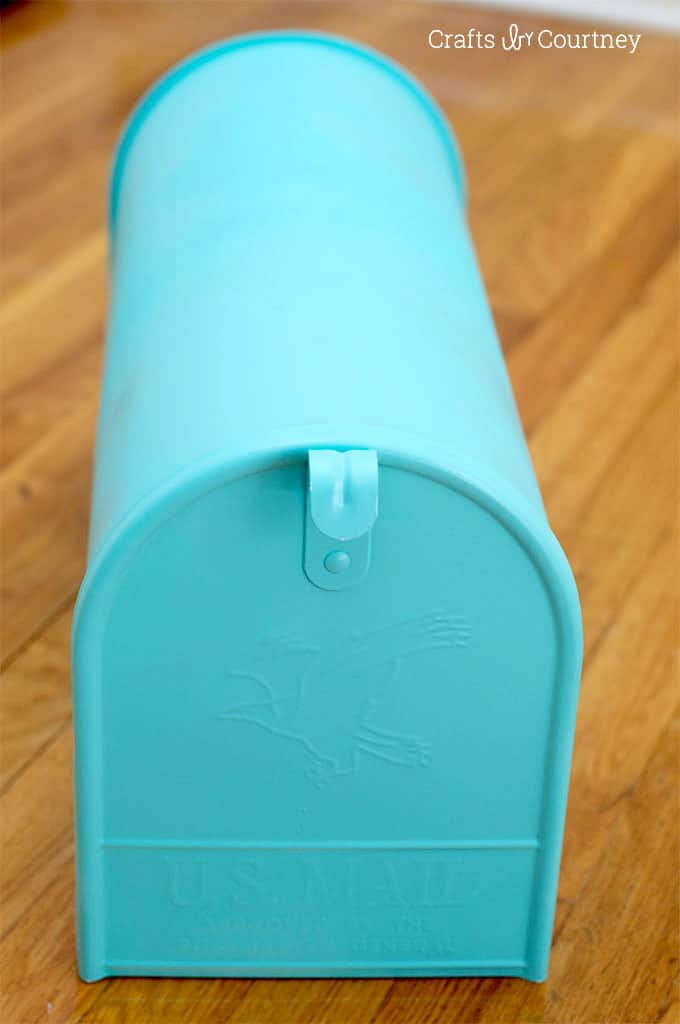
- Make sure the mailbox is completely dry before you remove the painter's tape. Replace the mailbox if you removed it from the post.
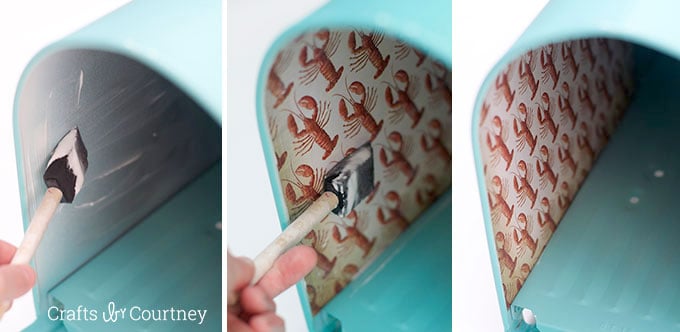
- To decorate the inside of the mailbox, add a layer of Mod Podge to the inside. Gently smooth down the scrapbook paper and let dry. Go over the inside of the mailbox again with Mod Podge and let dry completely.
Notes
If you enjoy decorating your home in a beach-y or coastal theme, check out these other ideas:
Beach Fairy Garden • Beach Letters • Sea Glass Lanterns • Cardboard Sandcastle • Decorate a Tray • DIY Starfish • Fabric Lined Drawers • Lazy Susan Makeover




This is so cute!
Courtney! How cute! And how crazy that I was looking at gift ideas for my nieces, came across some mod podge rings, got a link to here and first thing I see is YOU! Now, back to the rings 🙂
Not sure what your weather is like. Down in Tasmania, Australia it gets hot in Summer and Autumn No hose where the mailbox is. I put a variety of succulents in different colours and sizes around mine. Carefree and looks good. Love your mailbox!
Flowers draw bees and that could be very dangerous for mail carriers that are allergic. Clean box out regularly for spiders and such.
@Debra, so right, flowers, vines, bees & mailmen do not mix! Plant some foliage not flowers, maybe Hostas or ferns.
Your mailbox is the most important thing in your front yard. It tell the character of your family and home. I started a Adopt a mailbox program to help my customers, if they need help in this crazy time in your lives.