
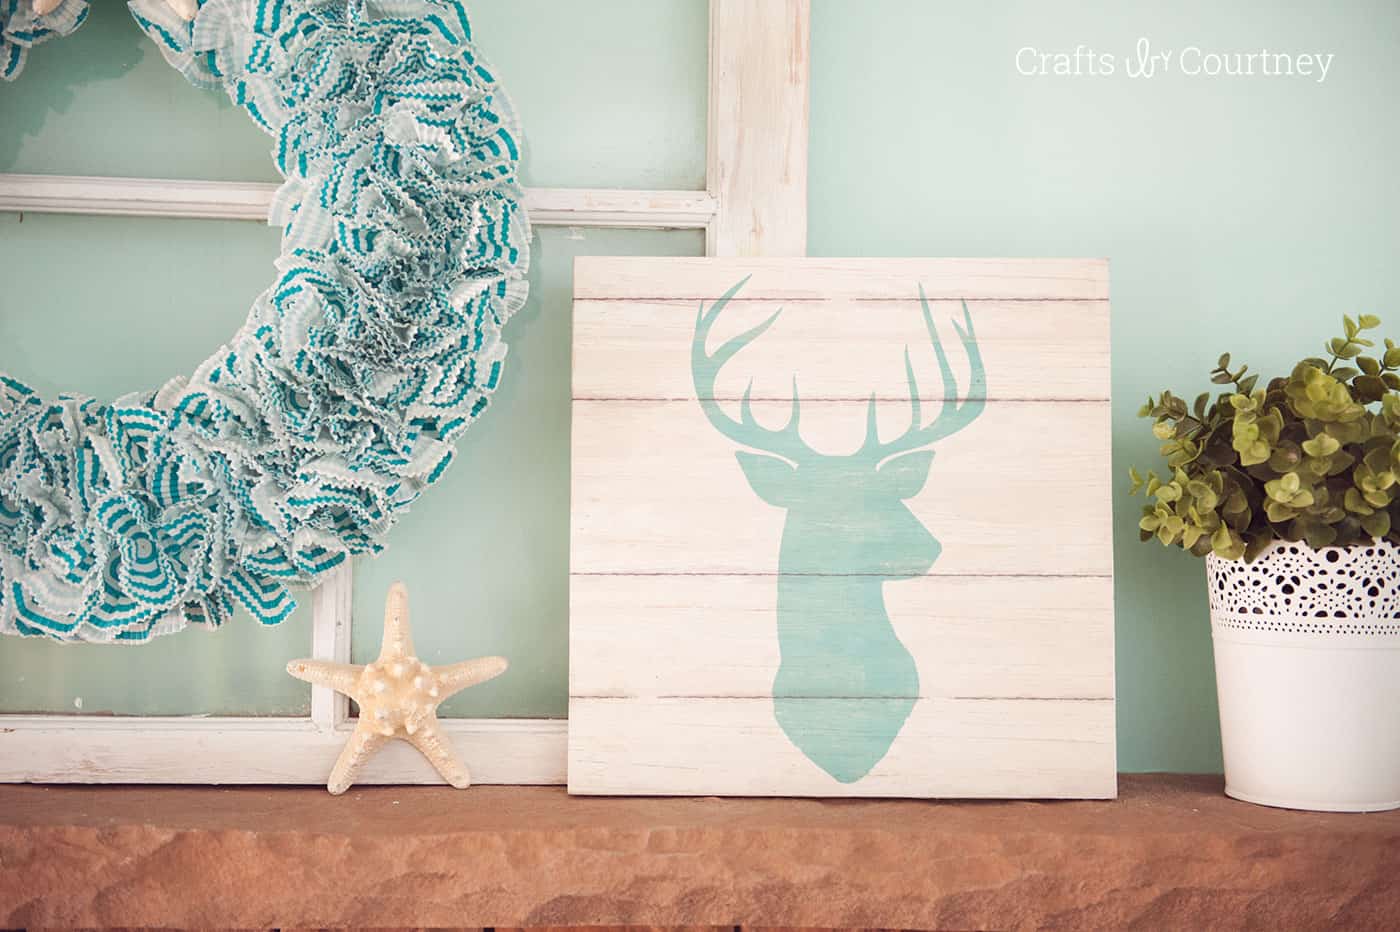
Use a cut piece of wood and decoupage medium to make fabulous scrapbook paper wall art in minutes. So easy and looks great on the mantel!
Skills Required: Beginner. If you’ve never used Mod Podge before, you’ll still be able to achieve this decoupage idea. Be patient and allow proper dry times!
While on a recent trip to Hobby Lobby I found some great pieces of scrapbook paper. I really didn’t feel like they looked like scrapbook paper. They looked more like pictures they would sell there in the home decor section.
So it got me thinking, why not make my own scrapbook paper wall art using them? I even found a cool lobster piece that I will be doing a project for later on!! That’s how this home decor project was born, and you can do it in a few simple steps.
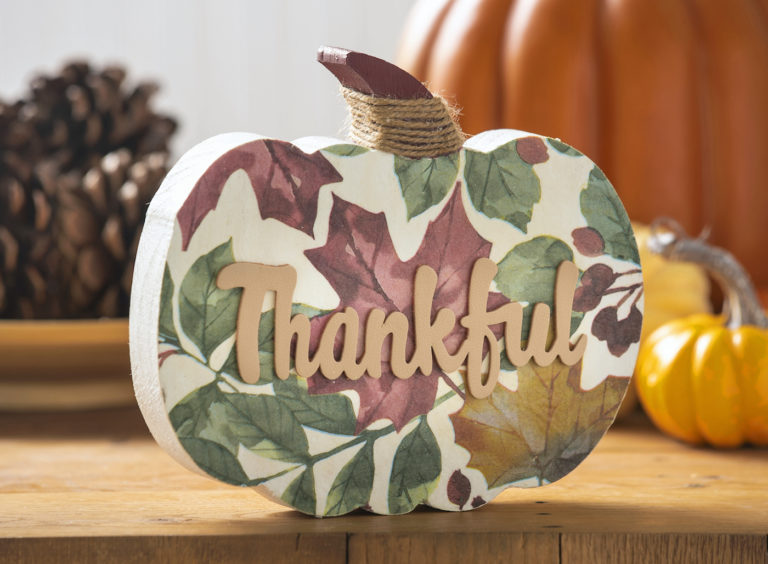
I did a similar wood craft like this for fall using extra pieces of scraps I had. But this time I decided to get a piece of wood cut specifically for this project.
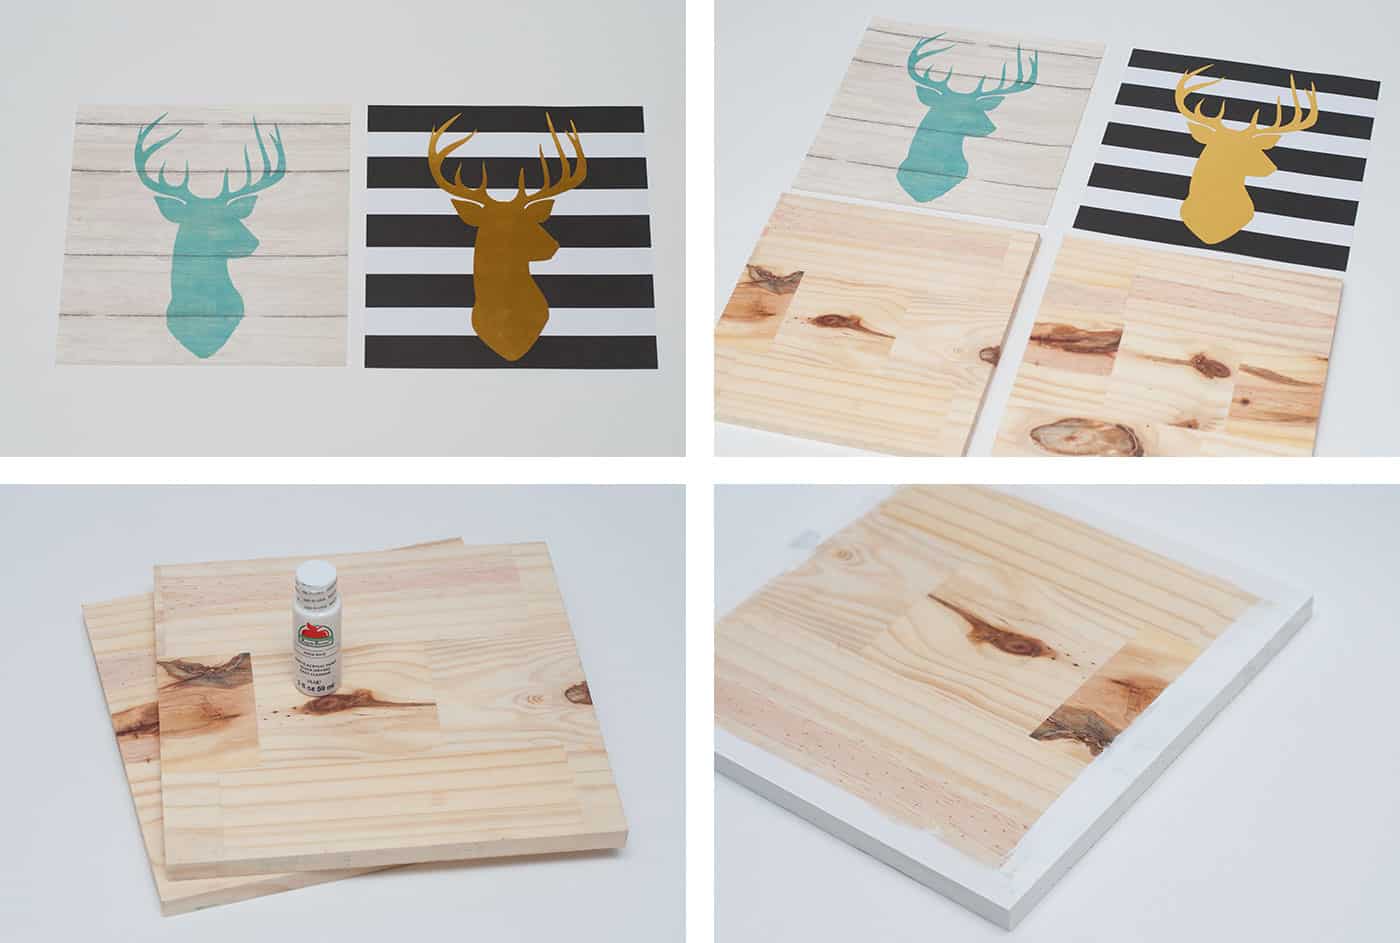
I spent $7.00 on a three foot piece of wood, and had Lowe’s cut it into three 12 x 12 pieces. I was super excited to get home and get crafting!
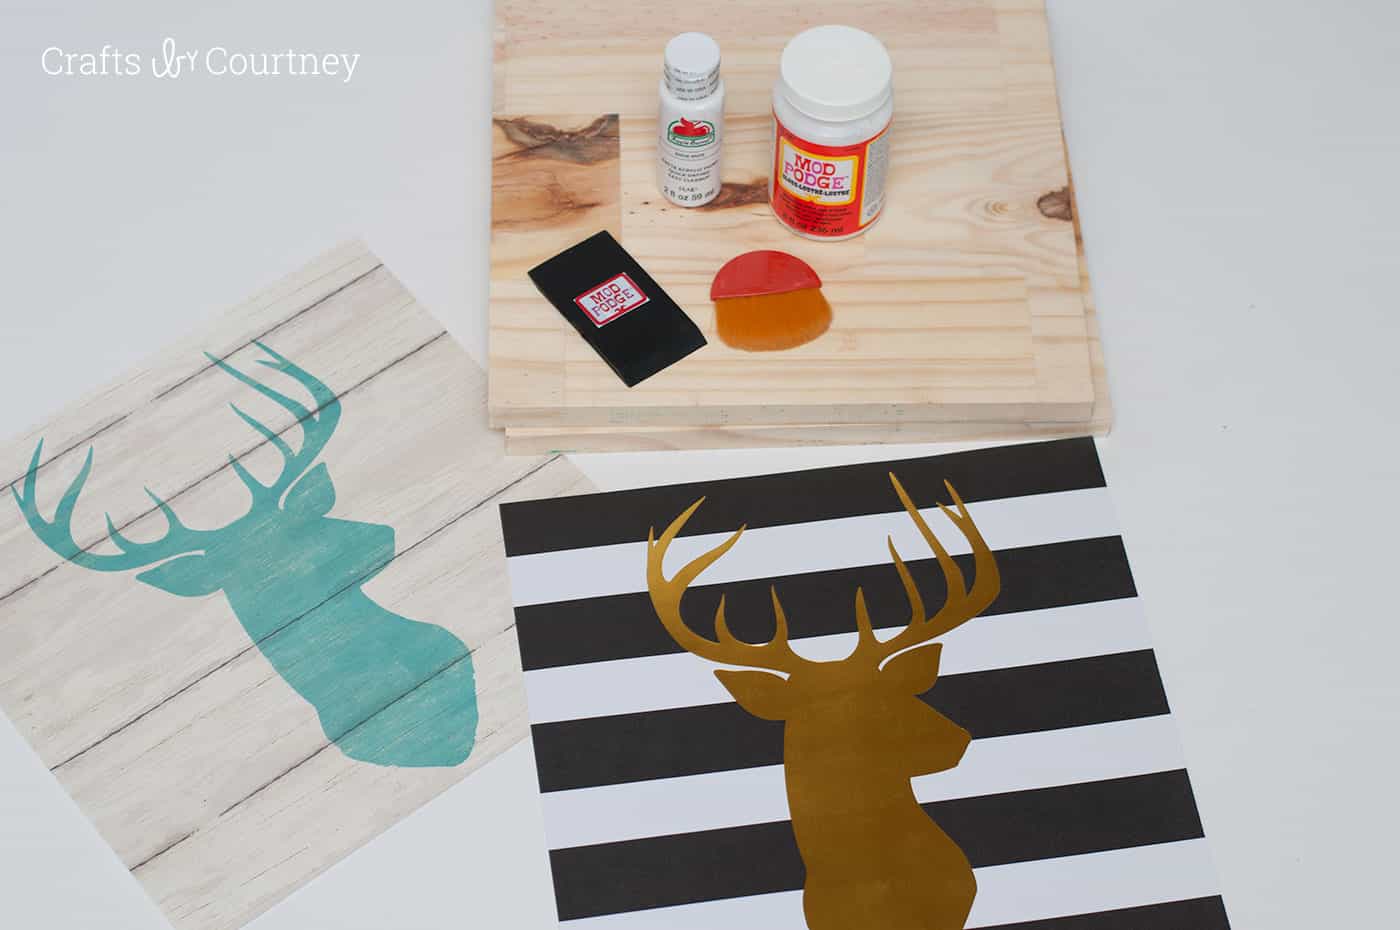
For this craft you’re going to need:
Since I already had my scrapbook paper and wood, I just needed to round up the rest of my supplies. Like my Mod Podge, of course!
Get the printable how to below:

Decoupage Scrapbook Paper on Wood
Equipment
- Mod Podge Brush Applicator
- Craft knife optional
Materials
- 1 Mod Podge Matte
- 1 Wood canvas or wood piece, 12 x 12
- 1 bottle Acrylic paint
- 1 piece Scrapbook paper 12 x 12
Instructions
- Paint the wood canvas. Only the sides of the wood need to be painted, since the rest will be covered up by paper. Let dry for 20 minutes.
- Paint the Mod Podge on the wood, then gently lay the paper down. Smooth out the wrinkles and let dry for 20 minutes.
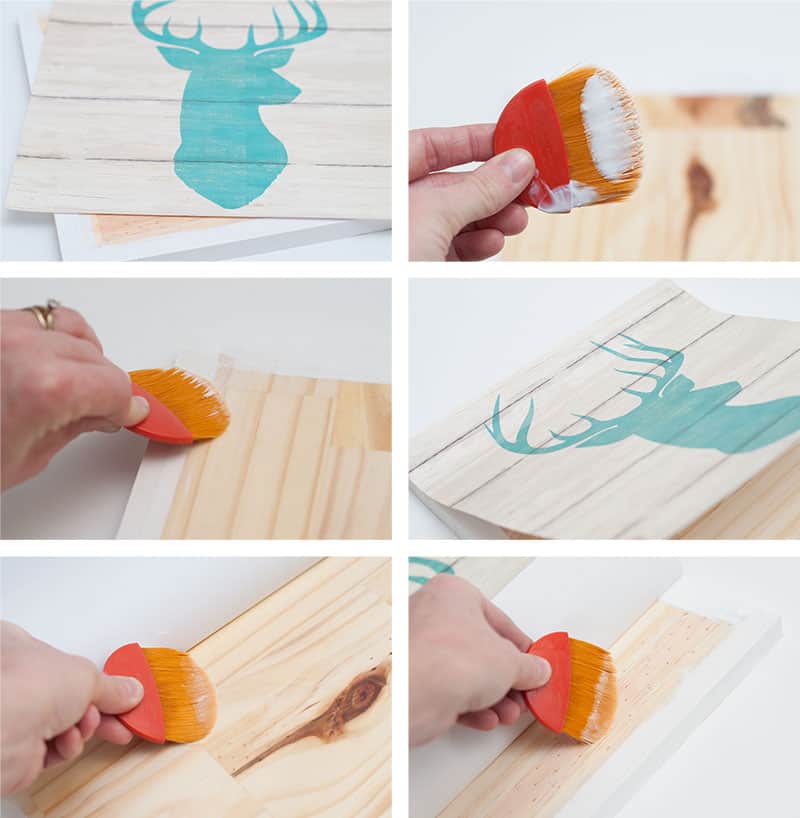
- Add a top coat of Mod Podge and let dry. Trim the excess paper over the edges (if necessary) before hanging.
Video
Now I need to get started on my lobster for the summer (I just LOVE a lobster!). I need to think of something really cool to do with that one!!
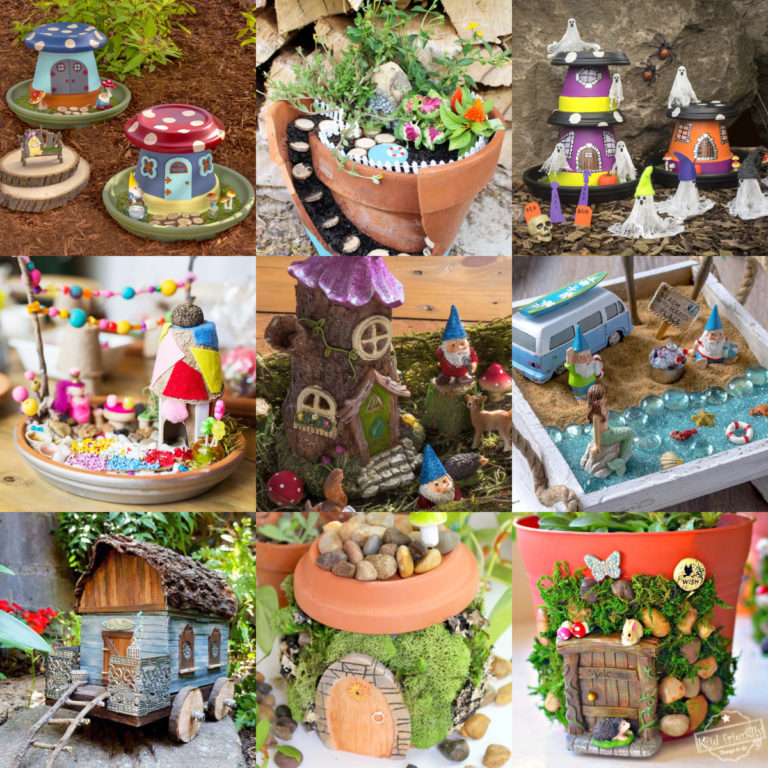
Any suggestions?? I’d love to hear them in the comments! I’d also love for you to check out these other beginner crafts:


These are super cute and easy! Great idea:) I just took down Christmas and always feel the house looks so bare afterwards. Putting up new artwork is a great idea to help fill the walls!
These are so cute, and I love that they’re not difficult to make at all! you did an awesome job!
Paige
https://www.thehappyflammily.com/
The artwork is so cute and so easy! Did you make the wreath in the picture also? It’s very cute as well!
Thank you!!
Here is the link to the wreath I made. I made it from cupcake liners!
https://www.craftsbycourtney.com/how-to-crafts/diy-wreath-using-cupcake-liners/
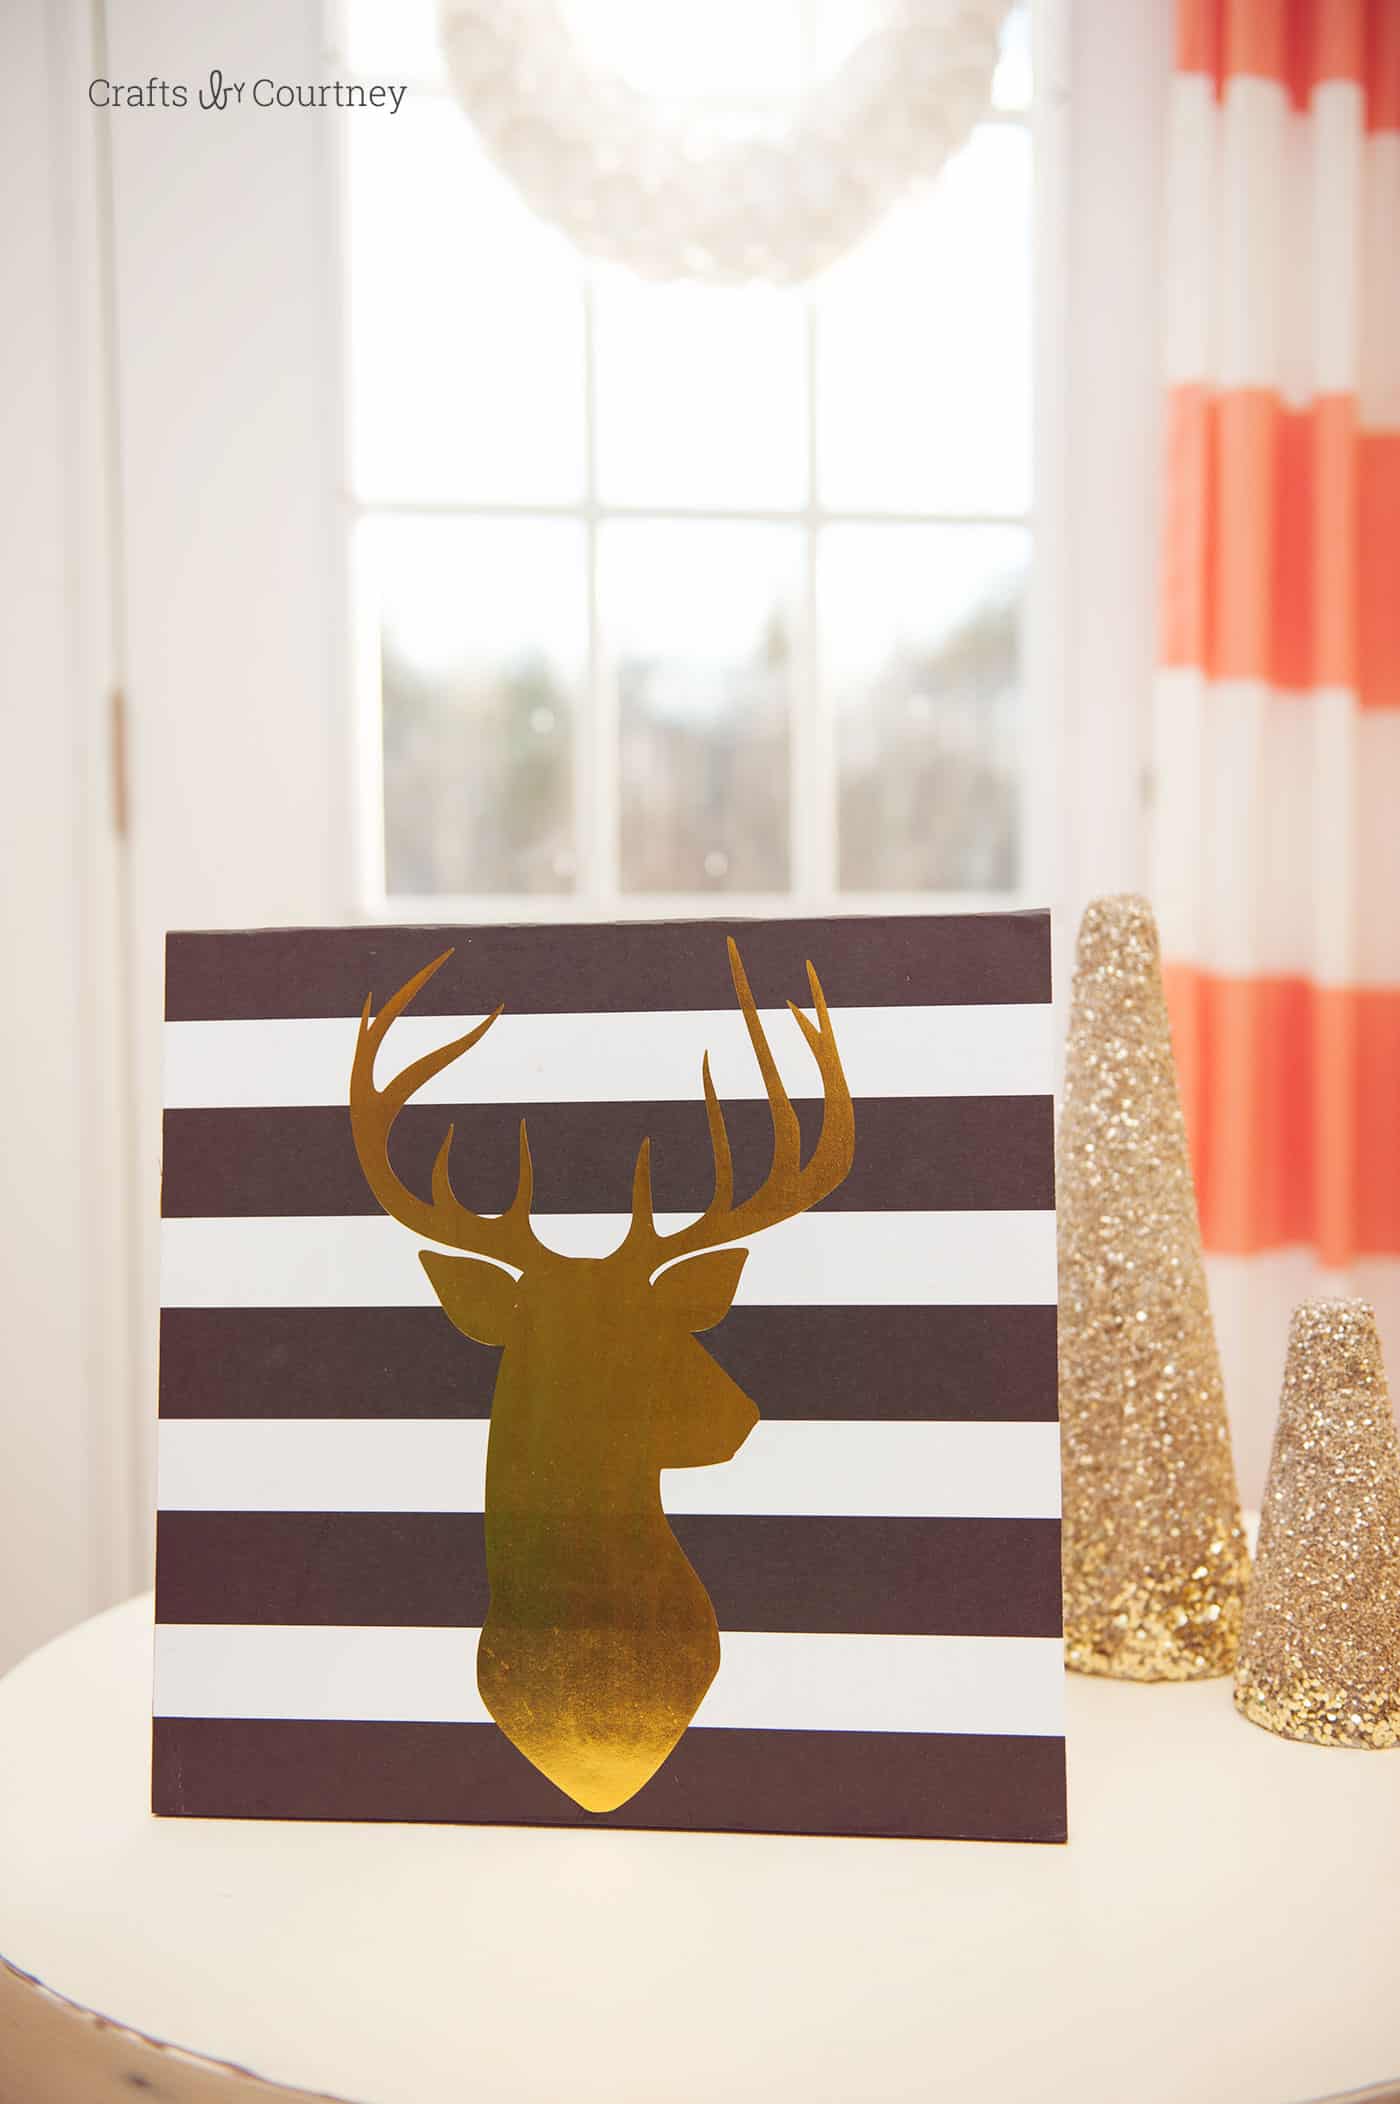
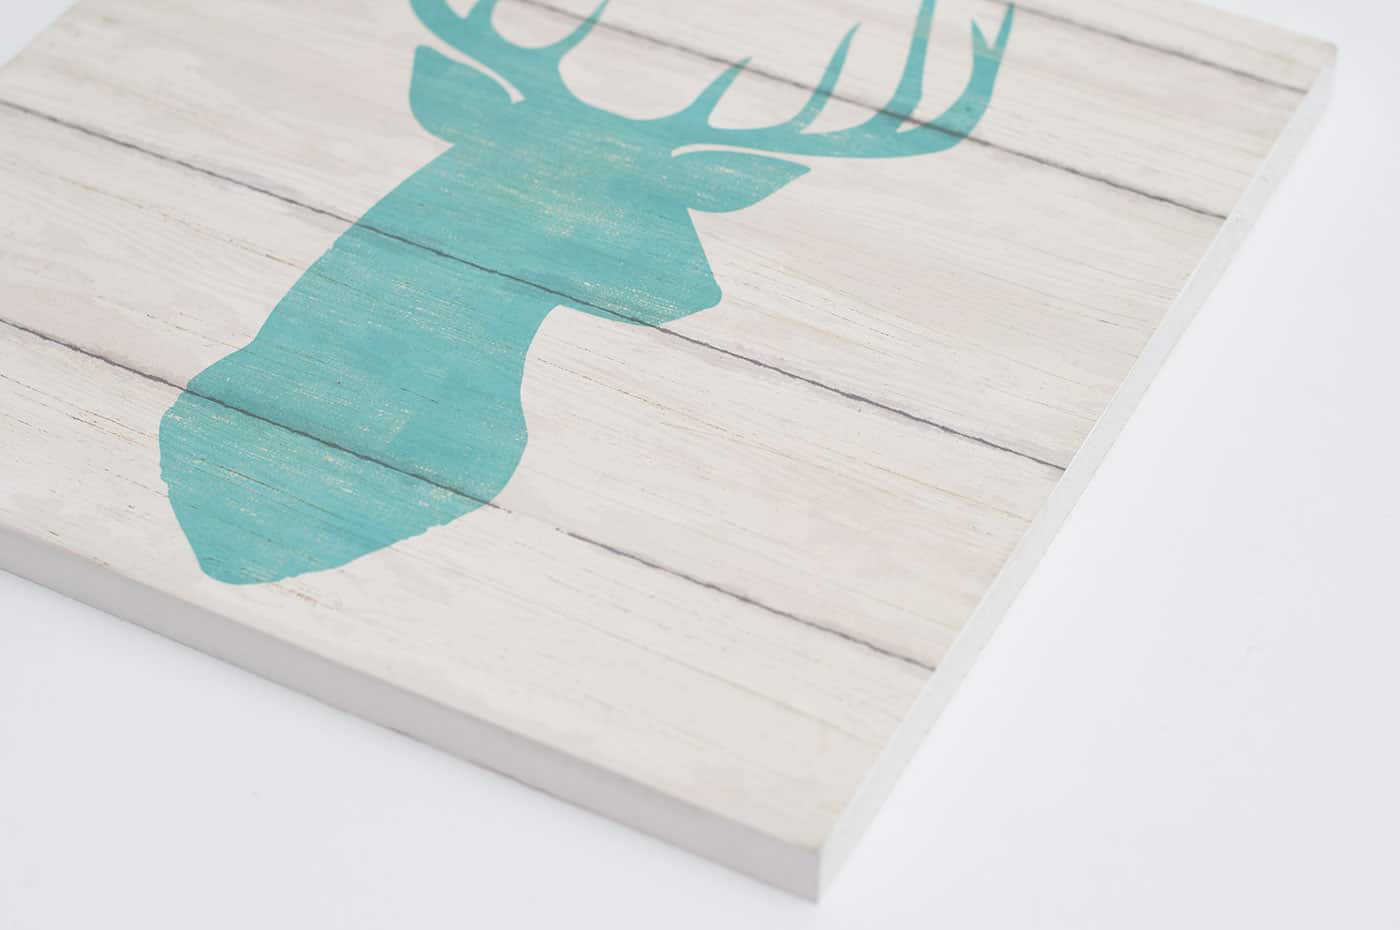
Love this Deer artwork piece! Now, was the deer head already on the scrapbook paper or did you draw it on there?
Hi Alicia, the deer was on the scrapbook paper already. I was so excited when I found it at Hobby Lobby for .59 cents. I knew it would be a cool project.
-Courtney from Crafts by Courtney
I’m with Alicia V. on this one. How did you get the transparent look of the deer head on the scrapbook paper? I’ve seen ones where you can tell that the deer head was cut out of one piece of paper and attached to the other, but with the transparent look, you can’t tell that at all. It looks great!!
The deer is actually on the piece of scrapbook paper. I found the scrapbook paper at Hobby Lobby for .59 cents. So it’s all one piece of scrapbook paper. Hope that helps. 😉
Love! What is your wall color? I love it also. Thanks!