Learn how to make scrapbook embellishments with Mod Melts and Molds! Perfect for capturing your memories on a pretty page.
Skills Required: Beginner. I’d say you should know how to use a hot glue gun and have some experience with crafting (generally speaking) so that you get the best results. This project isn’t difficult, but you are working with small items.
Scroll down to the bottom of the post to see a video of the embellishment making in action!
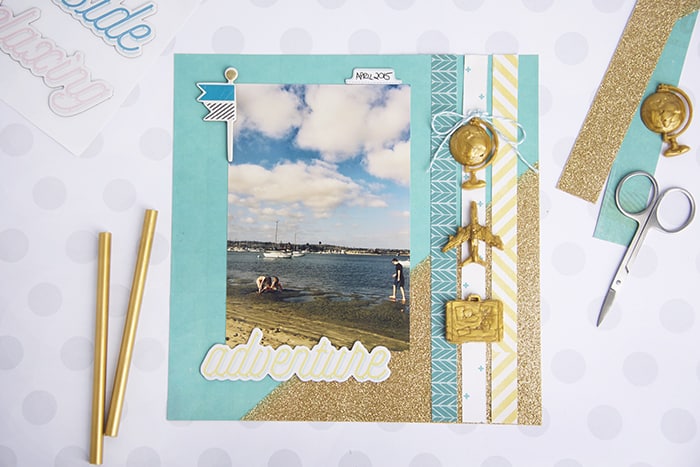
Hello friends! Hope your summer so far has been filled with lots of relaxing days, and fun filled activities!
Mine has been a busy one, but I have been really good so far about taking lots of photos of my kids everywhere we go. Scrapbooking my photos is kind of my guilty pleasure.
I am all about creating pages that are simple and easy to make. I try to print photos as soon as we get back from a vacation or activity, and I always try to make at least a few pages a month so I stay caught up.
One of the ways I save a little time and money on my albums, is by making my own embellishments. I’m going to teach you how to make scrapbook embellishments the easy way!
The Mod Podge Mod Melts are a fabulous way to make your own scrapbooking embellishments with just a little bit of affordable glue, and rubber molds that you can use again and again!
Did I mention the glue comes in a variety of colors and metallic shades?
I know, I know. I had you at metallic. 🙂
Before we get started, I did want to call your attention to something awesome that will make this DIY a lot easier:
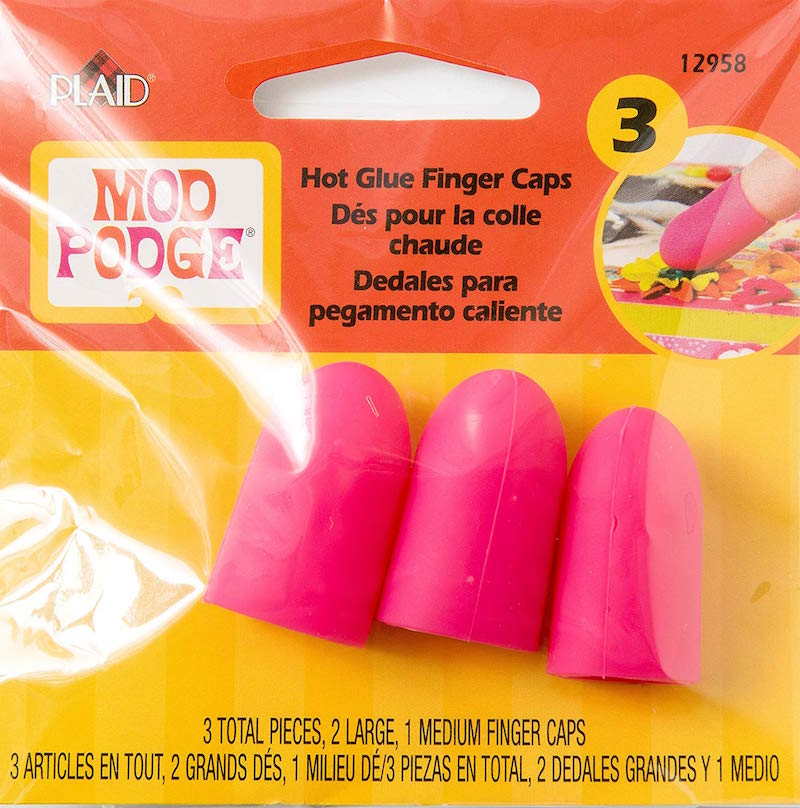
If you’ve never tried silicone finger caps before, this isn’t a sales gimmick. They really keep your fingers from getting burned during the embellishment making process (as well as any other time you would use a hot glue gun).
They’re going to come in handy because they don’t allow any heat to be transferred to your fingers – ie., no more burns! They are a life saver for projects like this one, and I promise you’ll use them for other projects.
Are you ready to jump in?
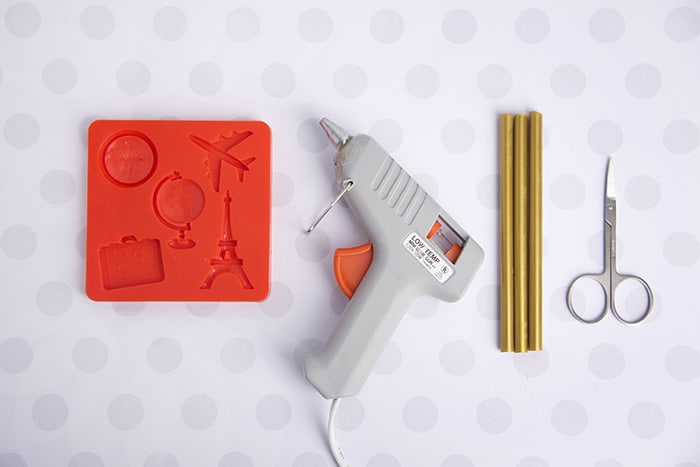
To make your own scrapbook embellishments, all you need is:
- Mod Melts mold or other silicone mold
- Scrapbook paper
- Hot glue gun and glue sticks
- Scissors
- E-6000 or strong glue (optional)
- Acrylic paint and paintbrush (optional)
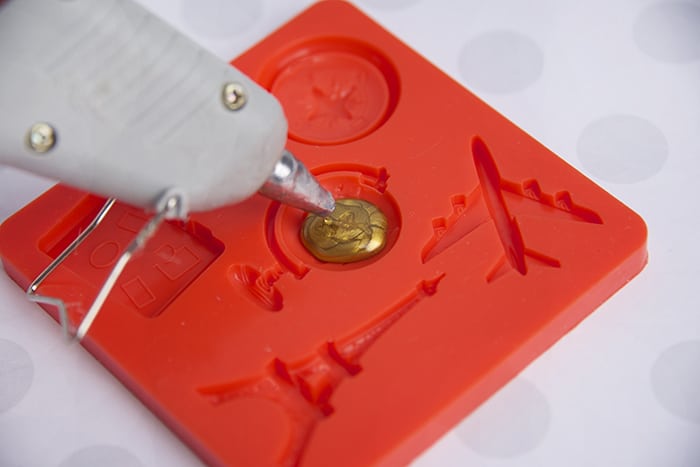
To get started, just insert a gold metallic glue stick into your glue gun, and allow it to fully heat up. You may need to squeeze out any previous glue to make sure your metallic glue comes out clean.
Slowly squeeze your glue gun handle so the Mod Melts glue slowly fills the mold until you have the desired amount.
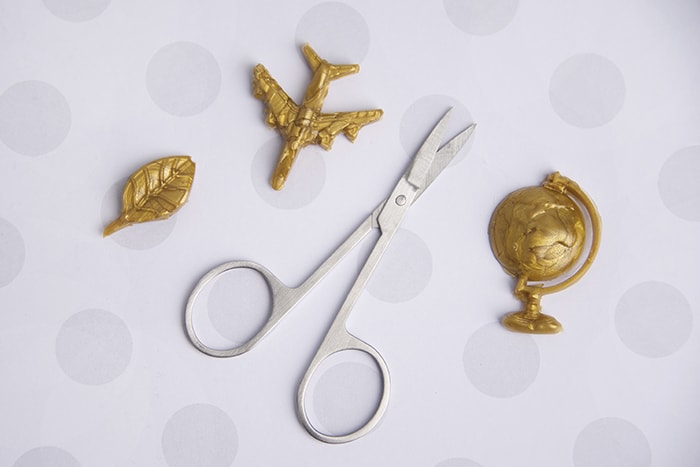
Next, allow the glue to fully cool off inside the rubber mold. You will be surprised at how quickly the glue dries! In just a few minutes they will be ready.
After your embellishments have cooled, gently remove them and trim and stray glue pieces that you may have with your scissors.
At this point, if you use clear or white sticks, you can paint them with craft paint. You’ll want to paint several layers and let dry.
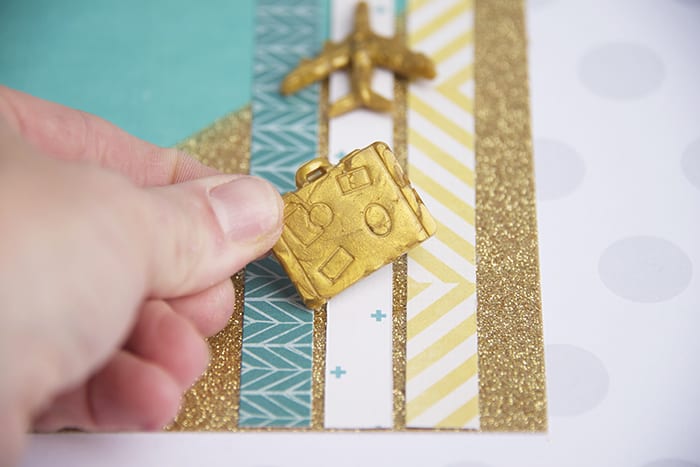
Now that you know how to make scrapbook embellishments, you are ready to craft! Just figure out their placement on your scrapbook page, then adhere them to your page with . . . more glue!
I know it seems crazy, but you can just use your same glue gun to adhere the pieces to your page! Kinda convenient, isn’t it?!
That’s it! I love how the Mod Melts give my page a lot of texture and variety, but they are still thin enough that my album doesn’t get too bulky. They have such a lovely sheen to them too! Who doesn’t love a gold globe, right??
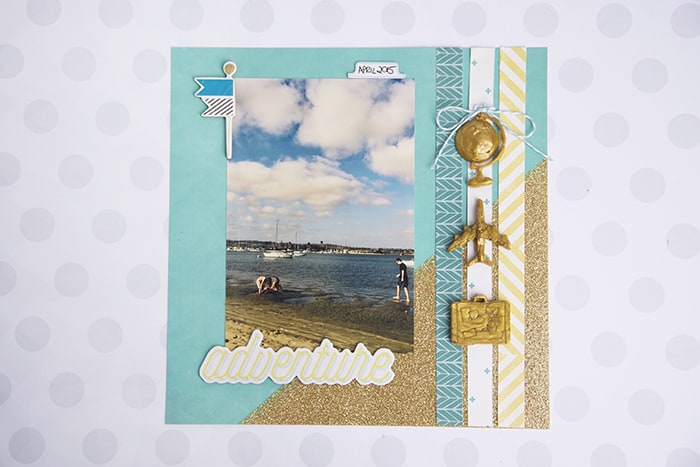
It’s super easy to make your own scrapbook embellishments with Mod Melts. And I can use this same mold again and again with different colors of glue. I can’t wait to make more for my summer scrapbook pages!
Scrapbook Embellishments
Equipment
Materials
- Silicone molds
- Scrapbook paper
- E-6000 or other strong glue, optional
Instructions
- Choose the color of glue sticks you want to use. If you choose clear glue sticks, you can paint them with acrylic paint.
- Insert a glue stick into your glue gun and allow it to fully heat up. You may need to squeeze out any previous glue to make sure your glue comes out clean.
- Slowly squeeze the glue gun handle into the silicone mold, filling the cavities with the hot glue until you’ve reached the top.
- Allow the glue to fully cool off inside the rubber mold, for a few minutes.
- Gently remove the embellishments from the mold and trim any stray glue pieces with your scissors.
- If you want to paint your embellishments, do so with several coats of acrylic paint, letting dry between each.
- Use either hot glue or craft glue to attach to the scrapbook paper. Using craft glue will allow the piece to dry more flat.
- Let dry/cool completely before adding the page to your scrapbook.
Video
Notes
Please check out the video in this post that will show you how it’s done! Do you want to see some other posts I think you will enjoy? Check these out:






Oh my goodness this is so cute! I love that the glue sticks come in the metallic colors like that.
Which mod podge would be best to use to seal a glossy photograph?
I like to use Mod Podge Gloss for photos BUT – a glossy photograph is probably a real photo or on photo paper, which Mod Podge doesn’t work well with for the most part.