
Make easy glitter Easter eggs with Mod Podge! A fun, colorful craft perfect for kids and adults. Add sparkle to your Easter decor in minutes.
Skills Required: None. You’ll be applying glitter to a surface with Mod Podge. You can do this with any type of eggs, real or fake!

Easter is just around the corner, and if you’re looking for a simple, sparkly way to decorate, I’ve got the perfect project for you—glitter Easter eggs!
These colorful, shimmering eggs are so easy to make, and the best part? You probably already have everything you need in your craft stash.
I’ll admit, I don’t typically go all out with Easter decor. I tend to focus on the bigger holidays. But then I realized that with just a little glitter and some Mod Podge, I could create something festive without a lot of effort.
And let’s be real—who doesn’t love an excuse to break out the glitter?

These eggs are perfect for displaying in a glass jar, scattered across a table, or nestled in an Easter basket.
The process is simple enough that even kids can get in on the fun (just be sure to protect your workspace unless you want to find glitter in unexpected places for the next six months).
You can mix and match colors, try different types of glitter, and even experiment with finishes to make them uniquely yours.
If you’re ready to add some sparkle to your Easter celebrations, grab your supplies and let’s get started. I promise, once you see how easy and fun these are to make, you might find yourself covering more than just eggs in glitter. Let’s get crafting!

Get the printable how to below:

Glitter Eggs
Equipment
- Plastic containers
Materials
- 6 Plastic eggs
- Mod Podge Gloss
- Glitter colors of your choice
- Mod Podge Acrylic Spray
Instructions
- Add the glitter to a small container that would accommodate the size of your egg (for dipping).
- Apply an even layer of Mod Podge to one side of the egg, and dip that side into the glitter. Shake off the excess, and let it dry.

- Once dry, apply a layer of Mod Podge onto the other side of the egg and dip that side into the glitter. Shake off the excess and let it dry.

- To make glittered eggs with shapes, mask an area to protect it from getting glitter. Cut the shape out of vinyl and apply onto the egg. Glitter the eggs as you did in step 1 and 2. Peel off the vinyl mask once the glitter is dry.

- Use tape to clean up any stray glitter on the masked area prior to finishing.

- To make eggs with two or more glitter colors, coat the top half of your egg in an even layer of Mod Podge, dip in the glitter container. Let dry, and repeat the same for the lower half and a different color.

- Once all your eggs are glittered, seal them. In a well-ventilated area (preferably outdoors), spray one side with Mod Podge acrylic spray to reduce glitter fallout and let dry. Repeat with the other side. Let dry before displaying.

Notes
 Step 4: Use bunny head shapes, flowers and other simple shapes. Alternatively, you can use ready-made stickers in these shapes to mask parts of the egg.
If you enjoyed this Easter craft, let me know in the comments! I’d also love for you to check out these other holiday ideas:
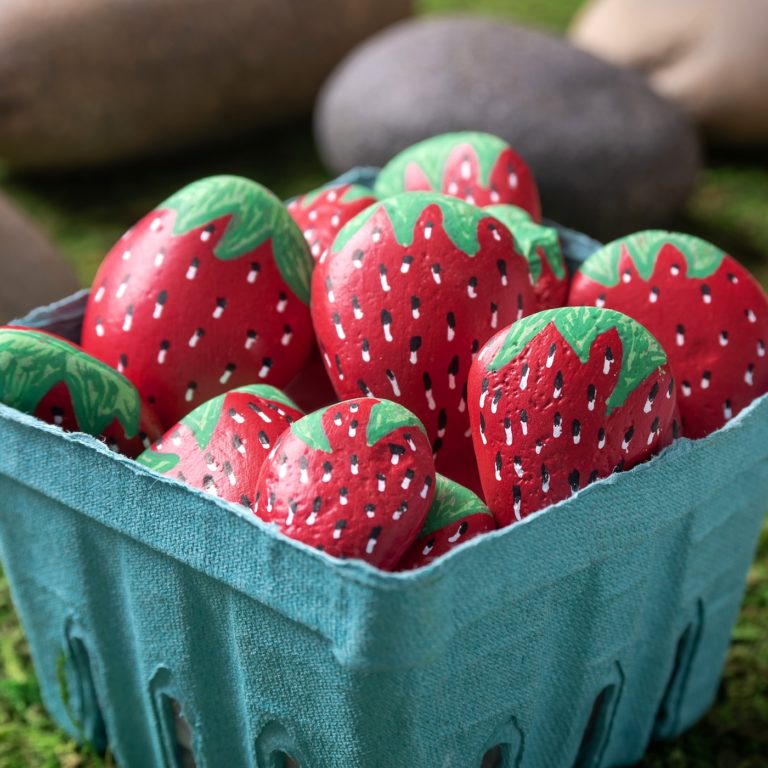
Bunny Canvas • Bunny Mason Jars • Easter Rocks • Egg Earrings • Happy Easter Sign • Wooden Bunny • Yarn Egg Garland


Can you use Styrofoam eggs?
Hi Annette – yes you can!
Doesn’t mod pdge make a glitter formula? Seems like it would be easier to use that.
They do – but the glitter is one color. I wanted my eggs to be all different colors of glitter!
Well, you probably already know I love these… sparkly and decoupage-y (it’s a word)? LOVE ’em!
(thanks for linking up to Project Inspire{d}, too!)
Thanks so much for joining the linky party! I LOVE these, the colors are divine!
Happy Spring!
Cheers,
Madge