
Glitter Eggs
Learn how to make glittery eggs for Easter in stunning colors! These are easy enough for kids or beginning crafters.
Yield: 6 eggs
Cost: $5
Equipment
- Plastic containers
Materials
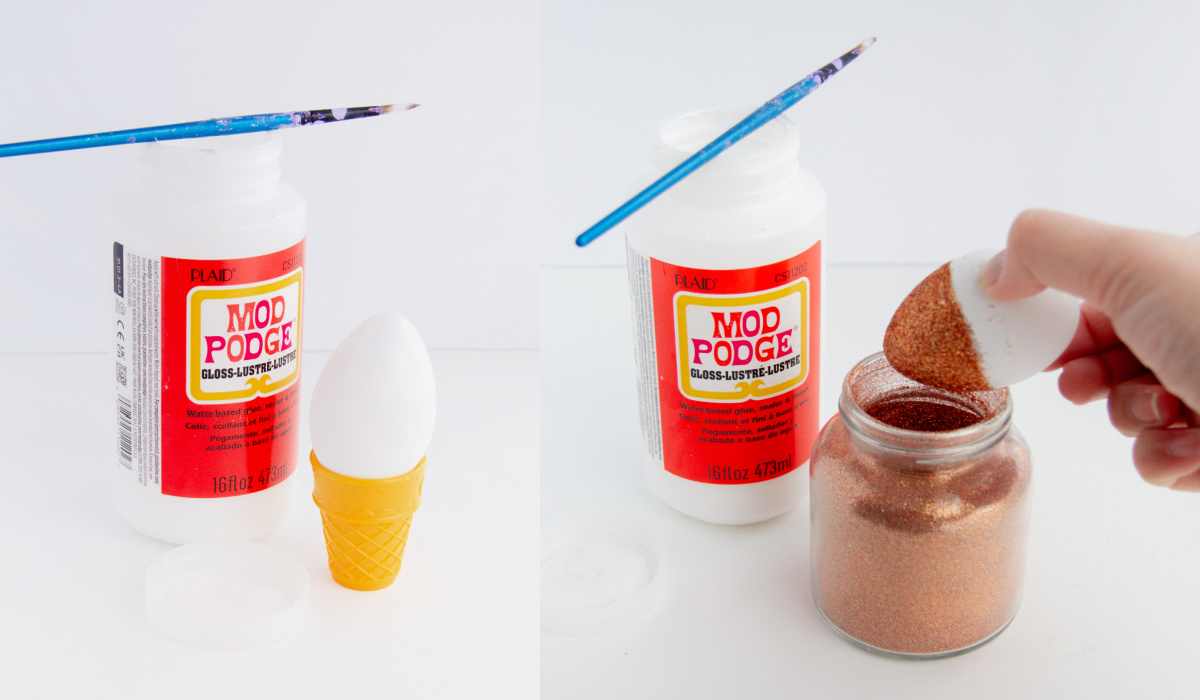
- 6 Plastic eggs
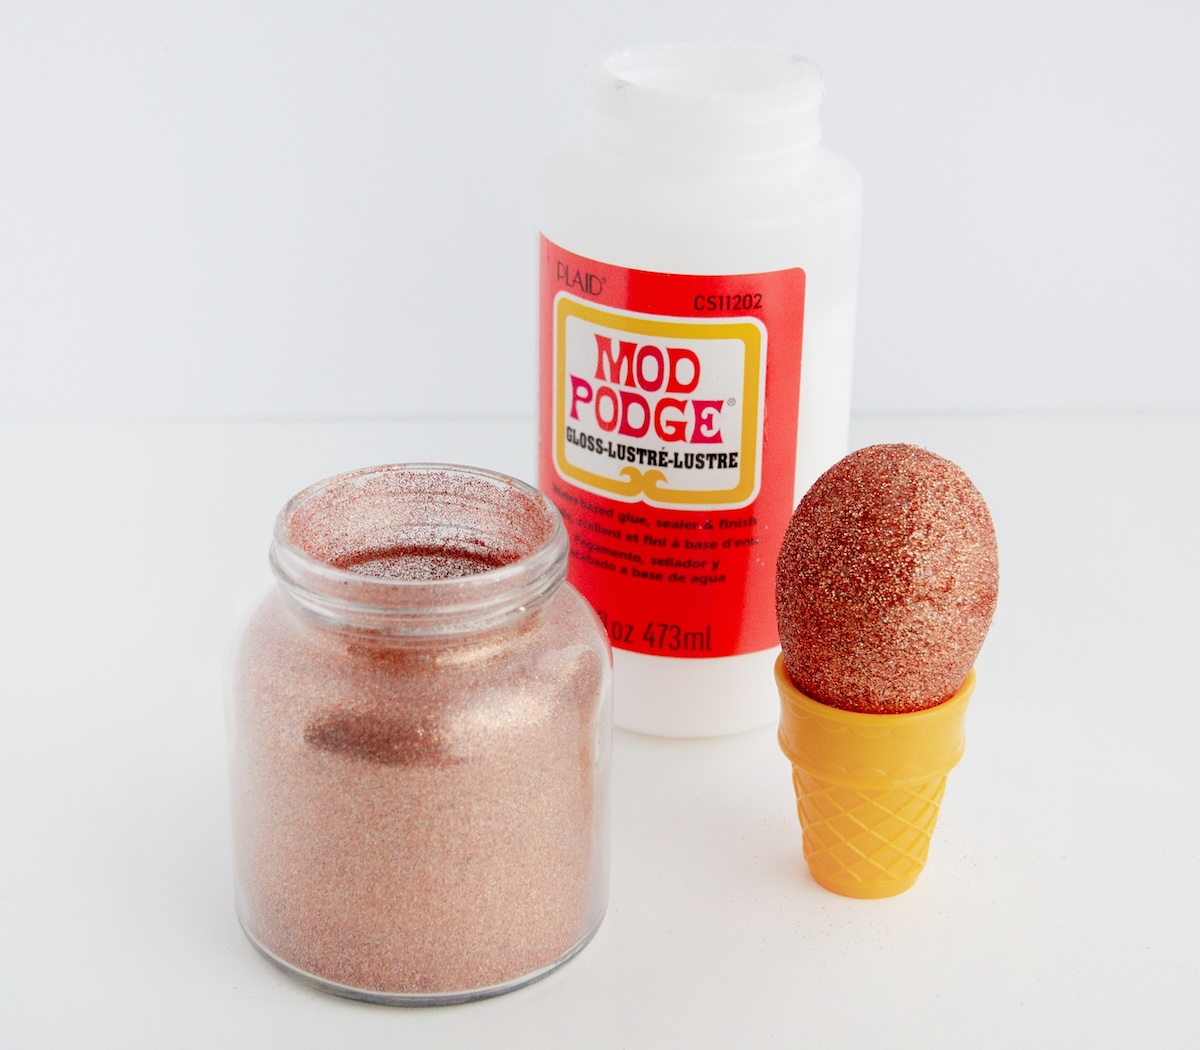
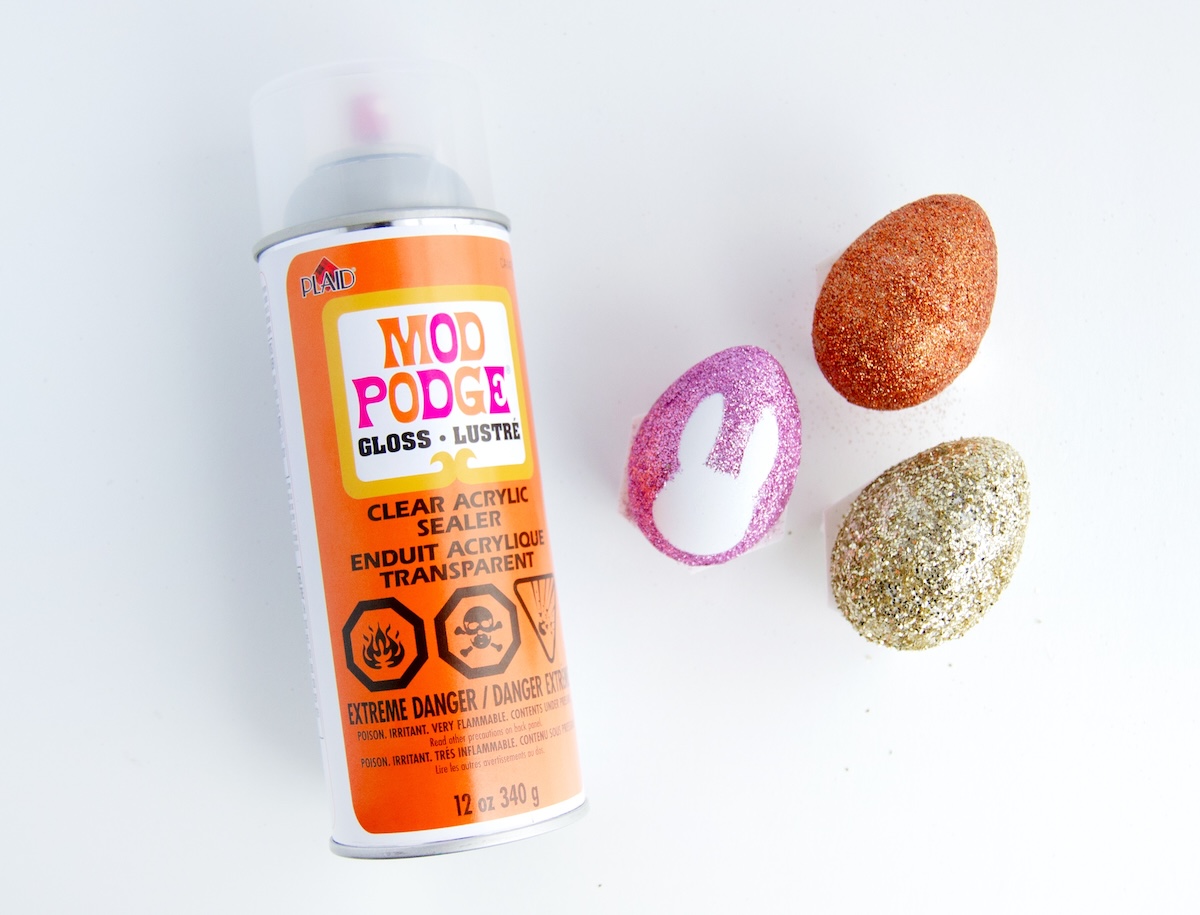
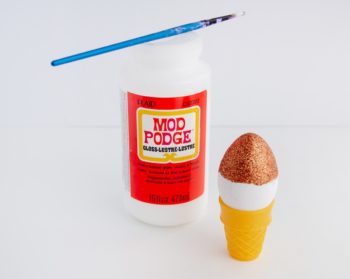
- Mod Podge Gloss
- Glitter colors of your choice
- Mod Podge Acrylic Spray
Instructions
- Add the glitter to a small container that would accommodate the size of your egg (for dipping).
- Apply an even layer of Mod Podge to one side of the egg, and dip that side into the glitter. Shake off the excess, and let it dry.
- Once dry, apply a layer of Mod Podge onto the other side of the egg and dip that side into the glitter. Shake off the excess and let it dry.
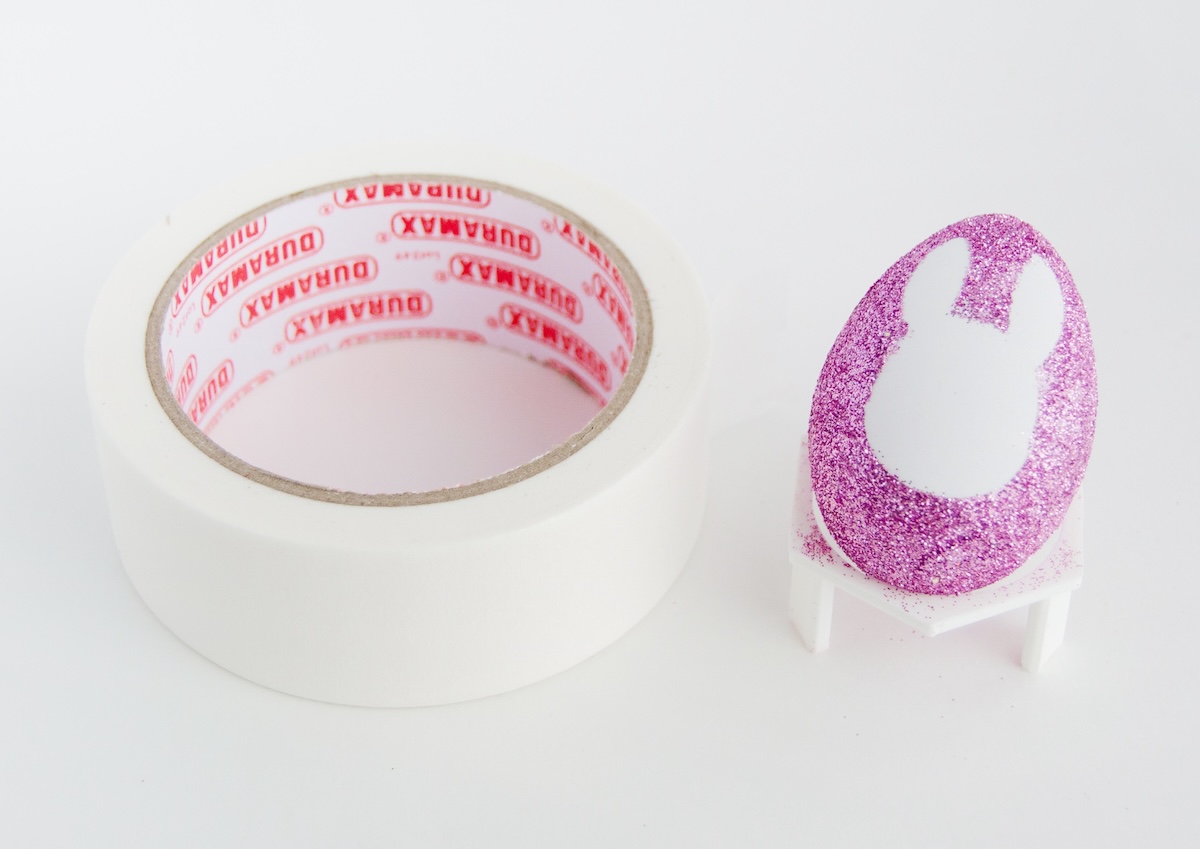
- To make glittered eggs with shapes, mask an area to protect it from getting glitter. Cut the shape out of vinyl and apply onto the egg. Glitter the eggs as you did in step 1 and 2. Peel off the vinyl mask once the glitter is dry.
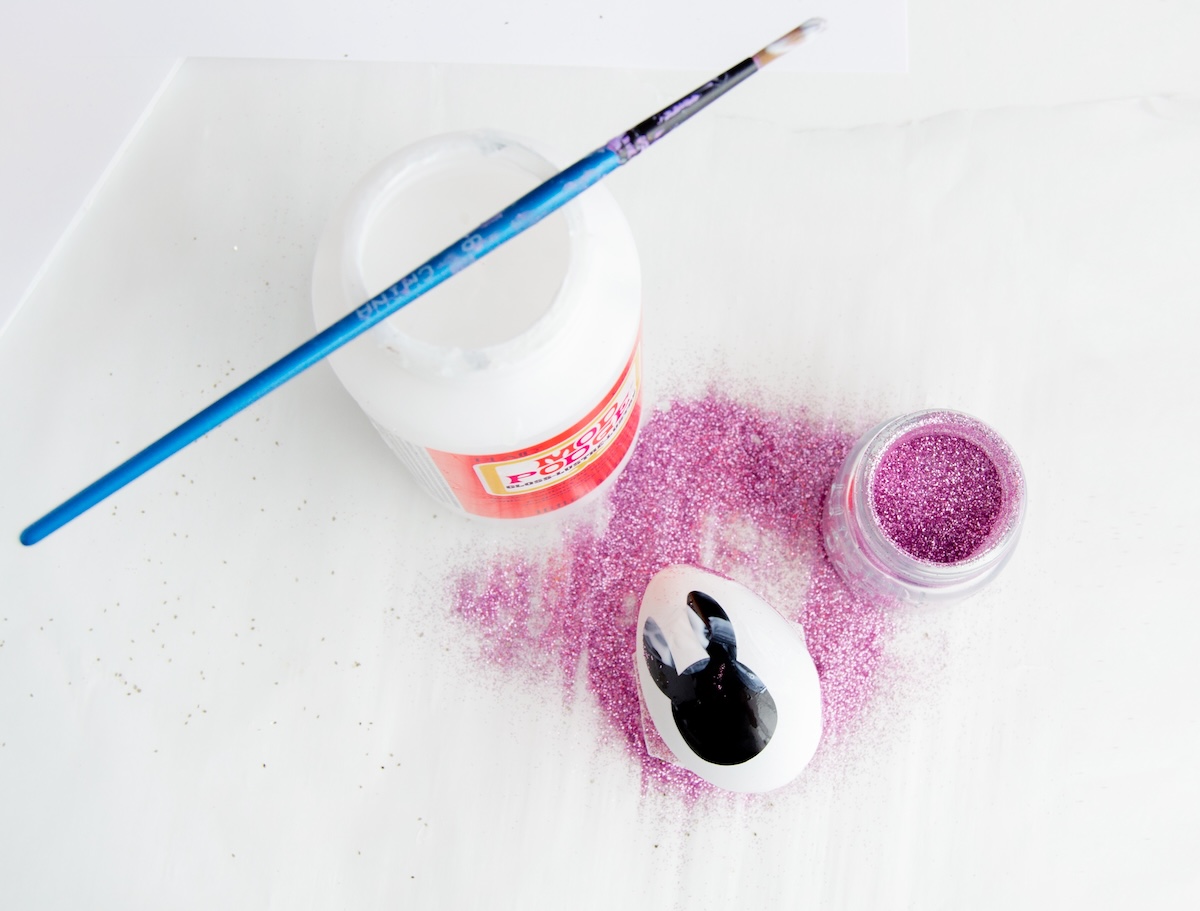
- Use tape to clean up any stray glitter on the masked area prior to finishing.
- To make eggs with two or more glitter colors, coat the top half of your egg in an even layer of Mod Podge, dip in the glitter container. Let dry, and repeat the same for the lower half and a different color.

- Once all your eggs are glittered, seal them. In a well-ventilated area (preferably outdoors), spray one side with Mod Podge acrylic spray to reduce glitter fallout and let dry. Repeat with the other side. Let dry before displaying.
Notes
It helps to have a holder to prop up your eggs when drying, like so:
 Step 4: Use bunny head shapes, flowers and other simple shapes. Alternatively, you can use ready-made stickers in these shapes to mask parts of the egg.
Step 4: Use bunny head shapes, flowers and other simple shapes. Alternatively, you can use ready-made stickers in these shapes to mask parts of the egg.