
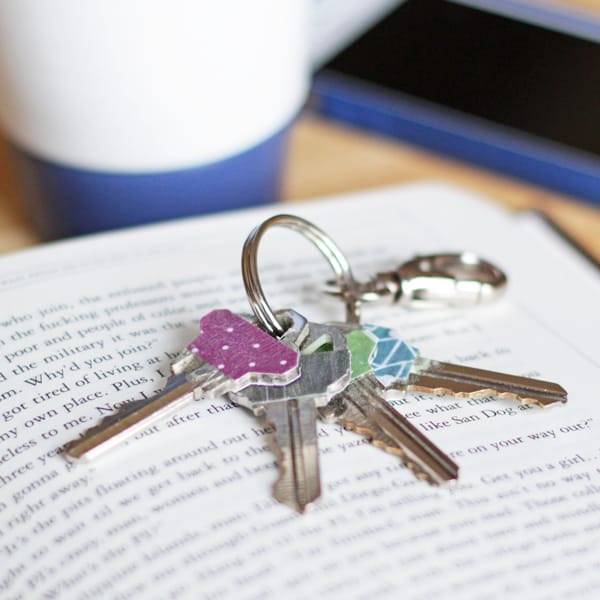
Learn how to make cute glow in the dark key toppers – to help keep track of which key is which and easily find them in your bag.
Skills Required: None. Even if you’ve never crafted before, you can accomplish this. You’re just using small scraps of paper with a little bit of Mod Podge. This is actually a great beginner project!
Last year, I got my hands on some Glow-in-the-Dark Mod Podge for a Halloween project – thinking I’d make some fun home decor with it.
But then I realized – hold the phone! – GITD Mod Podge has some awesome practical applications too.
How often do you find yourself rummaging for keys in your deep, dark purse? Today, I’m going to show you how to make cute key toppers to help keep track of which key is which and easily find them in your bag.
Here’s how to make this unique craft idea!
Key Toppers
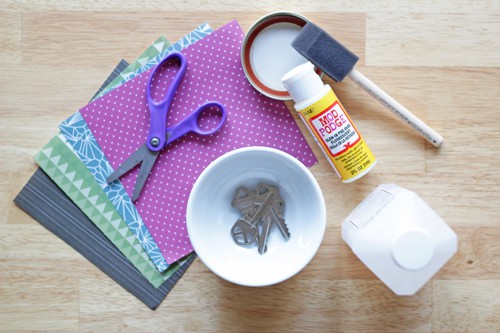
Supplies
- Glow-in-the-Dark Mod Podge
- Sponge brush
- Keys
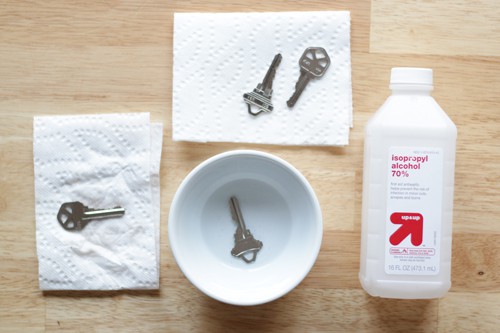
- Rubbing alcohol
- Paper towels
- Waxed paper/aluminum foil
- Scrapbook paper
- Scissors
- X-acto knife
- Acrylic sealer or clear nail polish
Directions
Clean all of your keys with rubbing alcohol and let dry.
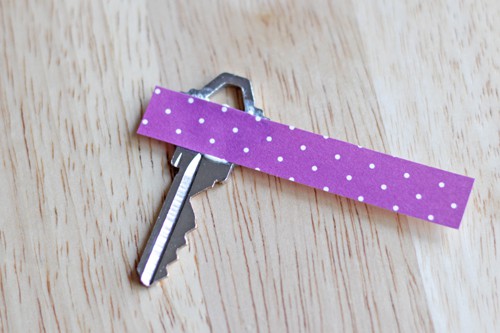
Cut your scrapbooking paper into strips that are about 3/4 of a centimeter by two inches. Apply a thick layer of GITD Mod Podge to the top of one side of a key with a sponge brush.
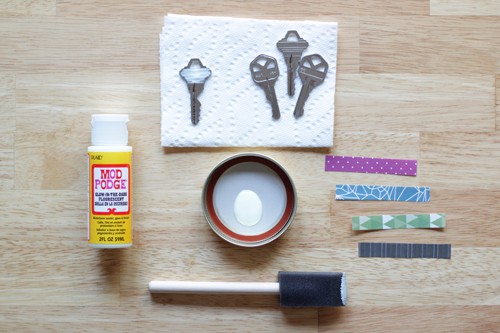
Place a rectangle of paper onto the Mod Podge, adjusting to keep the holes of the key uncovered.
Flip the key & paper over, apply another layer of GITD Mod Podge, and fold the paper in half to cover the back of the key.
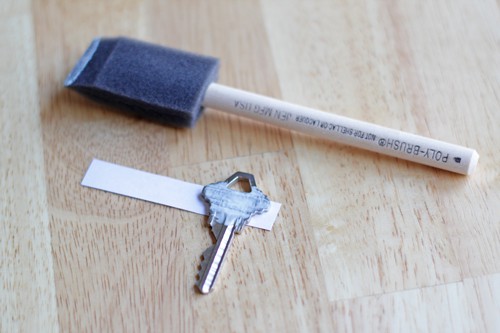
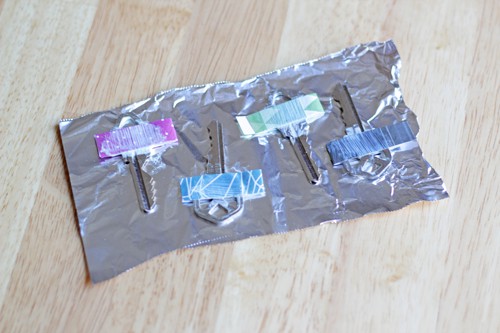
Paint the whole top of the key (both sides) with GITD Mod Podge and let dry. I recommend letting these dry on waxed paper rather than aluminum foil like me, but I’ve been doing so many messy projects lately I ran out of waxed paper!
If you are desperate and use foil, just be careful to rotate your keys as they dry so they don’t glue to the foil and get ruined. I speak from experience…
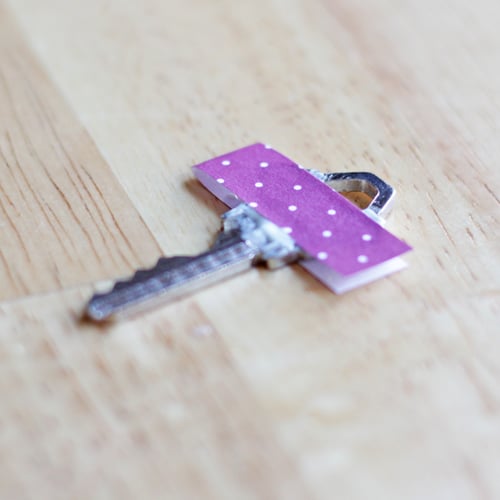
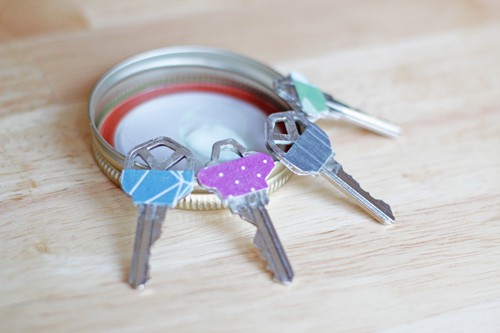
Using an X-Acto knife with a fresh blade, carefully cut away the excess paper from each key, as shown.
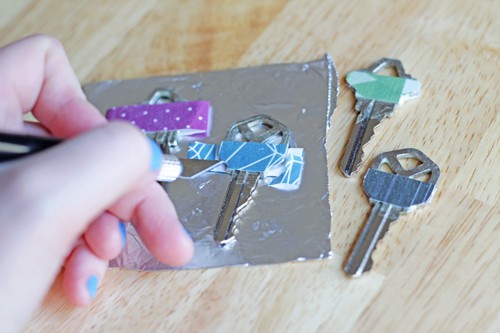
Apply another thick coat of GITD Mod Podge over each key, particularly on the edges of the key to seal the cut edges you just created. When your keys are completely dry, use an acrylic sealant or a layer of clear nail polish to seal them.
Quick tip about using GITD Mod Podge: If you’re finding your keys glowing less than you’d like, set them in the sun for a couple hours to “charge” them. Also, the more GITD Mod Podge you use, the better your glow will be!
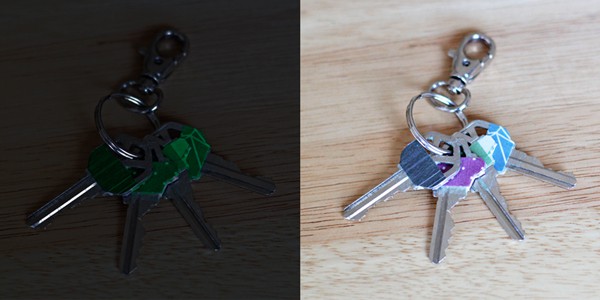
Since there wasn’t enough light to capture the glow-in-the-dark effect in action, the above left image is simulated.
Like this project? Check out how Heidi also made a flask glow in the dark, and also take a peek at these other project ideas you can make at home:


I’m the Editorial Assistant for Fun Family Crafts and I wanted to let you know that we have featured your glow-in-the-dark key toppers! You can see them here:
https://funfamilycrafts.com/glow-in-the-dark-key-toppers/
Thanks for a great project idea!