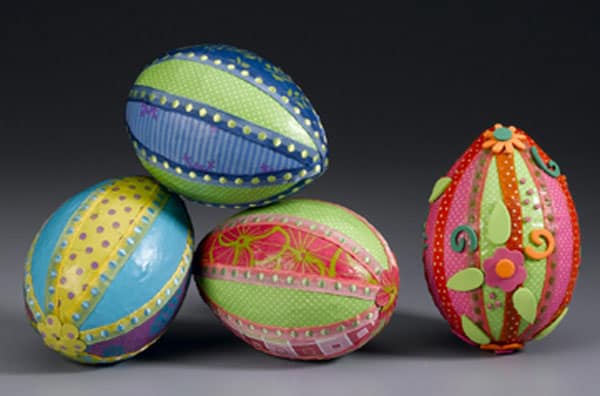
These Styrofoam Easter egg crafts are so easy to make – kids love them too! All you need are Styrofoam eggs, paper, ribbon, and Mod Podge.
Skills Required: None. You’ll be applying paper and embellishments to a surface with Mod Podge. You can do this with any type of eggs, real or fake!

Looking for a little bit of decoupage Easter egg fun to spread around your home? These Styrofoam Easter egg crafts are so easy to make – kids love them too!
All you need are Styrofoam eggs, paper, ribbon, and Mod Podge. would be great for a mantle display or as a clear vase filler. Sharon from Styrofoam Crafts is kind enough to share her tutorial with us today. I love the bright colors and ribbon, don’t you?
Admit it – you have a box of paper scraps that are too pretty to throw out, right? That’s where Styrofoam Easter egg crafts come in!
These pretty Easter eggs are a great way to use your favorite scraps (or an excuse to buy even more scrapbook papers!).
If you’d like to hang your eggs when you’re done, tie a 6” – 8” length of ribbon in a loop, and then pin and glue the ribbon loop to the narrow end of the egg.
Styrofoam Easter Eggs
Gather These Supplies
- STYROFOAM™ Brand Foam: 5” egg
- 12” x 12” scrapbook paper, one sheet per egg
- Bright ribbon, 3/8″ x 54″ per egg
- Wood skewer
- Paint brush
- Small straight pins
- Thick, white craft glue
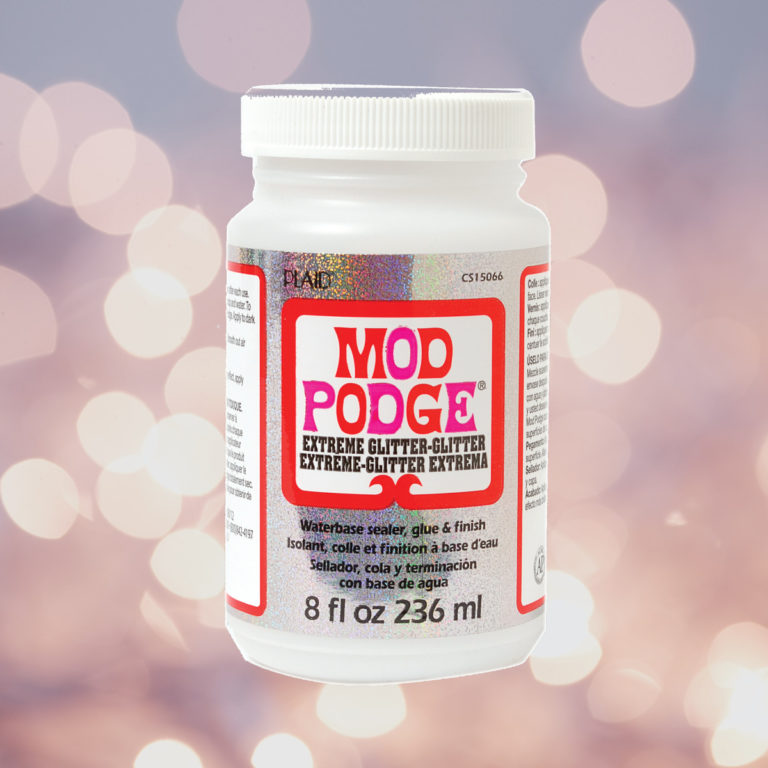
- Mod Podge Matte
- 1″ flower paper punch (optional)
Using this pattern, cut out eight pieces of paper per egg.
Insert a wooden skewer into the bottom of the egg to use as a handle. At the top of each egg, mark the center by making a hole with a pencil.
Spread glue onto the back of one paper piece, and be sure to coat the edges. Position the piece from the top center of the egg, and carefully smooth the paper down the length of the egg, ending at the center bottom.
If needed, use small scissors to make little snips along the edges so the paper will lie flat. If needed, add more glue with small paintbrush.
Repeat with the remaining paper pieces, until egg is covered. If you’re using different papers, alternate the papers as you go. There will be a small space between each piece, and that’s okay.
You will cover the gaps with ribbon later on. Place the skewer in a block of foam and let the egg dry.
Brush on a coat of Mod Podge and let dry.
Remove the skewer. Glue a 13 1/4″ strips of ribbon lengthwise around the egg, starting and finishing at the bottom, and covering the gaps between paper sections. Use pins to hold the ribbon in place until the glue dries.
Cut out a 1” flower, or use a paper punch, and glue the flower to the bottom of the egg, covering the ribbons. Brush on Mod Podge and let dry.
Optional: decorate with additional flowers.
Did you love this seasonal craft idea? I’d love for you to check out these other crafts:


Very pretty, a basket of these eggs will make a nice centerpiece.
Hugs, Lori m
Thanks so much for the feature, Amy! I hope your readers love these eggs, too. Sharon
What a sweet project! I love the colors on the papers used: not too bright, not too pastel, just perfect!