
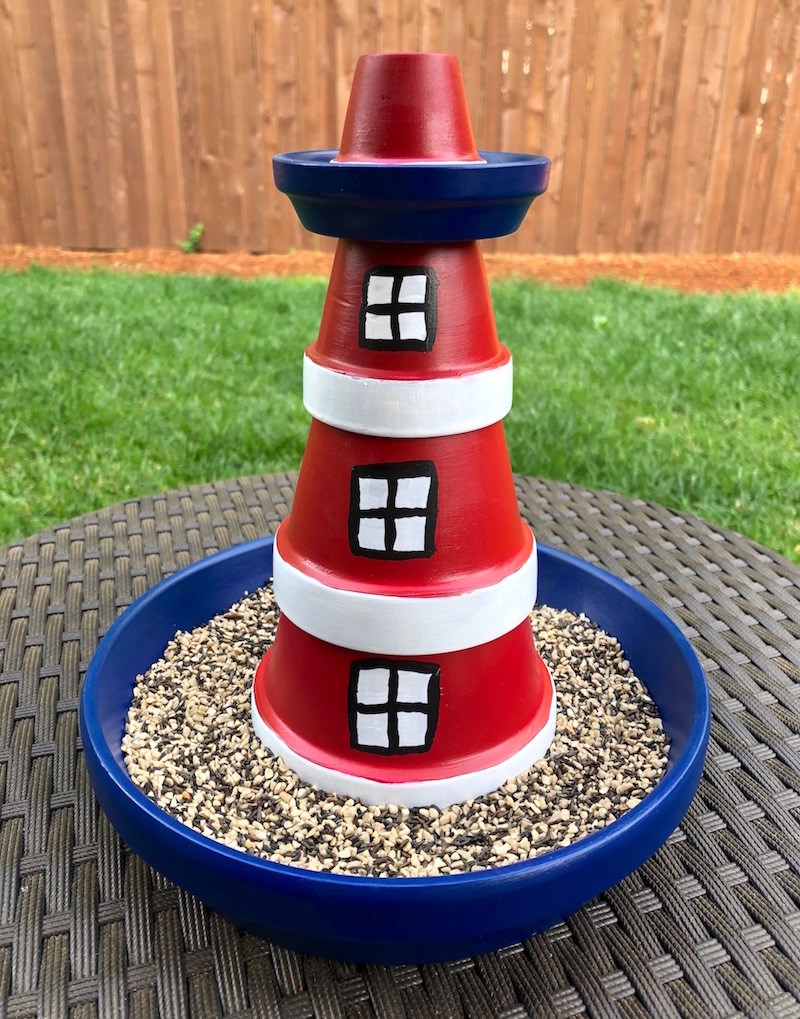
Learn how to make a clay pot lighthouse for your garden that also functions as a bird feeder. Don’t forget to scroll down to see a video of this process at the bottom of the post.
Skills Required: Beginner. This terra cotta pot lighthouse just requires painting and then gluing together.
I have to admit that I am *somewhat* new to using terra cotta pots as a crafting surface. If you look around this blog, I’ve done flower pot decorations with Mod Podge, then I’ve also used the pot trays for a DIY bean bag toss. So I’ve done a few things with terra cotta pots for summer crafts, but it’s all been relatively simple.
And guess what??
There’s so much more that you can do with them – and this clay pot lighthouse is a great example of the versatility!
The whole reason I tackled this project was as a Facebook Live for Michaels Stores, and I had a blast doing it (scroll to the bottom of the post to see the Live!). I knew I had to post a tutorial and share the fun with the world.
Before we dig into the tutorial, I wanted to share a few tips with you so that you can achieve success with your clay pot lighthouse. These are good tips for crafting with pots in general. You can find a lot more tips in my clay pot painting and decorating post as well.
Drilling Drainage Holes
If it rains a lot where you are at, or you plan to leave it out on something besides a covered porch, you might want to consider drilling drainage holes in the largest saucer that is the base of your clay pot lighthouse.
There will be a hole in the center of the largest saucer, but that gets covered up when you glue the lighthouse portion over the top.
This article will teach you how to drill drainage holes, and the key is using the right drill bit. For these types of unglazed terra cotta pots, you would use a masonry drill bit.

How to Hang Your Lighthouse
During the Facebook Live I got several questions on how to hang this lighthouse if you use it as a bird feeder. I designed this for a tabletop, but you can hang it if you choose. You’ll definitely want to make sure that you use a very strong glue like E-6000 so that nothing falls apart.
You’ll place an assembly system in the very top pot BEFORE you glue it down – the wire to hang should come out the top of that smallest pot. You’re going to use a tutorial like this one to help you.
You can use wire and an eye bolt, and you don’t have to attach the eye bolt to anything, as long as it’s large enough so that it doesn’t slip through the hole.
Gather These Supplies
- Terra cotta pots and saucers from Michaels – here’s what I used: 8″ saucer, 3″ saucer, 4″ pot, 3″ pot, 2″ pot, and 1 1/2″ pot
- Mod Podge Outdoor
- Acrylic paint – FolkArt Multisurface in Cardinal Red, Licorice, Ink Spot, Titanium White
- Paintbrushes – medium, large, and then a small detail brush for the windows
- E-6000
- Sharpie (optional; see “Finishing the Windows”)
Get the printable how to below:

Terracotta Pot Lighthouse
Equipment
- Paintbrush(es) of various sizes
- Sharpie
Materials
- 4 Terra cotta pot(s) 4" pot, 3" pot, 2" pot, and 1 1/2" pot
- 2 Terra cotta saucers 8" saucer, 3" saucer
- Mod Podge Outdoor
- Acrylic paint
- E-6000
Video
Instructions
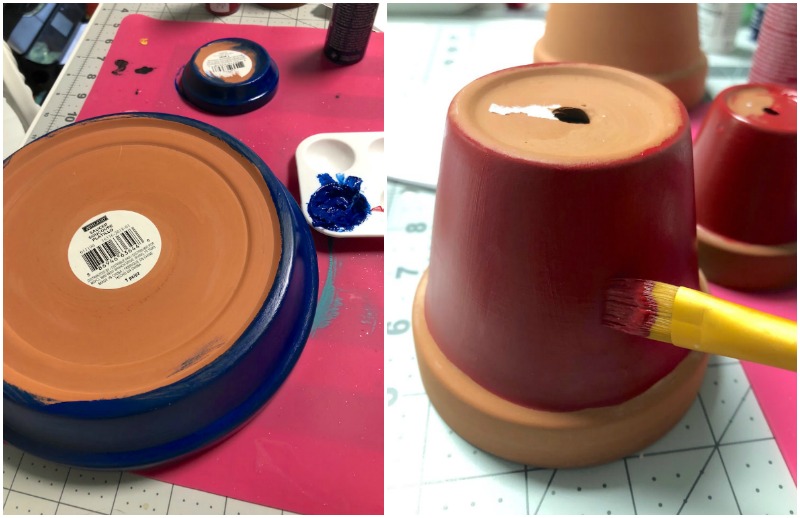
- Paint your clay pots and trays with multi surface paint. Let everything dry – it will take a few coats to cover them fully.
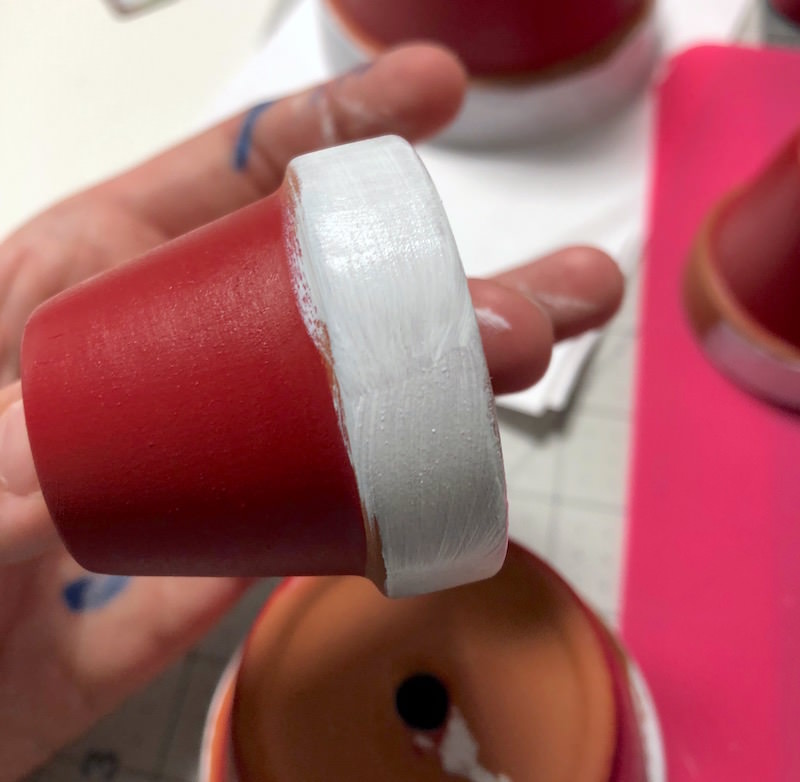
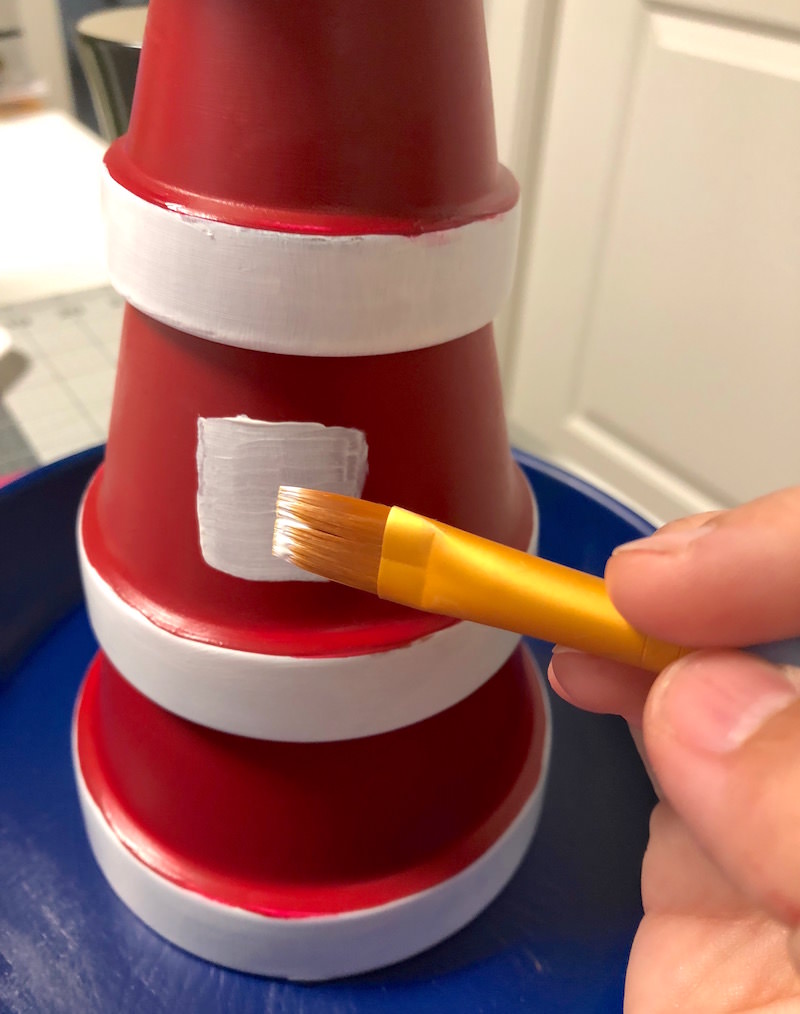
- Once your pots are dry, use a smaller brush to paint the edges of the pots with white. Let all of your pots dry.
- Use the E-6000 to glue the largest pot in the center of the largest clay pot tray. Place a bead of E-6000 around the top edge of the pot and place top down into the center of the tray; let dry.
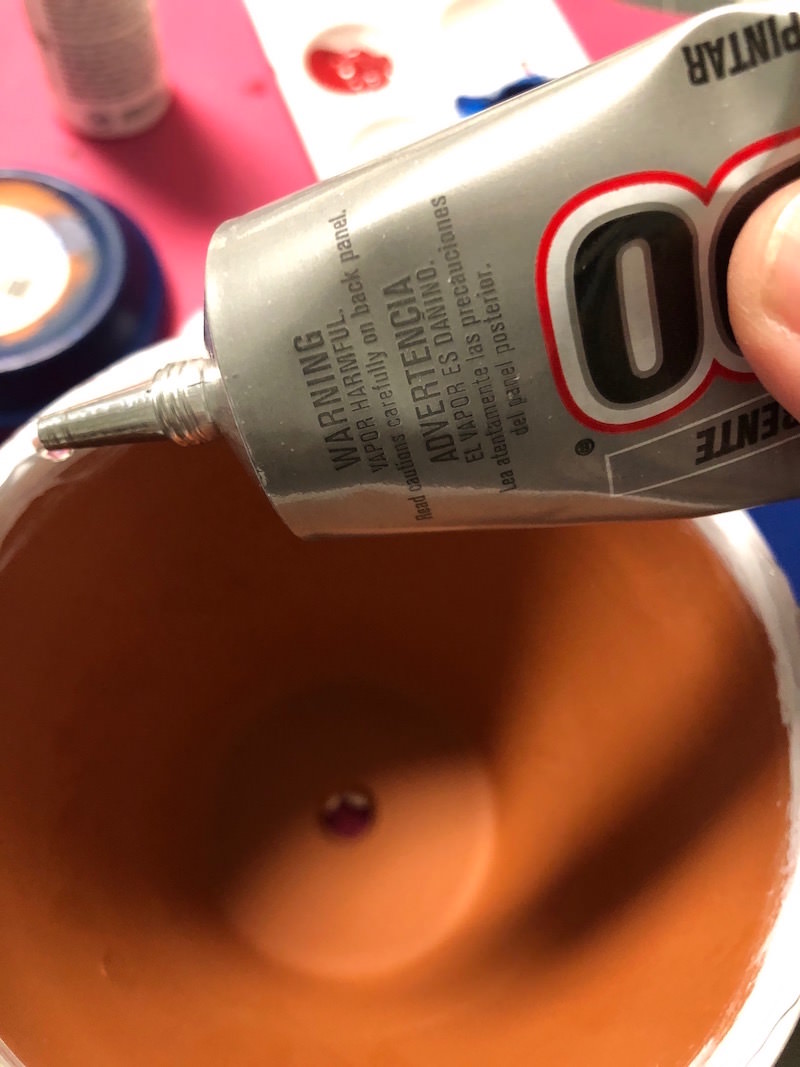
- Place a bead of E-6000 around the inner edge of the next largest pot. Stack it onto the base of the largest pot and let dry.
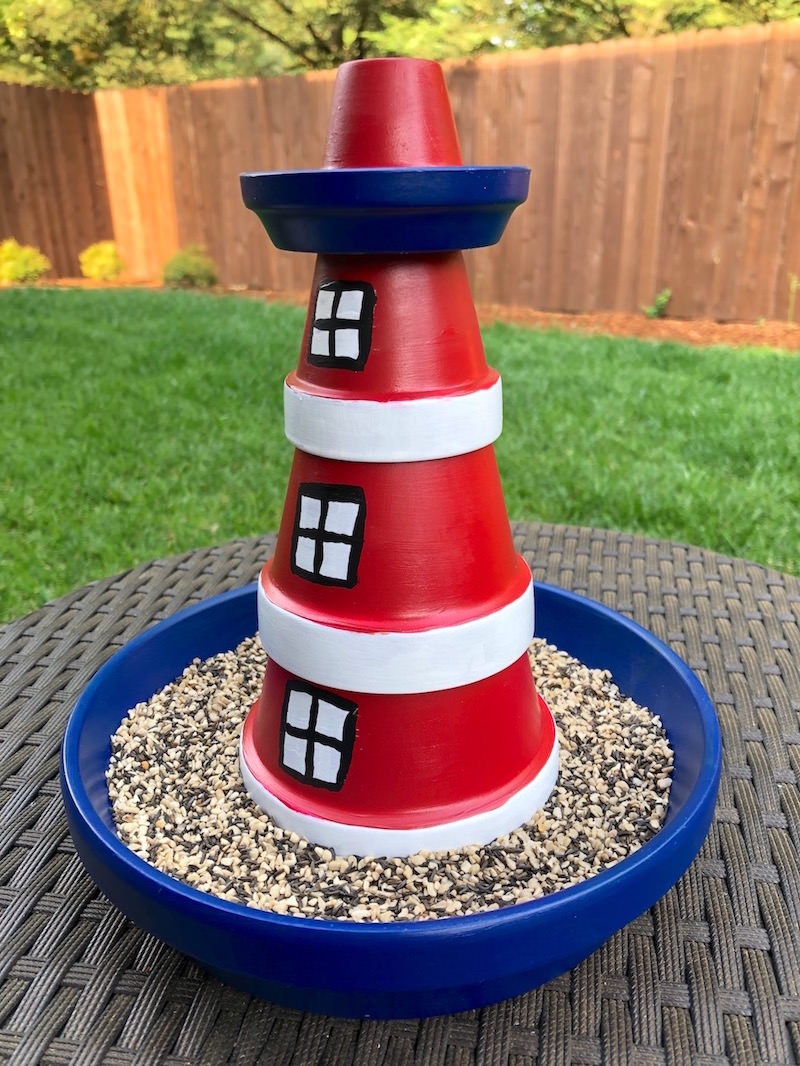
- Repeat with a third pot and let dry. Then glue the small clay pot tray onto the top of the structure. Glue the smallest clay pot as you did the others, on top of the clay pot tray.
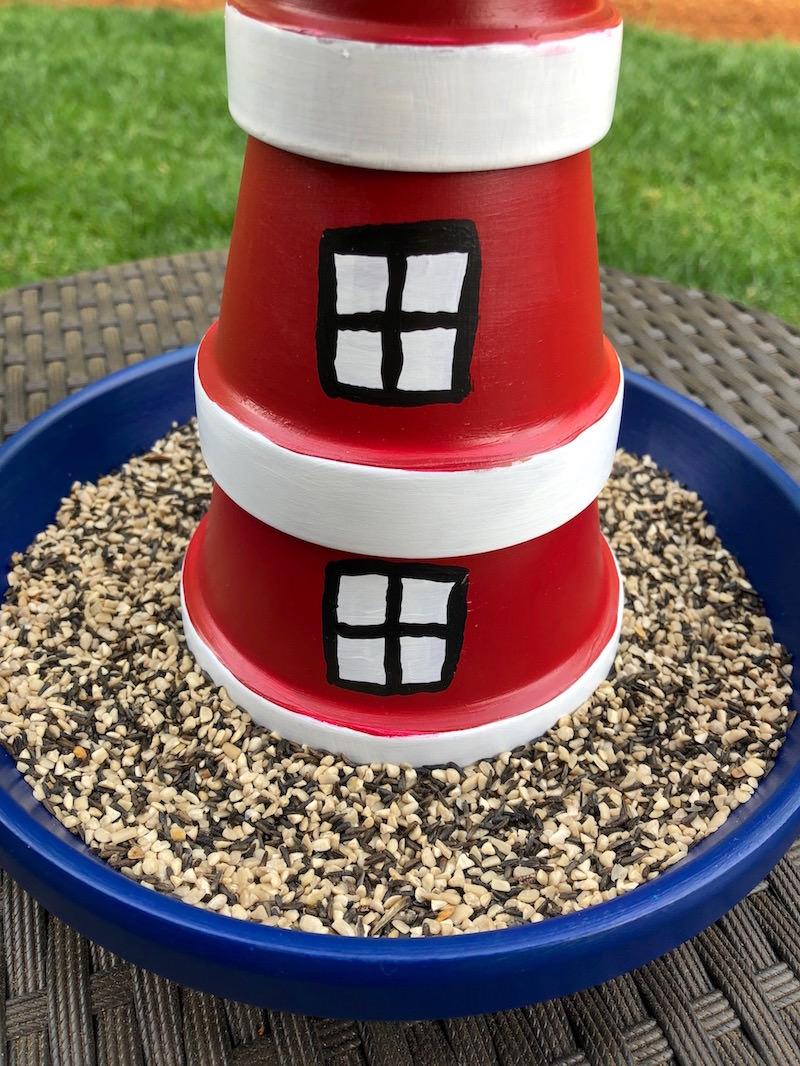
- Paint the window squares with white paint and a smaller brush. Let dry.
- For the window outline, use either Sharpie or black paint and a detail brush.
Notes
Are you ready to see a video of me making this lighthouse bird feeder? Watch it by pressing the play button in the middle of the video in this post! Then let me know what you think in the comments.


Hi Amy , I’m in London we have some beautiful lights house around our beautiful country side …. I wish Michaels here… you have so many wonderful shops in USA…. I loved this project just amazing.
I wish you had Michaels too! Do you have Hobbycraft there? I’ve heard good things about it. Thank you for the kind words!
I’m definitely going to make it. Thanks for posting this
The lighthouse bird feeder is very cute. Where did you place it? Won’t the rain ruin the bird seed when it gets wet?
Hi Barbara! I have it on a patio table that is covered but not closed in. So the birds fly in and get the seed. It barely rains here at all during the summer so I’m lucky in that way! I live in the PNW and our winters are rainy but summers are very dry 😀
THis birdfeeder is so cute. I’m definitely going to make it. Thanks for posting this