
Learn how to transform ordinary mason jars into glowing faux sea glass lanterns with simple glass paint, spouncers, and budget‑friendly tricks for a coastal vibe.
Skills Required: Beginner. You’ll be applying paint to the jar with a spouncer – I’ll show you the easy to way to do it.

I don’t know about you, but something about the soft glow of candlelight, paired with that dreamy, frosted look of beach glass! It just instantly brings me to my happy place by the shore.
So as soon as warmer weather hit, I rummaged through my craft stash to challenge myself to capture that seaside magic right at home. Enter: faux sea‑glass mason jar lanterns that look like they were tossed by the waves and polished by the sand.
This project couldn’t be more beginner‑friendly. All you need is some frosted glass paint and a spouncer, or even a makeshift sponge if you’re improvising.

In just a few simple steps, you’ll transform ordinary jars into flickering lanterns that glow with that soft, ethereal look of weathered glass.
And the best part? You can personalize the colors, sizes – even stash‑friendly substitutions – so these can carry you beyond just summer décor.
Let’s dive in (pun intended!) and bring that beachy bliss to your living room, porch, or wherever you love to unwind.
Spouncing Technique
It is important that, in this project, you “spounce” on the paint as opposed to brushing it on. This means that you’re going to use foam spouncers (small brushes developed for this technique) or a small piece of sponge. That gives you the beachy-texture.
Get the printed how to card below!

Faux Sea Glass Jars
Equipment
Materials
- 2 Mason jar(s)
- Glass paint make sure it's frosted
- Acrylic paint for the wood circles, if you decide to add
- Mod Podge Gloss is fine
- Wood circle(s)
- Doilies or other embellishments
- Ribbon
Instructions
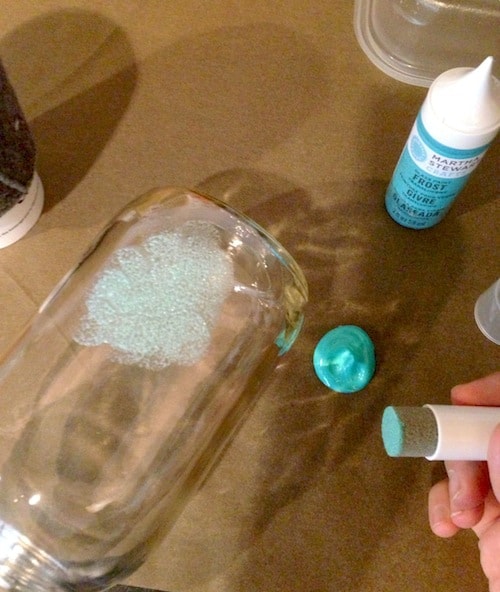
- Wash the jars with mild soap and water or use rubbing alcohol; let dry.
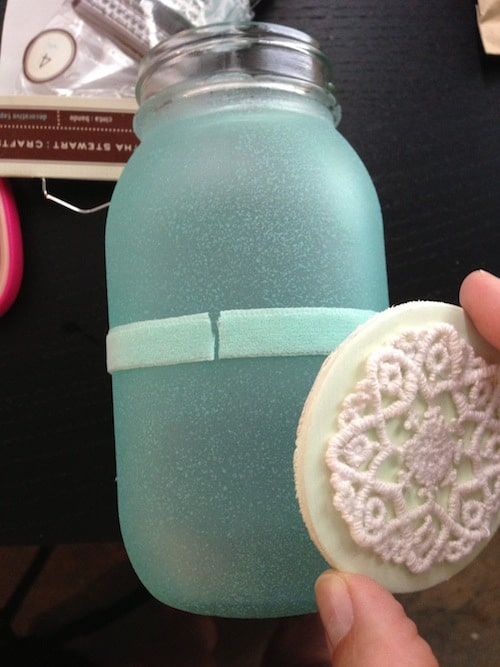
- Dab glass paint directly onto the mason jars with a sponge or spouncer. You're going to put a little bit of paint on the sponge end, press it to the glass, and pull up.Repeat this motion up and down. Work your way around the jars until they are completely covered. Let dry.
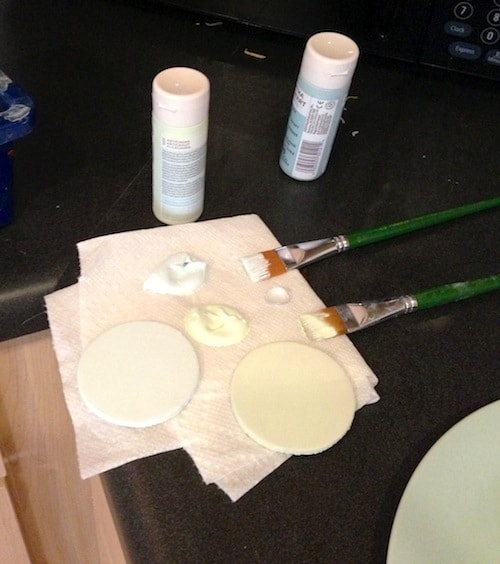
- Paint the wood circles with complimentary colors of acrylic paint. Give several coats and let dry.
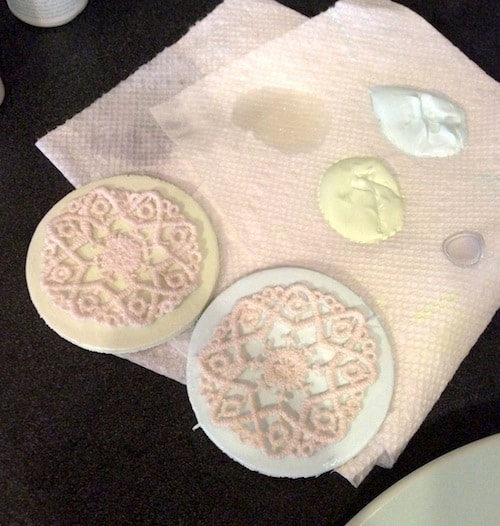
- Add the doilies or other embellishments to the tops with Mod Podge and let dry.
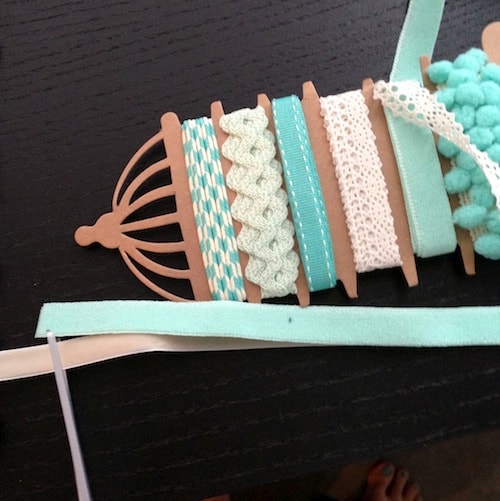
- Pick ribbon to go around the middle of the jars and trim to fit.
- Glue the ribbon to the jar in the middle, and then glue the wood circles on top where the ribbon meets. Let dry.Add LED lights if you are going to keep the lids on. You can use real tea lights with the lids off.
Notes
- Find a frosted glass paint in the color of your choice (which is sometimes hard to find)
- Add paint or food coloring to frosted top coat glass paint
- Add paint or food coloring to frosted Gallery Glass
- Frosted glass spray paint (but you can’t dye it!)
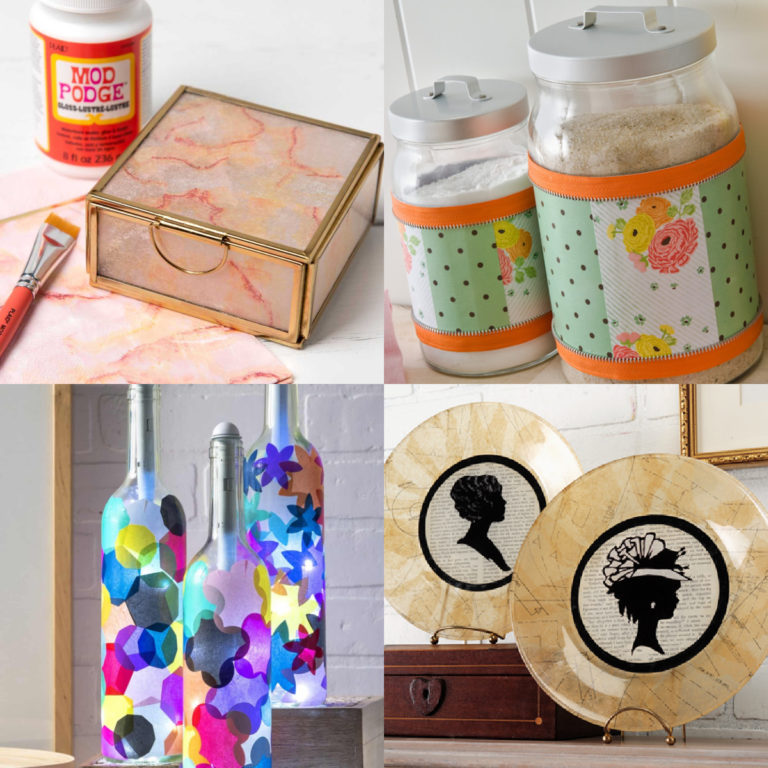
I hope you enjoyed these easy summer project! I’d love for you to also check out these other ideas:


I love this! I’m pinning it right now…
These are so pretty! I love the look of them:)
gorgeous results, and great for satisfying a beach glass craving! thanx for sharing on craft schooling Sunday!
Amy these are BEAUTIFUL. Pinning and I’m going to try to recreate some for my own home. 🙂
These are so pretty! I’m hosting a candle giveaway on my blog that you should enter!
Very pretty. I love the colors and it really does look like natural beach glass.
I’m going to try this with sand dollars instead of doilies for an even “beachier” feel! Thx for great idea!