Learn the difference between Mod Podge dry time and cure time so your projects last. Get tips for drying, curing, and when your crafts are truly ready.

If you’ve ever finished a Mod Podge project, waited a little while, picked it up, and thought, “Is this ready yet?” — you’re not alone. One of the most common questions I get from readers, students, and members of my Facebook group is this:
“How long does Mod Podge take to dry, and how long does it take to cure?”
They sound similar, but they’re very different — and understanding the difference can completely change the durability and success of your projects. Whether you’re decoupaging a canvas, sealing jewelry, finishing furniture, or customizing mugs, knowing how dry time and cure time work will help you avoid tackiness, peeling, and premature damage.
Let’s break it all down.
What Is Dry Time?
Dry time refers to how long it takes for Mod Podge to feel dry to the touch. This happens relatively quickly — usually within a few hours, or overnight for thicker applications. Drying happens as water (and other liquids) evaporate from the formula.
Key facts about Mod Podge dry time:
- Most Mod Podge formulas dry in a few hours, depending on temperature, humidity, and how thickly you’ve applied them.
- Your project may feel dry, look dry, and be dry enough to hang or handle lightly.
- Even craft paints, wall paints, and other acrylic products follow the same drying process.
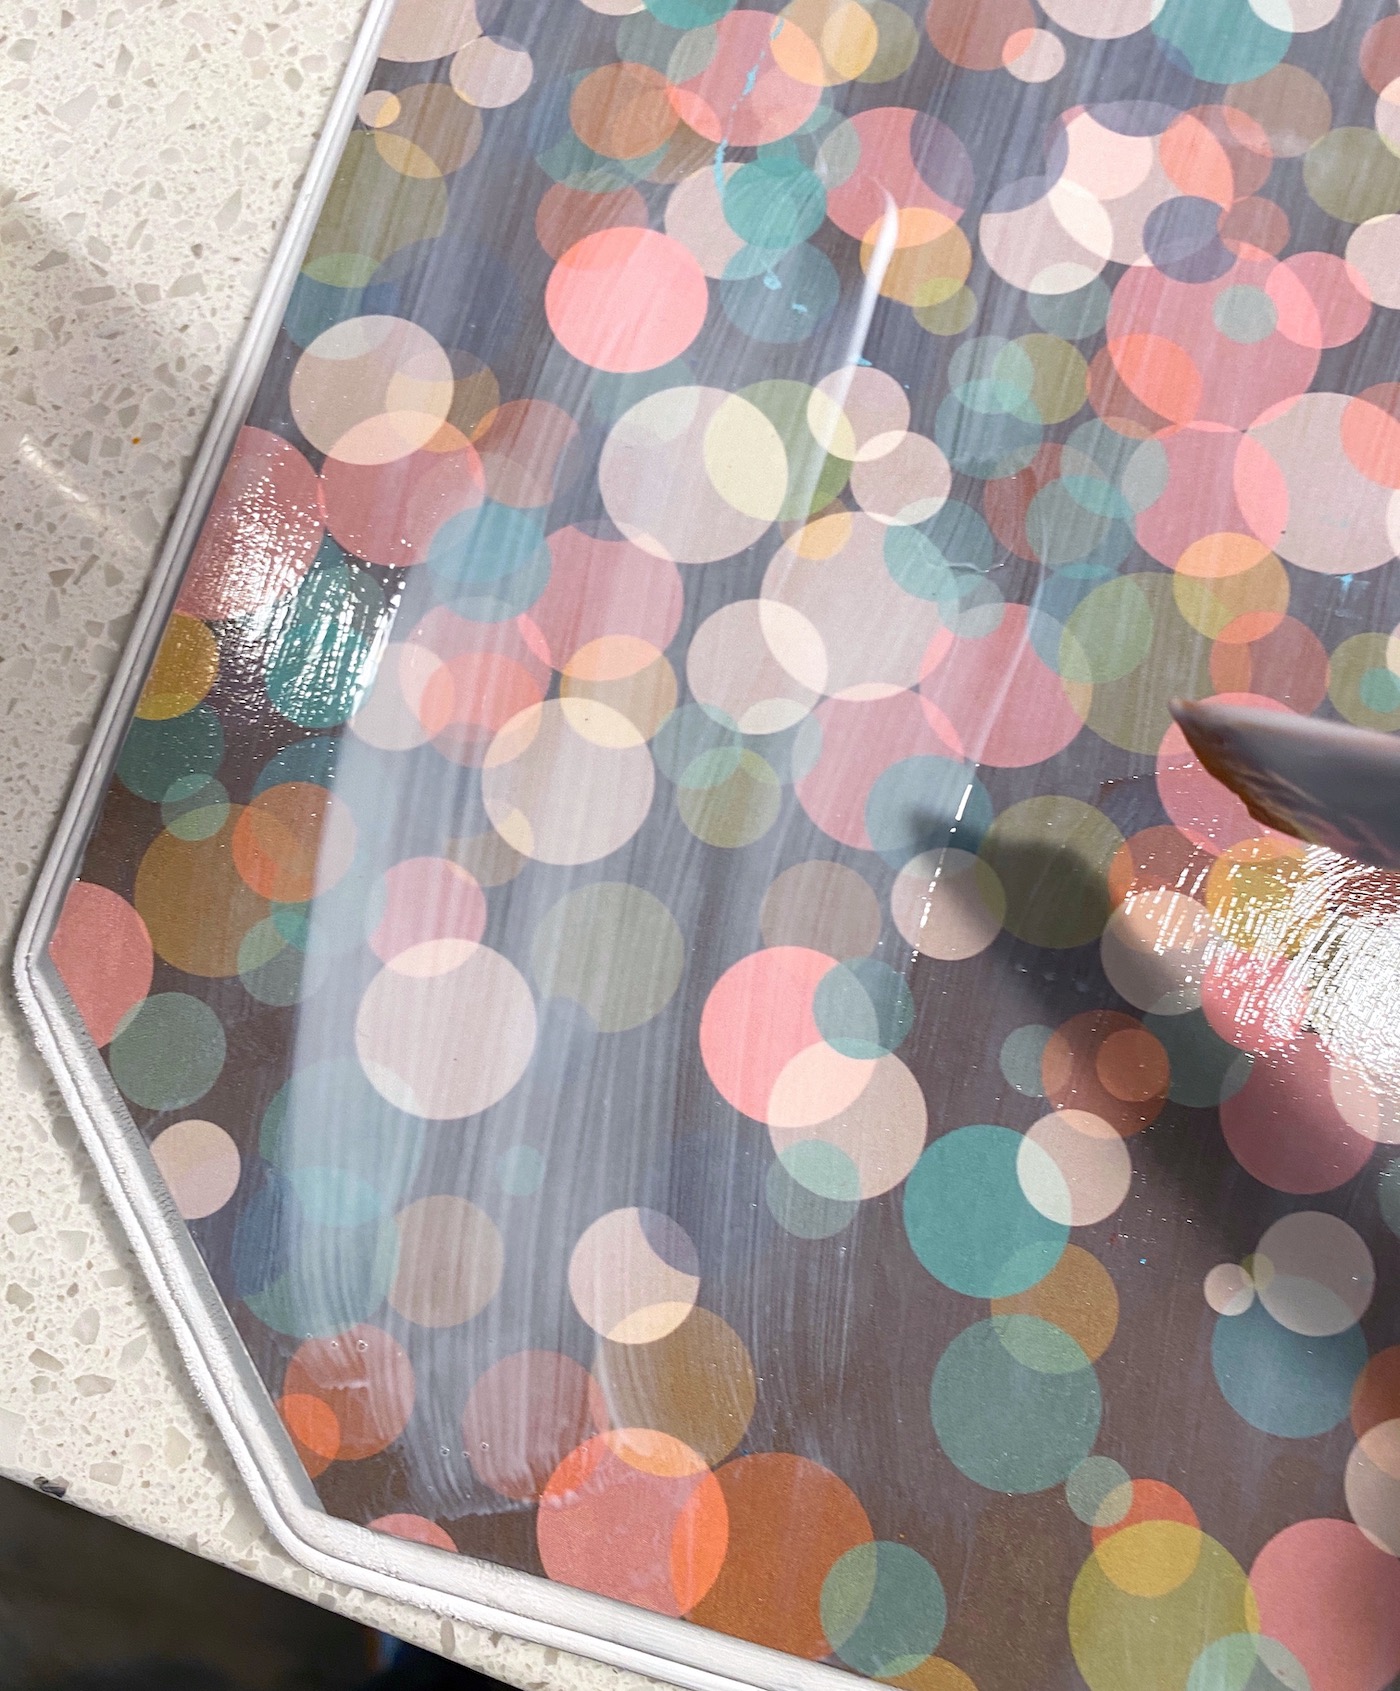
You can touch, hang, and even gift many Mod Podge projects once they’re dry — as long as they won’t be exposed to rough handling.
Examples of Mod Podge projects safe to use after dry time:
- Hanging a Mod Podged canvas
- Wearing Mod Podge earrings
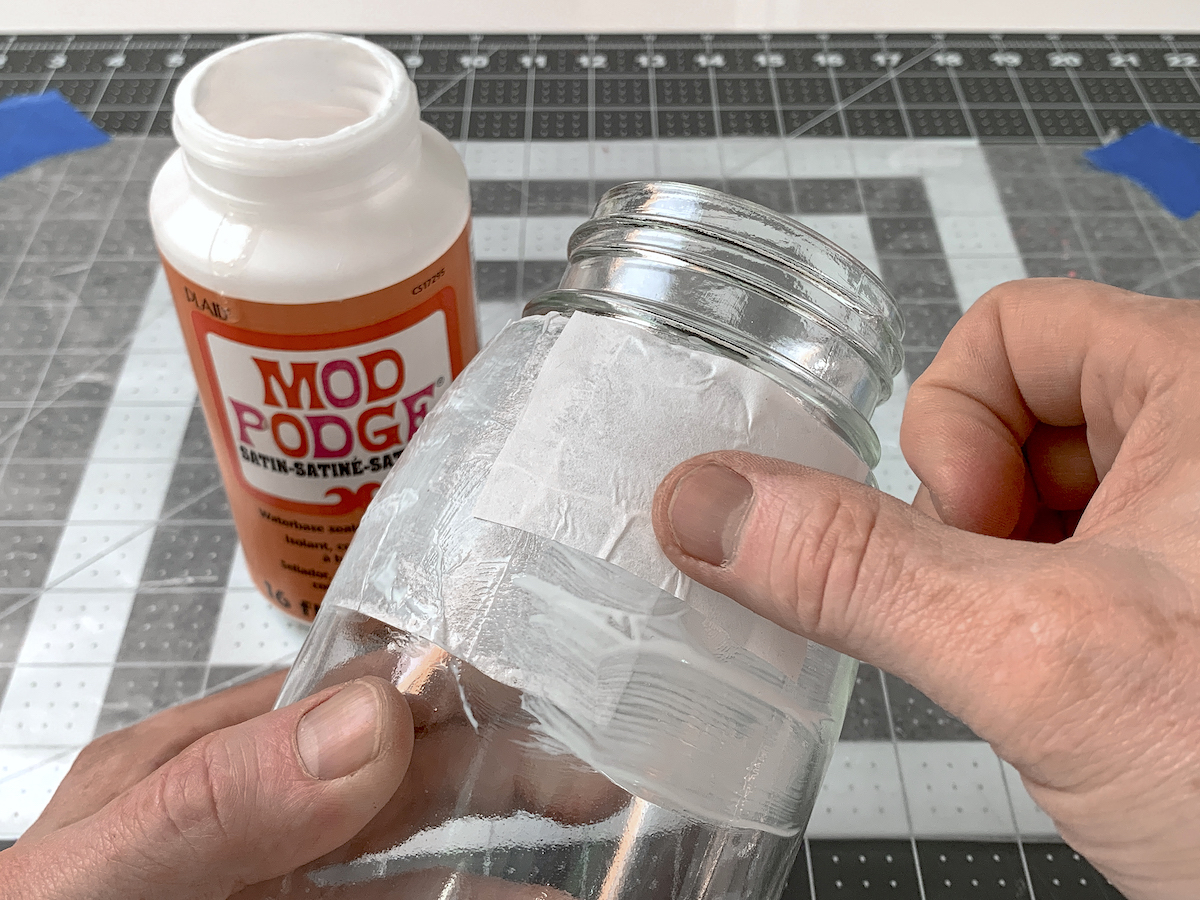
- Filling a Mod Podged mason jar with candy and gifting it
- Displaying decorative items that won’t be handled frequently
If your project won’t be pulled, bent, scrubbed, washed, or otherwise abused, dry time is typically enough.
What Is Cure Time?
Now here’s where the big difference comes in.
Cure time is how long it takes Mod Podge to reach its maximum strength, durability, and full chemical hardness.
Curing isn’t just “extra drying.” It’s an actual chemical process. Even after a project feels dry, solvents continue to evaporate and the acrylic medium continues to harden. This is true for all acrylic products, including Mod Podge, craft paint, wall paint, and even clear sealers.
Mod Podge Cure Time
- Full cure takes 3–4 weeks.
- Around 1.5–2 weeks in, your project is typically about 50% cured.
- The curing process continues gradually until all solvents have evaporated and the formula has hardened completely.
- Cure time is influenced by humidity, temperature, air circulation, altitude, and formula type.
This is why your project can feel dry — even fully dry — but still isn’t ready for heavy use.
Why Cure Time Matters (More Than You Think)
Think of curing like letting concrete or nail polish fully harden. Sure, it looks done at first, but it isn’t ready for stress yet.
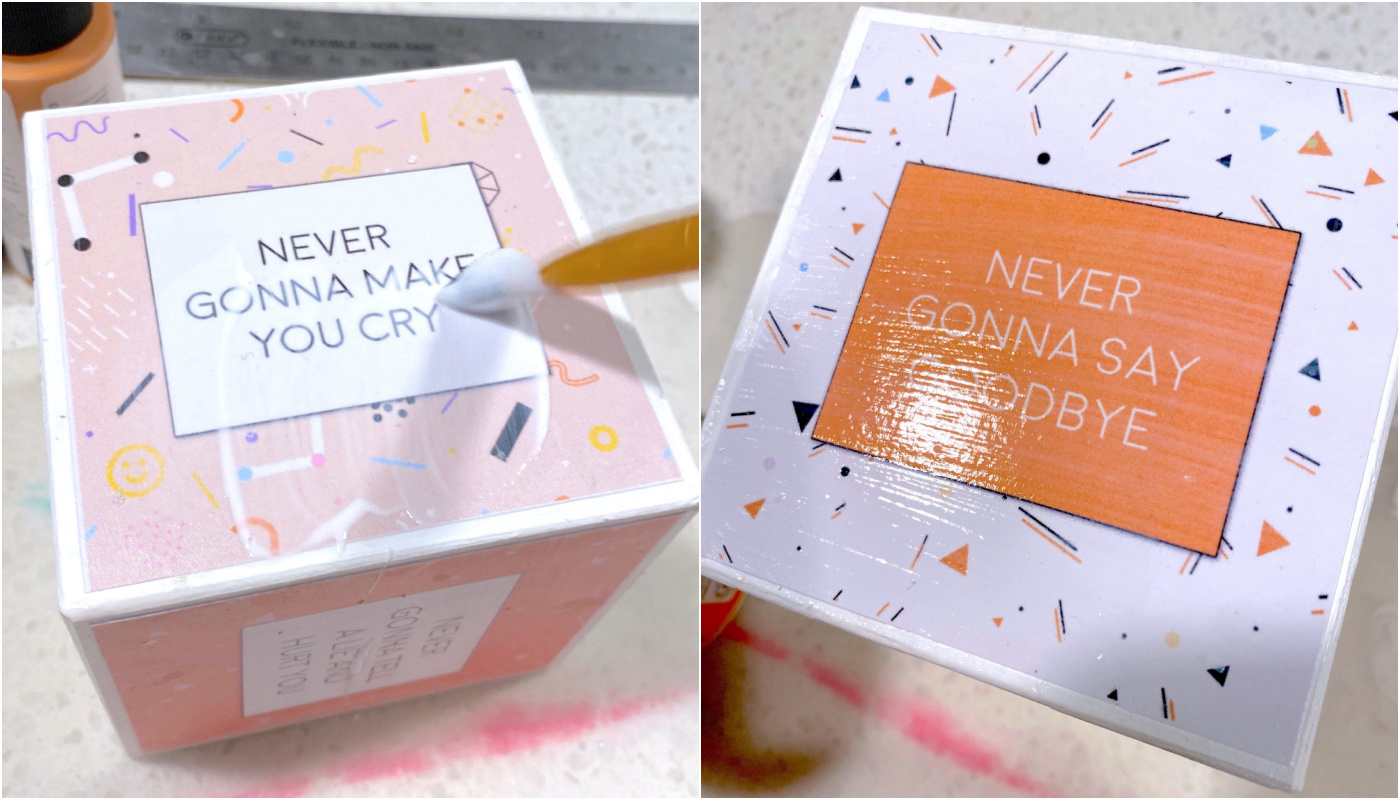
Some Mod Podge projects are totally fine to use once they’ve dried. Others, however, need the full cure time because they’re going to be handled, touched, washed, or bumped repeatedly.
Projects that must cure before use:
- Stepstools
- Tables and furniture
- Coasters
- Dishwasher Safe Mod Podge items
- Mugs or cups that will be washed
- Trays
- Any high-traffic or functional surface
These items are exposed to friction, pressure, weight, oils from hands, heat, or water — all things that can disrupt Mod Podge that hasn’t cured yet.
If you’ve ever had a piece feel tacky, peel up, or show fingerprints even days after applying Mod Podge, it wasn’t fully cured.
How Environment Affects Drying and Curing
Your craft room or home setup plays a big role in timing. Factors that slow down both drying and curing include:
- High humidity
- Low temperatures
- Poor air circulation
- Thick coats of Mod Podge
- Multiple layers applied too quickly
On the flip side, warm, dry, well-ventilated environments typically shorten drying time — though cure time still takes several weeks regardless.
When Can I Use My Mod Podged Item? (Short Answer Guide)
If your project will simply sit on display or hang on a wall → dry time is enough.
If your project will be touched lightly or worn gently → dry time is usually fine.
If your project will be frequently handled, washed, bumped, or stressed →
wait the full 3–4 week cure time.
Quick reference examples:
| Project Type | Safe After Drying? | Needs Full Cure? |
|---|---|---|
| Canvas wall art | ✔️ | ❌ |
| Mason jar gift | ✔️ | ❌ |
| Earrings or pendants | ✔️ | ❌ |
| Coasters | ❌ | ✔️ |
| Furniture | ❌ | ✔️ |
| Mugs (Dishwasher Safe) | ❌ | ✔️ |
| Stepstools | ❌ | ✔️ |
Use your best judgment — and when in doubt, wait.
How to Speed Up Dry Time (But Not Cure Time)
You can encourage Mod Podge to dry faster, but you can’t speed up the chemical curing process. Still, if you want your project dry to the touch sooner:
- Apply thin layers
- Allow proper ventilation
- Use a fan to keep air moving
- Ensure your workspace is warm, not cold
- Avoid stacking or sealing before layers dry
Just remember: even if it dries quickly, curing still takes weeks.
Final Tips for Successful Mod Podge Projects
- Plan ahead for cure time if you’re making gifts or functional pieces.
- Don’t judge readiness by touch alone — curing happens internally.
- The thicker the layers, the longer both processes may take.
- For outdoor or high-use items, always allow the full cure period.
- When in doubt, err on the side of caution and let it cure longer.
Conclusion: Dry Time vs. Cure Time
Understanding dry time and cure time is key to creating durable, beautiful Mod Podge projects that last. Dry time gives you a project that feels ready. Cure time gives you a project that is ready — strong, hardened, and able to withstand whatever handling it’s designed for.
Think of dry time as your project’s first stage of readiness.
Think of cure time as its final transformation into a finished, functional piece.
If you treat your project according to how it will be used, your Mod Podge creations will stay looking great for years.
Have any questions? Let me know in the comments!