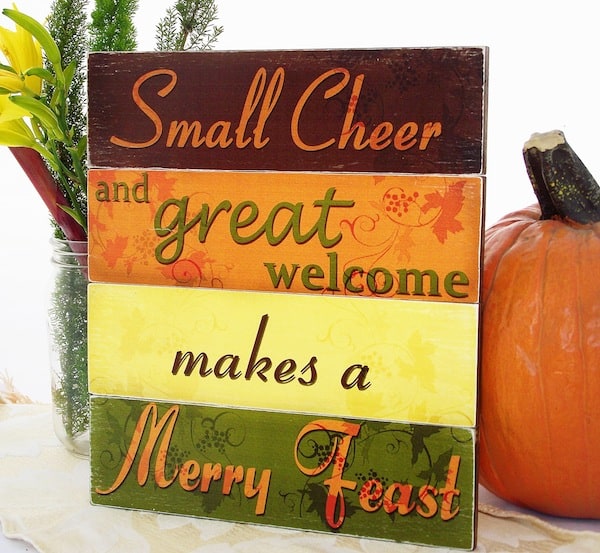
Use the provided printables to make this festive DIY Thanksgiving sign – welcome your guest in style or use it for pretty mantel decor.
I really do love Thanksgiving. Kind of the perfect holiday to me and I have so many great memories associated with the big dinner (and the prep for it).
I wanted to come up with a project that reflected that and when my friend Geralyn found the perfect Shakespeare quote it all came together.
“Small Cheer and Great Welcome Make a Merry Feast.” Isn’t that just spot on? It’s from The Comedy of Errors and, to me that perfectly sums up my favorite holiday.
So I got to work and designed the background and text and then applied it to some scrap lumber to create a cool sign! Here’s what I did to make this Thanksgiving craft.
Merry Feast Thanksgiving Sign
For this project I used:
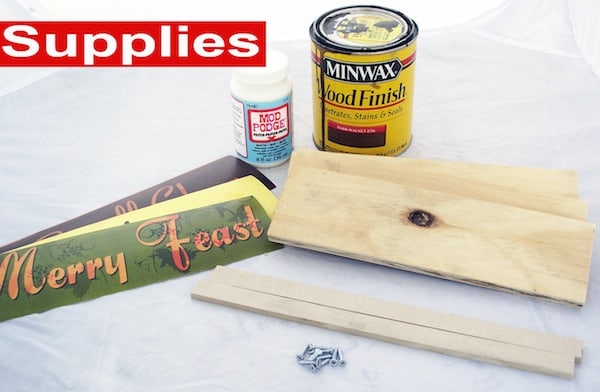
- Scrap ½” plywood cut to 10.5” long by 3” high panels
- Two scrap pieces of wood for connecting the panels – cut to 11.5” long
- Matte Mod Podge
- Wood Stain
- Screws – 8
- A print out of the text – you can download HERE
I used some tools as well that are very helpful but also optional:

- Drill (and appropriate drill bits)
- Sandpaper
- Two new (to me) applicators from the makers of Mod Podge:
- Brush Applicator
- Rolling Applicator
- Scissors
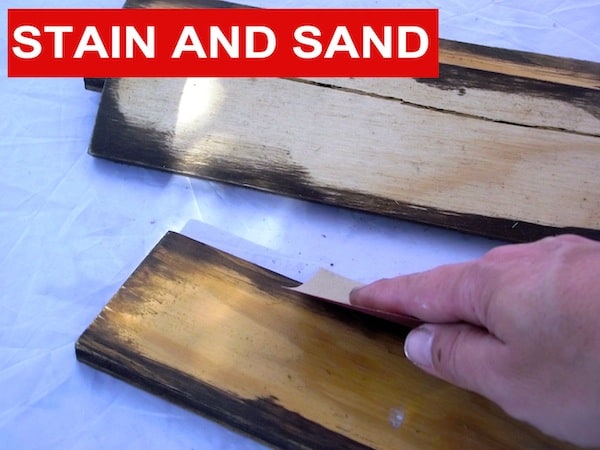
To get started, stain the edges of the wood panels and just a little bit of the front side. After the stain dries, sand them lightly.
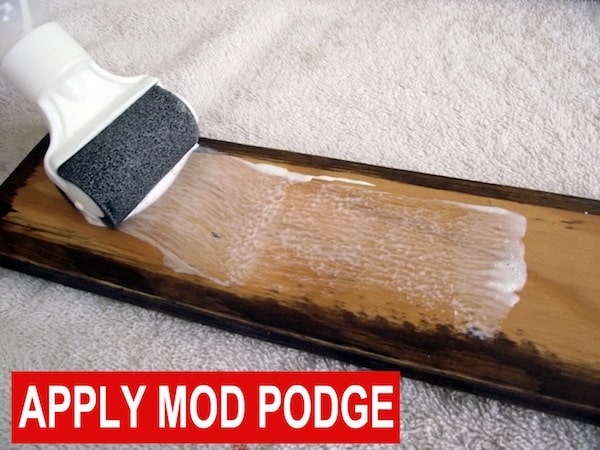
Apply the Mod Podge using the rolling applicator. This was a new tool for me personally, and I must say it worked really well. It made application smooth and easy to control (and cleaning it up was easy too). You can also use a brush, but this is really easy!
Lay down the graphics on the Thanksgiving sign, smoothing out the air bubbles as you go.
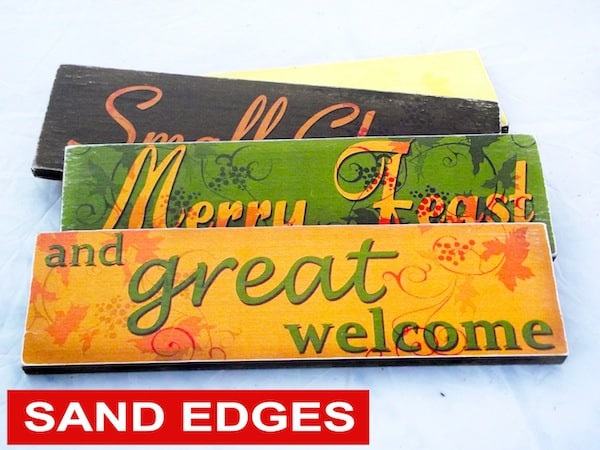
After giving it a bit of time to dry, give the edges of the paper a light sanding just to give it a bit of character (this step is totally optional).
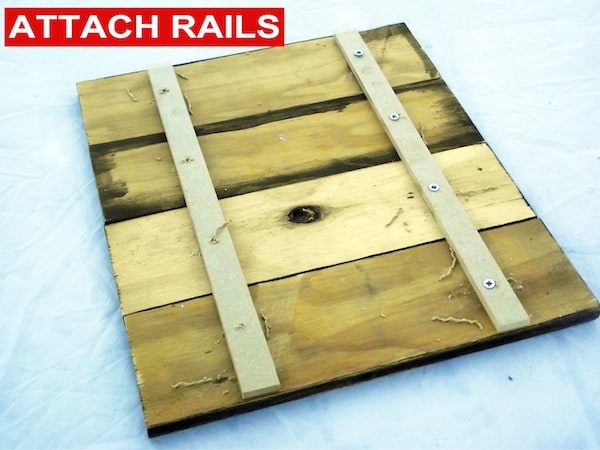
Flip all the panels over, line them up and screw on the scrap wood connectors.
(Tip: make sure the panels are in the right order or you’ll have to take the whole Thanksgiving sign apart and try again. Don’t ask me how I know this . . . )
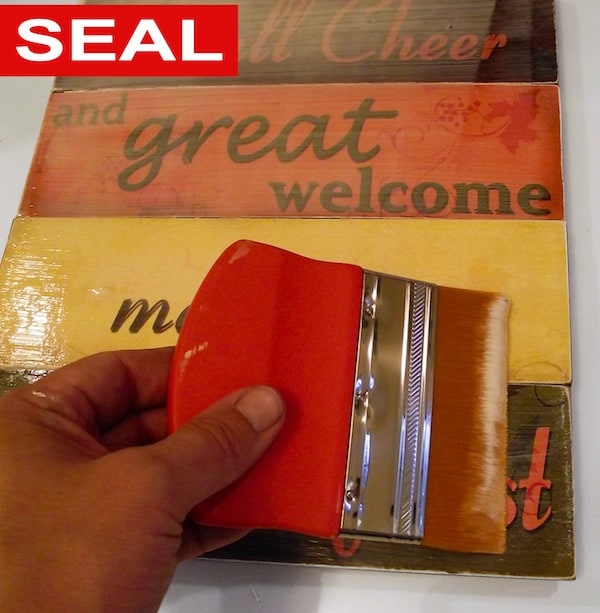
Flip the sign back over and seal the front with Mod Podge. Apply a full coat, let dry for 15 – 20 minutes, and then repeat with a second coat.
For that I used the Brush Applicator, which worked like a dream for laying the Mod Podge over a large surface smoothly and cleanly. I think it may be a new favorite of mine!!
And I was done. Let dry for 12 hours before hanging or displaying.
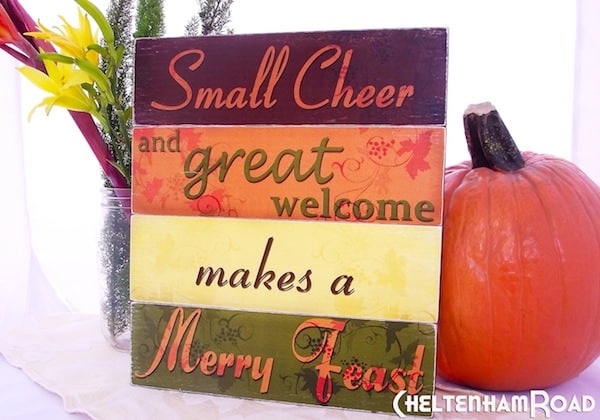
Now all I need is some turkey! . . . and someone to cook it.
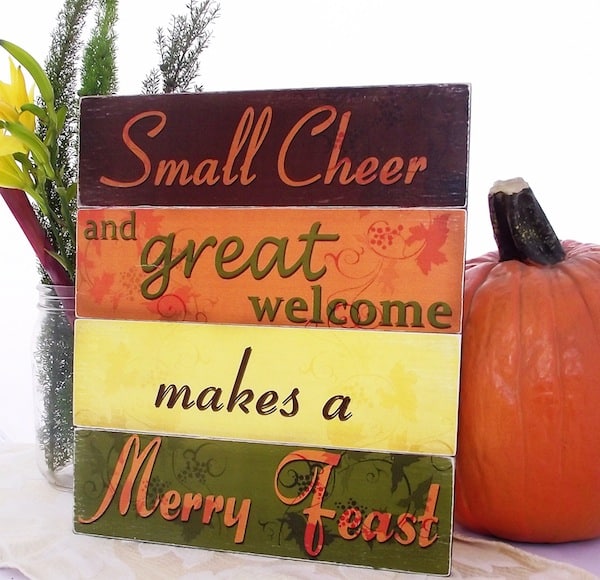
Your DIY Thanksgiving sign is complete. Happy holidays! Some notes in this project:
- If you want to do your own thing, the backgrounds alone without the text are HERE.
- If you don’t want to use a drill and screws, a hot glue gun will probably work just fine as long as the boards aren’t too heavy. You could also use wood glue.
Friendsgiving Sign
Equipment
- Sandpaper
- Brush or applicator
Materials
- 1/2” plywood cut to 10.5” long by 3” high panels
- Scrap wood – two pieces cut to 11.5” long
- Mod Podge Matte
- Wood stain
- 8 Screws
- Printable download
Instructions
- Print out the download using a laserjet printer. Trim to fit the boards.
- Stain the edges of the wood panels (going around the front a little). After the stain dries, sand them lightly.
- Apply the Mod Podge to the wood pieces using the rolling applicator (one at a time).
- Lay down the graphics on the front of the wood, smoothing out the air bubbles as you go. Let dry for 15 – 20 minutes.
- Give the edges of the paper a light sanding just to give it a bit of character (this step is optional).
- Flip all the panels over, line them up and screw on the scrap wood connectors with the drill.
- Seal the sign front with Mod Podge. Apply a full coat, let dry for 15 – 20 minutes, and then repeat with a second coat.
Notes
If you’re interested in some additional Thanksgiving decor projects, I’d like for you to check out the following posts:




I love this! I love everything from the saying to the colors to the size!!
Nice project