
DIY map magnets are the perfect personalized craft. Capture special places with this easy tutorial — great for gifts, travel lovers, or your own fridge.
Skills Required: None. You don’t need any prior crafting skills to make these magnets. They are simple enough for anyone to make, including children.
LooIf you’re looking for a craft that’s easy, affordable, and ridiculously meaningful, you’re going to love these DIY map magnets.
Not only are they adorable on your fridge (and much more charming than that free pizza-place magnet you’ve had for a decade), but they’re also a perfect way to capture special places that mean something to you.
Places like your hometown, the city where you fell in love, that unforgettable road trip you took with your best friend, or even your dream vacation destination.
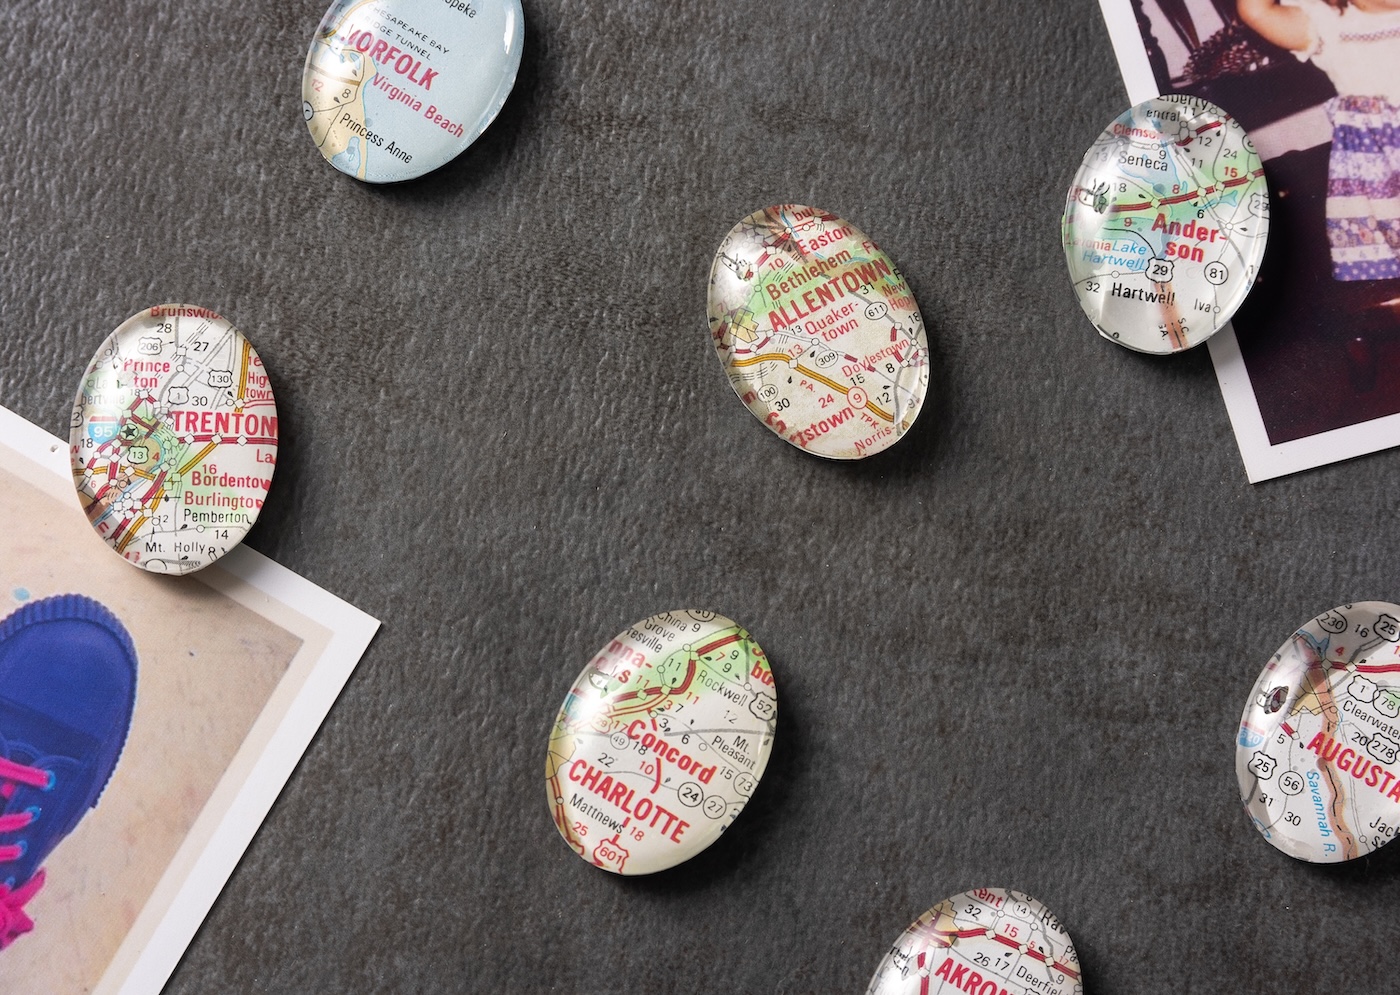
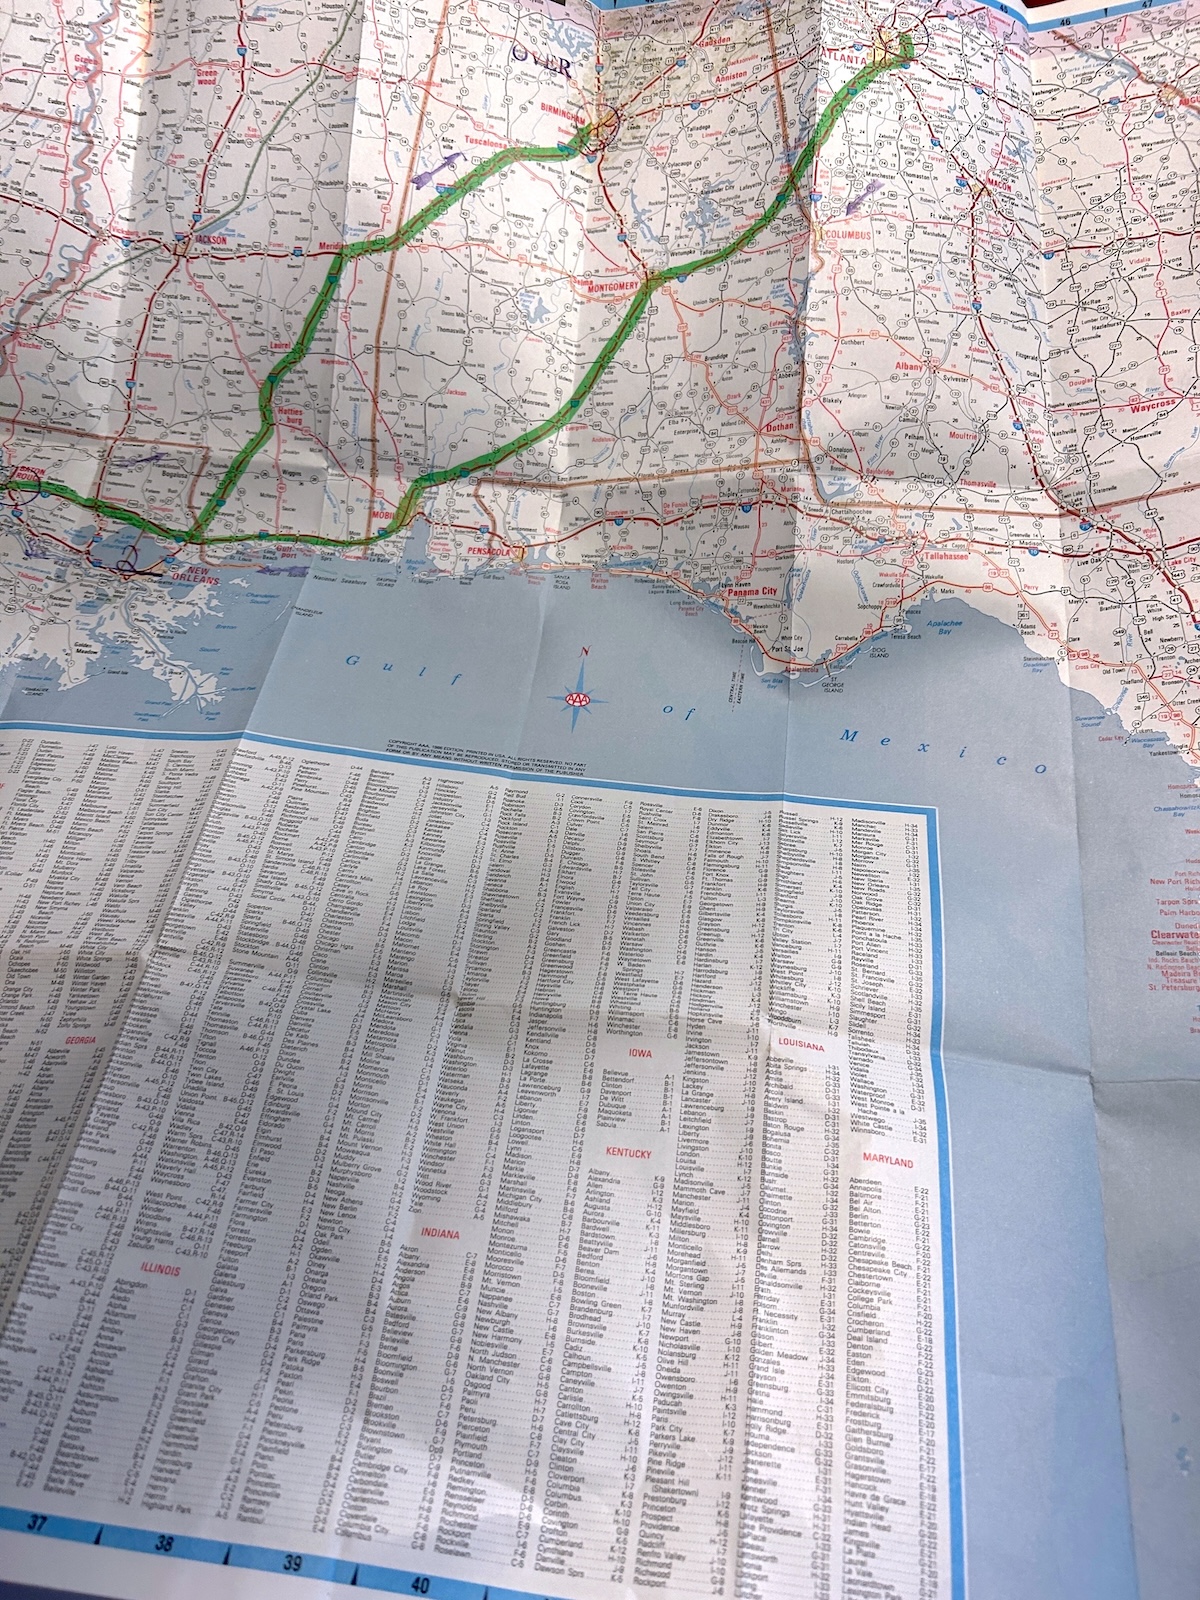
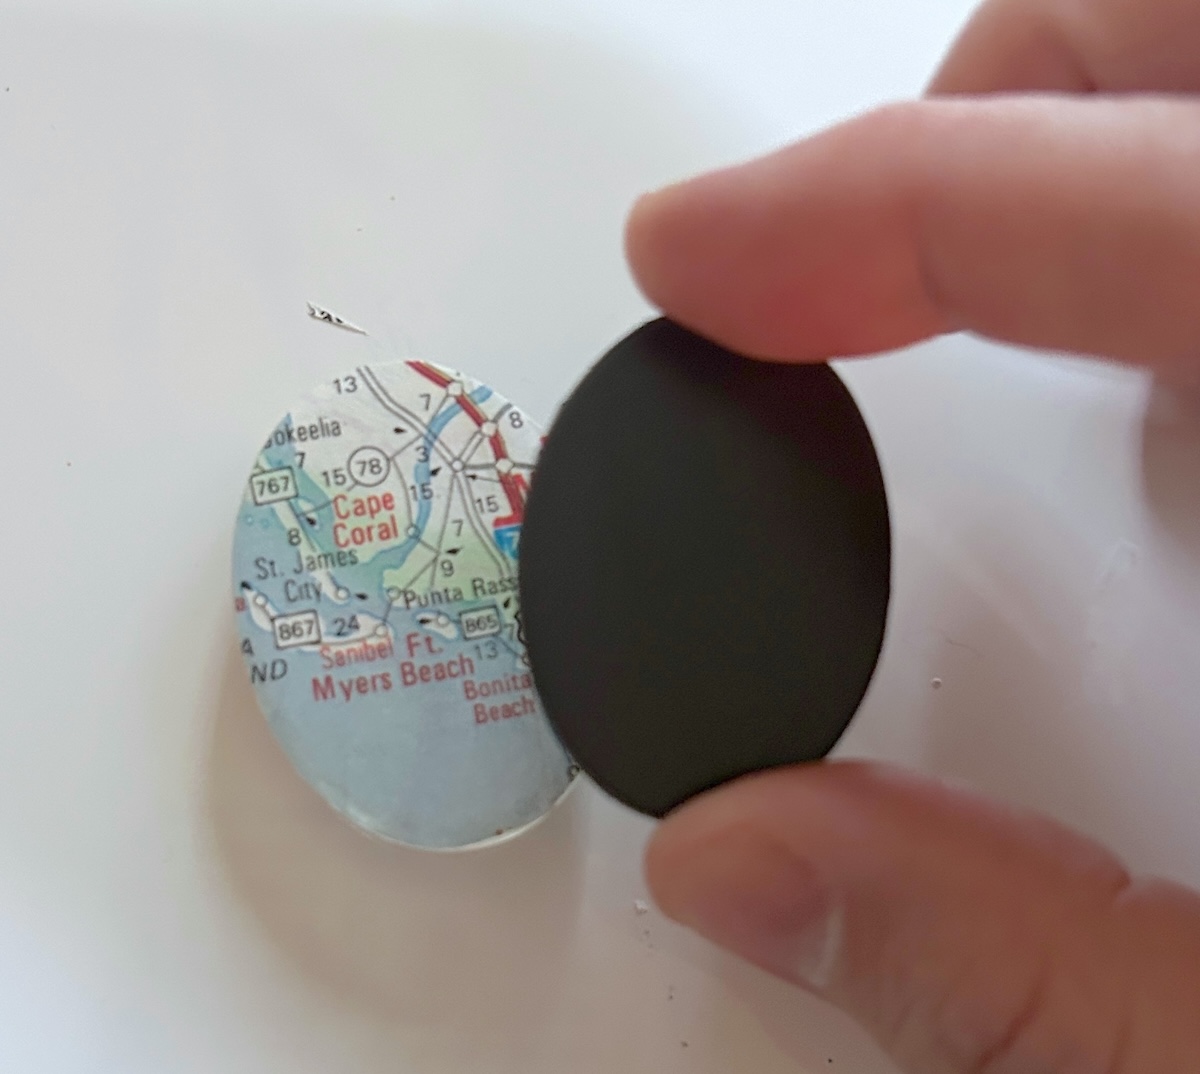
I made mine using some vintage TripTiks I scored on eBay (anyone else remember those magical AAA maps with your route highlighted?). Each magnet tells a little story, and now they’re little works of art holding up grocery lists and kids’ artwork on a fridge.
Even if you’ve never crafted before, you can absolutely make these. No skills required beyond the ability to use scissors and not glue your fingers together (although if you do… we’ve all been there).
Why make these map magnets? Because they’re:
- Personalized. They make fabulous gifts for weddings, housewarmings, or anniversaries.
- Budget-friendly. Maps are cheap (or even free if you raid your parents’ glovebox).
- Simple. No fancy tools or experience needed.
- Nostalgic. Every magnet tells a story, and you get to decide what story it tells.
You can use maps of:
- The city where you met your spouse.
- The national park where you camped every summer.
- The country you hope to visit someday.
- A neighborhood you grew up in.
- A bucket-list destination you want to manifest into reality.
Get the printable how to card below:
Map Magnets
Equipment
Materials
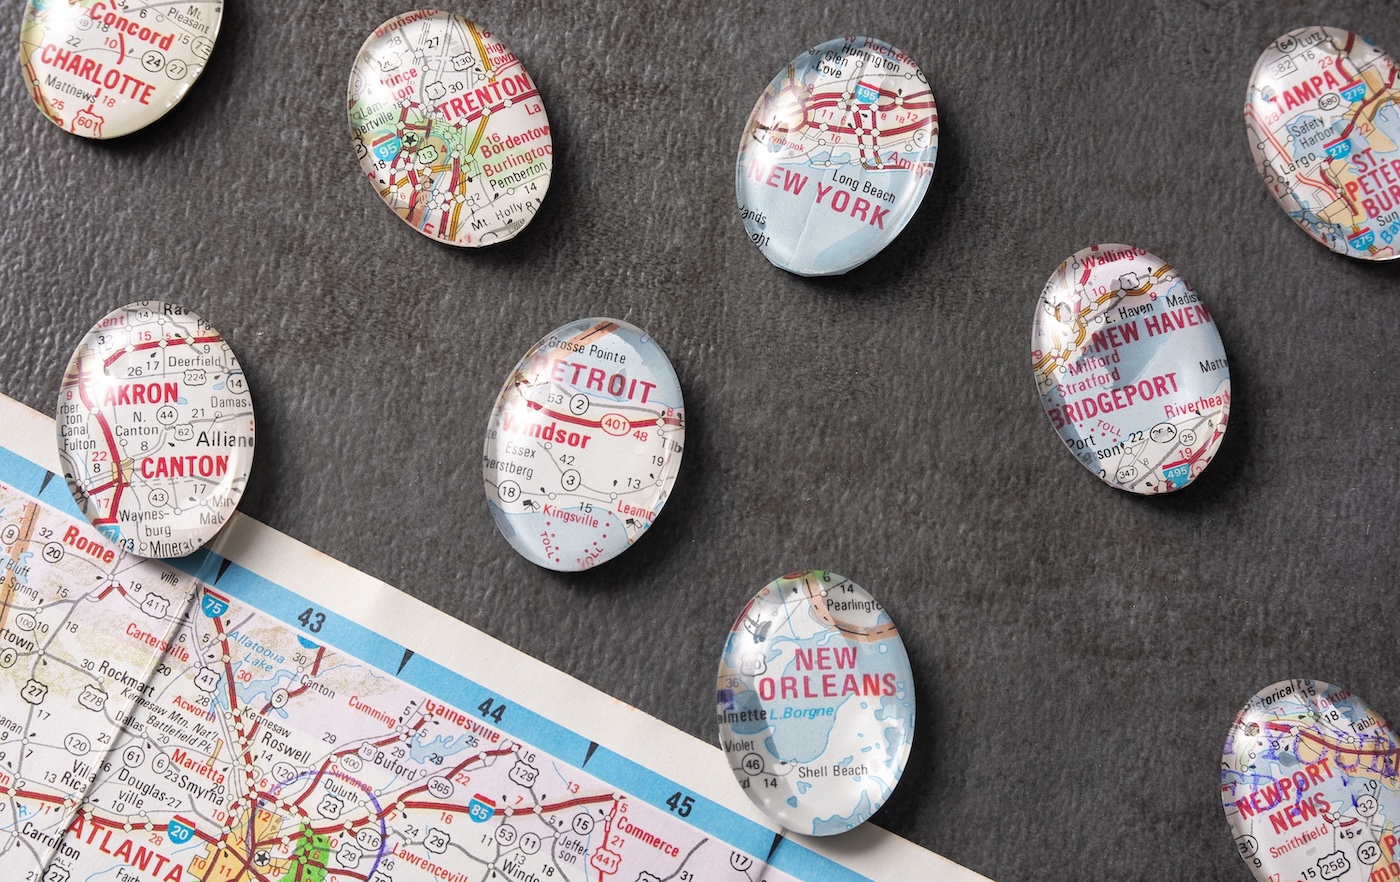
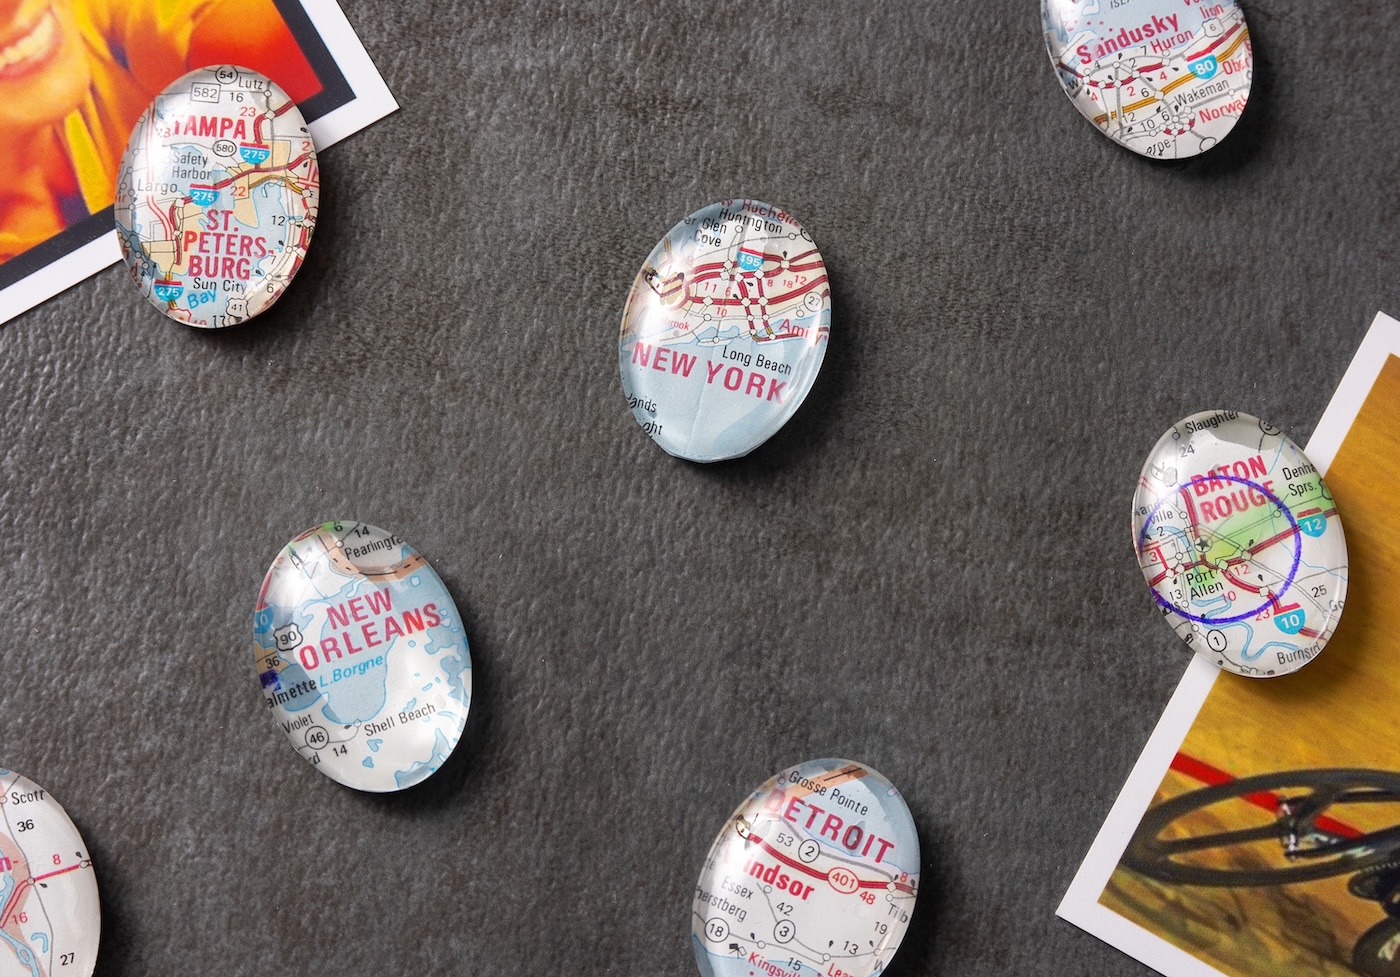
- 1 Oval magnet set mine came with 36 glass domes and 36 magnets
- Mod Podge Gloss
- 2 Map(s)
- Craft glue optional
Instructions
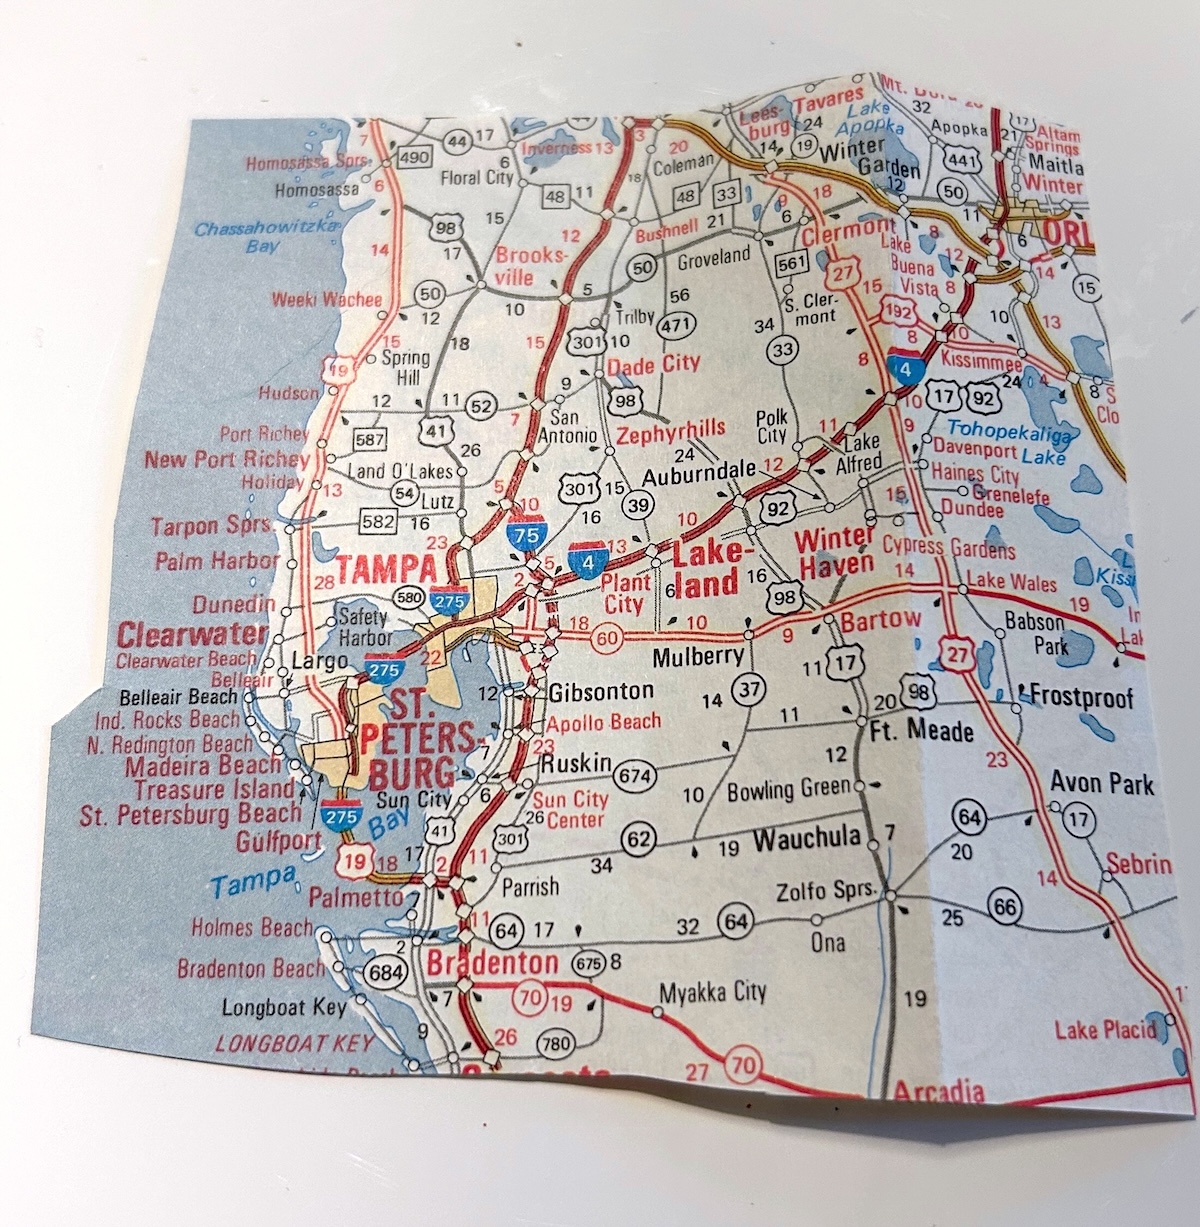
- Choose the locations you want to feature.
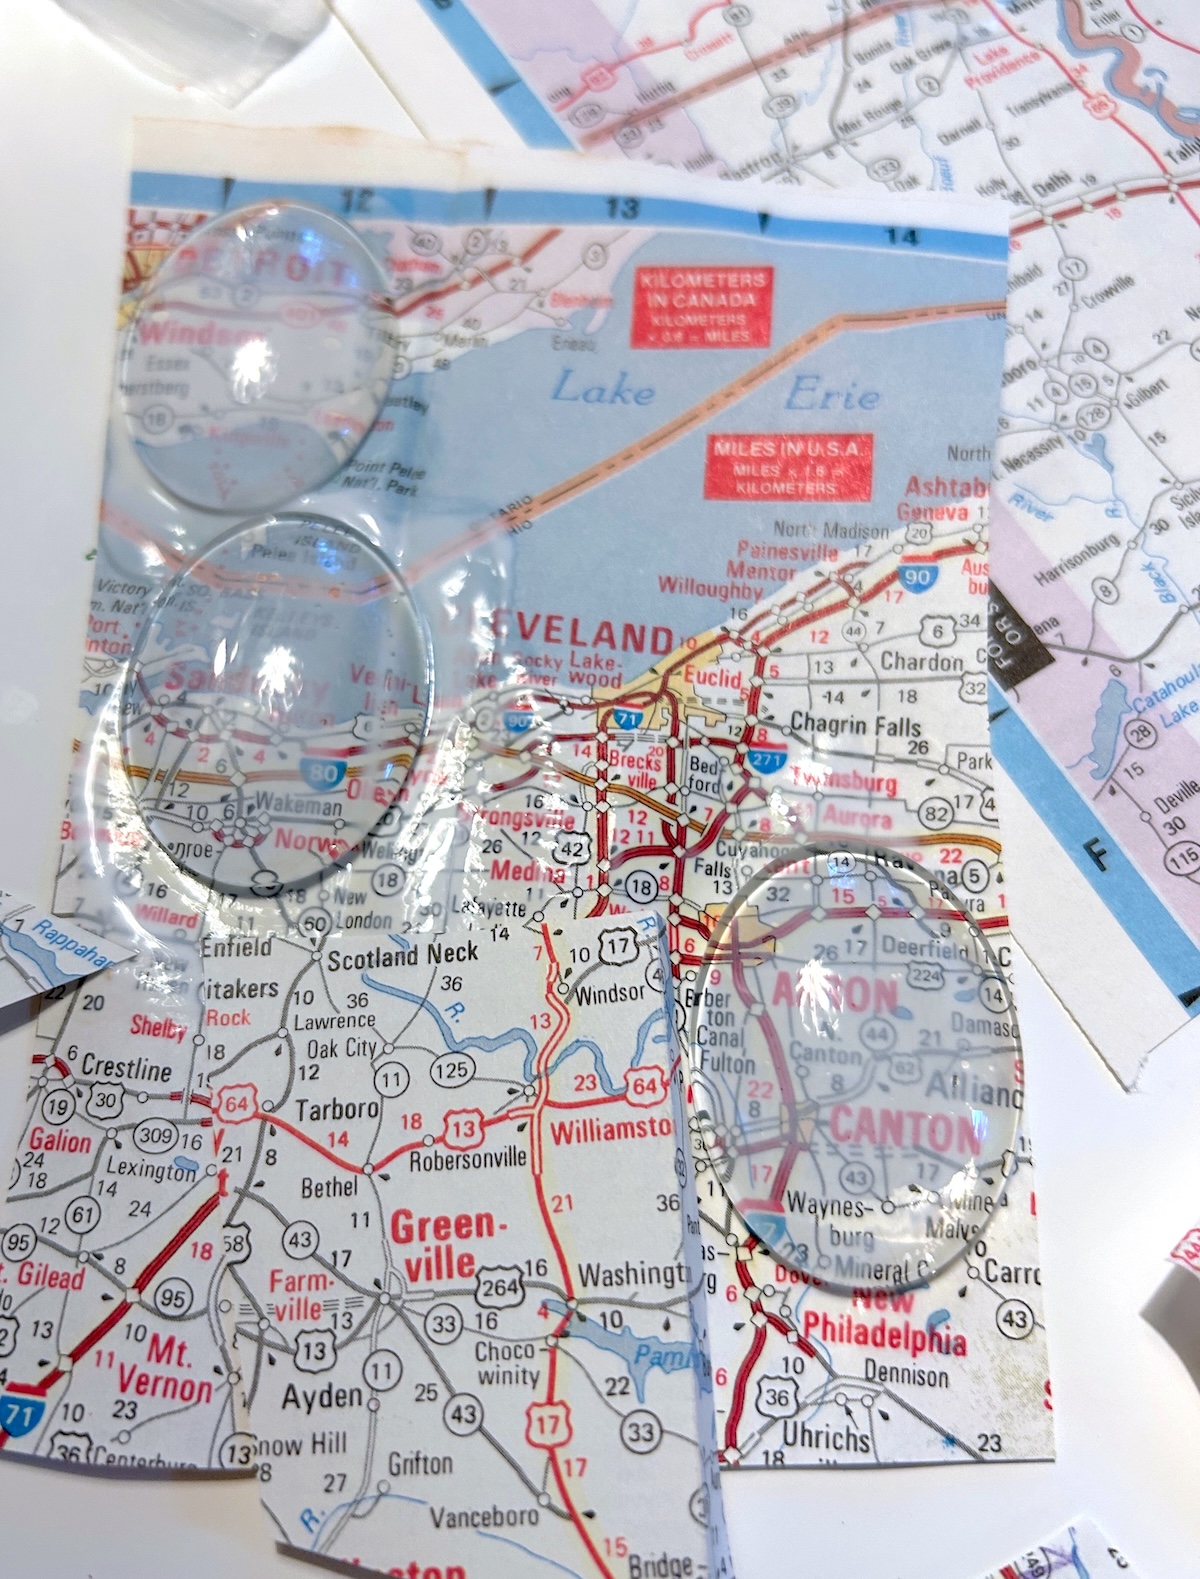
- Cut out small sections of the map that are larger than your glass domes.
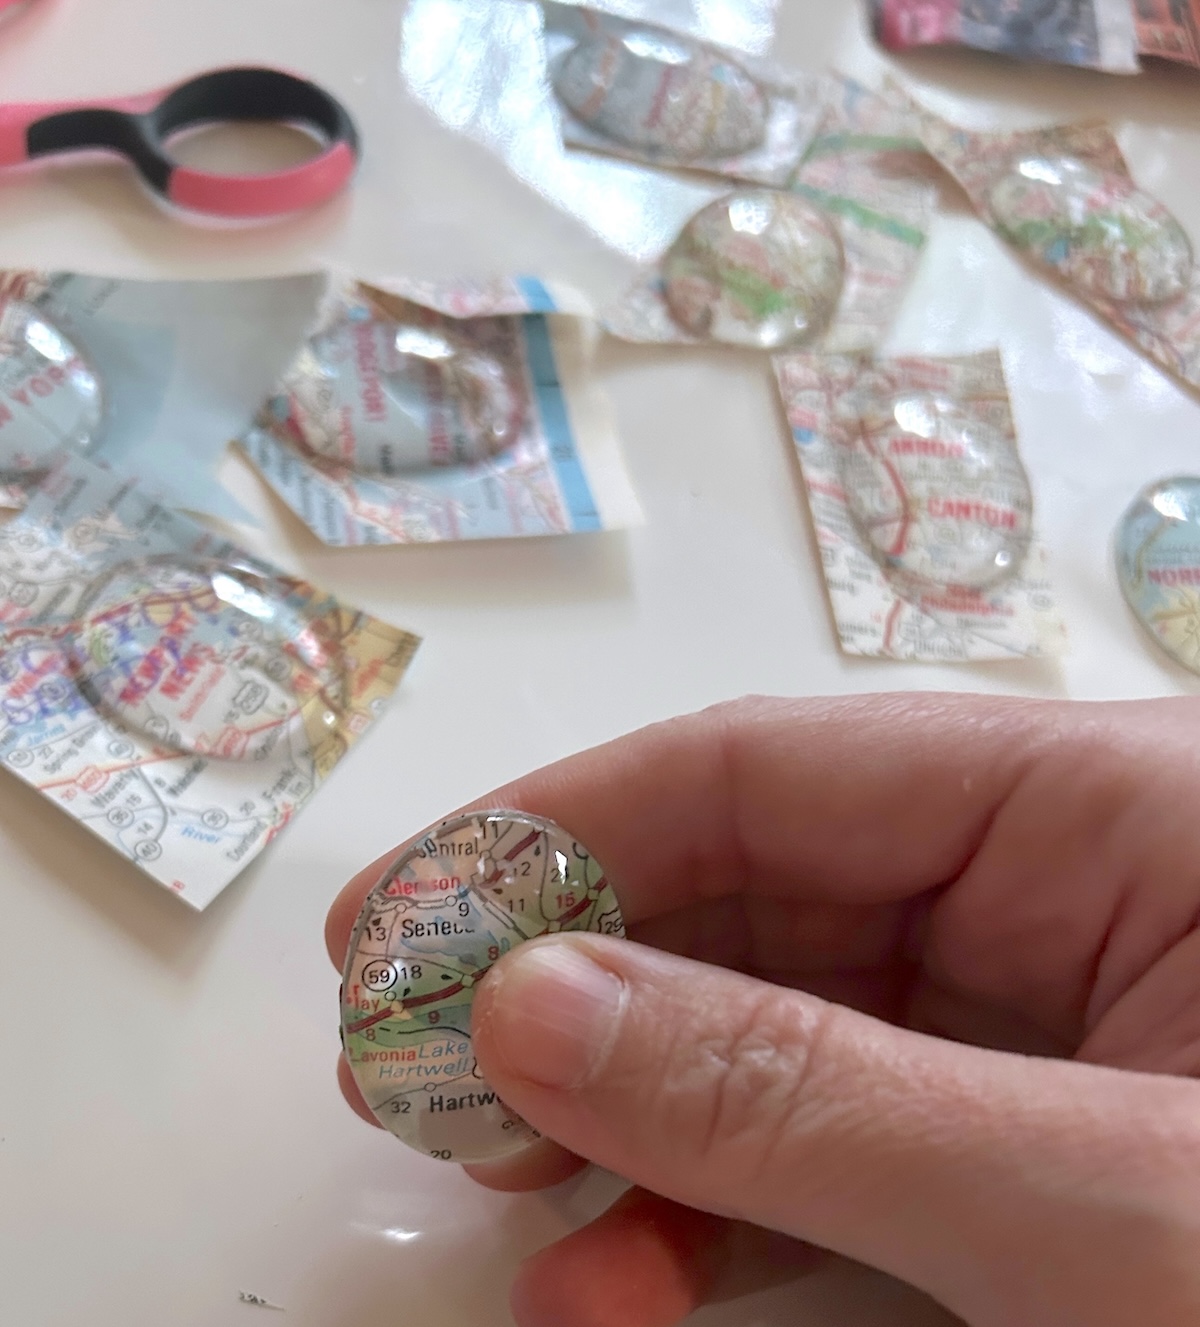
- Brush a thin layer of Mod Podge onto the flat side of the glass domes and then the map. Press the dome onto the glue so that the printed side shows through the marble. Repeat with remaining domes and let dry.
- Once dry, trim around every glass dome with the scissors to remove the excess map.
- Once everything is dry, attach strong magnets to the backs of the domes. My kit came with adhesive magnets. If yours doesn't, use a dab of clear-drying glue. Let dry before using.
Notes
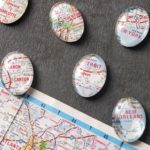
These DIY map magnets prove that even the smallest crafts can hold big memories. Every time you walk past the fridge, you’ll see a little reminder of a place you’ve been. Or one you’re dreaming of.
So grab your maps, your Mod Podge, and your imagination . . . and get ready to turn your favorite places into beautiful, practical keepsakes.
If you enjoyed this project, I’d love for you to check out these other crafts with maps:
Chair • DIY Clock • Letter Decor • Mod Podge Pumpkins • Quote Canvas • Wall Art


Thank you for sharing this project!
This worked exactly as written, thanks!