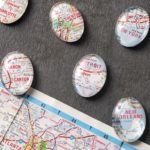
Map Magnets
Learn how to make magnets using maps! Great for capturing memories and giving as gifts.
Yield: 36 magnets
Cost: $18
Equipment
Materials
- 1 Oval magnet set mine came with 36 glass domes and 36 magnets
- Mod Podge Gloss
- 2 Map(s)
- Craft glue optional
Instructions
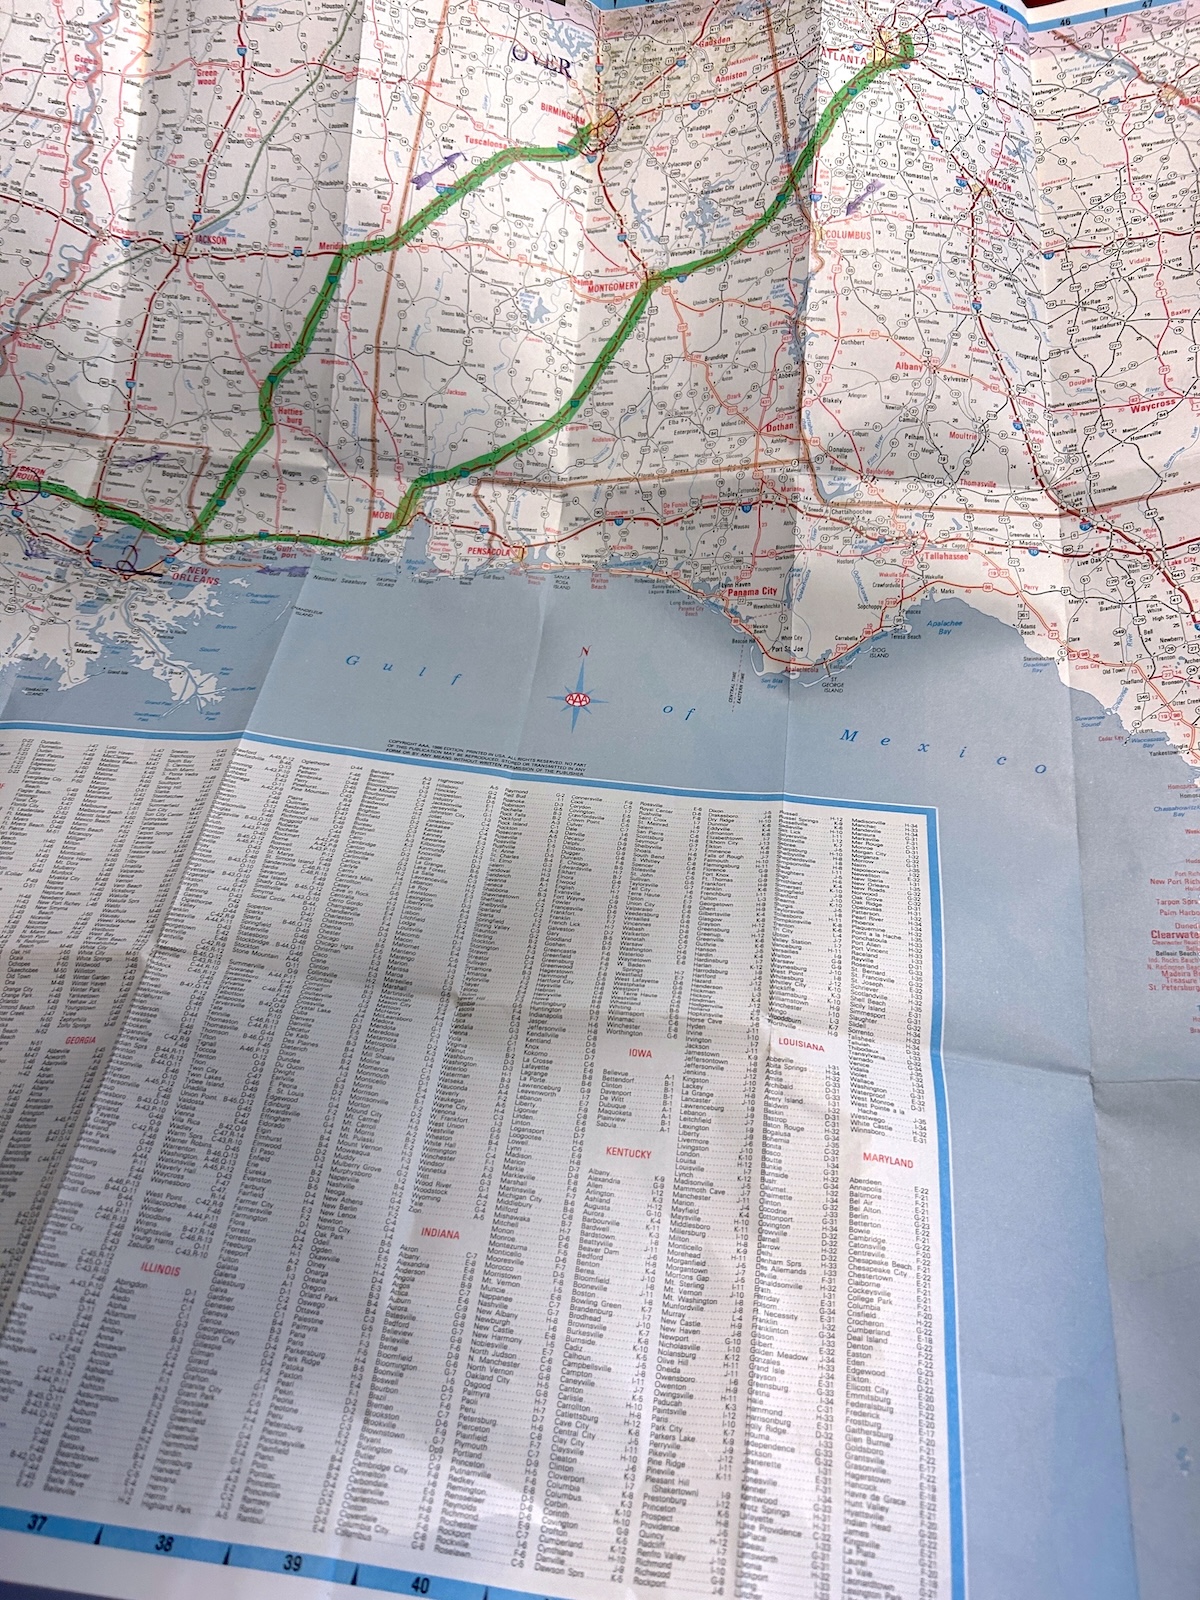
- Choose the locations you want to feature.
- Cut out small sections of the map that are larger than your glass domes.
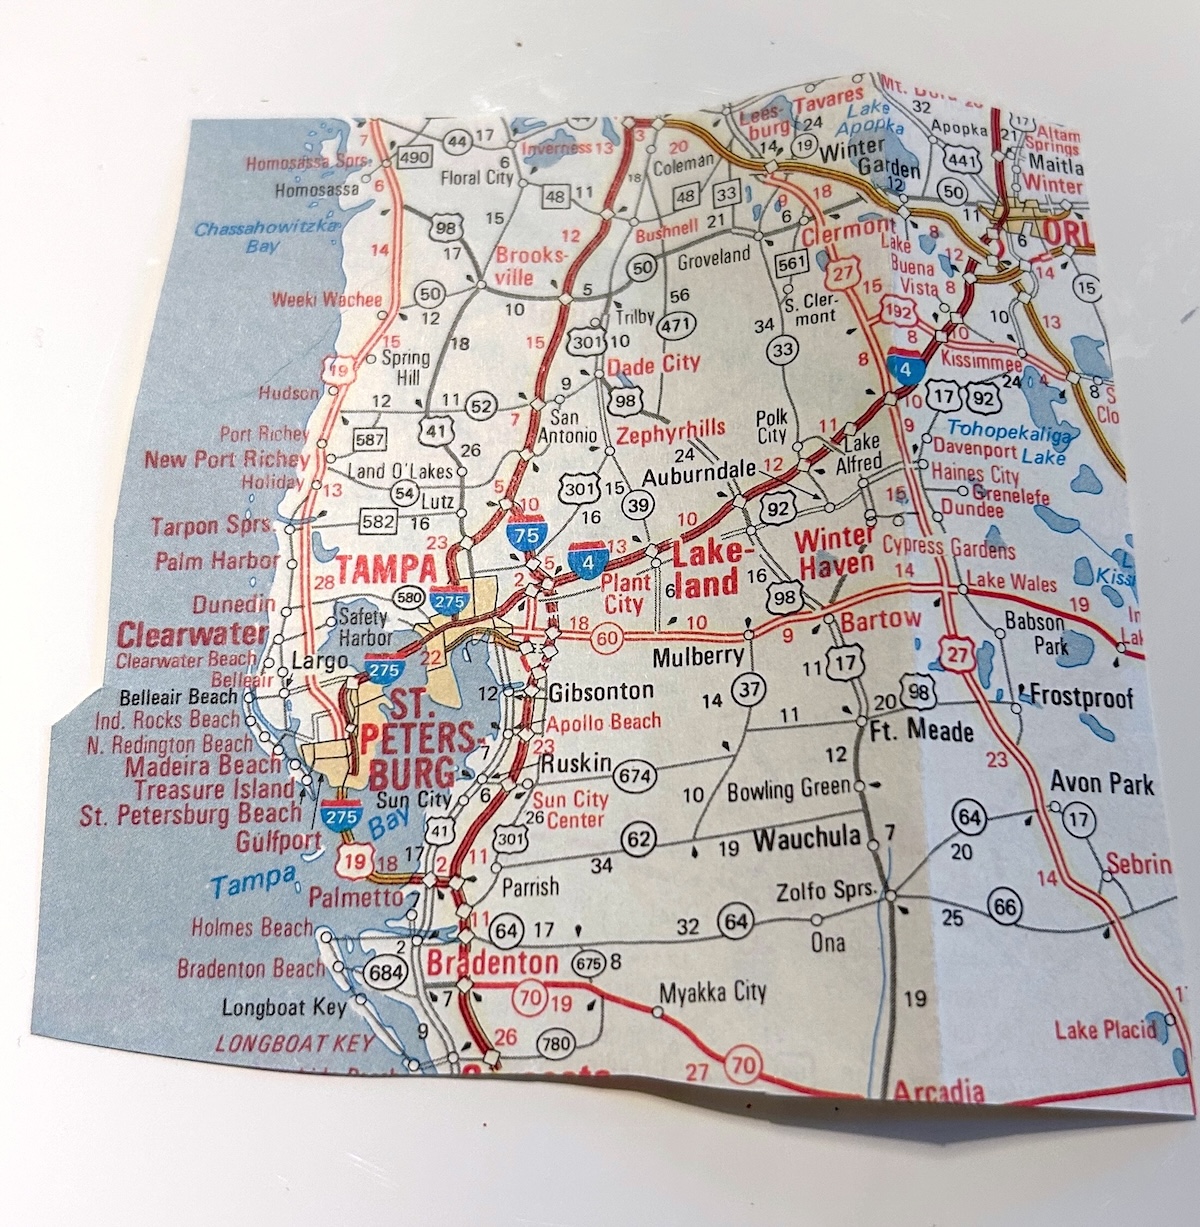
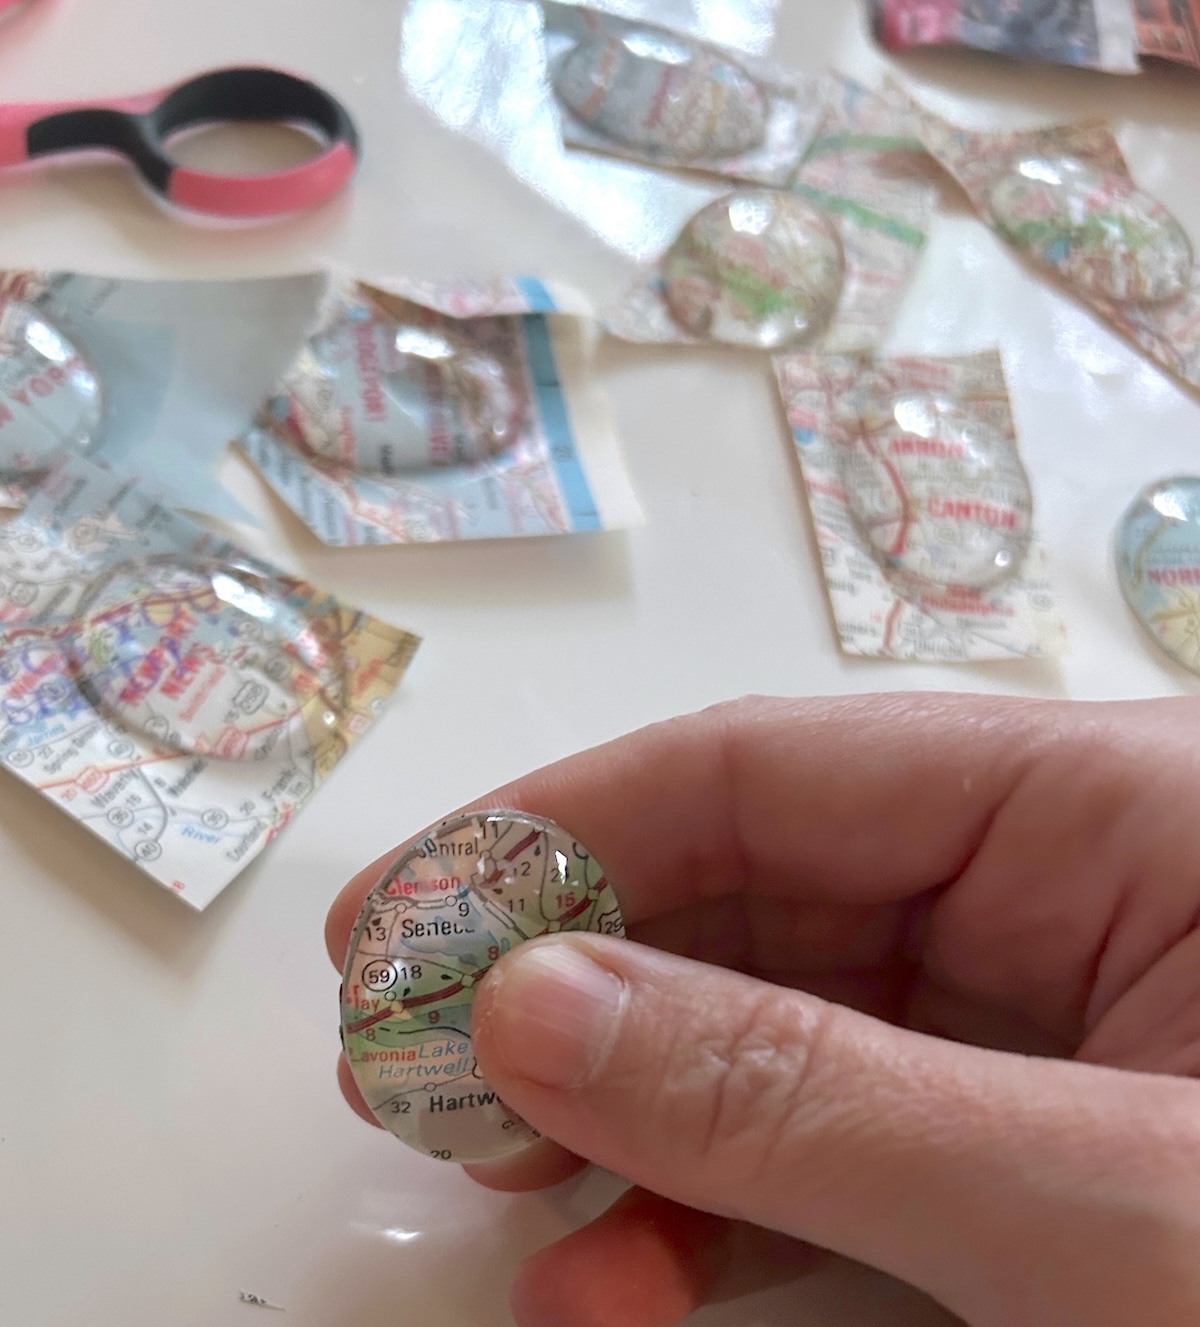
- Brush a thin layer of Mod Podge onto the flat side of the glass domes and then the map. Press the dome onto the glue so that the printed side shows through the marble. Repeat with remaining domes and let dry.
- Once dry, trim around every glass dome with the scissors to remove the excess map.
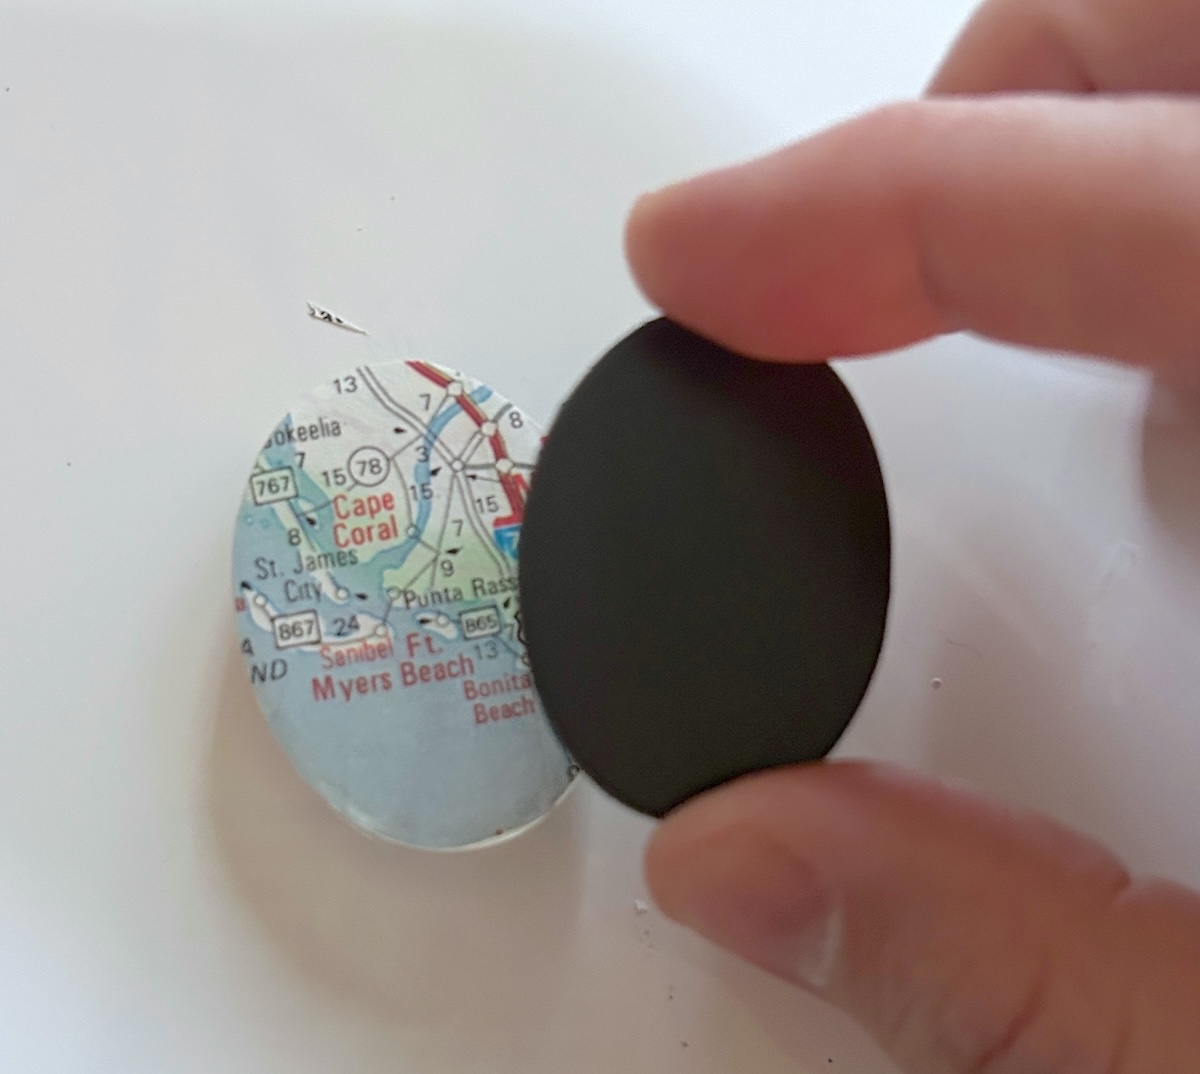
- Once everything is dry, attach strong magnets to the backs of the domes. My kit came with adhesive magnets. If yours doesn't, use a dab of clear-drying glue. Let dry before using.
Notes
Step 2: If you’re using something vintage or sentimental and don’t want to cut the original, you can photocopy or print it.