These DIY glitter candle holders are guaranteed to make your table setting sparkle this Christmas, New Year, or any celebration!
Skills Required: None. Even if you’ve never Mod Podged before, these Christmas candle holders are very easy to make. You’ll be mixing glitter and epsom salt and sprinkling it on glass votives.

These gold votive candle holders are so easy to make and is guaranteed to make your table setting sparkle this Christmas, New Years, or whenever you have a gold-themed party. If you love party crafts that are easy, let me make an introduction. Mod Podge and glitter – meet everyone!
I really love that these votives are perfect for elegant weddings, too.

All you need to decorate candle holders is a few supplies, some time and a lot of patience (to wait for it to dry). If you want to Mod Podge on glass, this is a great project to get you started. Well what are you waiting for – read on to find out how easy they are to make!
Gather These Supplies
- Clear votives
- Epsom salt
- Gold glitter
- Mod Podge Matte
- Paintbrush
- Newspaper or any covering
The best part is these candle holders are reusable too – good for your Christmas party, a New Year’s Eve bash, or even a wedding celebration.

I love the imperfect look and the additional texture the epsom salt brings to these gold votive candle holders – they’re just so pretty! Now to make a dozen more or so . . .
Get the printable how to below:
Glitter Mod Podge Candle Holders
Equipment
- Mixing container
- Spoon
Materials
- Clear votives
- Epsom salt
- Glitter gold
- Mod Podge Matte
Instructions
- Wash and dry your votives using mild soap and water or rubbing alcohol and cotton balls. You want them clean and spotless with no fingerprints (oils keep Mod Podge from adhering).

- Mix the epsom salt and gold glitter in a bowl in a 1:2 ratio.

- Brush Mod Podge on the votives in strokes, working in a small area and covering as much of the glass as you like.
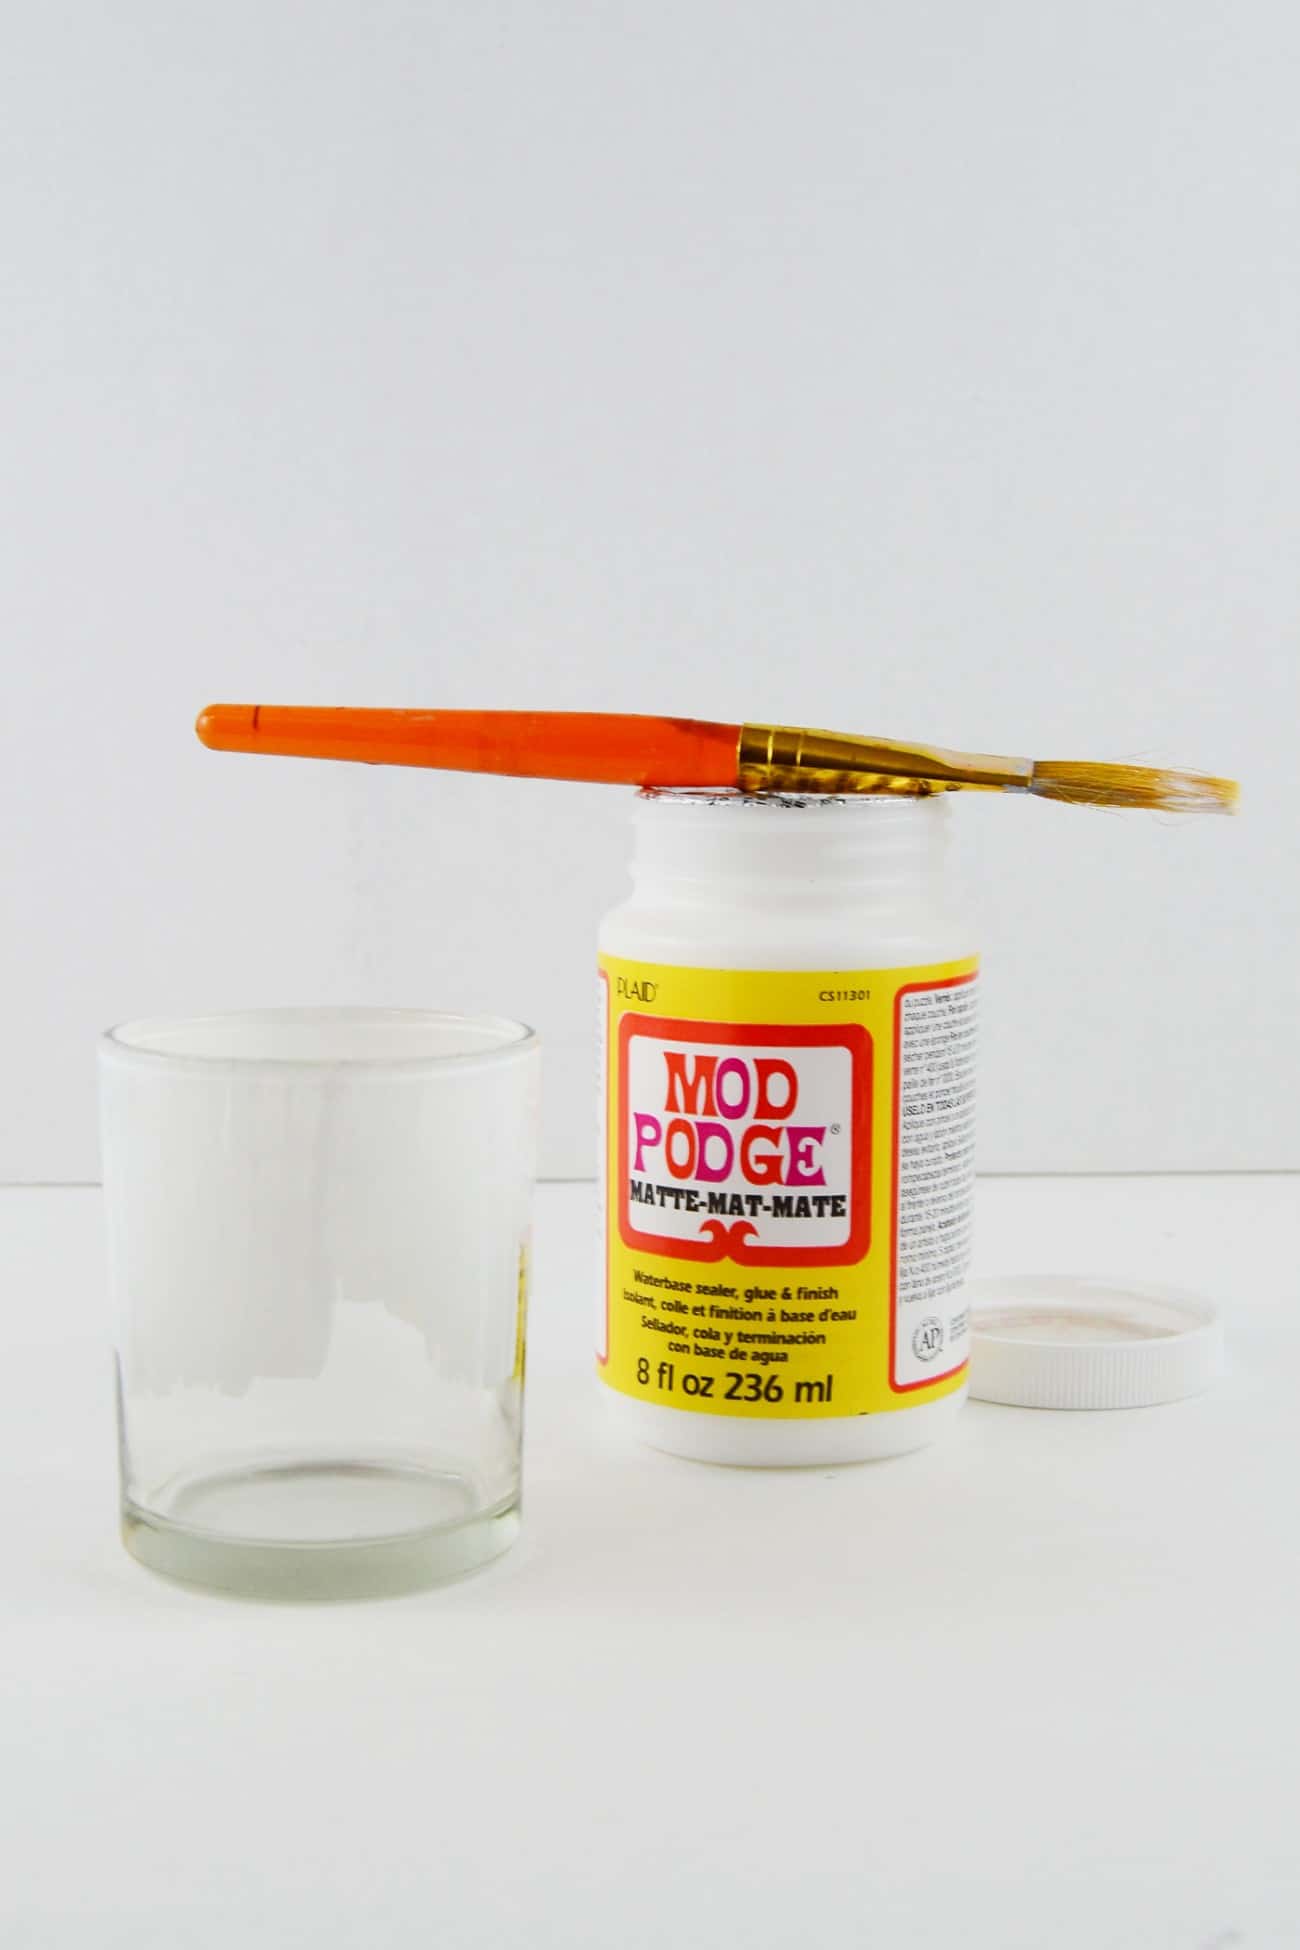
- Sprinkle the epsom salt and glitter mixture onto the votive. Shake the excess off and leave to dry.

- Repeat with additional votives. If areas are missed, or you would like to add a second layer, repeat steps 3 – 4. Let dry before using.

Notes
What do you think about these? Let me know in the comments. I’d also love it if you’d visit some of my other exciting projects:





So pretty! Glitter is always a good idea Aki 🙂