Try a decoupage suitcase covered with vintage inspired fabric. It’s much easier to do than you’d think, and makes great storage!
Skills Required: Beginner. It helps to have experience with Mod Podge since you’ll be bending this fabric around edges and doing more detailed cuts. This is a project that requires patience, but it pays off.
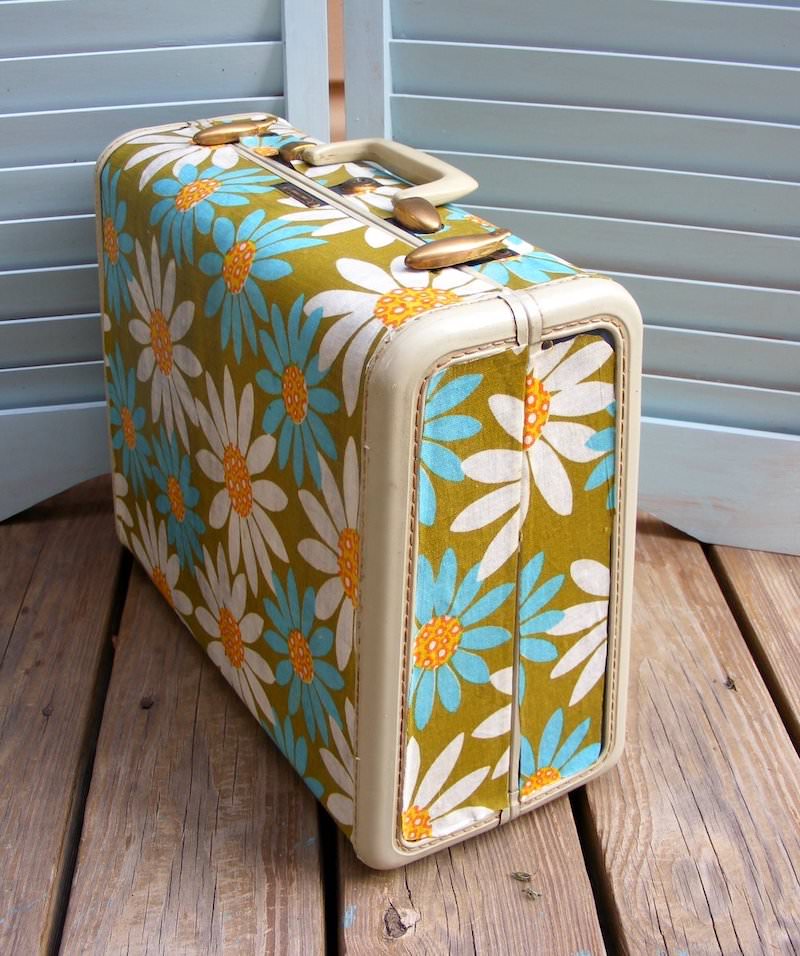
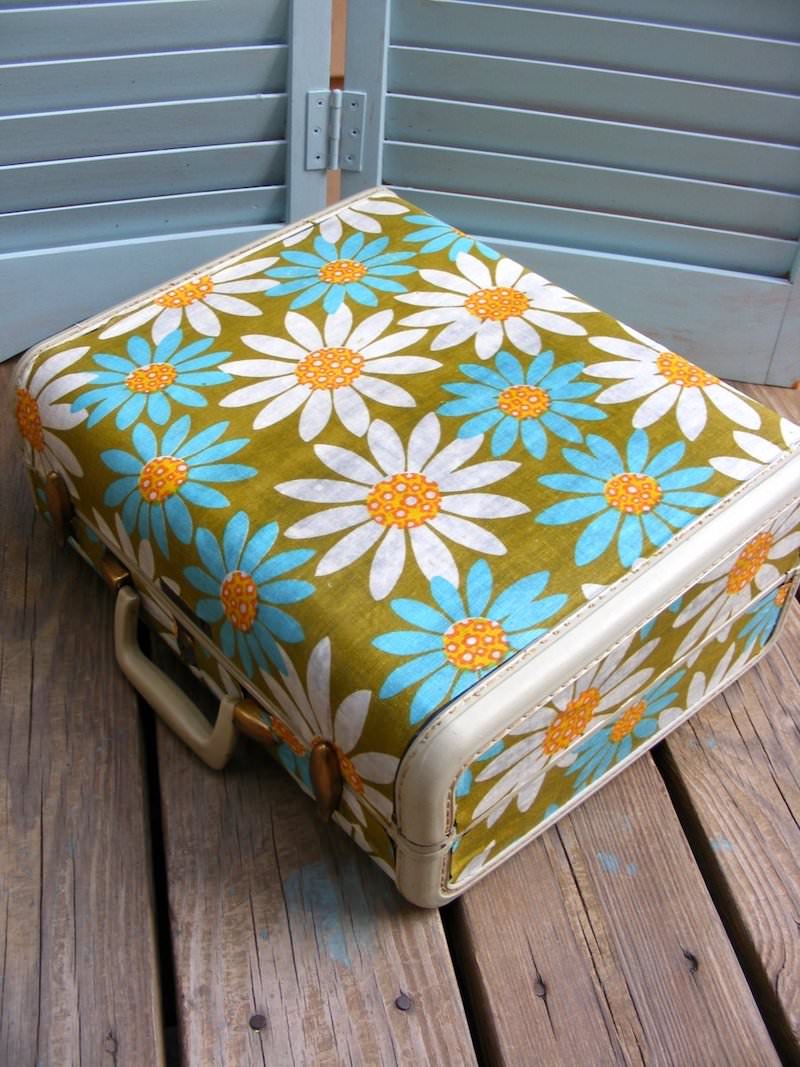
Have you grown tired of Mod Podge suitcases yet? Good, because neither have I. I spotted this decoupage suitcase by Jean of the Quilted Cupcake, and I knew I had to share the tutorial with all of you.
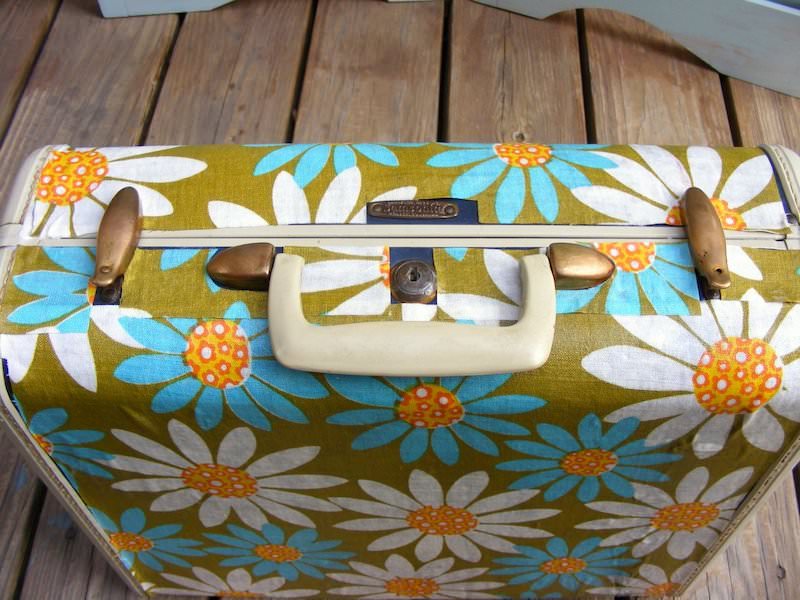
She uses it for yarn storage (my yarn storage container is here). It’s really perfect – and only cost $4. I could Mod Podge some suitcases for storage but then I fear my apartment would look like Delta’s baggage claim with all that I need to store.
I guess it’s time to pare down!
The how-to for the suitcase is below, but I did want to make two notes for you to consider before you begin your project:
- If you have a dark suitcase, you’ll probably want to prime it before Mod Podging. This is because the dark color may show through a medium weight or thinner fabric.
- I suggest preparing the fabric with decoupage medium before cutting it. Simply lay it out on wax paper and brush on a layer of Mod Podge and let it dry. This makes it much easier to cut, especially with a craft knife.
Do you want a Mod Podged suitcase? Visit the tutorial below.
Decoupage Suitcase
Equipment
- Tape measure
Materials
- Suitcase
- Fabric enough to cover the suitcase
- Spray primer optional
- Mod Podge
- Tissue paper optional
- Pencil optional
- Wax paper
Instructions
- Wash and dry the fabric. Lay out on a surface and paint a medium layer of Mod Podge on the fabric (completely covering). Let dry.
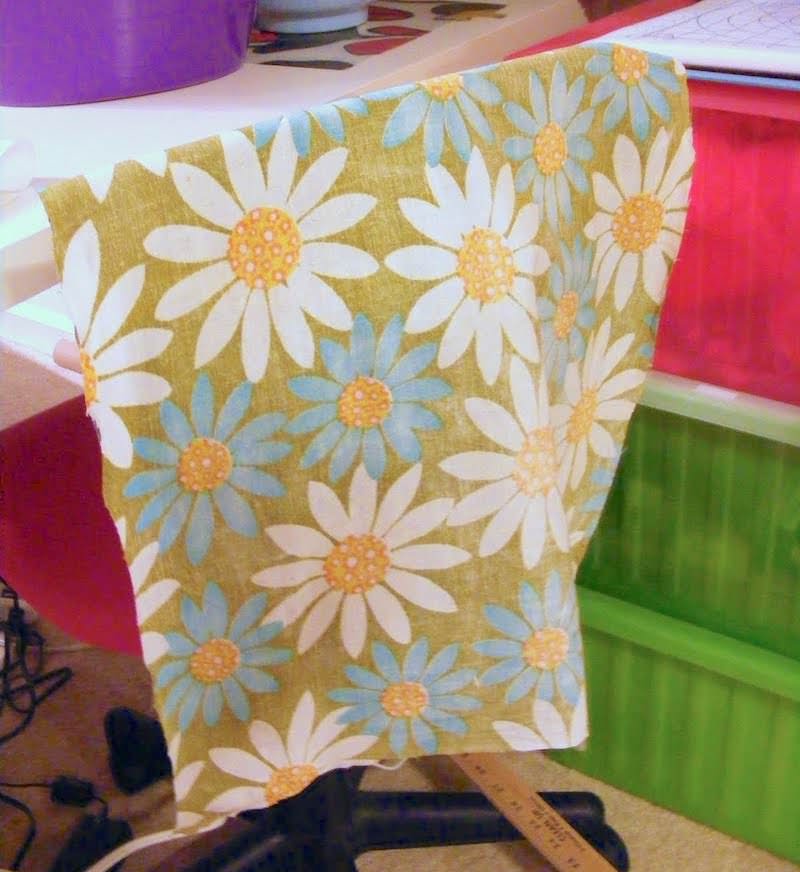
- While the fabric is drying, spray primer the suitcase to prepare for fabric (optional). Measure the suitcase and cut the fabric to generally the right size.
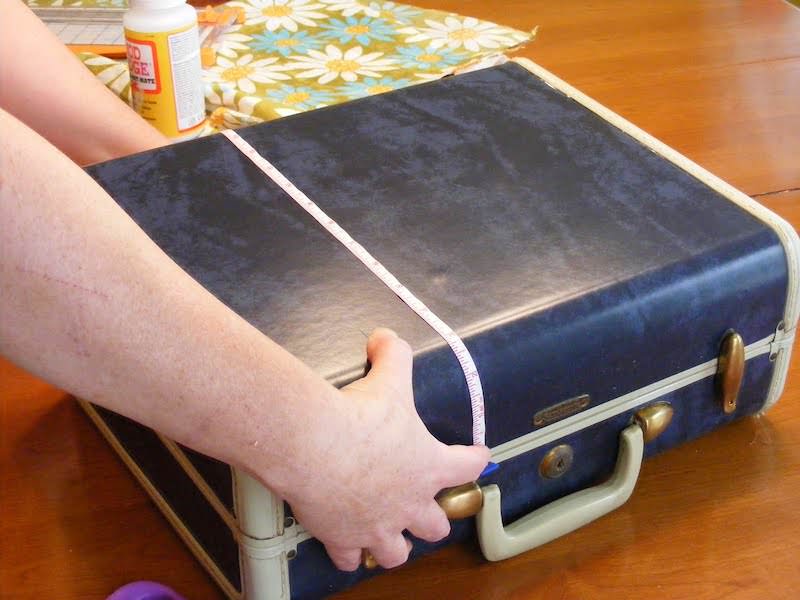
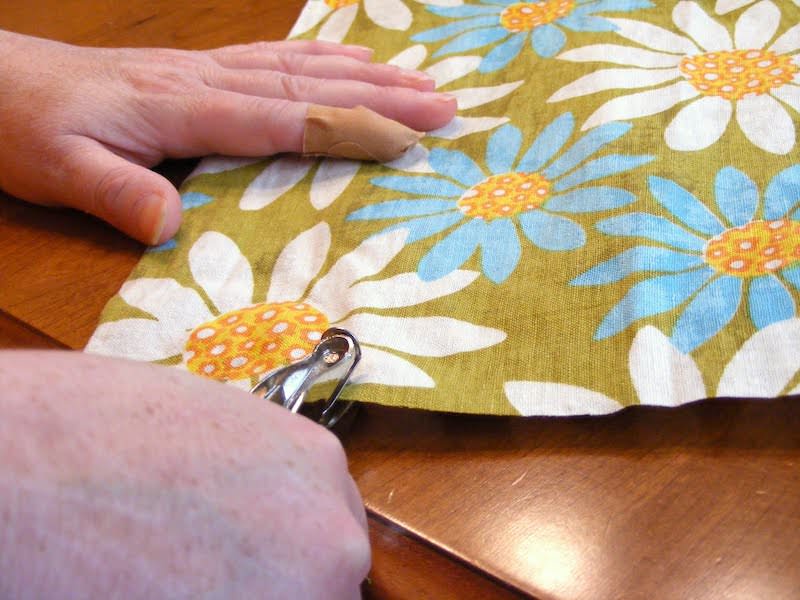
- On the hardware side of the case, use a craft knife or hole punch to cut out the recessed areas as well as the logo.
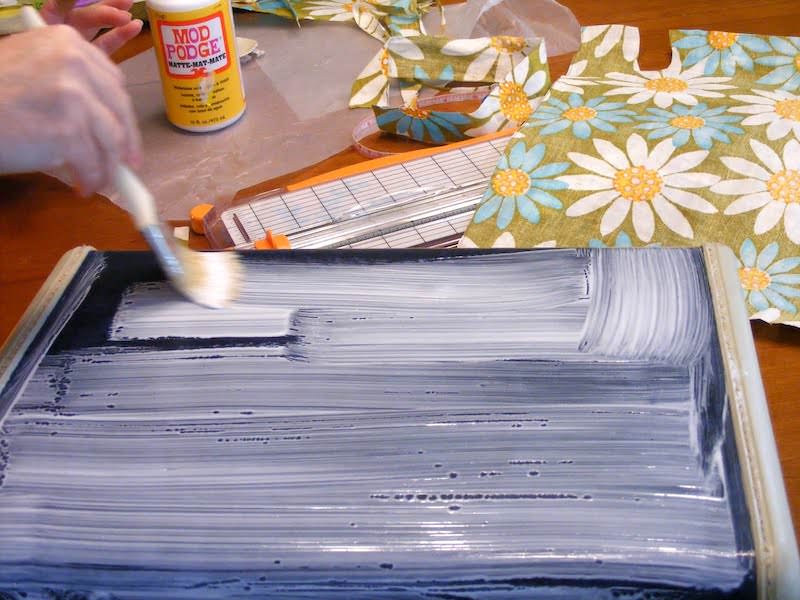
- Working in sections, apply Mod Podge to coat the suitcase, and cover with pre-cut fabric. Smooth out the wrinkles out to the edge. Let dry.
- Use Mod Podge to adhere any areas of fabric that didn’t adhere. Let dry and add a second coat of Mod Podge to the suitcase.
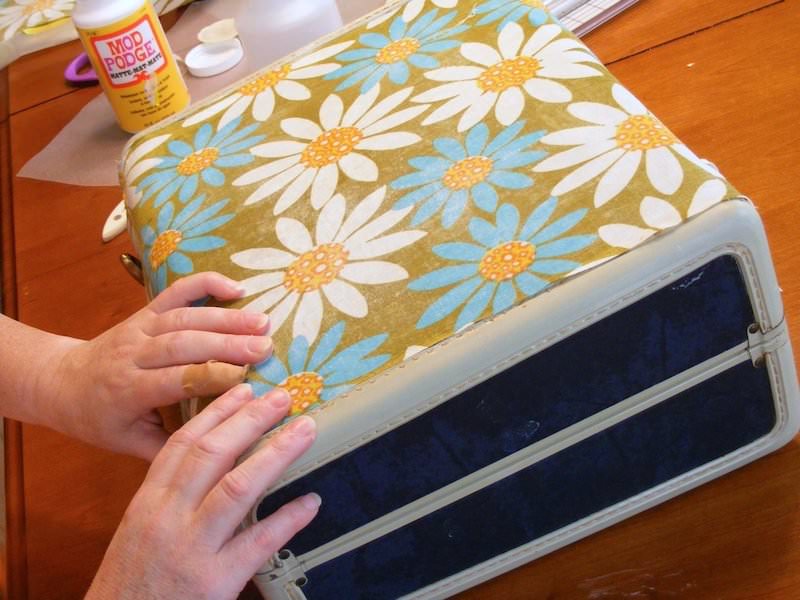
- Use a craft knife to trim around the edge and remove any excess fabric that you didn’t get before. Add a final coat of sealing Mod Podge and let dry 24 hours before using.
Notes
- If your suitcase is dark and your fabric is light, you may want to spray primer the suitcase. You can spray the entire suitcase, or tape off the hardware. Let dry before applying fabric.
- You can use tissue paper and a pencil to create a rubbing – a pattern of the different panels of the suitcase – so that you can cut the pieces more exact the first time.
- Costs vary greatly for this project depending on how much your suitcase costs and whether or not you have fabric on hand.
After I posted this decoupage suitcase I decided to try my own version using photos! Check out my vintage photo suitcase – I used some really great snaps!




this is adorable! can’t wait to use my mod podge on a project I’m starting next week.
Hi – found your blog when browsing Coffee shop community. I have two big jars of Mod Podge and have no idea what to do with them. Looking forward to finding some fresh ideas.
I have been wanting to do this… to a few suitcases and stack them as storage (meets cool!).
Love what you did.
~ Meredith From A Mother Seeking
A Mother Seeking…
This week, “When Life Hands You Lemons…”
Yep! I am working on one now. Love that one! I think the key is to be patient and keep on pushing the fabric into the tight places 🙂
Spray paint works pretty good on the hardware. Make sure you mask first!
ooh I love it! thanks for always finding (and sharing) the cutest stuff!
adorable!
That suitcase is too cute! What a great idea. I have an old vintage suitcase just sitting around waiting for this!