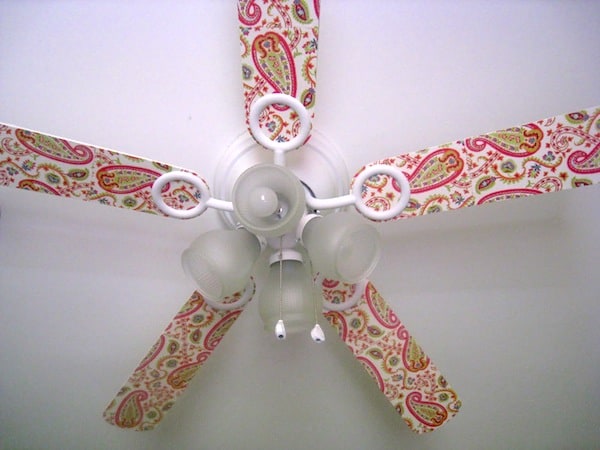
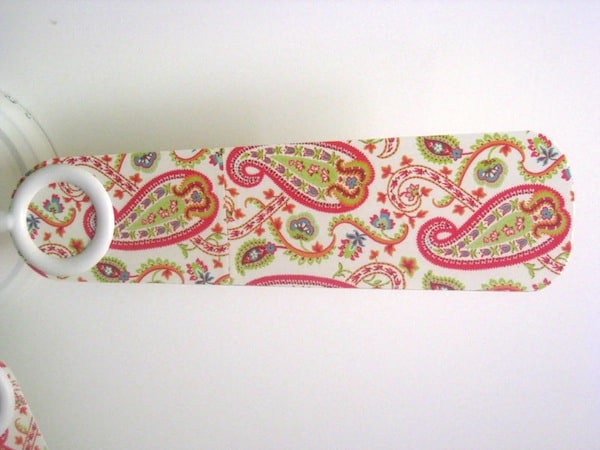
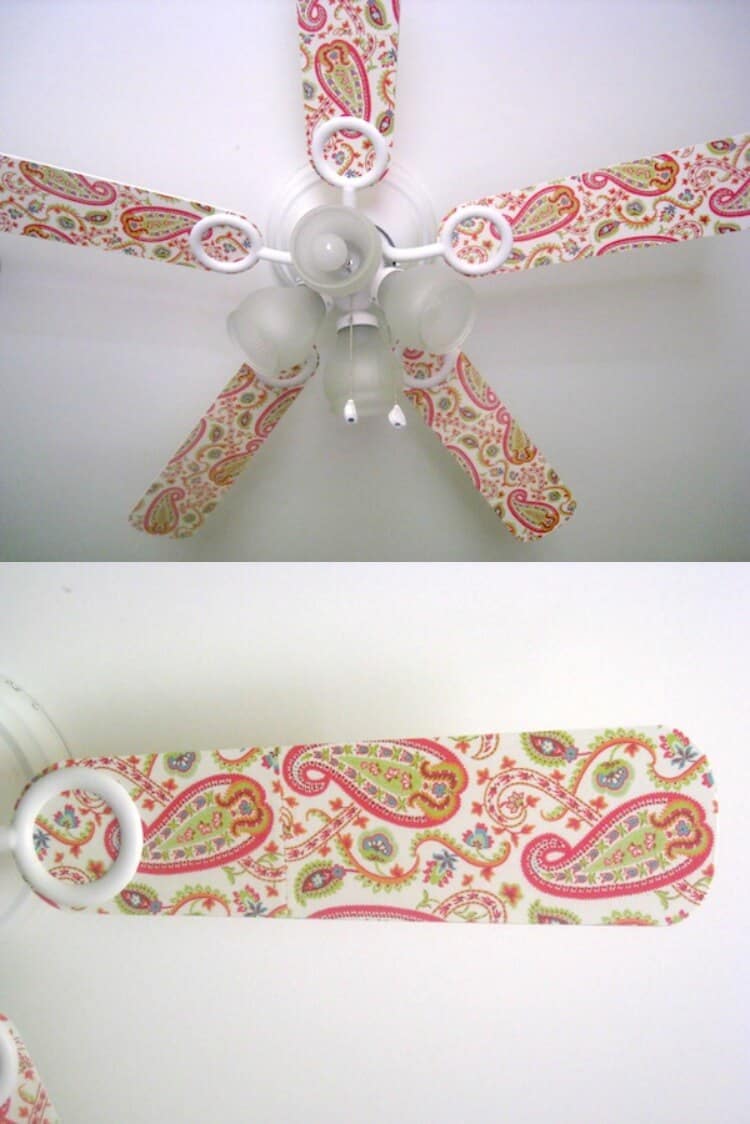
Did you know you can decorate a ceiling fan with scrapbook paper and Mod Podge? It’s way easier than you think! Here’s how it’s done.
Skills Required: Intermediate. I recommend having some prior crafting skills for this project. You’ll have to remove the fan blades, cut fabric or paper to fit, and then apply with Mod Podge (avoiding wrinkles).

Hi Podgers! Lynette from Get Your Craft On came up with this wonderful way to decorate a ceiling fan, and I wanted to let her tell you about it in her own words. I really think this decoupage idea is fabulous. So here she is!

I can honestly say that, as far as I know, I came up with this idea to decorate a ceiling fan all on my own! That really is a lot to be said since most of the time I can’t take complete credit for anything!
Usually I see a cute idea and copy it and make it my own. But, THIS FAN!! I think maybe I might have, could have, hopefully did really come up with this all by myself (notice my still lacking confidence).
So, when we were finishing our basement and finishing up projects in my favorite room in the house, my hubby was installing a ceiling fan. As he was about to put the blades on the hole fan base part, a light bulb went off in my head!
I asked him “would it hurt the fan or start it on fire if I added some fabric or paper or something to those blades?”. He thought I was crazy, but couldn’t think of a reason why it should mess anything up.
So, I delayed him from finishing his installation so I could snazzy-up those fan blades. Here’s what I did.
DIY Ceiling Fan
Gather These Supplies
- Paper (I used scrapbook paper and needed one 12″x12″ piece for each fan blade)
- Mod Podge Gloss
- Hole punch
- Sponge brush (the cheap-o ones at Michaels)
- X-Acto knife
1.) If you are using scrapbook paper (12″x12″), cut in half and tape it together end to make it long enough. Make sure whatever the print on the paper is, that you are able to match it up pretty good so you can’t see the line. Wrapping paper may work well b/c you won’t have to piece it together.
2.) Lay fan blade face-down on back of paper.
3.) Trace around fan blade and also trace inside the holes where it will be attached to the rest of the fan later.
4.) Cut out fan blade shape from paper. Check your ceiling fan and see if the edge is curved a little; if so, cut out shape a bit inside the lines.
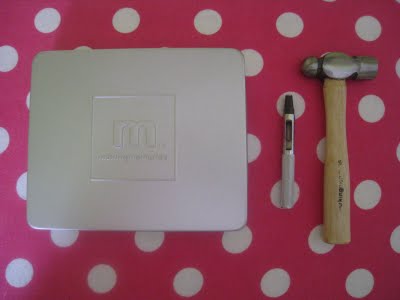
5.) With paper punch, punch out holes that will be used to screw blades onto fan. I used this scrapbooking punch:

6.) Wipe down surface of fan blade and spread on a thin layer of Mod Podge.
7.) Lay down paper on fan blade making sure to line up all edges and punched holes just right. Smooth out all bubbles or wrinkles (I did not do this well, you can learn from my mistake!) Let dry 20-30 mins.
8.) If needed, trim excess paper from around fan blade with X-Acto knife.
9.) Coat the top of the blade with the paper on it with decoupage. Make sure to do the edges and holes too.
10.) Let dry.
11.) Do a few more coats of Mod Podge, making sure to let dry thoroughly in between coats.
12.) Once they’re all dry, go attach the blades to your ceiling fan and see how it livens up the room…so fun!

I can only imagine how fun this could be to tie in your ceiling fan with the room decor! It could be spunky or subdued, sparkly or subtle . . . so many possibilities!
Decorate a Ceiling Fan
Equipment
- Screwdriver
- Pen or pencil
Materials
- Ceiling fan
- Paper one sheet per blade
- Mod Podge Matte
- Scotch tape
Instructions
- Remove the fan blades with a screwdriver. Clean thoroughly with mild soap and water and dry off.
- Cut each sheet of scrapbook paper in half and tape together at one end (to cover the blade).
- Lay one fan blade face down on the back of the paper and trace with a pencil. Also trace the holes.
- Cut the fan blade shape from the paper using scissors or a craft knife. Use the hole punch to create the holes where the screws attach.
- Add a medium layer of Mod Podge to the fan blade and smooth down the paper, matching up the holes. Smooth thoroughly and wipe away any Mod Podge that comes out the side with the brush. Let dry for 20 minutes.
- Trim the excess paper from around the fan blade with the craft knife or scissors.
- Coat the top of the paper with Mod Podge and let dry. Repeat once more and let dry. Repeat with all the blades.
- Reattach the blades to the ceiling fan to complete.
Notes
Did you enjoy this craft idea? I hope you’ll check out these other great ideas to make at home:


Brilliant! I just love this idea. Good for you! You are the Mod Podge Queen!
We did this in our son’s nursery 2 years ago and it was a big hit.
Everyone wanted to know where I bought a fan to match the crib bedding (we made it too).
So fun and original!
oooo that is a great idea!
Really, really cute! I’ve spray painted my ceiling fans before, but never mod podged them! Brilliant!
This is a great idea and just shows what amazing things you can do if you think laterally.
Love it! I have seen many who paint theirs, but decoupage adds so much more personality!
You are one talented lady. I love this fan. I’ve got quite the “I want to make that too” list going of projects you post. Thank you for the inspiration & I agree mod podge does rock!
Love it!!! Just what my little girls need in their bedroom, since I can match it to their cute Mod Podge dresser. Hee hee!
Ooh! That’s wild! I like it. Please count this as my entry to the giveaway! I love your blog!
Wow. I love this. My daughter wants a new fan & I have the urge to Mod Podge! ;-0
A very good idea! I LOVE the paisley pattern.
THANK YOu! i have this tragically blah ceiling fan that i got on freecycle for my kids’ room, but it was free! so now im off to buy scrapbook papers to jazz it up before we install it
hehehe! this is way cool in my book..I love it.
Another fabulous project Amy! You never cease to amaze me. 🙂
Hahaha, wow.
You know, it’s kind-of obvious now to decorate a fan, but, who the heck has done it? How many people remodel their ceiling?
This is definitely an original. Well, not for long, at least! (:,’
i would have never thought of doing this how fun is that!!
Very creative, and yet easy enough that I could pull it off! 🙂
OMG, LOVE THIS!!! I’ve been looking for inexpensive & unique ways to decorate the baby-to-be’s nursery. This is perfect. Thank-you! 🙂
That is 100% the most cool thing I have EVER seen mod podged!!! awesome!
I LOVE THIS IDEA!!! I have a playroom ceiling fan that is just itching for a redo. I can’t wait!
What a GREAT idea! Definitely going to remember this when I redo my boys rooms! Thanks!
I saw this on her blog a while back and was just thinking about it this morning in the tub. I think I’m going to attempt it on my daughter’s fan this afternoon, but with fabric instead of paper. I’ll let you know how that turns out.
Love the fan! it is sooo cute!
the things you can do with Mod Podge!
oh my word! Cute! I would only be concerned about the fan maintaining it’s balance because of the varying weight on each blade from the mod podge, but it’s an excellent idea!
To bad I live in an apartment! I would love, LOVE to do this in mine and the kids’ rooms! Will definitely have to do this when we buy our house! Thanks for the idea!
OMG!! This is FANTASTIC! What a great idea and it looks awesome. I enjoy her fabric choice and she did a great job describing the process! Thanks for the inspiration!
love this idea!!!! wish i knew how to take the fan down in my bedroom! (though maybe it’s best I don’t, lol. i can see lots and lots of time lost to this project 😀 love it!)
Thats amazing, what a fab look! Suzie. x
no way! that is such a great way to update an old fan!
What a great idea!!
I love it! I may have to do this to my daughter’s room! Her fan is just plain white. Since we are painting her walls I could find paper to match! I can’t wait!
I never would have thought to do that – such a great, cute idea.
I just posted the file cabinet I did. Check it out. 🙂
http://livelaughlovemillers.blogspot.com/2009/09/creative-tuesday-mod-podge-file-cabinet.html
Thanks for the tutorial. 🙂
SHUT UP!!!!!
That is insane!
That, my friend, is why I love Mod Podge. Wowza.
wow! What a great way to brighten up a boring room! And I rent, but the fan’s all mine!!
This is definitely definitely my all time fave! (so far, of course…:)
ooh, it’s ten times better!
lol. Love the title and most of all the idea! Thanks for sharing!
PS I want some Mod Podge 😀
I just love this. I wonder if I could talke my husband into letting me do this. I’m not holding my breath though.
I love this. I wonder if my husband would let me do this in our bedroom. I’m not holding my breath.
You’re so clever! We have a plain white fan in the livingroom that could totally use some livening up. Thanks for posting this! I think I may have to attempt this project. 🙂
I’m seriously impressed! If only we weren’t renting…
I can’t wait to try this!!
These is a awesome ideal thank you
I have been thinking about doing this with love letters from my Grandprants they date back to 1899- to early 1900 done in old hand writing.
That’s awesome! Definitely make laserjet copies and save the originals 🙂
I’m going to do this and I am going to try the iron on method,,,,,do you think it would work just as well?
Hi Elsie! Yes, the iron on method works on wood. Having said that, I don’t know what the ceiling fan is made out of, so be careful with the iron. Sometimes irons warp some wood.
👍