
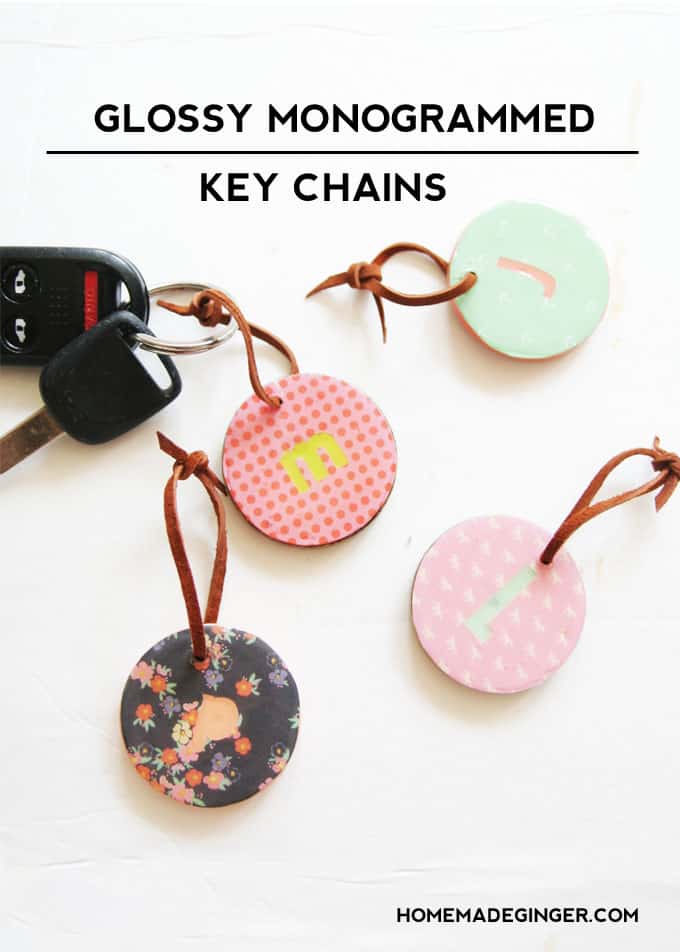
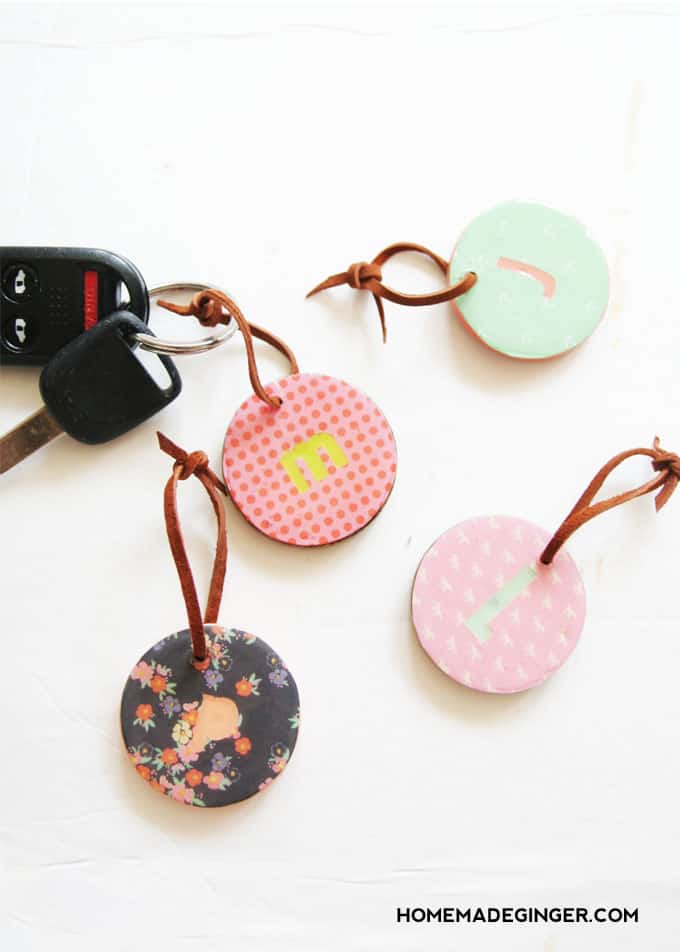
Learn how to make little personalized wooden keychains that can be put on keys, a backpack or lunch box. These are great DIY gift ideas!
Hey everyone! It’s Megan from Homemade Ginger again and I’m back with a sweet little tutorial just in time for back to school!
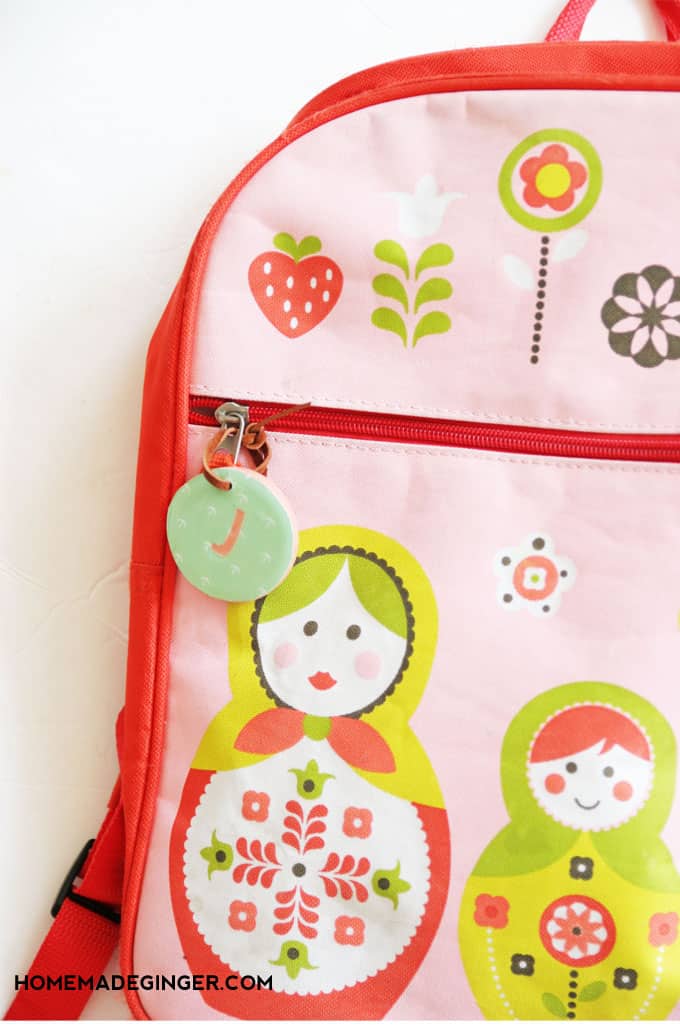
I can’t believe the time has already arrived for backpacks, school supplies, and the end of summer. My daughter started first grade a few days ago and I’m always thinking up ways to personalize her things that she takes to school so that they don’t get lost or confused with any one else’s stuff.
I came up with these little personalized wooden keychains that can be put on keys, a backpack, or lunch box. I even have one attached to my keys and I love it!
These DIY keychains the perfect size so that I can easily find them in my purse. These would also be fun teacher gifts or craft for teens and tweens. There are so many applications for this wood craft!
DIY Wooden Keychains
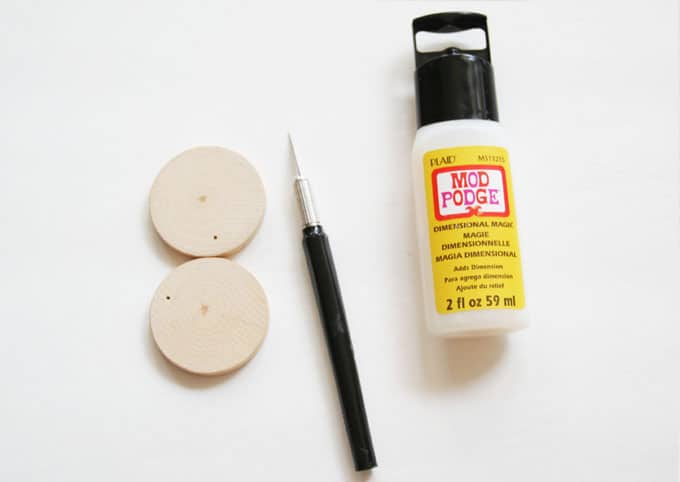
Here’s what you will need:
- Wooden Circles (found at any craft store)
- Craft Knife
- Mod Podge (matte or glossy works)
- Mod Podge Dimensional Magic
- Craft Paper
- Acrylic Paint
- Paintbrush

Step One: The first thing you will want to do is paint your circles. I used colors that contrasted with the craft paper. I kind of like that mismatched look, but you could do whatever! You also may want to drill holes in your circles at this point.
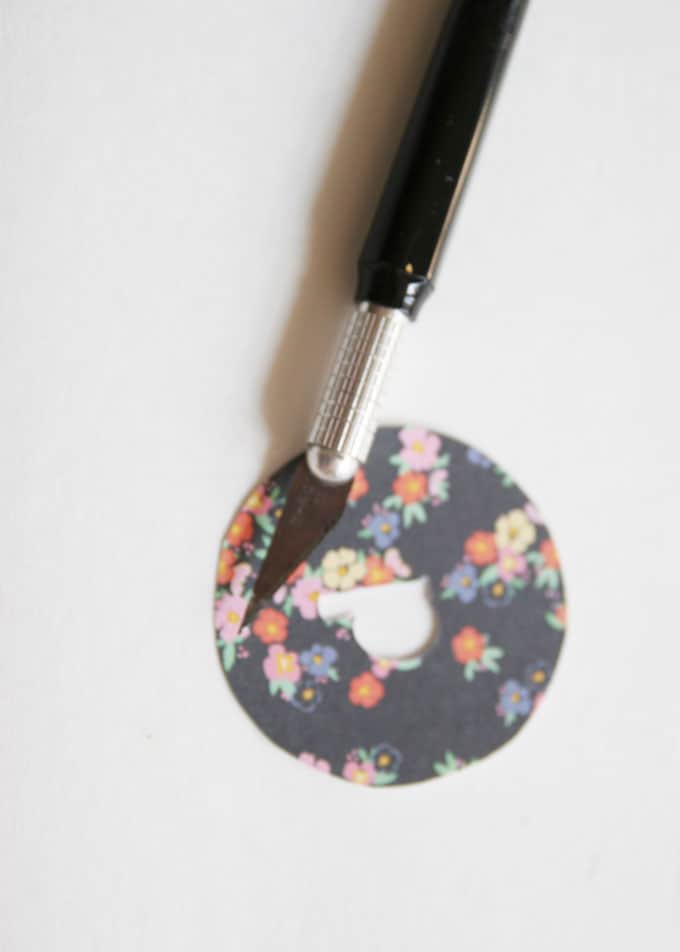
Step Two: Cut your craft paper to fit the wooden circle. At this point, you will want to use the craft knife to cut out your letters. If you have a Silhouette or Cricut, you could do that instead. I just did it the old fashioned way.
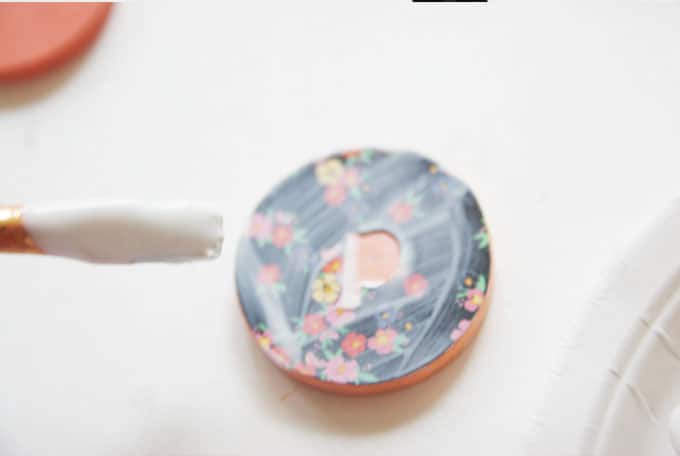
Step Three: Using the Mod Podge, brush a layer on top of the painted circle, place your craft paper on top and then brush another layer over that.
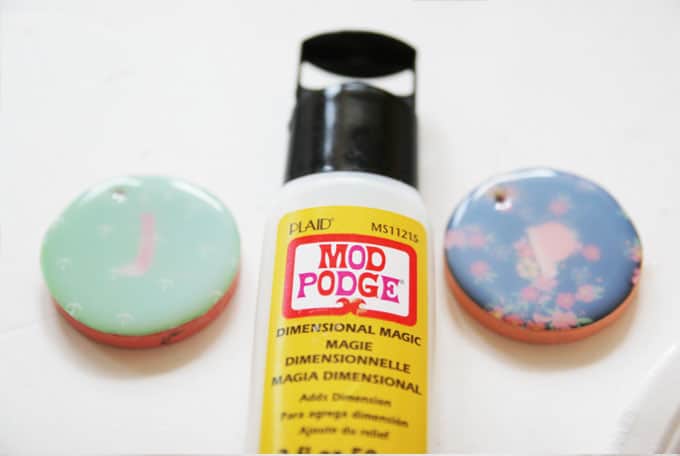
Step Four: Once the Mod Podge is dry, use the Dimensional Magic on top. I did a relatively thin layer but you could build it up thicker if you like that look. This isn’t pictured, but I actually stuck toothpicks in the holes to keep them from closing up while the Dimensional Magic dried.
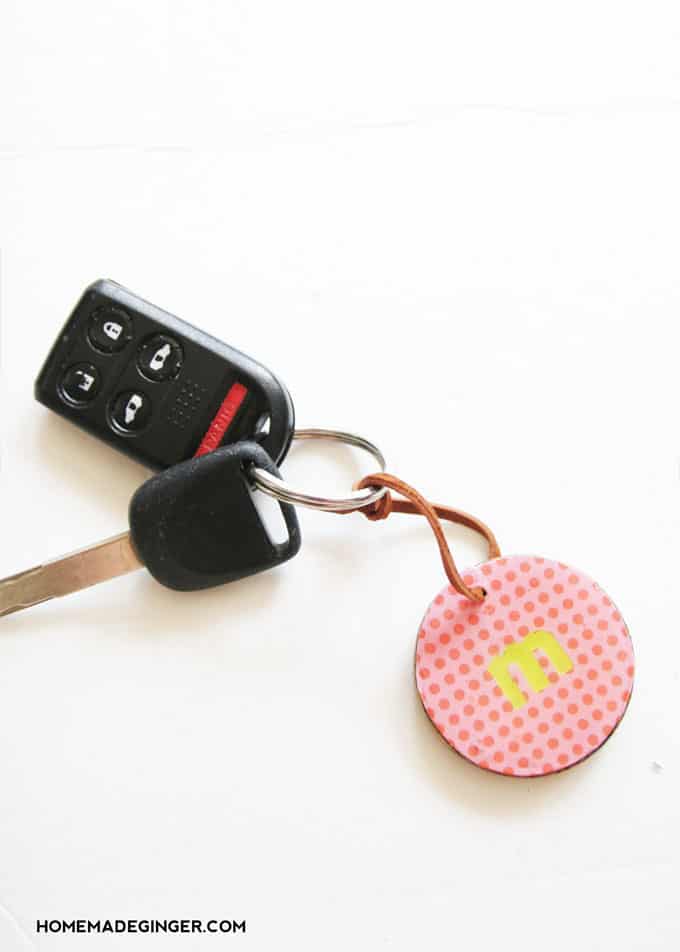
Once it’s dry, attach it to your keys or backpack with a string, leather cord, or twine!
These personalized wooden keychains were my first time working with the Dimensional Magic and I loved that stuff. I will definitely have to think of ways to use it in the future!

How to Make Keychains
Materials
- Wood circle(s)
- Mod Podge
- Mod Podge Dimensional Magic
- Craft paper
- Acrylic paint
Video
Instructions
- Paint the wooden circles with acrylic paint and let dry.
- Drill holes in the circles the size to fit your twine or cord.
- Cut the craft paper to fit the wooden circle. Use a craft knife to cut out letter shapes.
- Using the Mod Podge, brush a layer on top of the painted circle. Place the craft paper on top and then brush another layer over that. Let dry.
- Once the Mod Podge is dry, add the Dimensional Magic to the top. Be careful not to fill the hole. Allow the Dimensional Magic to dry until it’s crystal clear.
- Once dry, attach the keychain to your keys or backpack with a string, leather cord, or twine.
Please pop over to Homemade Ginger and see all the things that I’ve been crafting up lately! I also have some big home decor projects coming up that you won’t want to miss out on.
If you enjoyed this easy craft for adults, I’d love for you to check out these other ideas:


Nice idea..they look so neat.
Cute! I want to try dimensional magic for the paper jewelry I make, it is on my list of stuff to get when I visit the US!
These key chains are so fun, and perfect for back to school!
Paige
https://www.thehappyflammily.com/