
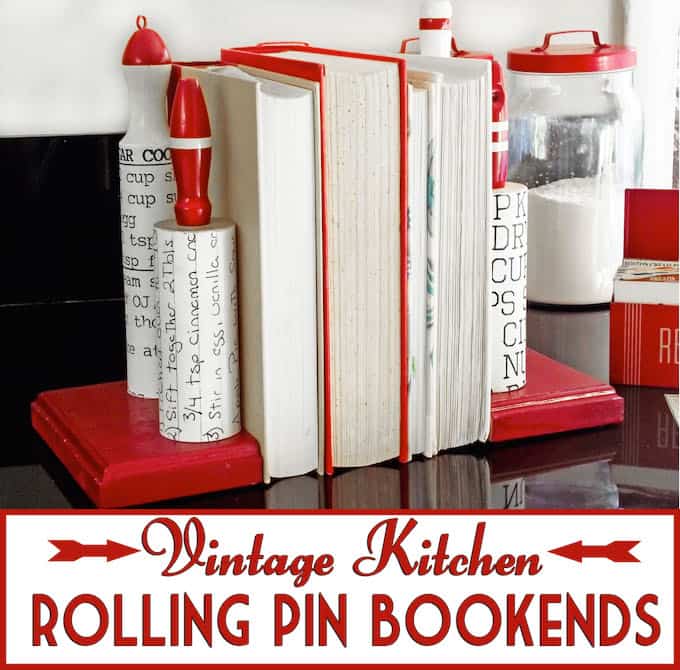
You can make DIY bookends out of almost anything, but this vintage rolling pin version is particularly charming. Looks great in a farmhouse kitchen!
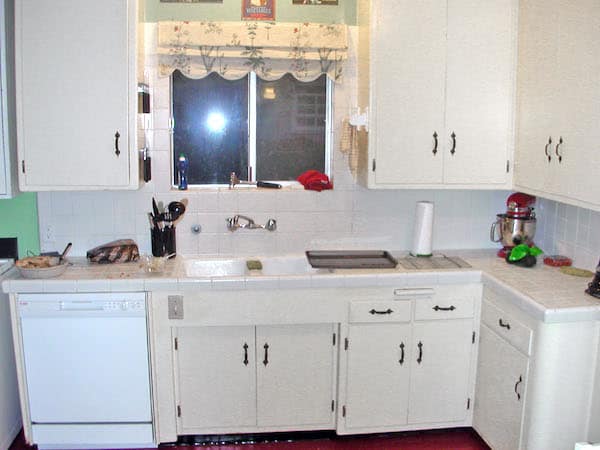
As those of you who follow me on my blog Cheltenham Road know, I (fairly) recently remodeled my kitchen. My house is a true fixer upper and the kitchen needed the most fixer . . . ing. I started out with this before any work was done:
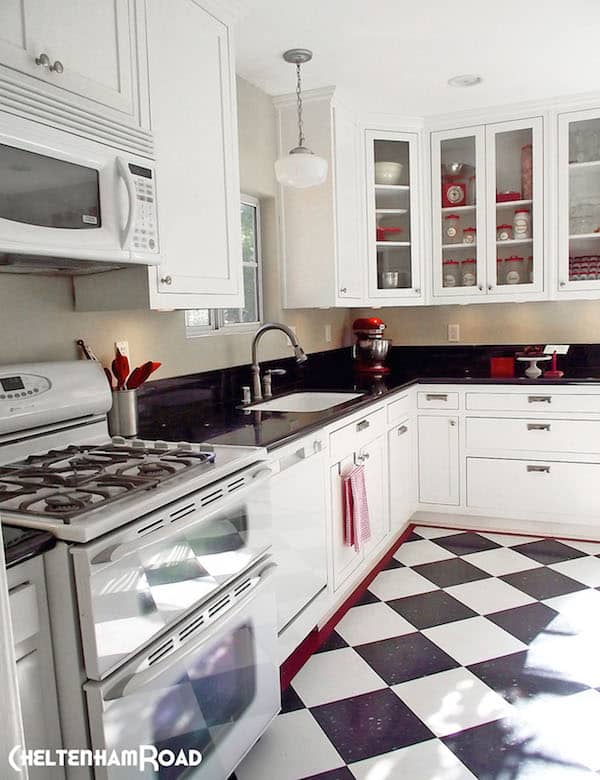
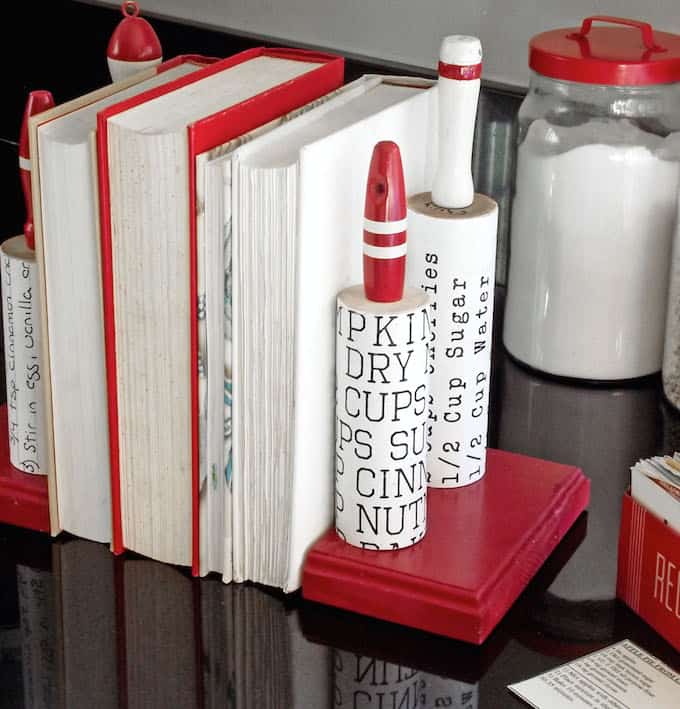
and it came out with what I hope is a classic yet vintage-y vibe befitting my 1940s home.
DIY Kitchen Bookends
I decided recently that I could use some DIY bookends to hold up the cookbooks and, in keeping with the style, no mere metal ones would do. And hence, a rolling pin bookend project was born.
Wooden rolling pins with interesting handles are easy (and cheap!) to find at thrift stores, so I gathered a collection and got to work (no actual vintage rolling pins were harmed in making this project).
Make Vintage Bookends
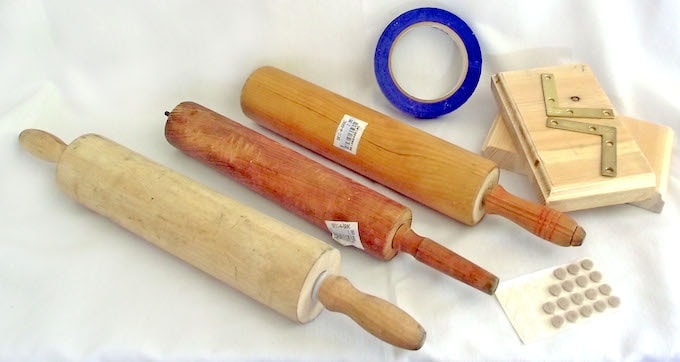
For these DIY bookends I used:
- Matte Mod Podge
- Wooden rolling pins – 2
- A wooden plaque from Michaels (cut in half) – use a 5″ x 7″ plaque or one large enough to hold your pins
- Metal L-brackets – 2
- Assorted wood screws – 12
- Painter’s tape
- Spray paint – white or red (craft paint would also work)
- Felt pads
- Digital scans of recipe cards
- 220-grit sandpaper (optional)
I used the following tools:
- Chop saw
- Drill and drill bits
- Strong wire cutters (if the pins use metal rods)
Cut the Base and the Pins
Using the chop saw, I cut my wooden plaque in half and cut my rolling pins to size. I wanted the pins to be different heights, so I cut two at 6.5″, and two at 5″ tall.
Note: Before sawing the rolling pins, try to determine how the handles are connected. Some pins use wooden dowels and some use metal rods to connect the two ends.
Usually with the metal rods you can unscrew one handle and remove the rod before sawing the pin in half. You can then saw the rod using a hack saw or strong wire cutters.
If you don’t want to cut the rod, you can glue the handle in place. In all cases please use proper eyewear when cutting through the pins.
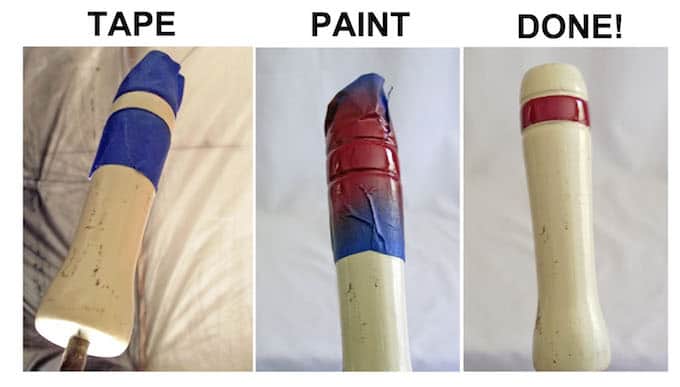
I wanted the pins to have a used, vintage-y look, so I sprayed the handles antique white. Once that dried, I did a bit of distressing with 220-grit sandpaper.
After that I used painter’s tape to mask off sections, and then used red spray paint to create stripes and patterns.
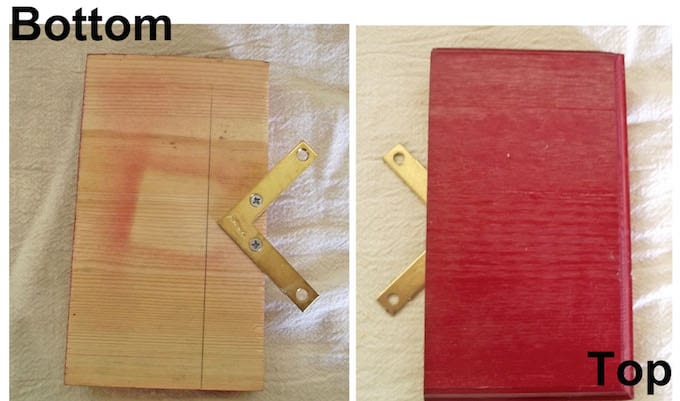
I used the same red spray paint to coat the two halves of the plaque base.
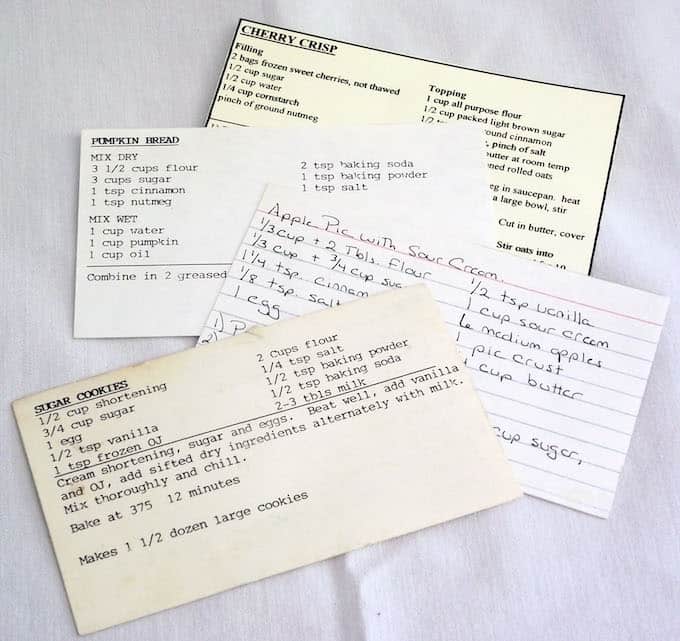
While all the parts were drying I did a quick scan of four recipe cards:
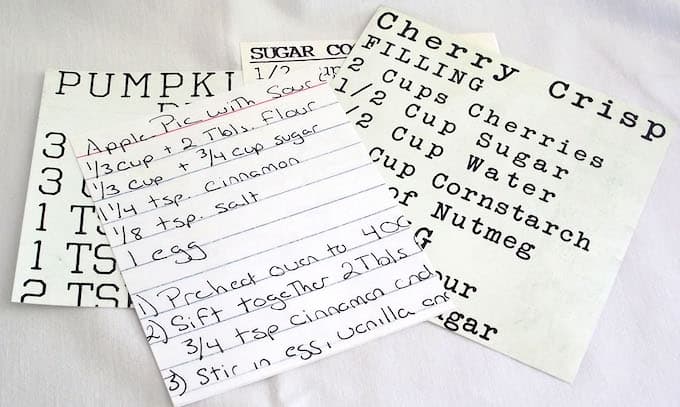
I blew up the scans on the computer, resized them to the dimensions of the rolling pins and printed them out (using a laser printer).
A little Mod Podge made quick work of attaching the recipe card print outs to the rolling pins. Paint Mod Podge on the rolling pins and smooth the printed recipe cards down on top. Let dry for 15 – 20 minutes.
Once the Mod Podge dries, trim away any excess paper. Then do a little light sanding of the edges and seal with another coat of Mod Podge for durability.
To provide a little extra stability and functionality to the bookends, I attached the metal L-brackets to the bottom of each piece of the plaque.
Attach the Pins to the Base
To make life easier and to make sure everything ended up in the right place, I marked where I wanted the pins to go and drilled pilot holes through the base.
I drilled corresponding pilot holes into the bottom of the rolling pins and then using long screws screwed them all together. My kitchen bookends were nearly complete.
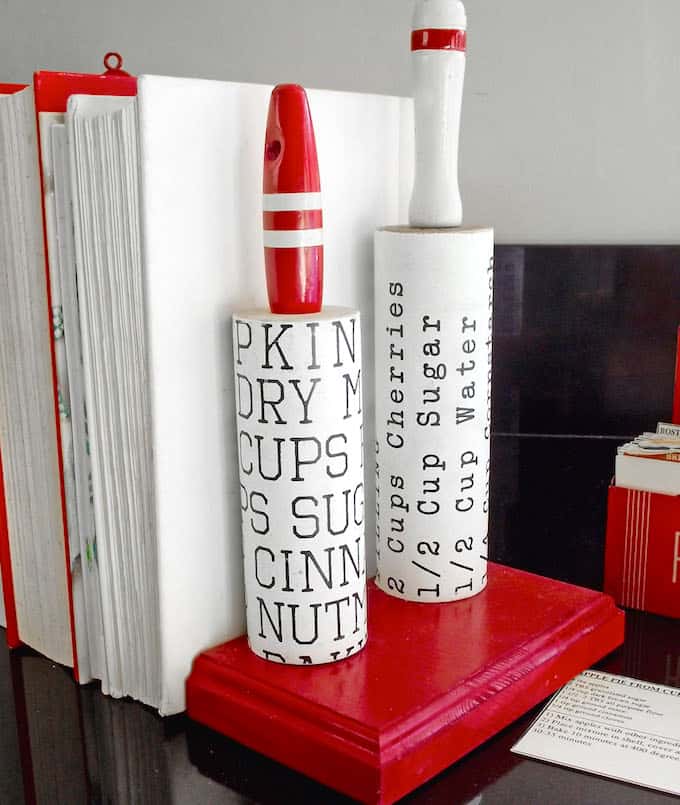
I next attached the little, fuzzy, felt pads which both protect the counter and also compensate for the depth the metal brackets add to the base. The result? DIY bookends made with rolling pins!
I will, as always, do my best to monitor the comments if you have any questions or if anything was unclear. Also don’t forget to visit me at my blog, Etsy, or on Facebook. Thanks very much!
David
Notes and Thoughts and Variations
- I found a lot of wooden rolling pins at thrift stores – all for less than two dollars. However, you could also use dowels and decorative finials or something to get the same look.
- Screwing the rolling pins onto the base was easy but took some work and an electric/battery drill is a must. You could use a really strong glue (Gorilla Glue perhaps) if you didn’t want to screw them into place.
- Any kind of metal bracket would do for the base. I just used the L brackets because that is what I had lying around.

Kitchen Bookends
Equipment
- Chop saw
- Eye protection
- Strong wire cutters (optional)
Materials
- Mod Podge Matte
- 2 Wooden rolling pins
- Wood plaque(s) cut in half
- 2 Metal L-brackets
- 12 Assorted wood screws
- Painters tape
- Spray paint white and red
- Felt pads
- Digital scans of recipe cards printed on laserjet
- Sandpaper 220-grit, optional
Video
Instructions
- Use the chop saw to cut the wooden plaque in half and the rolling pins to size. I cut two at 6.5", and two at 5" tall.
- Spray the handles with white paint and let dry. Use the sandpaper to distress as desired.
- Use painter’s tape to make stripes on the handle. Spray paint two of the handles red as shown. Also spray paint the plaque. Let everything dry.
- Scan in the recipe cards. Enlarge the scans on a computer and resize them to the dimensions of the pins. Print out on a laserjet printer to prevent bleeding.
- Paint Mod Podge on the rolling pins and smooth the printed recipe cards down on top. Let dry for 15 – 20 minutes.
- Once the Mod Podge dries, trim away any excess paper. Then do a little light sanding of the edges and seal with another coat of Mod Podge for durability.
- Attach the two metal L-brackets to the bottom of each piece of the plaque using the screws.
- Mark where you would like the rolling pins to go and drill pilot holes in the base pieces.
- Drill corresponding pilot holes into the bottom of the rolling pins. Use long wood screws to attach (as many as you need to secure).
- Attach felt feet to the bottom of the plaques to protect the countertops and finish.
Notes
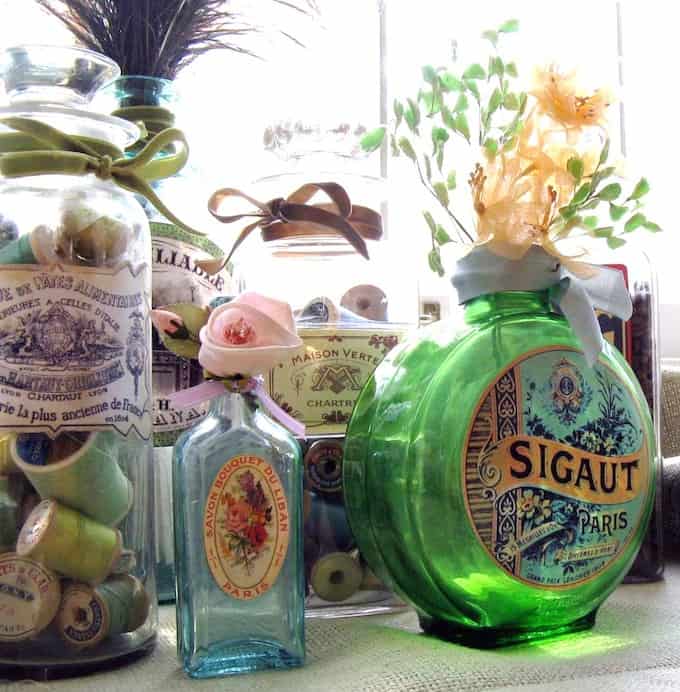
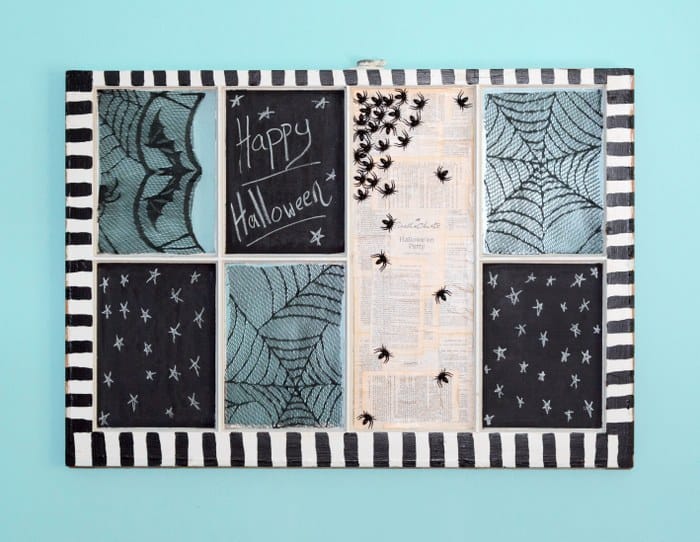
If you like these antique DIY bookends, you’re going to love some other vintage inspired home decor projects from David! Check these out:


Extra, super wonderful kitchen & tutorial!
These are just too cute. They really add to the pops of red in your new kitchen. I absolutely love this kitchen, I think it is just as classy and vintage-y as you had hoped.
These are awesome! I think I have some old rolling pins somewhere! Now I know what to do with them!
Debbie
I can’t WAIT to make myself (and my sister!) some of these! We have recipes from our long-gone Mom and Grandmom, all handwritten, of course, that would be perfect to see everyday to go along with my thoughts of them in the kitchen, while I’m in there too! Thank you for the incredible idea!
That is such a great idea! I love it. Be sure to share some pics when you get it done. And, of course, if you end up with any questions as you make it don’t hesitate to ask.
David
I follow your blog too and I must say, your kitchen turned out LOVELY! I just love the old country kitchens! The red and white theme just pops. The cute bookends fit right in. Lovely!!
Thanks much! Now it’s on to the really dreary bathroom…..stay tuned!
David
I love this idea. Thanks for sharing the tutorial.