Create unique, vintage inspired earrings using Mod Podge Matte, papers and acrylic shapes. These would make a great gift for a bold earring lover.
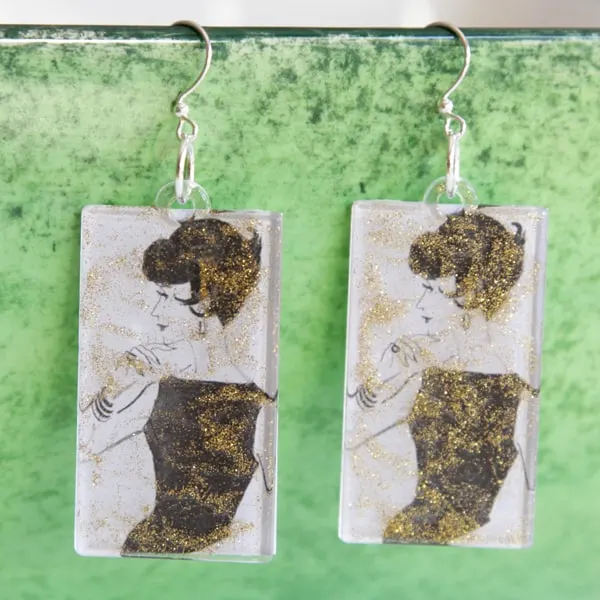
Hey guys! It’s Heidi from Hands Occupied. I came across some Podgeable Papers in my craft stash recently, and flipped through them.
Stunned by how stylish all of the designs were, I kept coming back to one sheet in particular featuring some illustrations of stylish vintage ladies.
The chic design immediately inspired me to make some funky, fun earrings. If you’ve never tried DIY earrings, now’s your chance! They are so easy and great for gifts, and you’ll end up making a ton for yourself. Trust me!
Acrylic craft shapes are perfect for a project like this because you can get a stunning project done super quick with them. AND they are lightweight, which is a concern with larger earrings. Here’s how you make them below.
DIY Vintage Inspired Earrings
Supplies
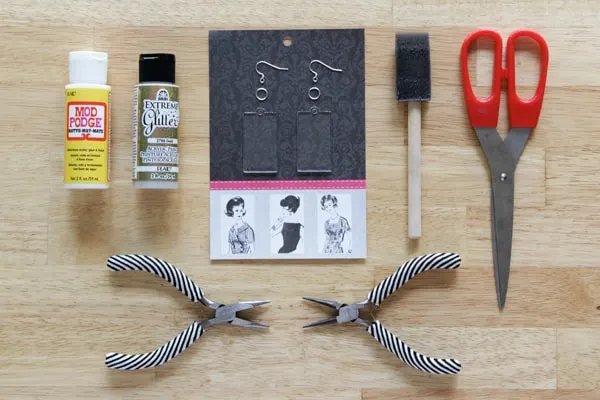
- 2 sets of Mod Podge Podgeable Shapes, Basic Designs – these take one long rectangle from each
scissors - Mod Podge Podgeable Papers in Classic
- Mod Podge Matte
- 2 earwires
- 2 7mm jump rings
- jewelry pliers
- Extreme Glitter acrylic paint
- paint brush
- sponge brush
Directions
Cut two of your favorite designs out of the Podgeable papers – you can mix and match designs or use two of the same like I did. The Papers conveniently come with several sheets of the same design, by the way.

Paint a little bit of Mod Podge onto one side of each plastic shape. I like the squeeze bottle of Mod Podge for this project to keep the mess to a minimum – all you have to do is squirt a little bit of the Mod Podge as needed directly onto the surface.
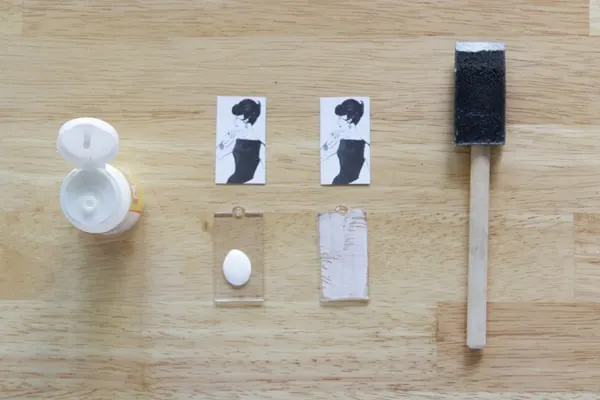
Center your paper cut-outs over the Mod Podge on the plastic pieces. Paint another dot of Mod Podge over the paper cut-out. Let dry completely.
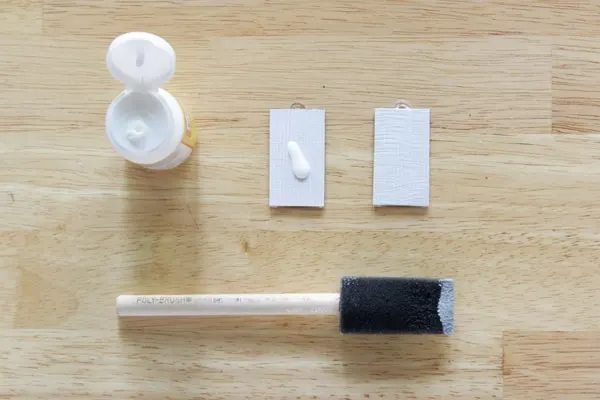
When they’re dry, flip the plastic pieces over. Paint a thick layer of glitter paint on the bare side of it, taking care to distribute the glitter across the face of the earring.
If you paint the glitter on back and forth like you’d paint a wall, the glitter will end up all along the edges only.
For bonus points, you can spread the glitter paint, while wet, away from the face of the vintage fashionista’s face to avoid covering it. Faces tend to draw the eye, so I didn’t want to hide it.
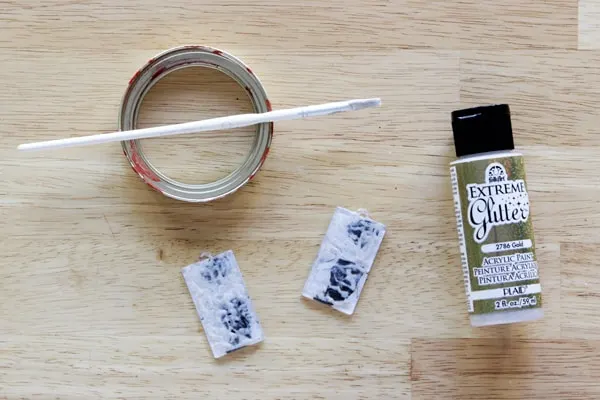
After the glitter paint dries, use jump rings and jewelry pliers to attach an earwire to each earring. That’s it! The finished black and gold earrings will go with everything.
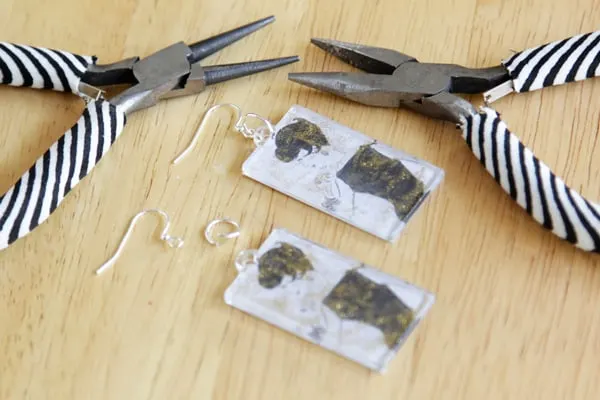
What do you think of these vintage inspired earrings? Would you make them, and what design would you use? Let me know in the comments!
If you like making earrings, I’d love for you to check out the following projects:

Yvonne @ Sunnyside Up-Stairs
Friday 11th of October 2013
What an interesting concept: a lady wearing vintage ladies! =D