Learn how to make DIY vintage bottles for your home decor! You can get the look in minutes with Mod Podge – this shows you how. Great budget friendly craft.
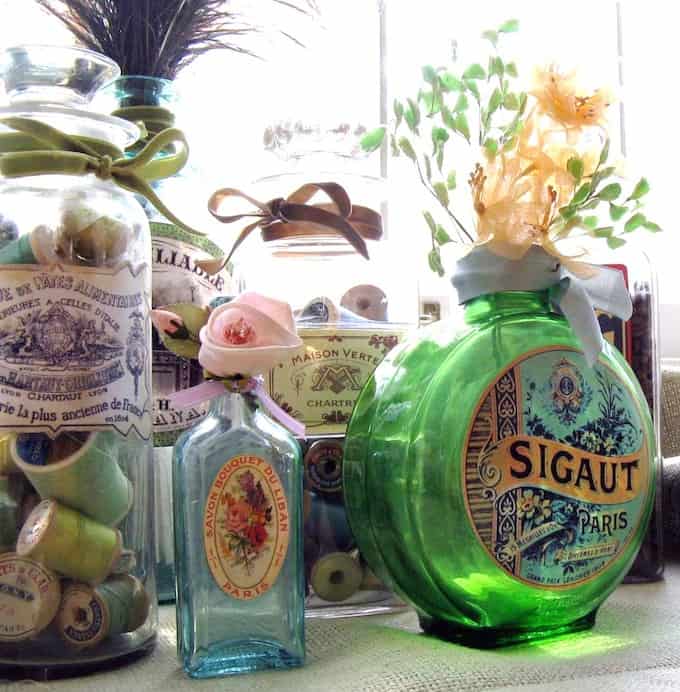
I’d like to welcome Mitzi from Mitzi’s Collectibles to Mod Podge Rocks with a beautiful way to decorate bottles with vintage labels! Do you remember her Anthropologie inspired mirror? You do know Mitzi is great with Mod Podge, so I’ll let her take it away with another fabulous project idea.
Hello, Mitzi Curi here from Mitzi’s Collectibles, your guest blogger today. I’m an antique dealer and crafter who loves to use vintage materials to create new treasures, “upcycling” antiques so that they can be appreciated within our modern lifestyle. Today I’m going to decorate some bottles and jars with Mod Podge!
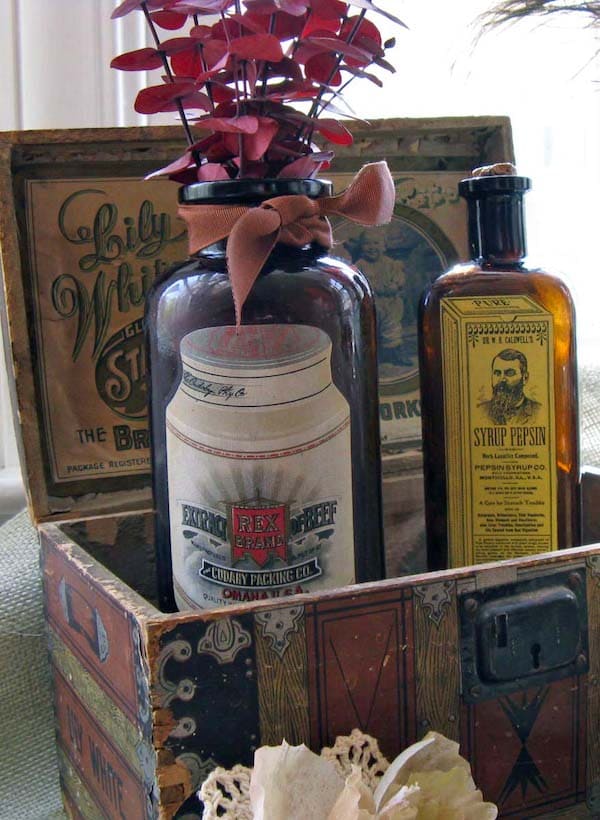
Now that spring is upon us, it’s inevitable that I will come across old bottles and jars during spring cleaning. Perhaps you have some old bottles in your house, garage, or basement.
You are guaranteed to find plenty of reasonably priced bottles at garage sales, estate sales and flea markets. All for the purpose of turning them into vintage bottles.
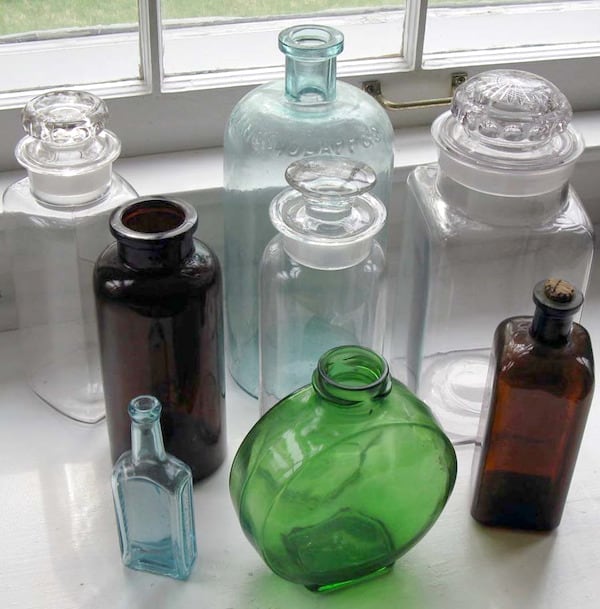
It shouldn’t take long to collect a variety of glass beauties in interesting shapes and colors, like the grouping I have below:
DIY Vintage Bottles
Once you have your collection of bottles to decorate, you will need the following materials to complete your project:
- Mod Podge Matte
- Foam brush
- Brayer
- Distress Ink
- Copies of old labels
- Scissors
I happen to have an extensive collection of paper ephemera, including old labels, but for this project I selected several from The Graphics Fairy,
I just clicked on “Advertising” and “Labels” categories in the sidebar and found several great examples for this project.

To ensure that your graphic images won’t smear when they get the Mod Podge treatment, they must be copied on laserjet. Or if an inkjet printer is used, sprayed with a clear acrylic sealer on both sides first.
Before Mod Podging, I aged the printed labels with some Tim Holtz Distress Ink in “linen,” especially around the edges. This way, you won’t see bright white edges around your labels, and thus your finished project will look more authentic.
To decorate the bottles, use the foam brush to thoroughly but thinly coat the back of the paper label with Mod Podge. Position the label on your bottle and smooth out from the center. Fan out to the edges with your fingers or a brayer (I always end up using both).
Next, put a thin coat of Mod Podge over the image. Take a wet paper towel and clean up the glass around the image. This extra Mod Podge can also be removed when dry by using a razor blade or X-Acto knife.
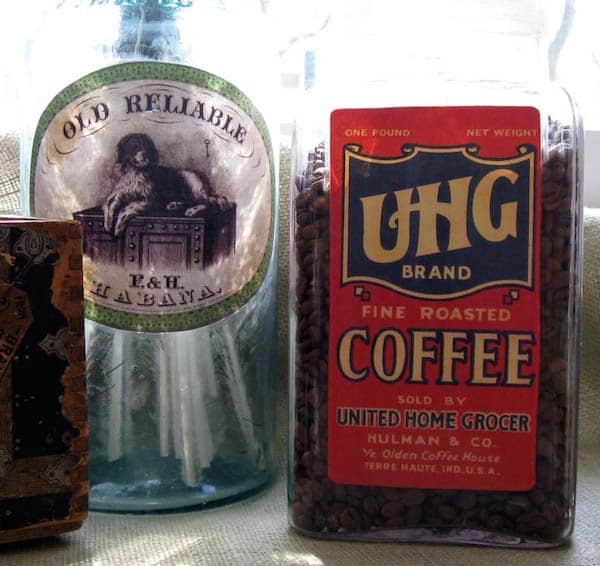
I tried to select items to put in my jars that would compliment them. My selections: peacock feathers for the large apothecary jar, coffee beans for the jar with the coffee label, and spools of thread for two of my other jars.
I added a little ribbon here and there on my vintage bottles for extra embellishment.

I hope you will try to make vintage bottles this spring. You’ll be recycling some bottles and appreciating beautiful vintage graphics at the same time, all thanks to Mod Podge!



Very cool bottle art! I press flowers and do this too. I will have to try your method as well Thanks for sharing!
http://www.flowerimpressions.com
thats a cute idea.. I just bought Mod Podge for the first time last night, and drank a grape crush, and was wondering what I could do with the empty bottle
These are very pretty and I love the added embellishments!
Hey – I’ve got some bottles like that! Cool idea! Thank you so much for sharing this project. 🙂
Very cute! What a great idea and way to add some cute style to a plain bottle!
-c
yapping cat
Way to go Mitzi! What a lovely project and I really like the final effect with label and ribbons 🙂
Thanks for sharing this, Amy! Awesome project!
I LOVE what you did with the bottles. The labels you chose add to the vintage look.
sweet projects!
Stunning! I adore Mitzi and her projects are always so beautiful!!
These are gorgeous! Looks like I have another item on my thrift store list!
I am following you from MBC!Jeanette Huston
Love the bottles! Beautiful job!!!
I make reproduction vintage look pantry and medicine labels for a living. I will be sending some of my customers here to read your wonderful tutorial on how to apply them to vintage bottles. Thanks for a great post. Susie (Yankee Lane Primitives)
Love all of these. They’re gorgeous! I recently used Mod Podge for the first time (shocking, I know), for a kids project I posted on my blog. I watched your videos and got all the advice I needed so everything went smoothly. Thank you, thank you!
Fantastic idea, simple and beautiful! 🙂
Can I do this on shot glasses?