Learn how to make a green and glittery gold treasure chest for your St. Patrick’s Day decor! Filled with gold coins and candy. So easy!
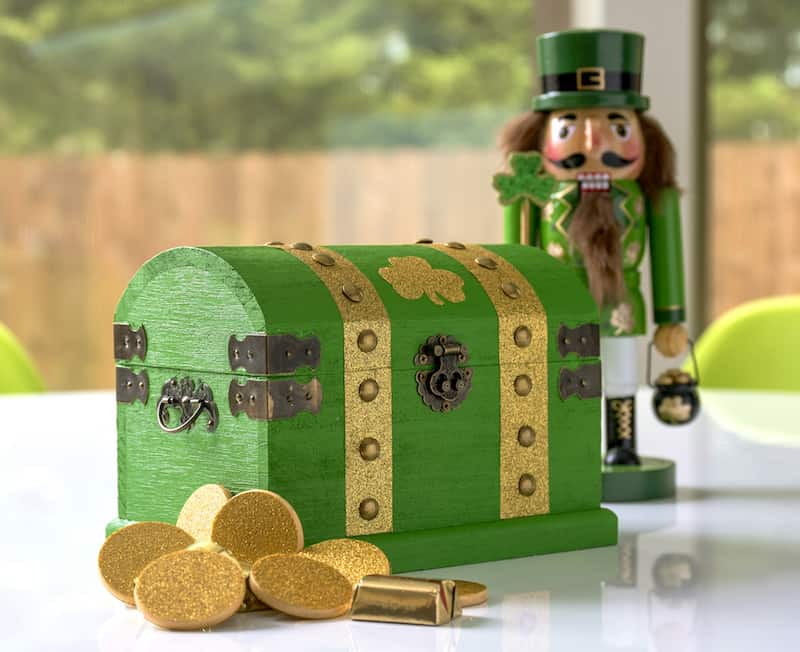
In between Valentine’s Day and Easter there is a fun holiday called St. Patrick’s Day that often gets overlooked. I say that tongue-in-cheek, but seriously . . . if you look on a lot of craft sites, sometimes there is a tendency to just skip right over the green, glitter, gold, bubbly beverages, and leprechauns!
This year I wanted to make some fun St. Patrick’s Day decor that GLITTERS because I love using gold during the holidays. I’m not really a gold person, but there’s a time and a place – and holiday decor is definitely that time and place for me.
In terms of my St. Patrick’s Day craft inspiration, it actually started with this amazing Duck Tape:
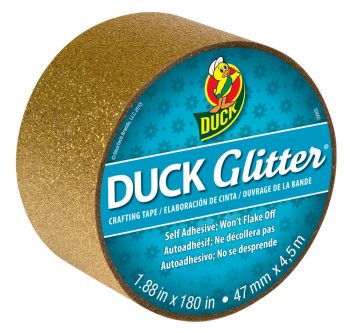
If you aren’t familiar with this beautiful Duck Tape, it brings glittery to a whole new level! Not only that – there’s no mess. So you can glitter to your heart’s content and not have to worry about pickup later.
When I first spotted this Duck Tape, I thought St. Patrick’s Day immediately (since it’s coming up next on the holiday shed-yule) and then I thought, gold coins. And that’s exactly what I ended up doing with this tape.
I’m excited to share this chest of gold coins because not only is it easy to make, but you can use it for a centerpiece or for mantel decor . . . AND the kids can help make it.
The wood coins are very simple to do, and anyone who opens this St. Patrick’s Day decoration will not only find treasure but also CANDY! Because leprechauns are always up for surprises ;D. Let me show you exactly how I made it!
DIY Treasure Chest
Gather These Supplies
- Wood chest – I got mine from Michaels
- Wood circles, 1″ – about 25 or so
- Mod Podge Sparkle (optional)
- Gold Glitter Duck Tape
- Acrylic paint – bright green and gold
- Scissors
- Craft knife and mat
- Paintbrushes
- Small tool kit (for removing hardware)
- Painter’s tape (optional)
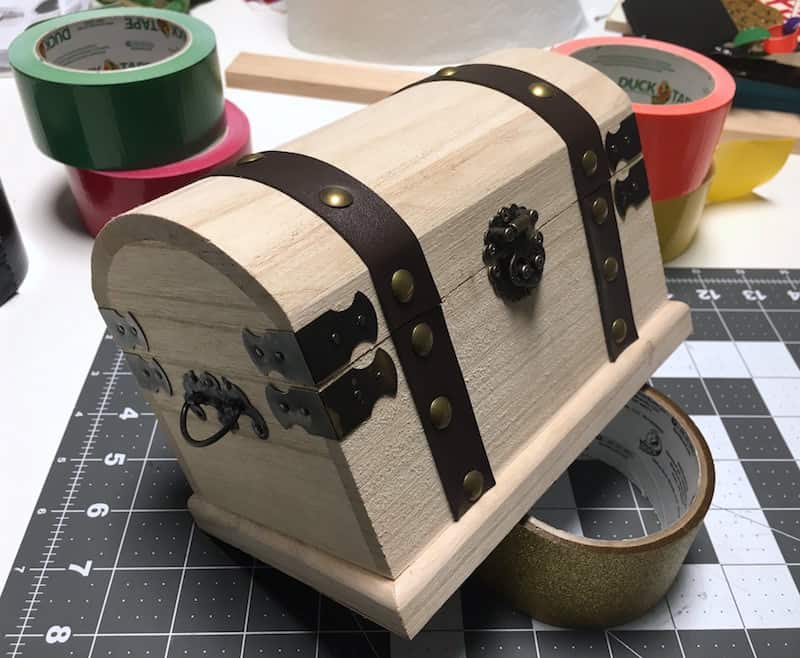
This is the wood treasure chest we started out with from Michaels. It looked like something a leprechaun would enjoy to me! Start by carefully removing the leather straps and brads that go across the top of the chest.
You can pull these out with pliers. Then remove the top of the chest using a small screwdriver. This just makes the chest easier to paint.
Set the pieces aside in a place that you won’t lose them.

Paint the top of the chest with your bright green paint. Let dry and paint the inside. You’ll want to paint the base as well. You can paint carefully around the (non-removable) hardware on the base, or use the painter’s tape to cover it up. I will leave that up to you.
Tip: If you want to use Sparkle or Glitter Mod Podge on the chest, I recommend it! It’s totally optional but just adds a little something special.

While your chest is drying, paint the edges of the wood circles with gold. It takes just a few minutes – and you can use paint bottles to support them as they dry!
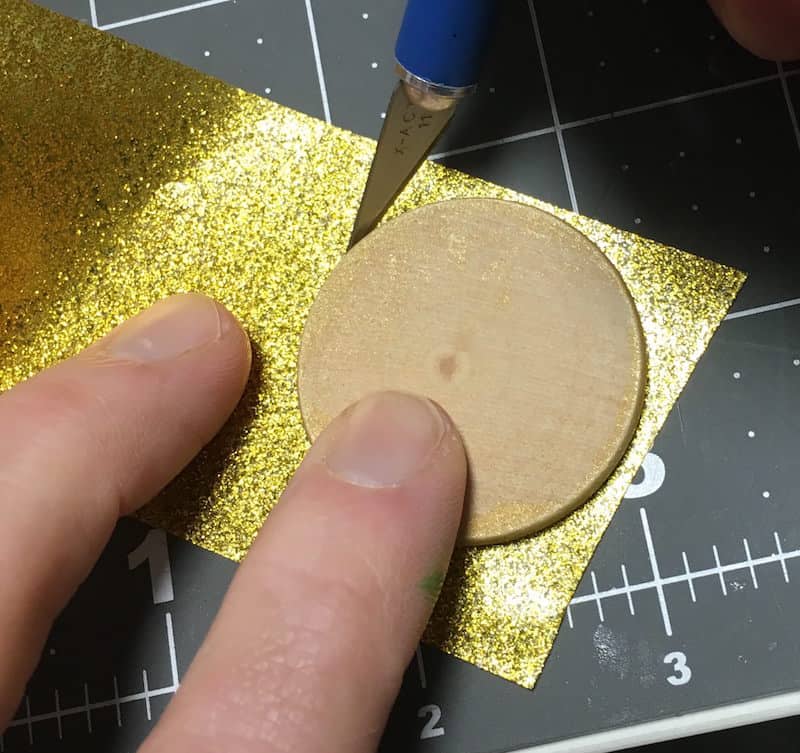
When the coins are dry, cover both sides with the gold glitter Duck Tape. We placed a circle on the Duck Tape, cut around it with a craft knife, and then repeated on the other side. You can do this with scissors as well.

After everything was dry, we reassembled the chest. Then we used the gold glitter Duck Tape in place of the leather straps!! This was just one piece cut in half – use the other half of the piece on the other side of the trunk.
You’ll want to wrap the Duck Tape around the trunk as shown in the picture and then use the craft knife to cut it when the trunk is going to open.

We then placed the brads right back into their holes on our St. Patrick’s Day treasure chest. At this point you can stop or you can add some shamrocks to your trunk by cutting them out of the gold glitter Duck Tape.
To do this, just place a piece of the Duck Tape on a craft mat, put a piece of clip art on top, and cut out. Then peel up the shape and adhere to the chest.

Inside the treasure chest? We placed gold coins mixed with gold candy! Isn’t that a fun surprise? You just have to tell your guests what’s edible and what’s not. Let them go on a treasure hunt to find it!
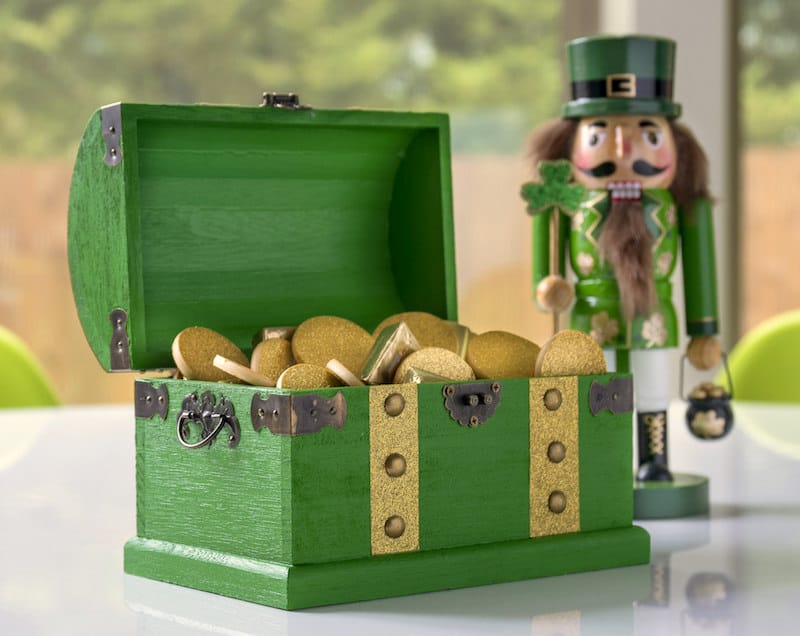
Who doesn’t love St. Patrick decorations with a surprise inside?? If you love our fun little leprechaun nutcracker – he’s from Michaels too. We have him next to the chest. He gives out candy from his trunk to anyone who asks politely!
This St. Patrick’s Day decor is so fun for kids but also for adults. We have it out on display and everyone HAS to know what’s inside! It’s so fun. Happy St. Patrick’s Day!
If you enjoyed this St. Patrick’s Day project, check out these other holiday ideas you might also like:



Amy, May I say you have outdone yourself here. The treasure chest is to die for. I mean, who doesn’t love a little green and gold. The gold duck tape adds just the right amount of glitter. Not too much, not too little. Just what any self-respecting leprechaun would put on his treasure chest if he were near a Michael’s store himself. The nutcracker is adorable too but the treasure chest,,,,,SWOON……. I love wooden chests and this makeover looks so easy yet so fabulous. Can’t wait to try it to surprise my little muffins. Thank you for once again raising the bar on diy’s. Love your site.
Aww – thank you so much Susan! It’s really fun! And it’s got candy inside so . . . what more can you ask for? 😀
It’s awesome and love the glitter tape . It is really good thanks for sharing