
I love covering everything I can in old pattern pieces and Mod Podge – so I decorated a gift for a friend: a decoupage box! It was VERY easy!
One Mod Podge project you have to try: a decoupage box! I decoupaged this pattern piece box for my friend’s mother – her 60th birthday present.
She loves sewing, and so we decided this would be the perfect gift for her since she has (now had) a lack of places to store her fabric and patterns. And how else to cover the box except with patterns?
Don’t be too shocked, but I actually took photos of the process. Trust me, it was difficult to stop crafting and snap the camera!
In the interest of being a good decoupage blogger, I decided I need to post a decoupage box tutorial. So here it goes.
Mod Podge with Sewing Patterns
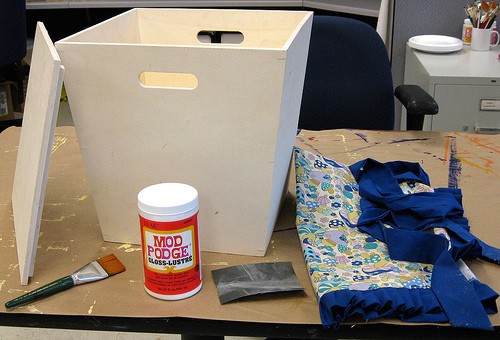
Gather These Supplies
- Wood storage bin (Michaels or Jo-Ann, don’t forget to use a coupon)
- Big flat paint brush
- FolkArt paint in Linen, 8 oz.
- Fabric pattern(s) (Jo-Ann always has some on sale for $.99! Get two just to be safe)
- Mod Podge Gloss
- Sandpaper (optional)
- Cute mushroom apron (also optional)
BEFORE you begin painting, you may need to sand your wood surface to reduce nicks and rough spots. That is your call. I always do or I end up regretting it.
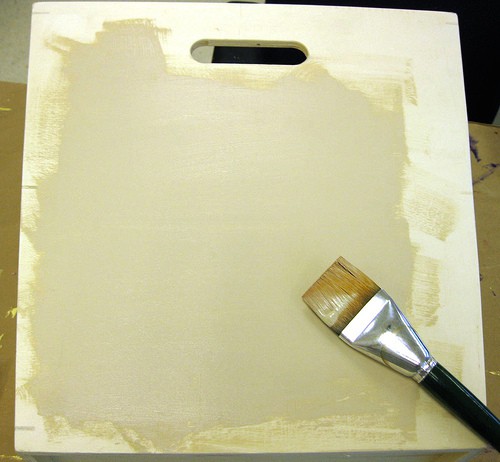
Step 1 is really easy but takes some time. Basecoat the box with the Linen paint. Do it inside and out, and on the bottom of the lid too.
Don’t try to cheat – I’m watching and will know if you don’t paint it all! Let it dry for a few hours.
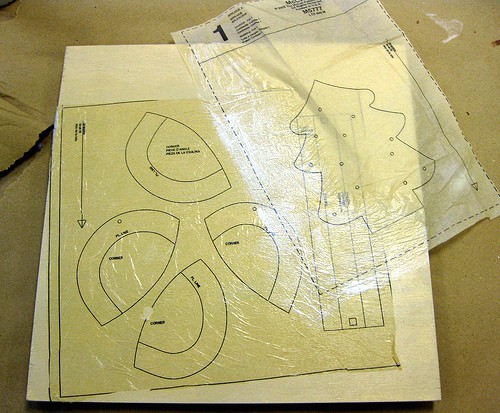
Unfold your pattern and don’t worry about the creases. They will go away as you Mod Podge. Cut out pieces in the sizes and shapes that suit you and begin to apply to the storage bin.
Here’s the way to do it. Lay the pattern pieces down and Mod Podge over the pattern piece. Hold one side down with your hand and apply a thin coat with a brush on top.
The Mod Podge soaks through and adheres the piece to the bin – this method keeps it from tearing.

Keep overlapping the pieces on your box with decoupage. Don’t worry about the pieces going over the sides – I actually glued them down around the edges and corners, but I left them hanging over the top and bottom of the bin to cut off later.
Note that the pieces become transparent when you glue them down. Kind of cool! Keep doing this until you have covered the entire outside of the bin and lid. I didn’t do the inside or the bottom of the lid. Allow the wooden box to dry.
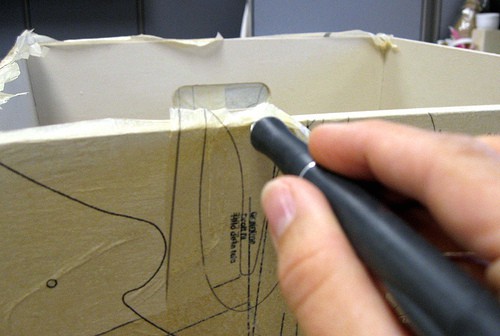
Okay, so this is the fun part of this wood craft! I normally hate trimming things with an X-Acto, but this was kind of fun. I trimmed the top, bottom and inside the handles. “Saw” carefully and it will work well!
Once you are done trimming, coat your decoupage box with one final coat of Mod Podge inside and out.
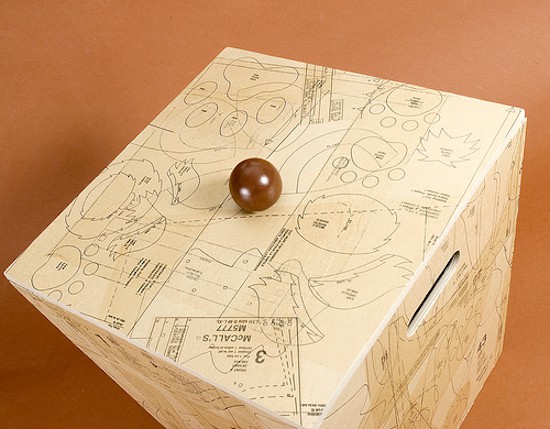
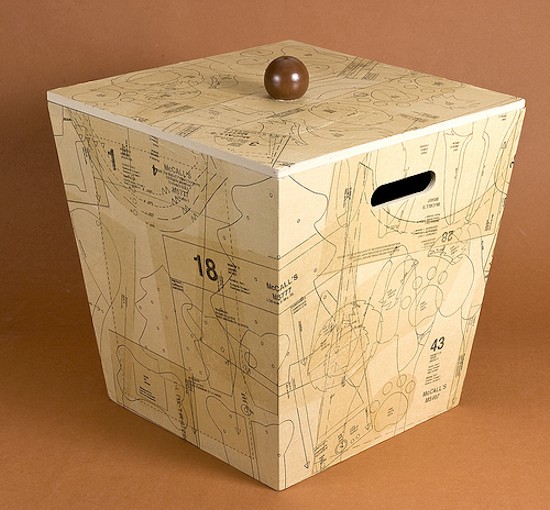
Here she is! The finished decoupage box. One last thing I did was paint a 2-inch knob and glue it on top with craft glue. I hope you like it!
The great thing is that it really wasn’t that expensive. Less than $20 when I used a craft store coupon for the bin.
PS – The gift receiver loved it! Another successful decoupage project. Complete.
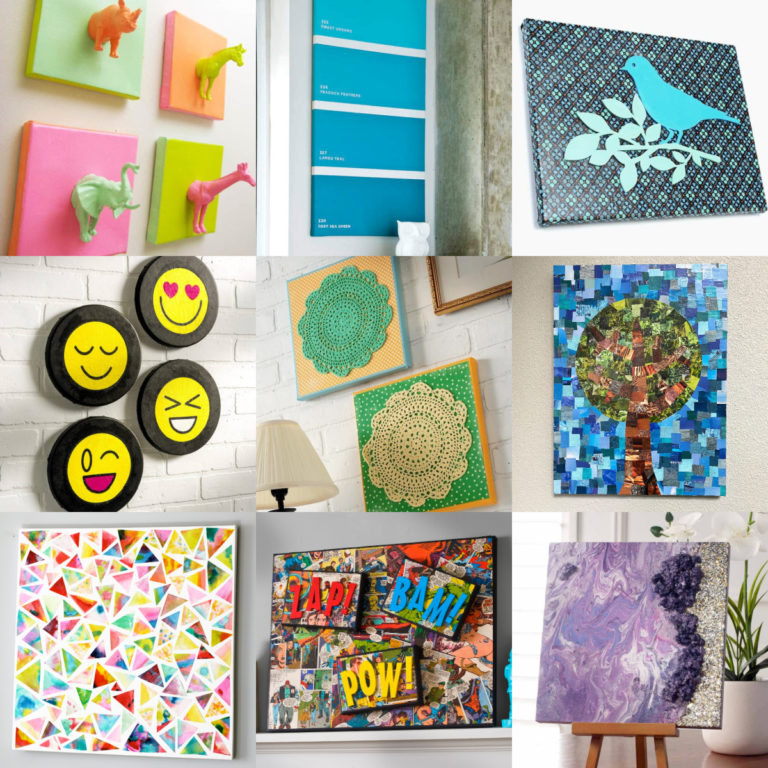
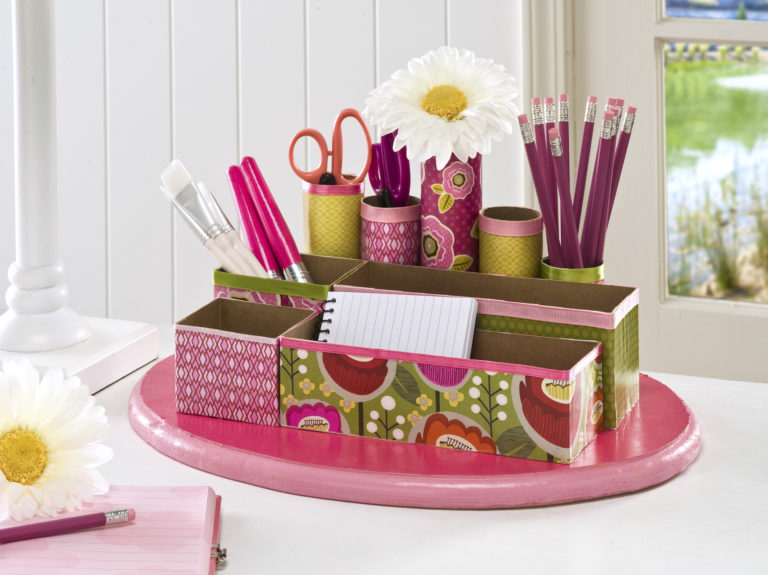
If you enjoyed this project, I’d love for you to check out these other projects:


That is really cool. I host a blog link party that opens tonight at 8pm EST. I would love for you to stop by and link up this great project.
-Judy
hiya visiting from tip junkie and following you too x what a great tutorial and make over, no wonder the recipient loved it! who wouldn’t ? I hope to see you over at mine sometime.xmaggiex
Brilliant! Thank you for the tutorial. I’ve never decoupaged with pattern pieces and your info was much needed.
Following your blog.
Very neat idea!! Great Idea on using the patterns!
Amy this is so gorgeous! For realz, it looks like something that came out of a catalogue. Many kudos!
That is a really great idea, and it turned out stunning! Thanks for sharing.
I love the idea of using pattern pages!! I would have never thought of that! This would be a great way to decorate storage boxes in a sewing and craft room too!
It is good idea.
Thanks Mel! And thanks to everyone else for the great comments. . .
Amazing!!! AWEsome! I’m drooling here. :o) Love this madly. I’ve wanted to make one for ages, but yours looks a thousand times better than my imaginary one. WOWzers it’s gorgeous! :O)