
Make easy DIY name sticks using popsicle sticks for classroom use! A fun and effective way to randomly call on students or manage classroom tasks.
I’m a big fan of teachers. I kind of have to be because my mom has a master’s degree in teaching! But seriously, I have the utmost respect for teachers and what they do.
It’s one of the most difficult jobs, and one thing I know from my mother is that they spend a lot of their own money in the classroom for decorations and other accoutrements to make their lives easier.
So I’m here with a fun DIY that is inexpensive to make while at the same time helps teachers do their job a little bit easier – pick a student sticks!
What are name sticks, you ask? Well, teachers have enough on their mind without trying to remember who they called on last, or who needs to be assigned a task. These sticks make that job WAY easier!
Ways to Use These Sticks
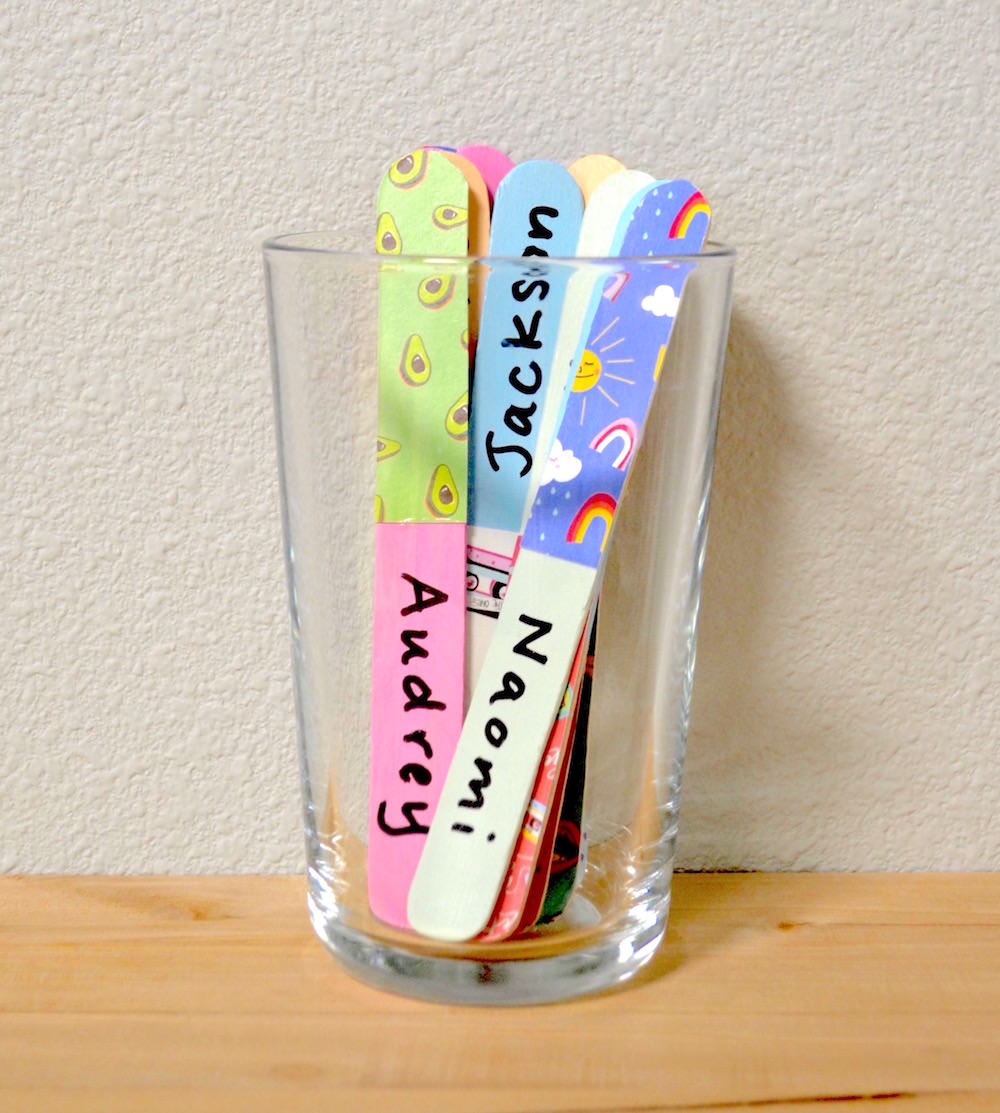
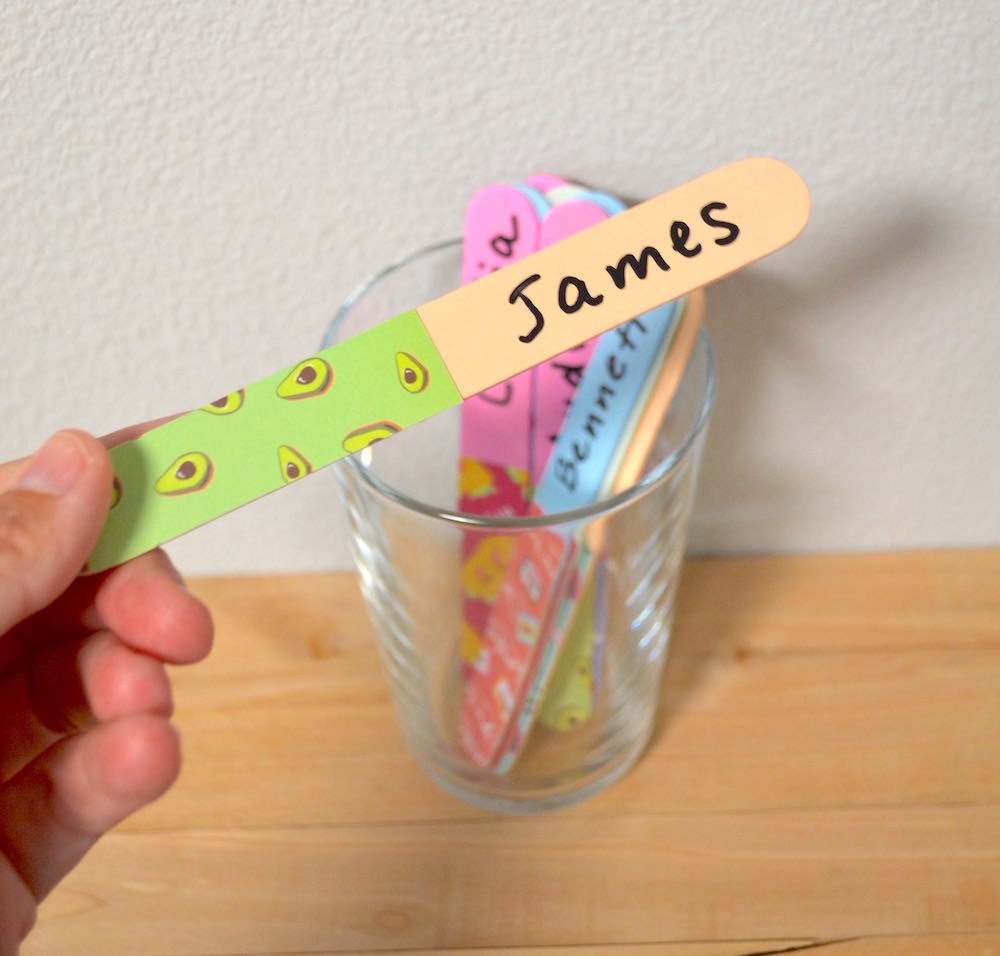
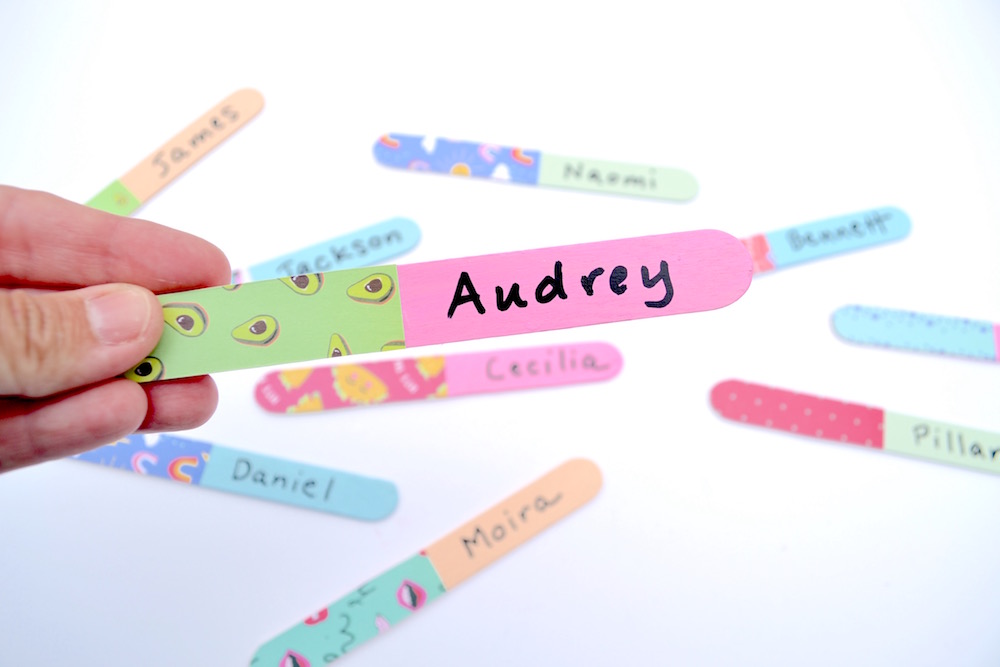
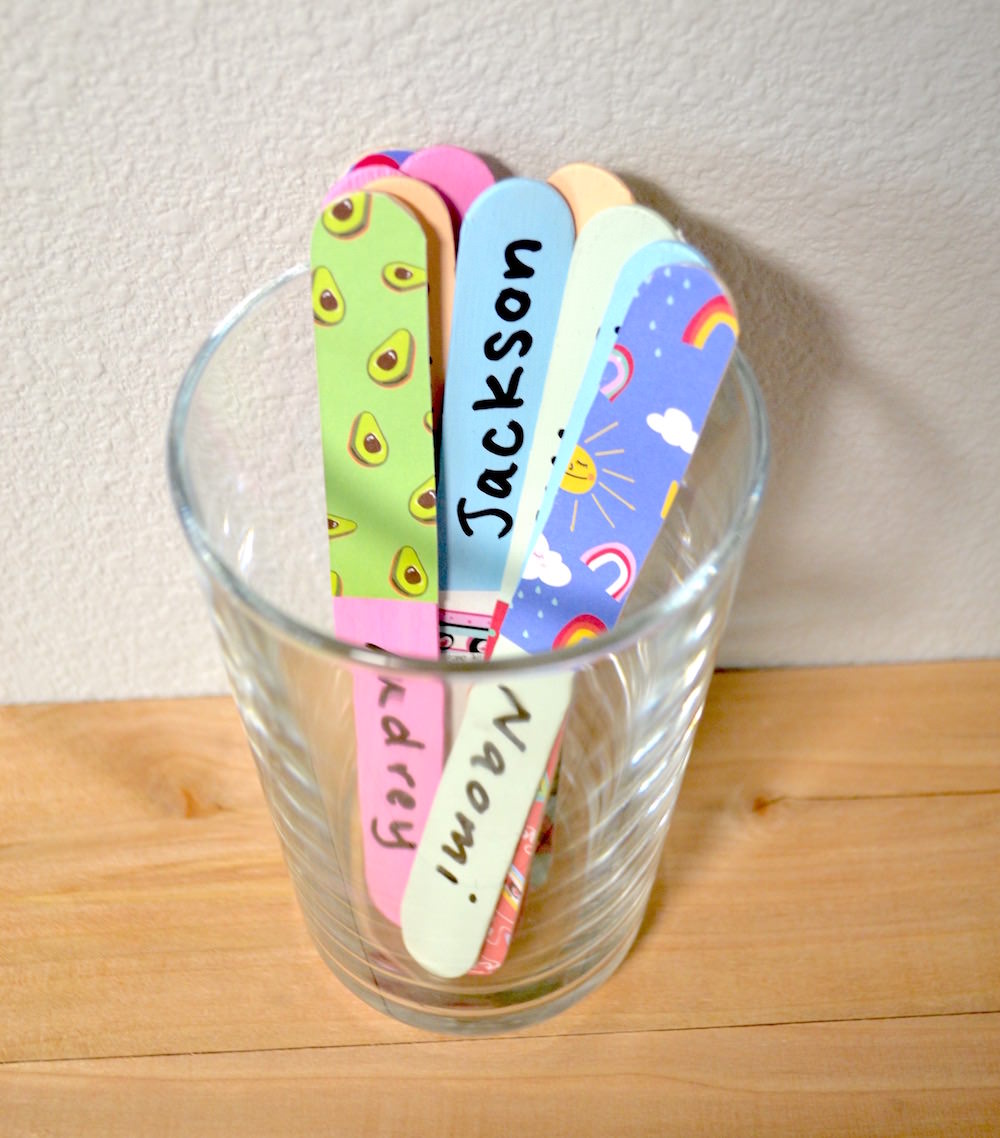
The idea is that each student gets a stick with their name on it, and you keep all of the sticks in a container. One side of the stick has the student’s name, and the other side has a design. All sticks start with the names up.
When a student’s name is selected, the stick is flipped upside down to indicate they’ve been called on/chosen. You can repeat until all sticks are flipped and then start over! It’s a great way to distribute fairly amongst your students. You can use these for:
- Random selection of students in class for answering questions, passing out papers, etc.
- Distributing chores amongst the students
- Taking turns during games
- Grouping students according to ability level or interest (use color or paper design as your “coding”)
There’s really no limit to the possibilities. AND – I believe I mentioned they are inexpensive to make! I got all my supplies from Michaels. I’ll show you how below.
But before I do that, you need to know that Michaels is a huge support of teachers. Did you know that you can take 15% off your entire order at Michaels with your teacher discount?? Pretty awesome.
If your students are old enough, they might be able to make their own, which could be a fun classroom craft. Either way, first let’s start with what you need.
Gather These Supplies
- Jumbo craft sticks
- Mod Podge Hard Coat
- Scrapbook paper in a variety of patterns – scraps work perfectly for this!
- Acrylic paint in a variety of colors
- Sharpie (regular or oil based works fine)
- Scissors
- Craft knife and mat
- Paintbrushes
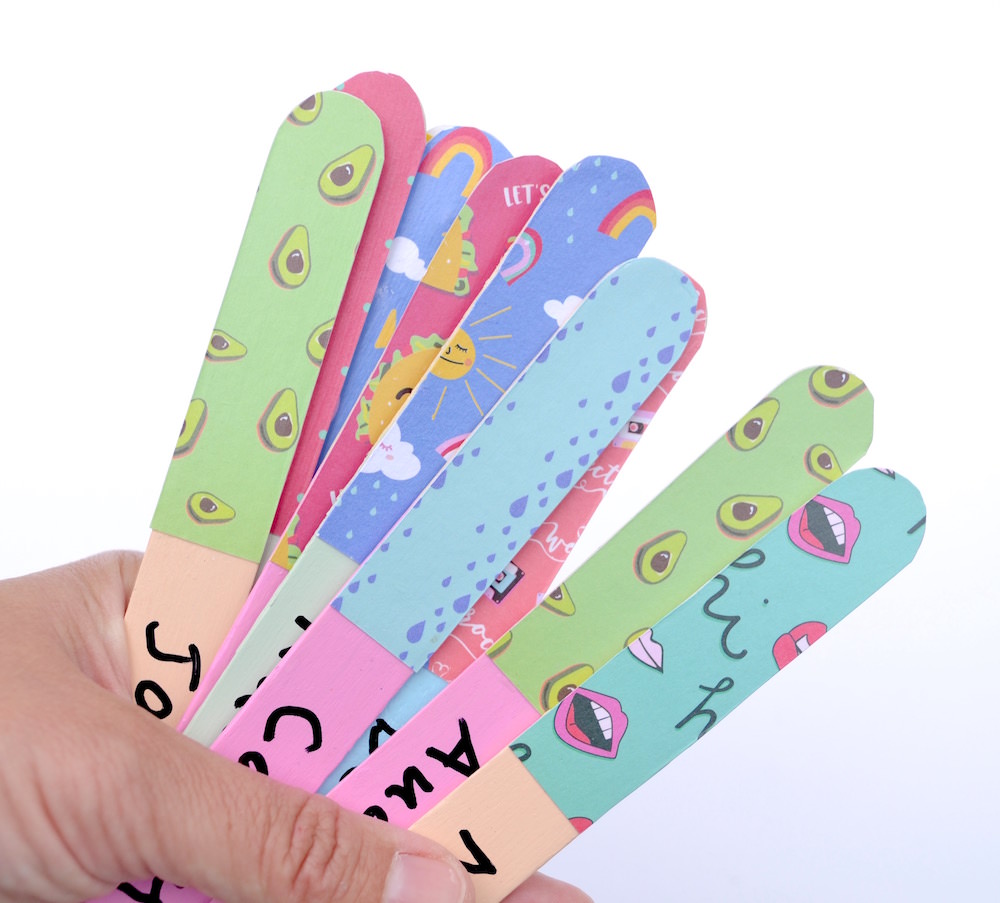
One of my favorite part of making these was choosing the papers. I mean, avocados? Hello!?!?!
Get the complete how to below:

Name Sticks
Materials
- Jumbo craft sticks
- Mod Podge Hard Coat
- Scrapbook paper in a variety of patterns – scraps work perfectly for this!
- Acrylic paint in a variety of colors
- Sharpie regular or oil based works fine
Instructions
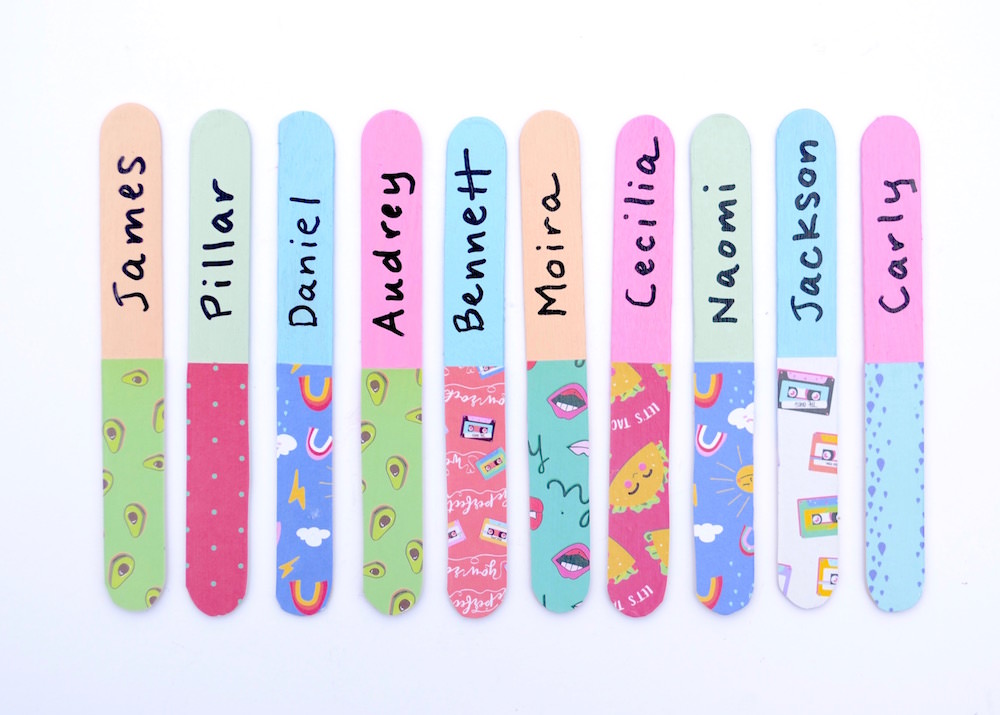
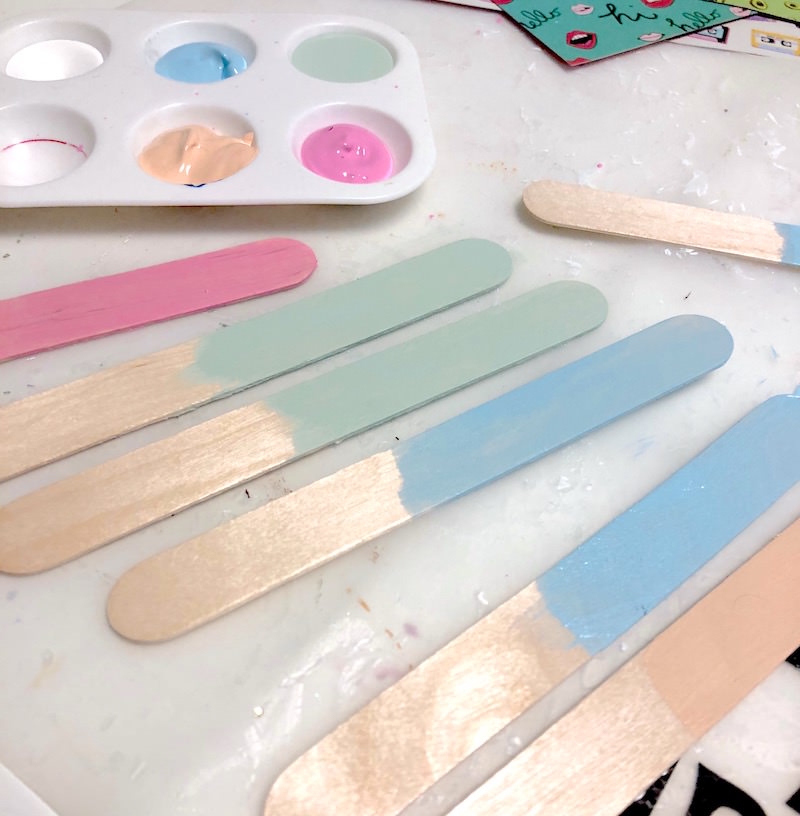
- Start by painting the sticks with the acrylic paint colors of your choice. You can divide colors according to ability or some other measurement. Paint the sticks front and back (you only need to paint halfway down). Let dry.
- Place a bit of Mod Podge Hard Coat on a scrap of paper; enough to cover the area of the craft stick. Place the craft stick down on the paper – about half way down.
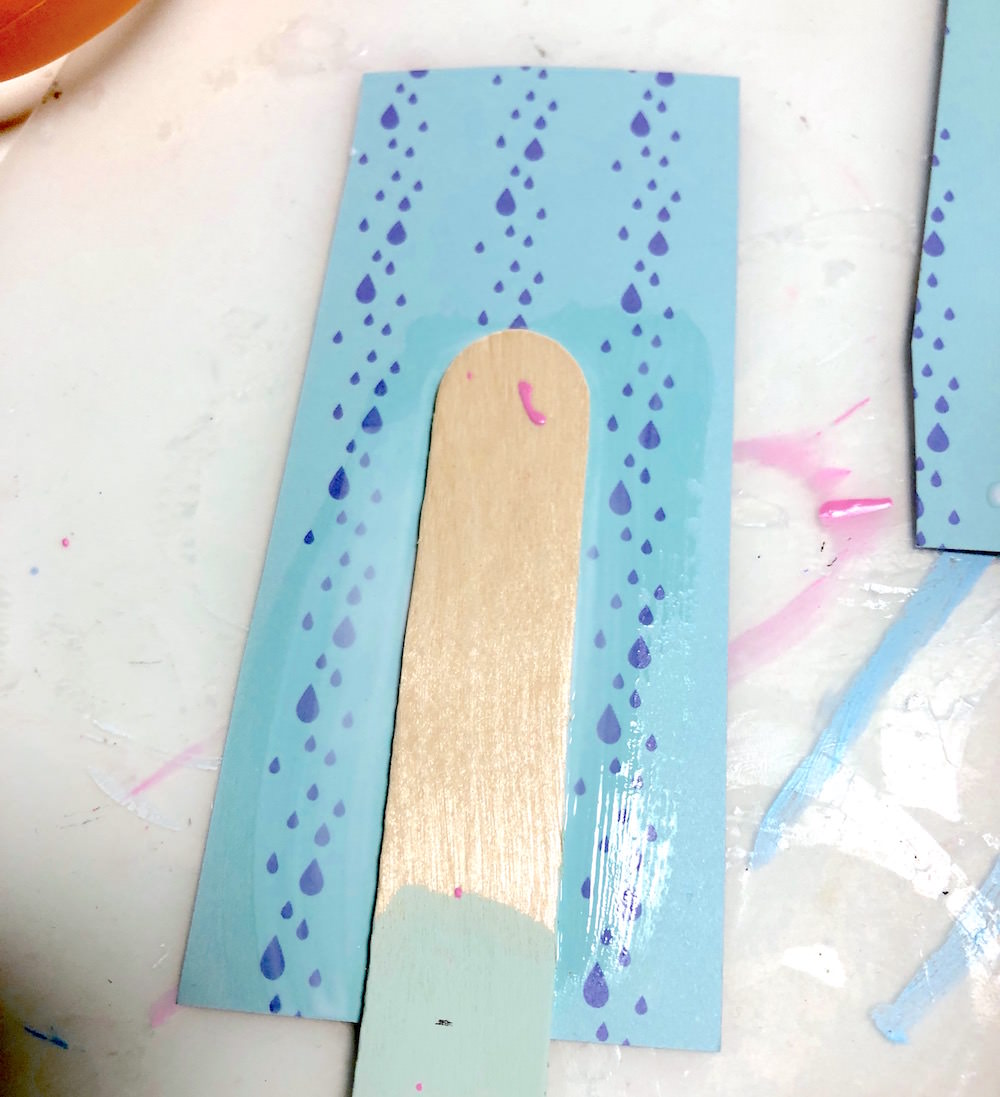
- Repeat with all of your craft sticks and paper and let them dry. Make one for every student in class!
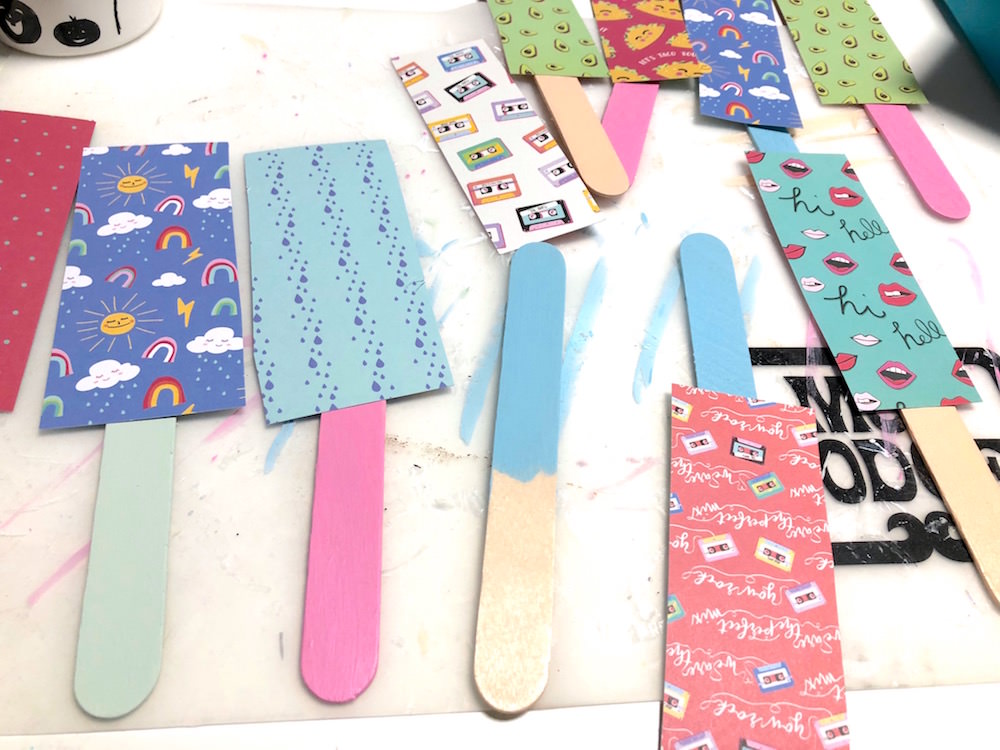
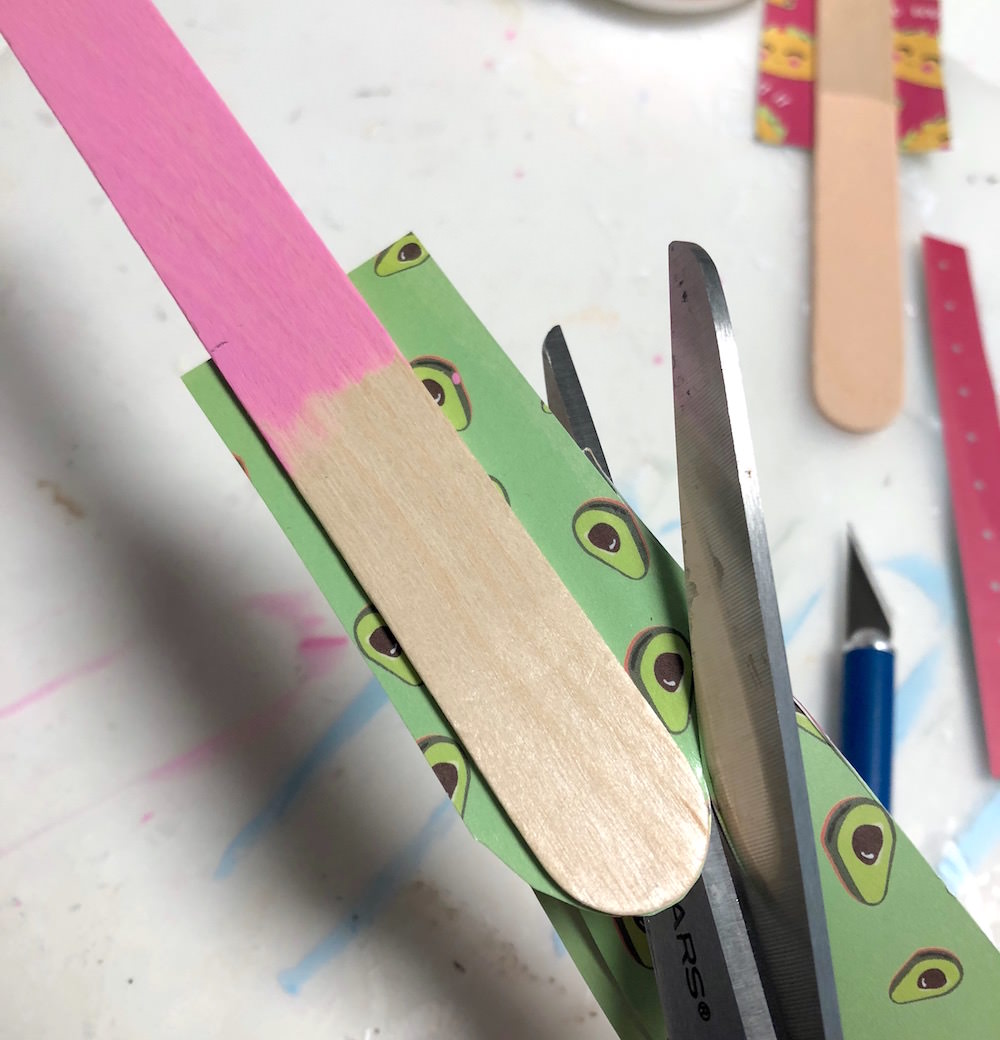
- Trim around the paper. I used scissors to round near the top. Then I used a craft knife down the sides to get in close.
- Once you're done, repeat the Mod Podge and paper steps with the other side of the craft stick and the same pattern of paper.
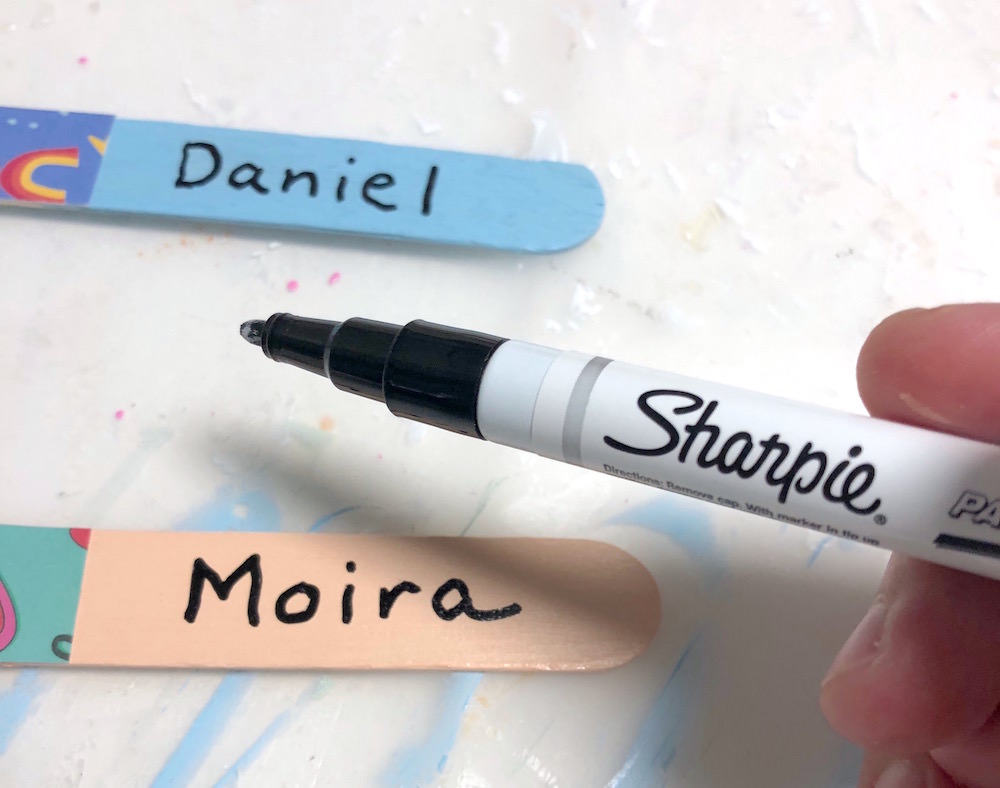
- Write their names on the craft sticks using a Sharpie.
- Once your ink is dry, just Mod Podge over the top. Let dry before using.
Notes
I’d love to know if you make these – let me know in the comments. They are so fun and easy and your students are going to love them! Have a great beginning to the new school year.
Did you enjoy this post? I’d love for you to check out these other posts:
Coloring Book Name Plaque • DIY Clipboard • DIY Magnets • DIY Notebook • Glitter Mug • Make a Keychain • Travel Mug


I love this idea. I really want to try it for my teacher!!! I think she would really appreciate it!