
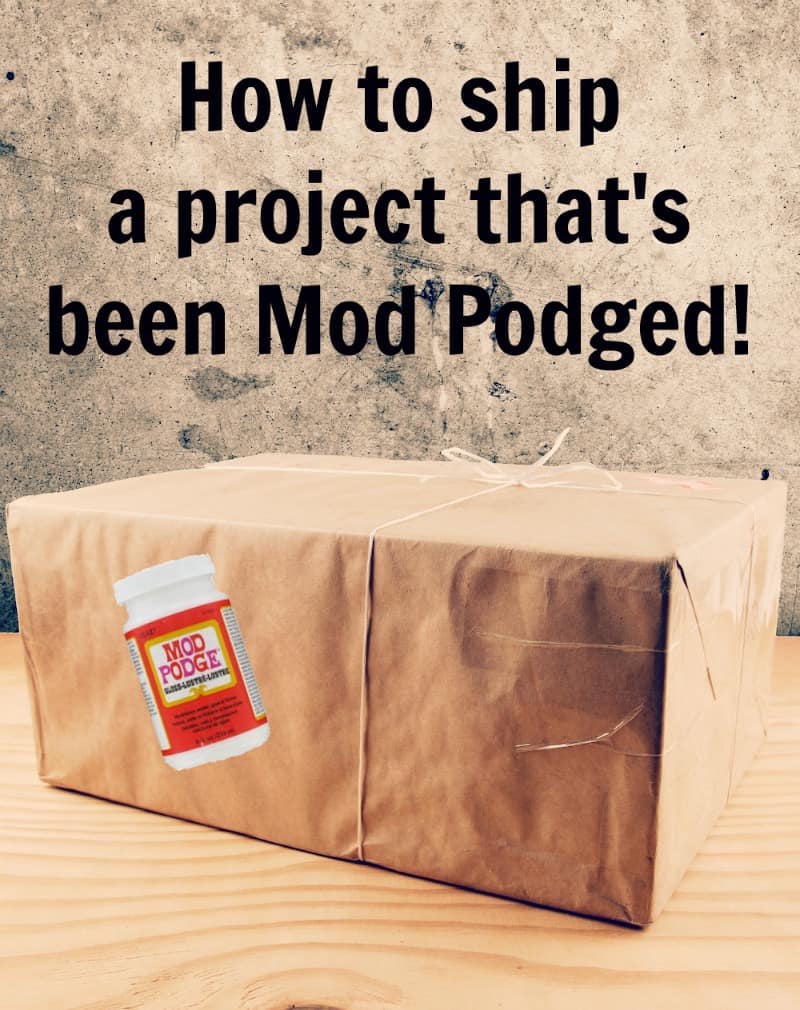
Learn how to ship a craft project that has been Mod Podged! Avoid a ruined mess on the recipient’s side with these handy tips.
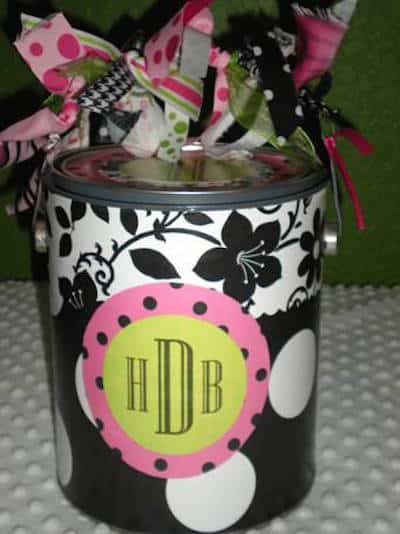
Poor Jaime. She made a Mod Podge project – this very cute idea below – and sent it to a friend:
When it arrived, this had happened:
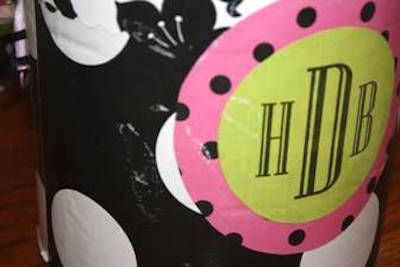
I call it “ModPodgus Stickitus.” Unfortunately, there is nothing that can be done to fix this condition once the damage has been done.
Keep in mind that Mod Podge takes awhile to cure . . . and that means, reduce tackiness even after drying. Typically when you make something, you’re shipping it soon after. So you need to follow these steps!
How to Ship a Mod Podge Project
Step One: Make sure your project is DRY. That doesn’t necessarily mean fully cured, but it means “not wet.” Don’t finish your project and then pack it up 15 minutes later.
Let it dry at least for 24 hours . . . and the longer, the better. If you are in a humid climate – even longer.
Step Two: When you send, pack, transport, or in any other way move something with Mod Podge, you should use an acrylic sealer to protect it.
You never know what the conditions will be (could be really HOT on the truck shipping your project) – the Mod Podge could get tacky very easily.
Use any acrylic sealer, but I recommend Mod Podge brand acrylic sealers because they are affordable and won’t yellow. You can get them online (click the link) and from craft stores.
Step Three: I learned this from professionals Mod Podgers! Put some Glad Press’n Seal around the project before packing. For whatever reason, it won’t stick, which is awesome.
Wax paper also works, but I really like the Press’n Seal because it folds around the edges more easily (and it also sticks to itself).
Keep in mind that the rules above apply when stacking Mod Podge projects in your closet or in any way putting them in close contact with each other. The Gloss formulas especially *will* stick if it’s not sealed.
Good luck and happy shipping!


I am so glad I read this before I finished my mod podge project! I would have just cried if I would have ruined it. Thanks so much for an awesome site and great tips!
I linked my tutorial to your site!
Great tip. This is a question I get asked all the time when I teach a class Now thanks to you I have an answer for them.
Gail
http://missnanceandbeyond.blogspot.com/
Thanks everyone!
I totally needed this post about a month ago, but that’s okay. I made some father’s day projects that got a little messed up. I am glad I have the information for future projects:) Thanks!
that is really good information to know! i will keep my eye out for the sealer you mention.
Good to remind users that sealing is very important. I have a lovely piece that got dripped on under a leaky awning – the mod podge started turning opaque white. The surface returned to it’s clear self once it dried – but as soon as I got it home I sprayed it well with several coats of acrylic sealer.
Thanks for the comments everyone! Caroline, I wrote you a separate e-mail. And Sarah . . that’s a pretty paper. Please try again so we can see what you do!! 😀
That flower paper is the same one I used on the still-not-finished-&-still-haven’t-tried-again book case that inspired my original visit here.
Okay, first, I will be late to dinner. In fact, I’m not sure I’ll be there at all. 🙂
Question oh great Mod Podge-inista: Do you think the clear sealer would also work on an object that would be exposed to moisture? I mod podged (hard coat) fabric onto a galvanized bucket to use as an ice bucket. Looked great until the condensation softened the mod podge- it did take an hour or two. And it did harden back up. It was just really gross in the meantime. Do you have that much faith in the sealer?
Now that’s some helpful tips!! Thanks for the heads up!!