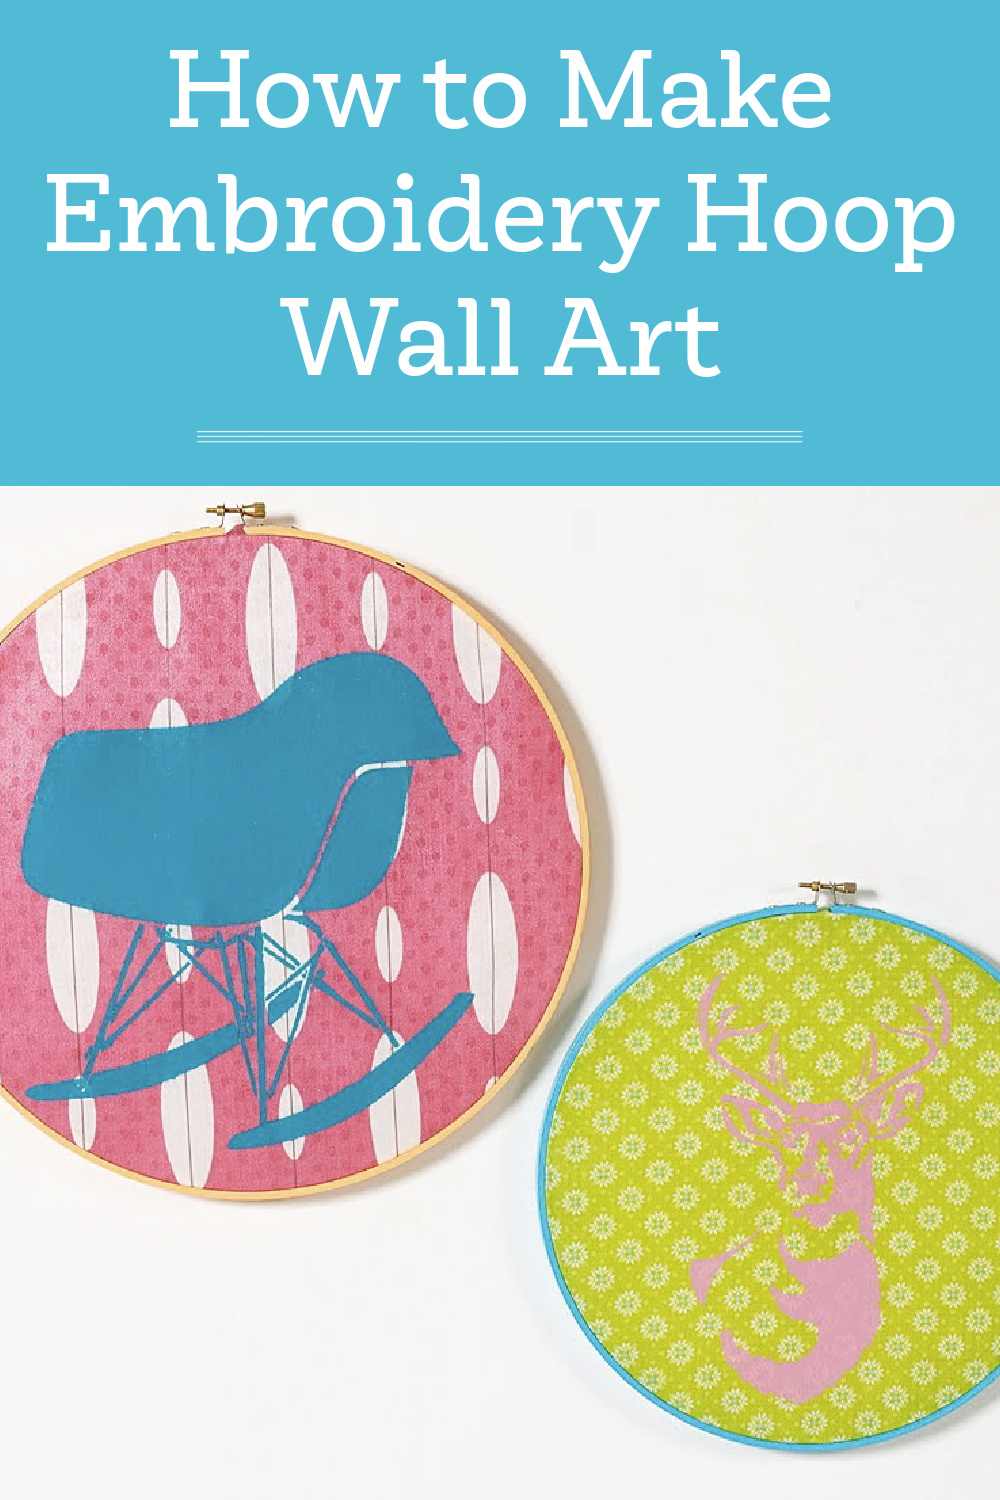
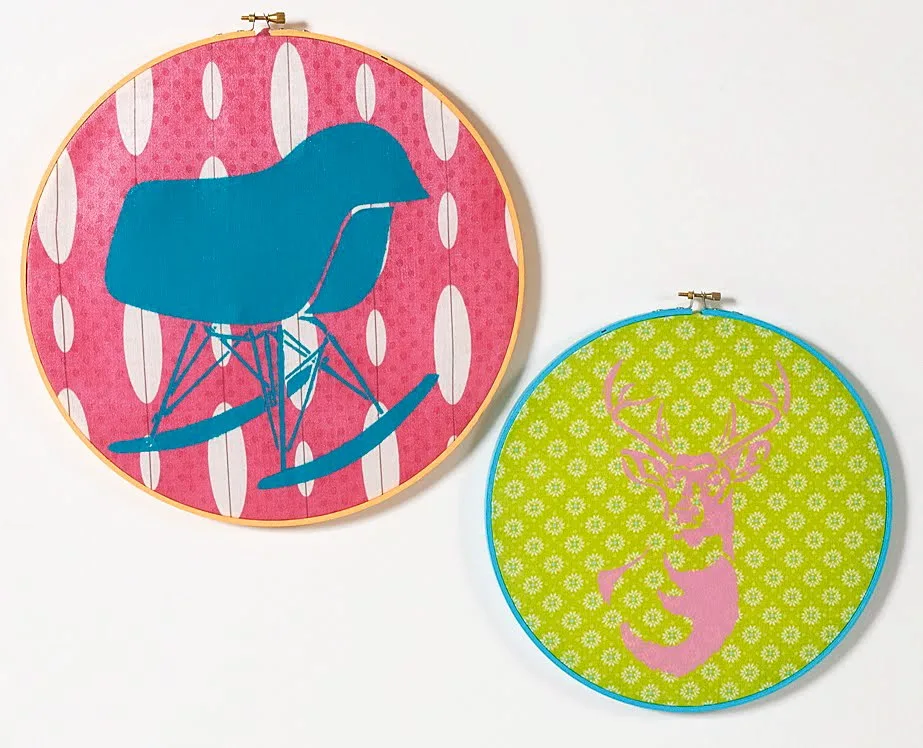
Create unique embroidery hoop wall art using scrap fabrics, stencils and fun paint colors. The Mod Podge is used to finish and seal the project.
Skills Required: None. Even if you’ve never crafted before you can make this project! You’ll be Mod Podging fabric, painting, and stenciling. Follow the instructions and it’s going to work out perfectly.

I haven’t graced you with my project presence in awhile since I’ve been so busy doing other things – then I realized there is no excuse.
Telling you that I don’t have time to Mod Podge is like telling your mom you don’t have time to make your bed. It doesn’t matter. You just have to do it.
Lately I’ve enjoyed bright colors, wall art, stencils, and fabric. You can see where I’m going with this, and possibly how this embroidery hoop wall art came about. In terms of stencils, I’m in love with Stencil 1.
Everything just came together, and I like my wall art because I can use it for myself or give these as a gift. Or both. I have many friends that would love these stencils, I just need to customize it to their decor. You can make these too.
Embroidery Hoop Wall Art
Gather These Supplies
- Embroidery Hoops – I used one 12″ and one 9″
- Fabric pieces – I used two fat quarters that I’ve had; I bought them at JoAnns
- Mod Podge Fabric
- FolkArt Acrylic Paint – I used Vintage Orange and Aqua for the chair, Calypso Sky and Bright Baby Pink for the Deer
- Flat paint brush
- Stencil brush
- Stencil tape or stencil adhesive
- Stencil 1 stencils – Chair Mod Rocker and Antlered Deer, both 8.5″ x 11″

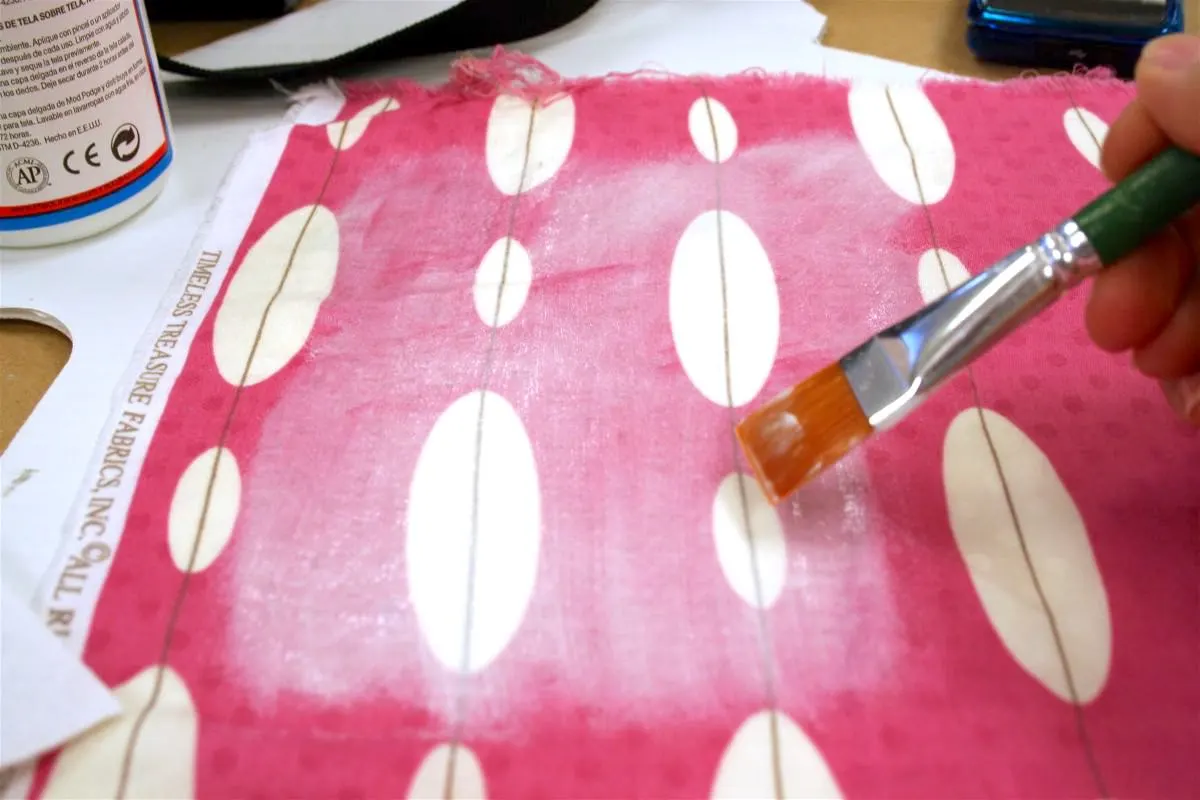
You’ll need to wash and dry your fabric before Mod Podging it. Iron it and then place it on a non-stick surface (wax paper works great). Use your Fabric Mod Podge to prepare the fabric. Paint a medium layer over the fabric and allow it to dry.
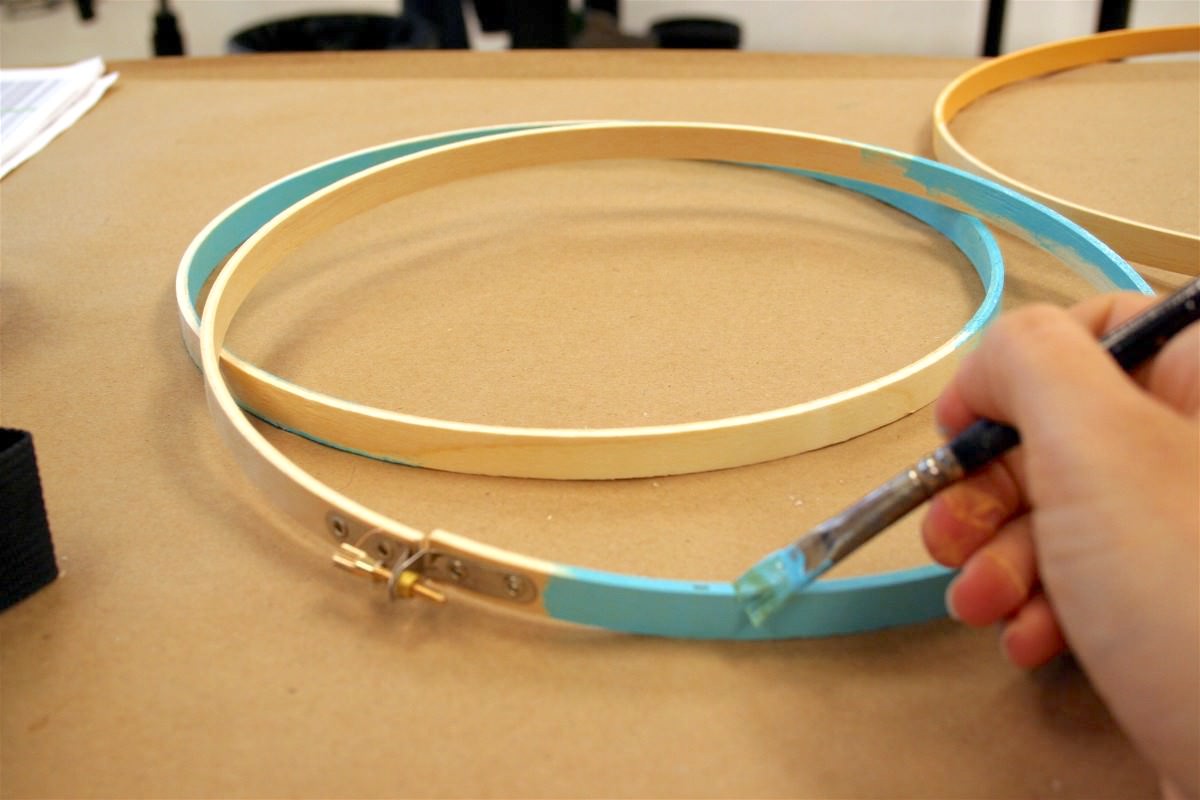
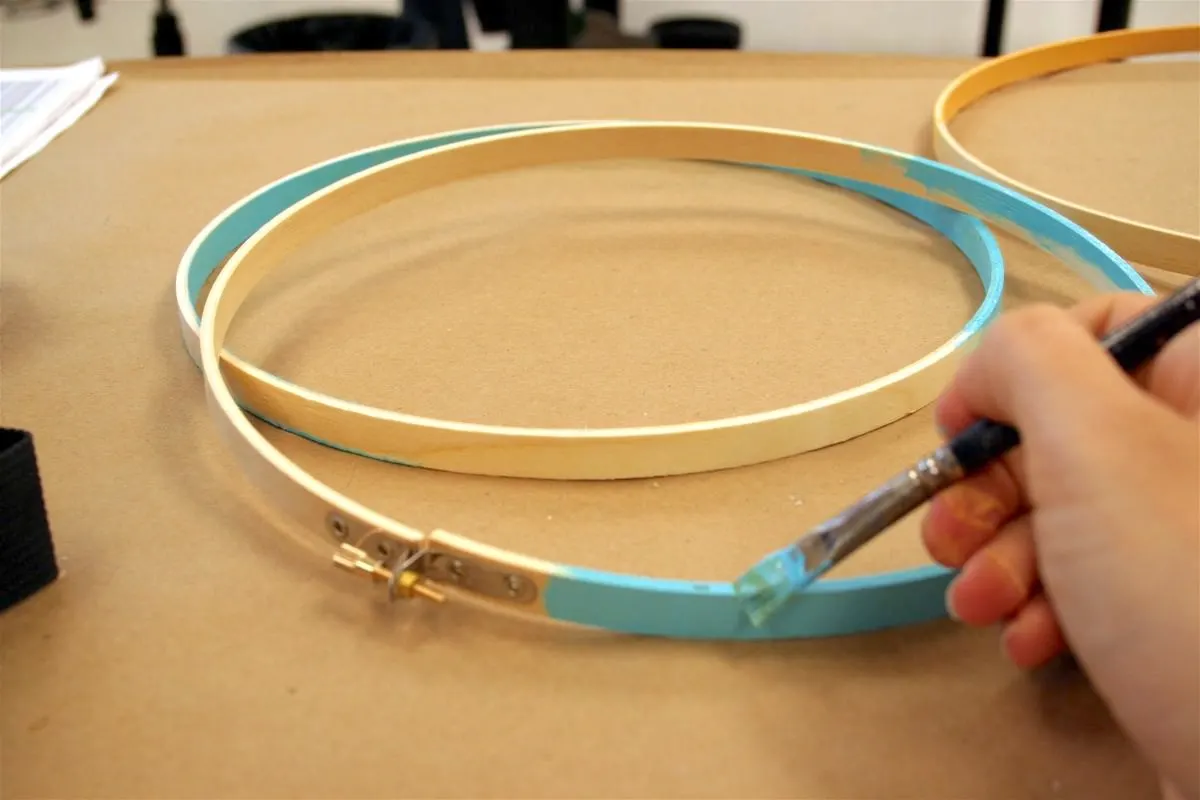
While your Mod Podged fabric is drying, paint your embroidery hoops with the paint color of your choice.
I used my color wheel to put together my little color combo on this one. Cause I’m fancy like that. Allow the paint on your embroidery hoop to dry.
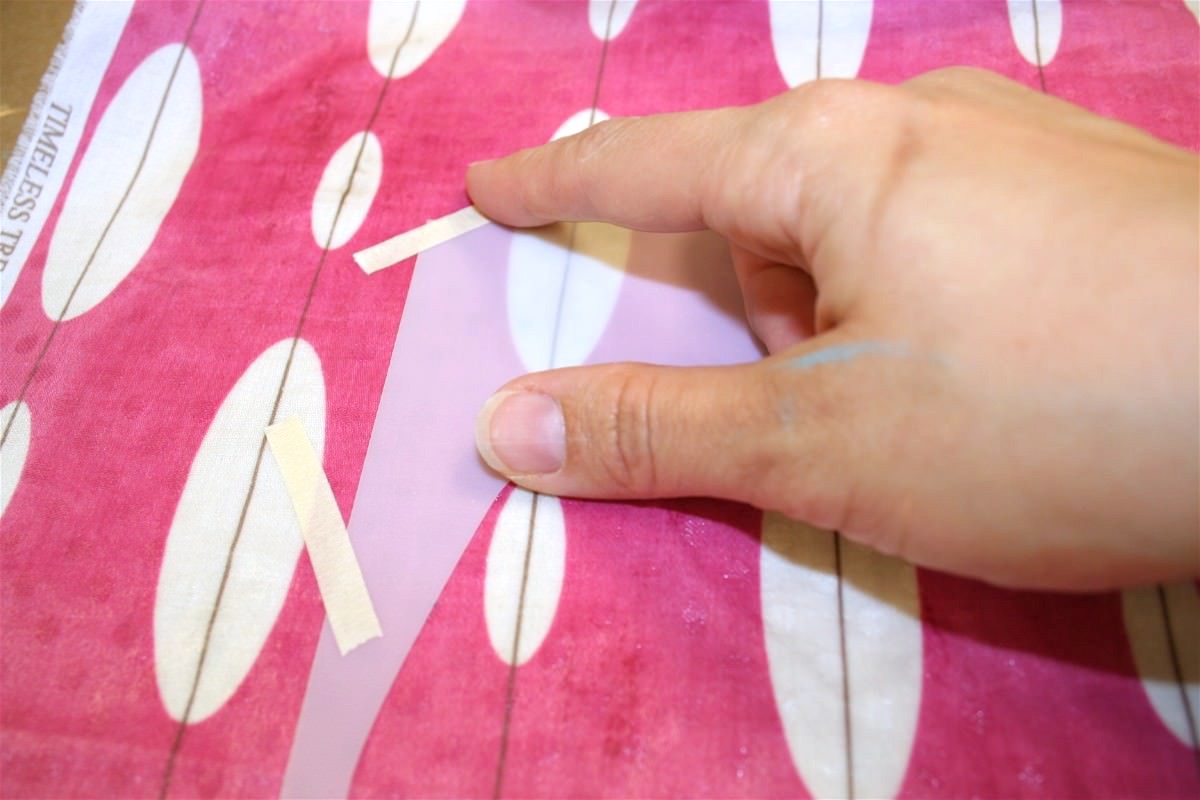

Go back to your piece of fabric and tape down your stencil. I’m not quite sure why I did the “X’s” – but you can’t really question genius, can you?
I’m completely kidding. I really wished after the fact that I would have used stencil adhesive. I had some “runnage” under the stencil that I had to wipe away. I can’t believe I’m telling you that.
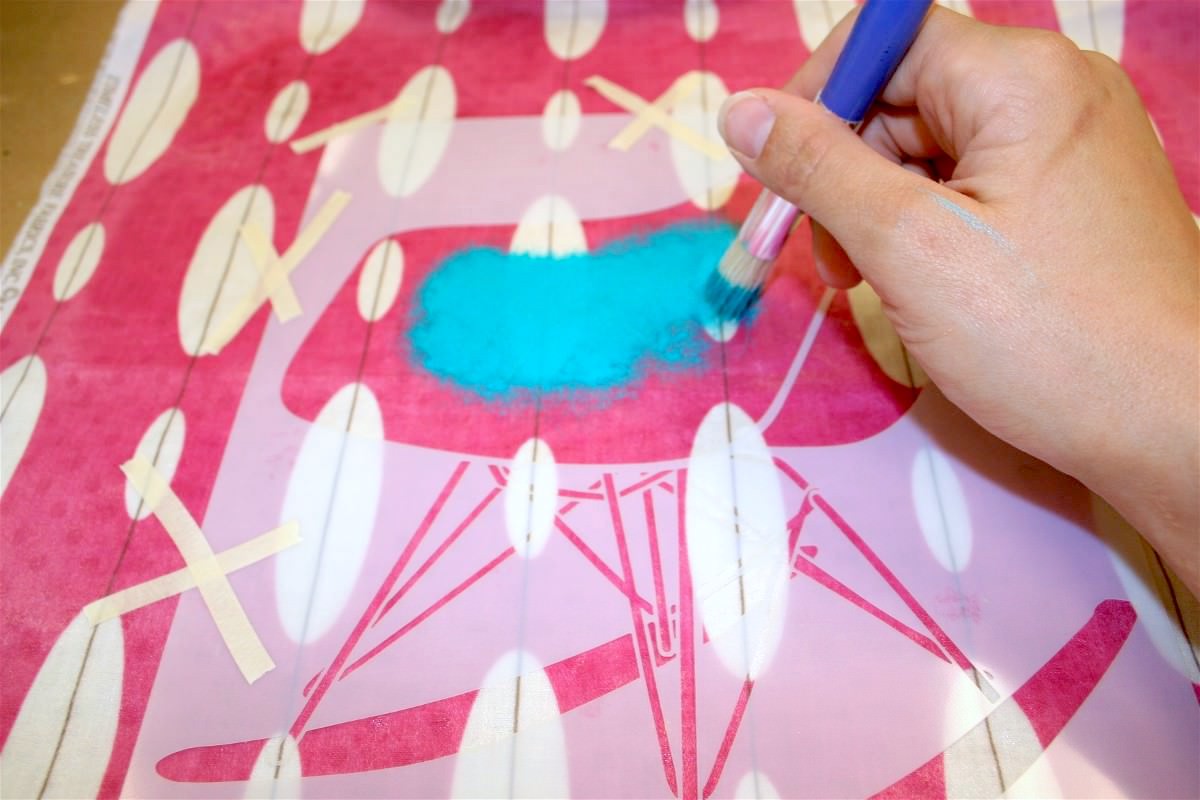

Use the stencil brush and paint color of your choice to fill in the stencil. Remember not to get too much paint on your stencil brush.
Stenciling is all about dry brushing and working slowly. Keep going until your entire stencil is covered. Once you are done painting, remove the stencil and allow the design to dry onto the fabric.
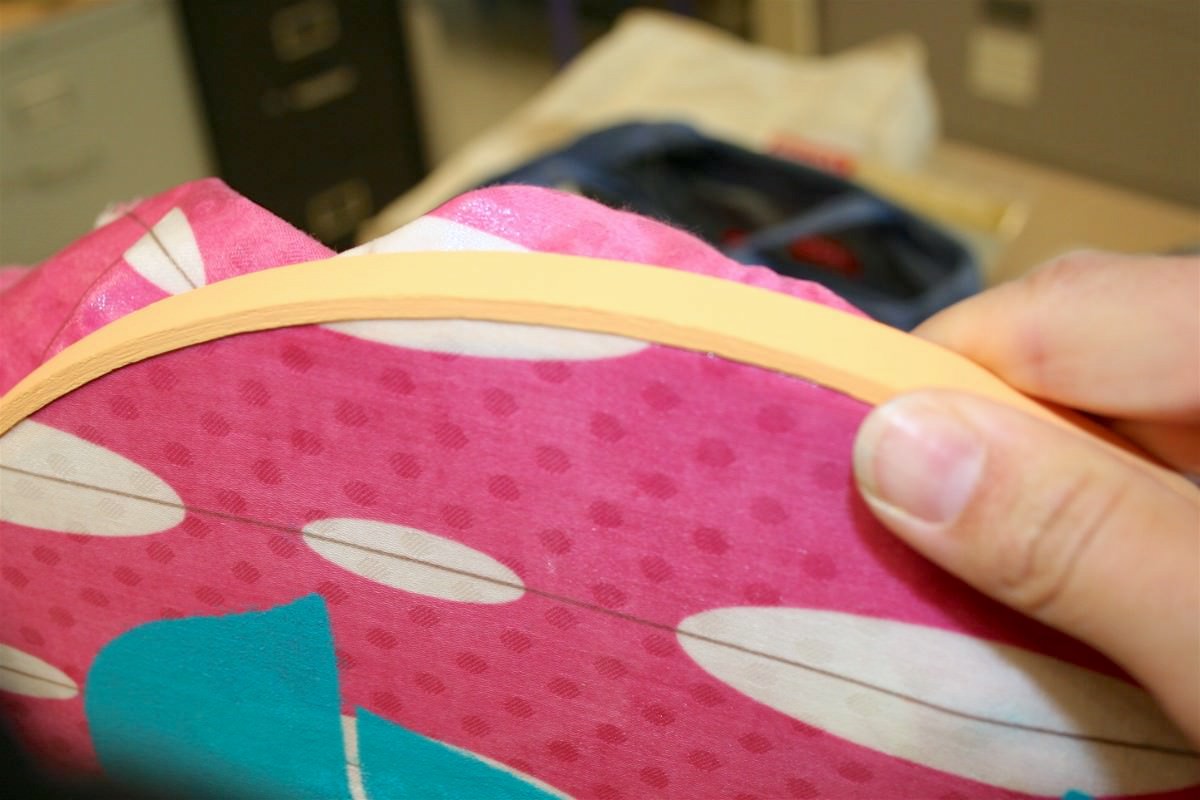

When the painted is dry, assemble your wall art but putting the fabric between the two embroidery hoops and then screwing tightly. You can use some glue to hold it together. I didn’t, but you can if you find you are having issues with it staying put.

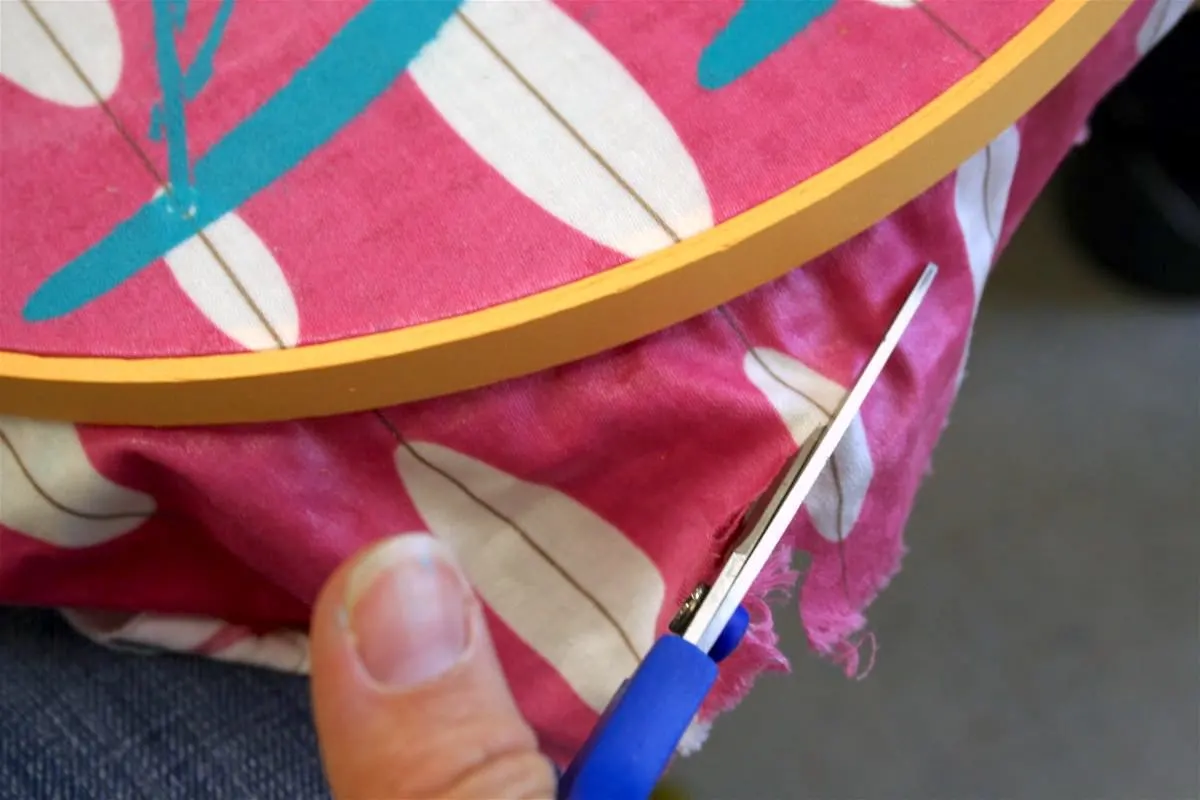
The finishing touch is cutting away the excess fabric so that it doesn’t hang out the back. Because that wouldn’t be very cute. Your project is ready to hang on the wall!
Optional: coat the entire project with Mod Podge to glue the hoop in place and preserve your painted design. I will leave that up to you.

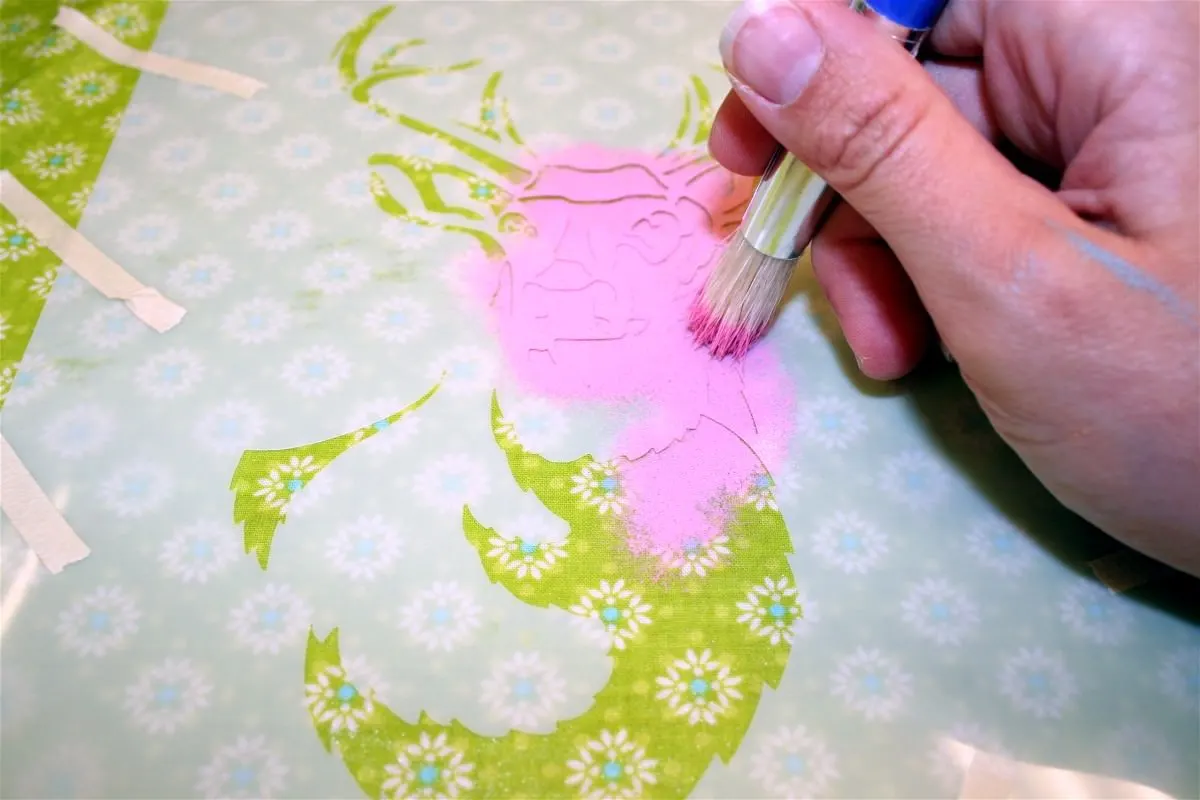
I’ll leave you with one final tutorial image, which is my hand stenciling the deer. These were so fun, easy and quick – you are really going to enjoy these. I want to make many more.

oregonpatchworks
Thursday 21st of October 2010
Great art....Good color combination the blue and pink mixing of the colors are really beautiful....Thanks for sharing with us......
Embroidery
LissaMe
Monday 27th of September 2010
so cute.. I love these. I have some crosstitch hoops Ive been wanting to do something with.. This might be the thing
Leminh
Tuesday 20th of July 2010
Where do you find your stencils? I love the rocker!
Mitzi Curi
Friday 16th of July 2010
I just purchased an armload of embroidery hoops from an estate sale, and this project idea is going to save them from mouldering away in my basement! Thanks Amy, you're the best!
creativejewishmom/Sara
Thursday 15th of July 2010
Hi Amy, love these and thanks so much for sharing on Craft Schooling Sunday, great to see you again! xoxoxo Sara