
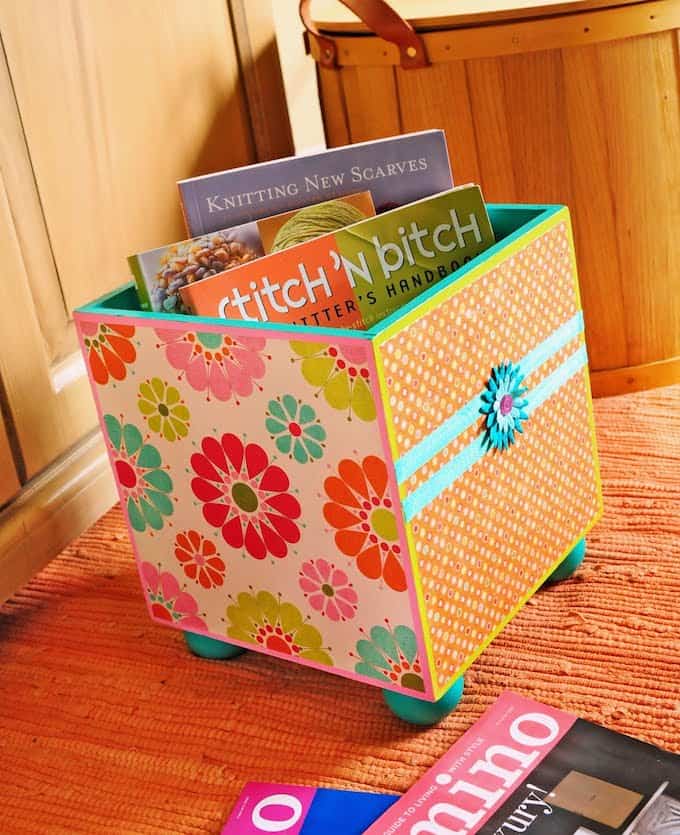
Storage doesn’t have to be boring! I used bright paints, paper and decoupage on this wood storage bin – and now I’m storing my books in style.
When I one day have the craft room of my dreams, there will be so many organizational wood storage bins that it will look like the warehouse at the end Raiders of the Lost Arc.
I’d love everything to have its place, and if it did I’m completely convinced that I would be able to be more effective in my crafting . . . the creativity would churn out more quickly because I would know exactly what I have. A girl can dream, can’t she?
Here are the instructions for wood storage bin #328.
Decorate a Wood Storage Bin
Gather These Supplies
- FolkArt Acrylic Paint – Bright Baby Pink, Turquoise, Yellow Citron
- Mod Podge Satin
- Wood Storage Bin
- 2” Wood Balls – 4
- My Mind’s Eye Scrapbook Paper – 4 sheets, 2 each of 2 designs
- Turquoise Ribbon – 1 roll
- Paper Flowers – 4 coordinating (I used Prima)
- Pink Buttons – 2
- 1” Flat Paint Brush
- Craft Glue
- Craft Knife and Mat
- Pencil
- Scissors
1. I always trace the shapes for my finished project first. Why? Because if pencil marks get on my surface, then I can paint over them. Start by tracing one side of the bin on the four sheets of paper. Set those sheets aside –you’ll cut them while the paint is drying on your project.
2. If you haven’t noticed, I fancy colorblocking. On the storage bin, paint the inside Turquoise, two sides Yellow Citron and two sides Bright Baby Pink. Paint the bottom whatever color you want – I painted it Turquoise. You will have to paint several coats of all colors. Allow to dry.
3. While the bin is drying, paint the wood balls Turquoise. Allow to dry.
4. You are now going to cut the paper. Measure approximately 1/8” inside your trace line on all four pieces from step 1 and trim them down using the craft knife.
5. When your bin is dry, adhere these four pieces to the sides using the Mod Podge. Work one side at a time. Completely smooth out all air bubbles and allow to dry for 15 – 20 minutes.
6. Coat the entire bin with at least two coats of Mod Podge. Coat the inside and the wood balls as well. Allow to dry completely.
7. Glue the wood balls to the four corners of the bottom with the craft glue. Allow to dry.
8. Cut the ribbon to fit two opposite sides as you see in the photo. Start with one side and glue the pieces down with craft glue about 1/2″ apart. Glue some paper flowers down in the center and then add a button to finish.
Allow this side to dry before turning bin over and doing the same to the other side.
9. Allow the storage bin to dry for at least 24 hours before using.
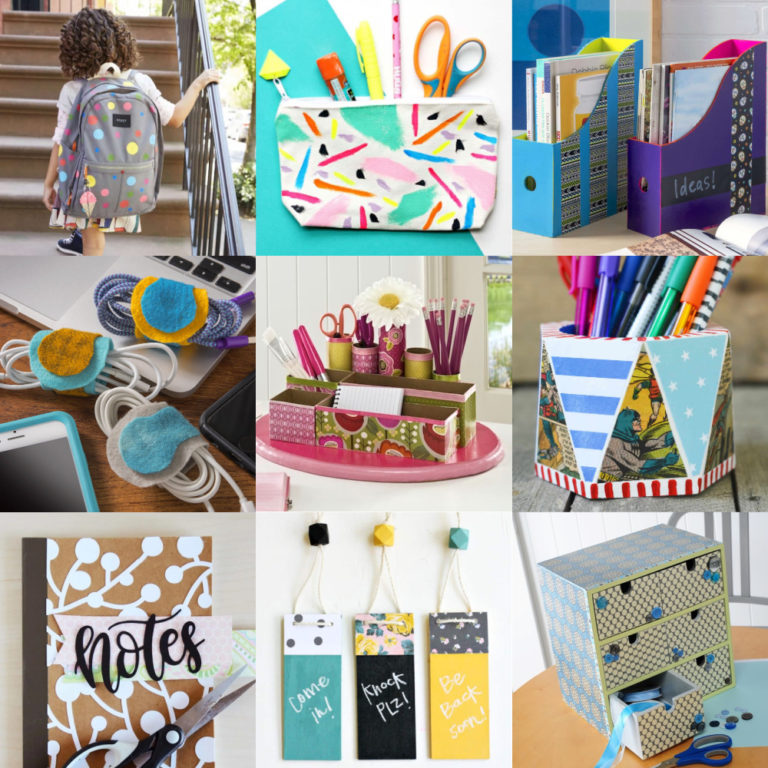
For similar wood crafts and project ideas, I’d love for you to visit the posts below:


The little ball feet make it too cute! I just ADORE your blog, by the way.
I’m having a new link party “Cheap Thrills Thursday” starting the 29th. It’s for creative ideas that cost under $20. I’d love for you to stop by and join in!
Kat
http://www.BlackKatsDesign.blogspot.com
So cute! I love the paper too. I’m hoping We’re Organized Wednesday and would love for you to join if you get the chance. Hope to see you there.
https://organizeyourstuffnow.com/
Brilliant, Amy, I love it!
Another cute project! It’s so eye-catching. Would love to have that for my daughter’s room!
Thanks for joining us for another great Anything Related! ~Bridgette
Too cute! I’m going to have to make this for my step daughters! Thanks for sharing…and sooo many cute things all over your blog, love it!
jen @ messhalltobistro.blogspot.com
OMG! Love it!! Where did you get the bin?
Oh My…can I just say I love it…and that stitch n *itch book that’s tucked inside…I seen her on a show once she’s an awesome knitter and such
I love the colors and the little “feet” really take this up a notch. (Ha ha, in more ways than one, I guess.) Looks wonderful!
That turned out fantastic! Really just love the whole thing… the colors are amazing.