
Knock it out of the park with this DIY baseball decor! Easy, budget-friendly, and perfect for Father’s Day or any baseball fan’s wall.
Hi, it’s David from Cheltenham Road.
I’ve been wracking my brain to come up with a Father’s Day gift. Of course, being me, I’ve left it to the last minute (it’s how I roll) but I think I’ve got a fun, unique, easy and very affordable wall decor idea dads will love.
My dad has enough books to fill a library, doesn’t wear ties anymore, and probably isn’t in need of any more drink coasters (although some dads whose sons don’t make coasters might check out my Etsy shop if you’re so inclined).
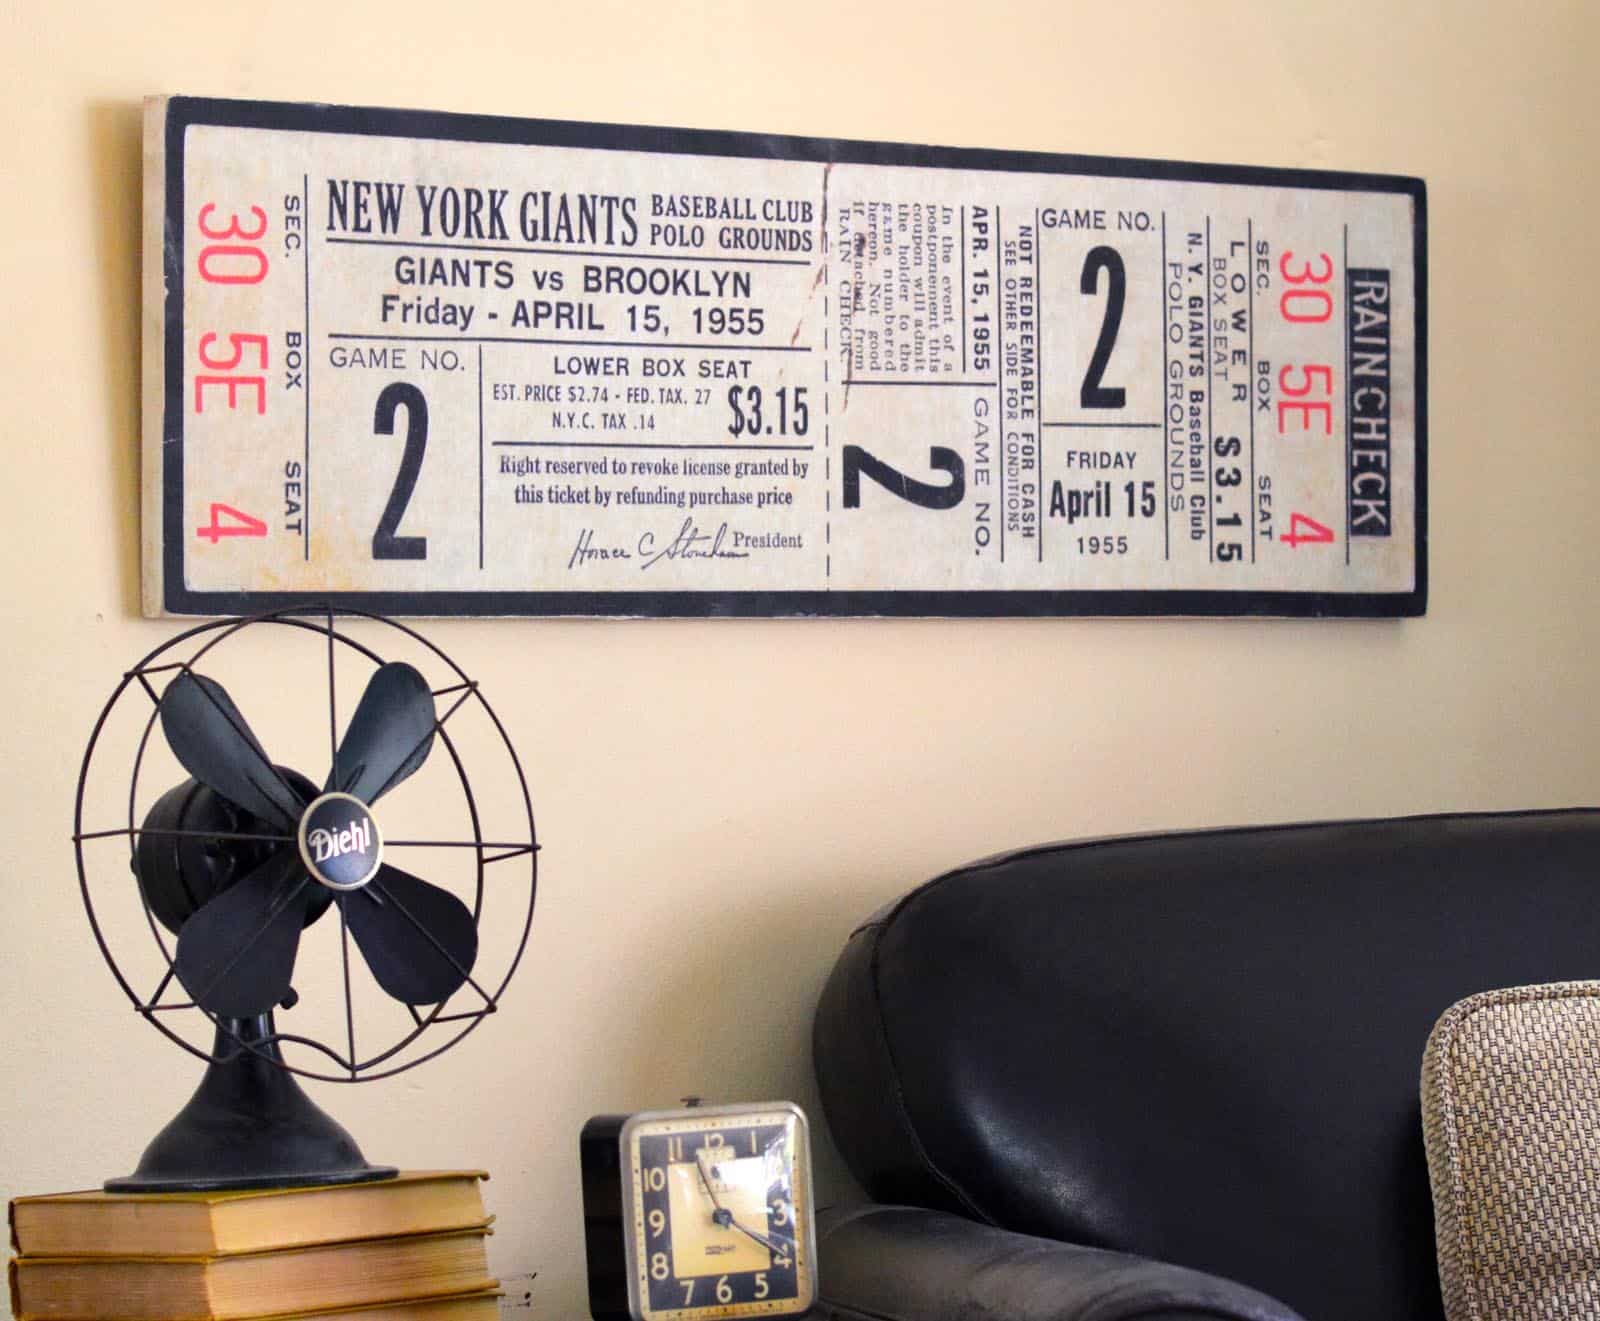
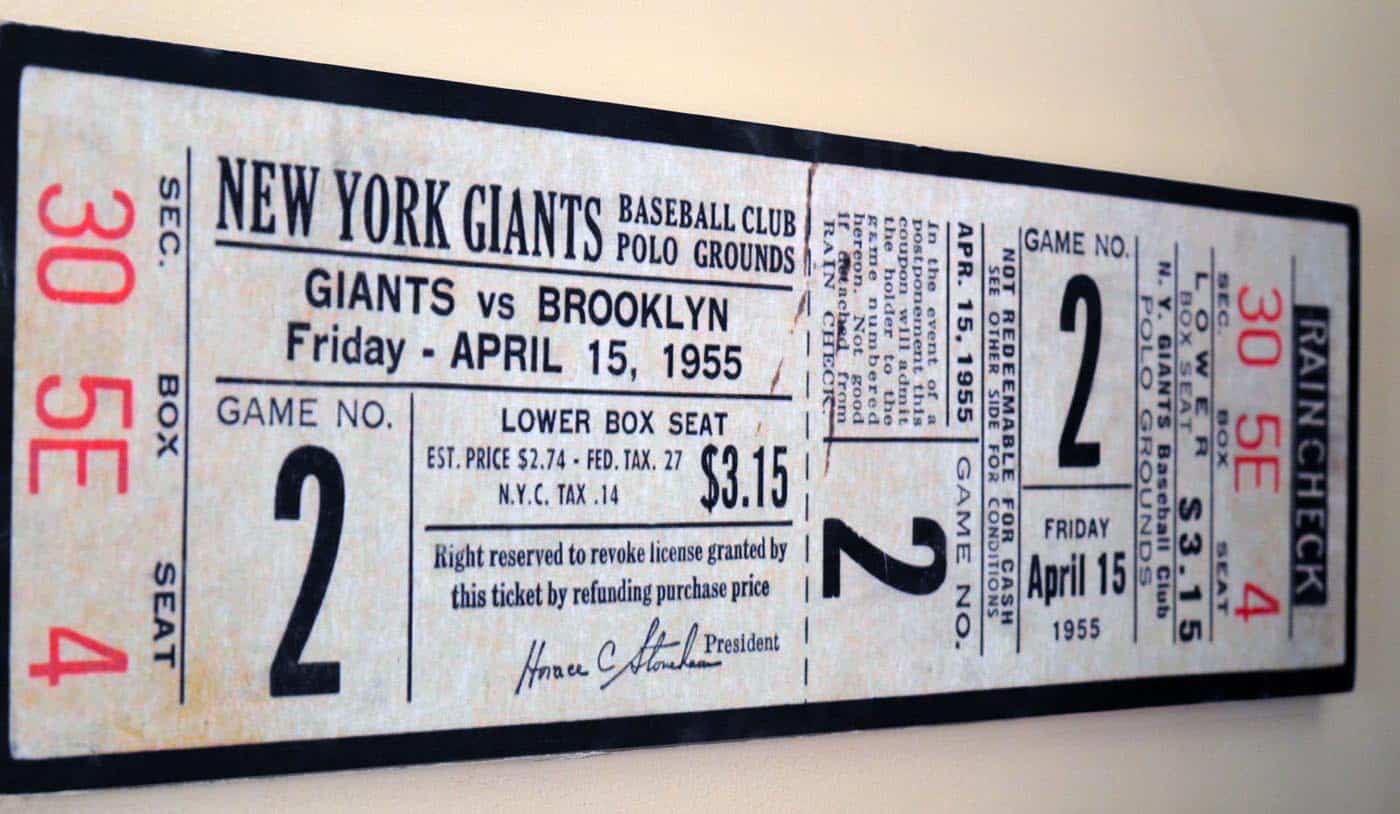
What I did decide is that some personalized wall decor might be fun, and he loves baseball and baseball history. And since I love anything vintage and graphic, I decided this DIY baseball decor could work out great!
I used a vintage ticket design, but you could use anything: other paper memorabilia from a favorite game or concert, perhaps? You could also make a collage of tickets or children’s art, black and white pictures – the sky’s the limit.
This project came together crazy quick, so it’s great if (like me) you’re a bit stuck on selecting a Father’s Day gift idea.
And, best of all!?!!!!
No one will know you only spent a few dollars on this because . . . it looks like . . . A BIG TICKET ITEM! Sorry, couldn’t resist . . . should have, but couldn’t.
Are you ready to give it a try? Get the printable how to card below:

DIY Baseball Decor
Equipment
- Sandpaper or sander
- Paint roller
- Large plastic tub
Materials
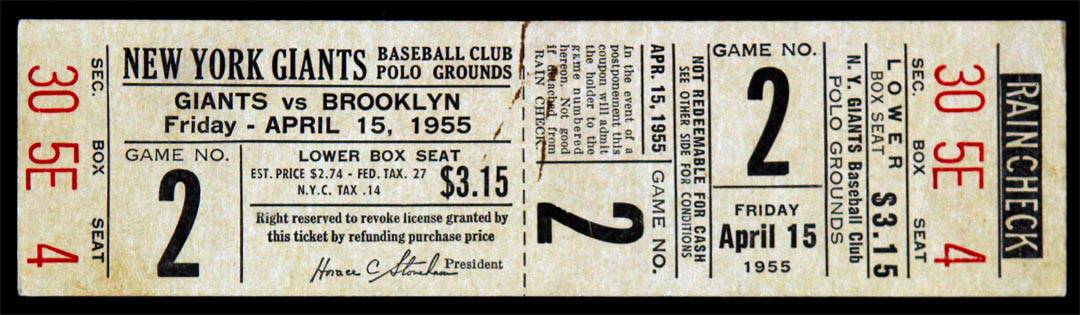
- 1 Enlarged print of an old baseball ticket
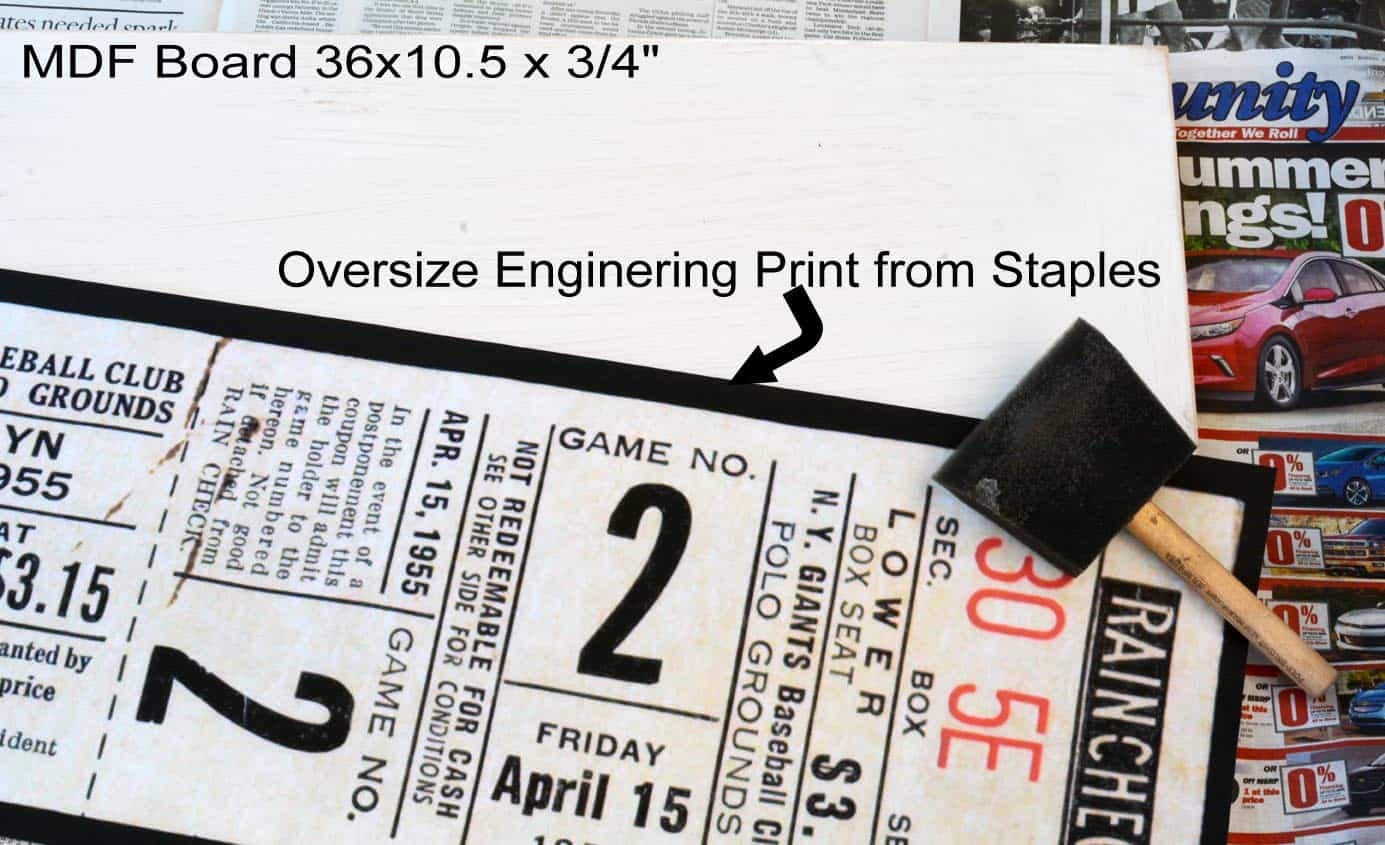
- 1 piece Medium density fiberboard lumber cut to size: 36" x 10.5"
- Mod Podge Matte and/or Hard Coat
- 1 bottle Craft paint white
- 2 “D” hook hangers
Instructions
- Find the graphic you like. Resize and have printed as an engineering print – 36" x 10.5" size.
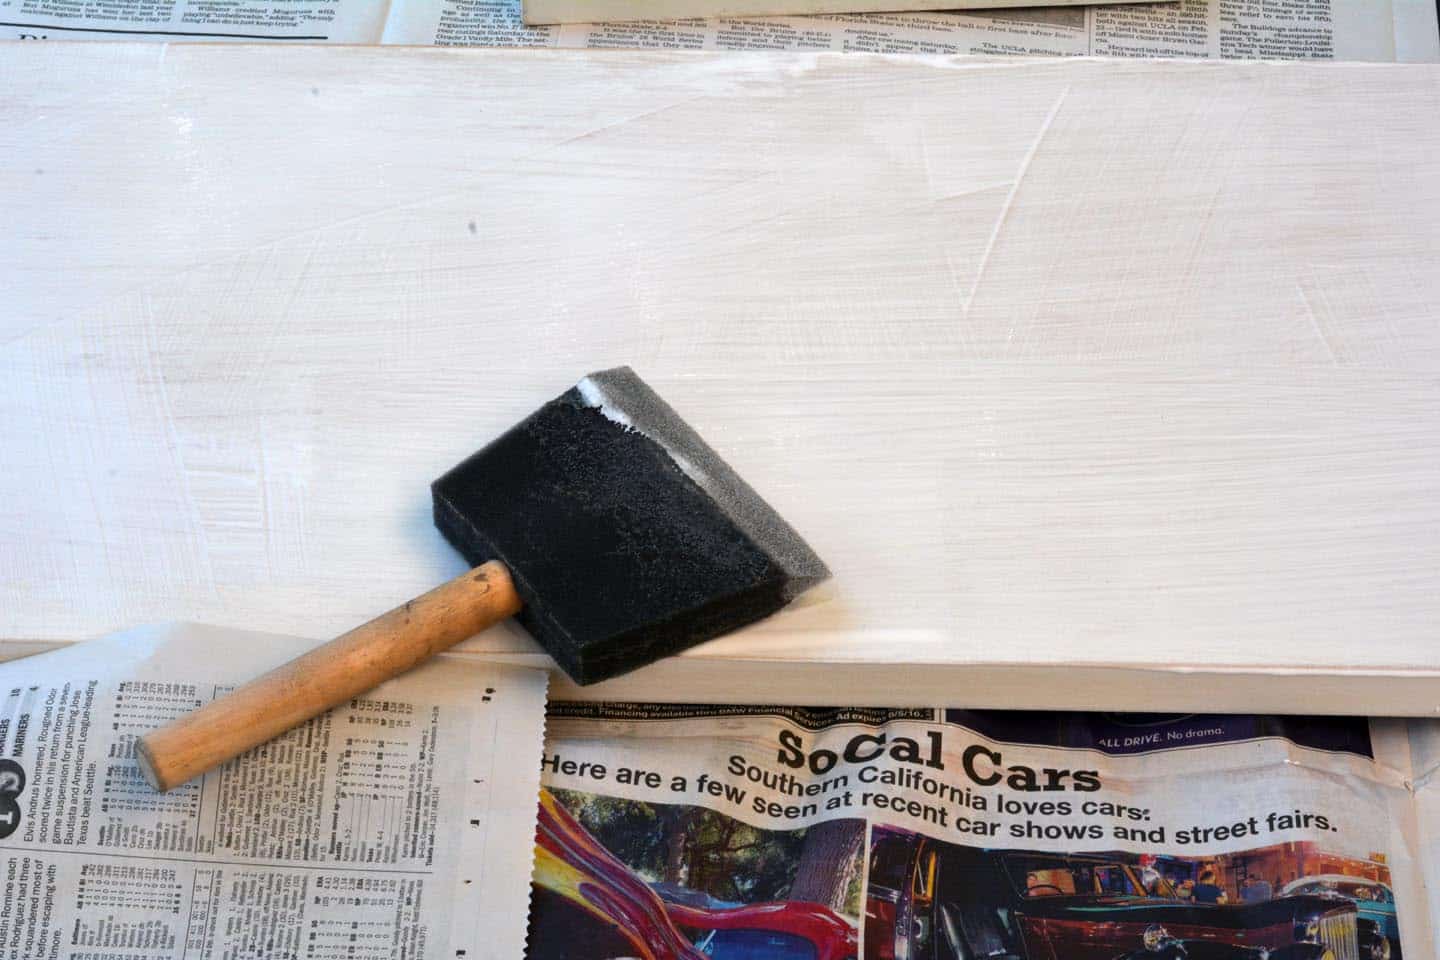
- Give the board a light coat of white paint. Let dry and then give a light sanding to smooth out bumps and add a bit of distressing.
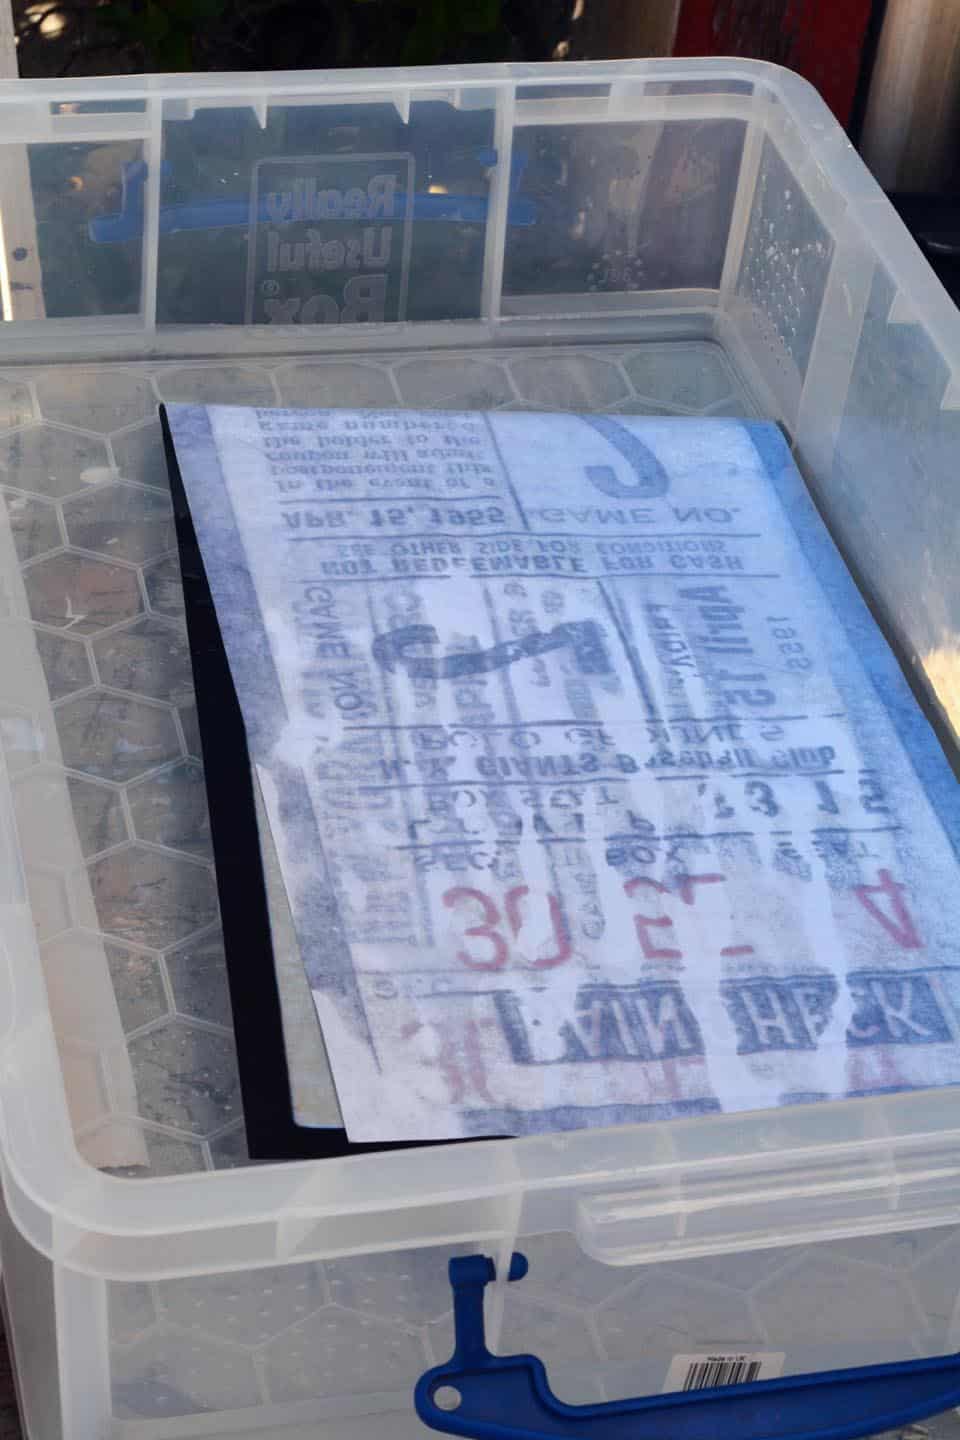
- Soak your print in a container of water for a few seconds. Soaking the paper makes it easier to smooth out with fewer wrinkles.
- Apply a medium coat of Matte Mod Podge to the board.
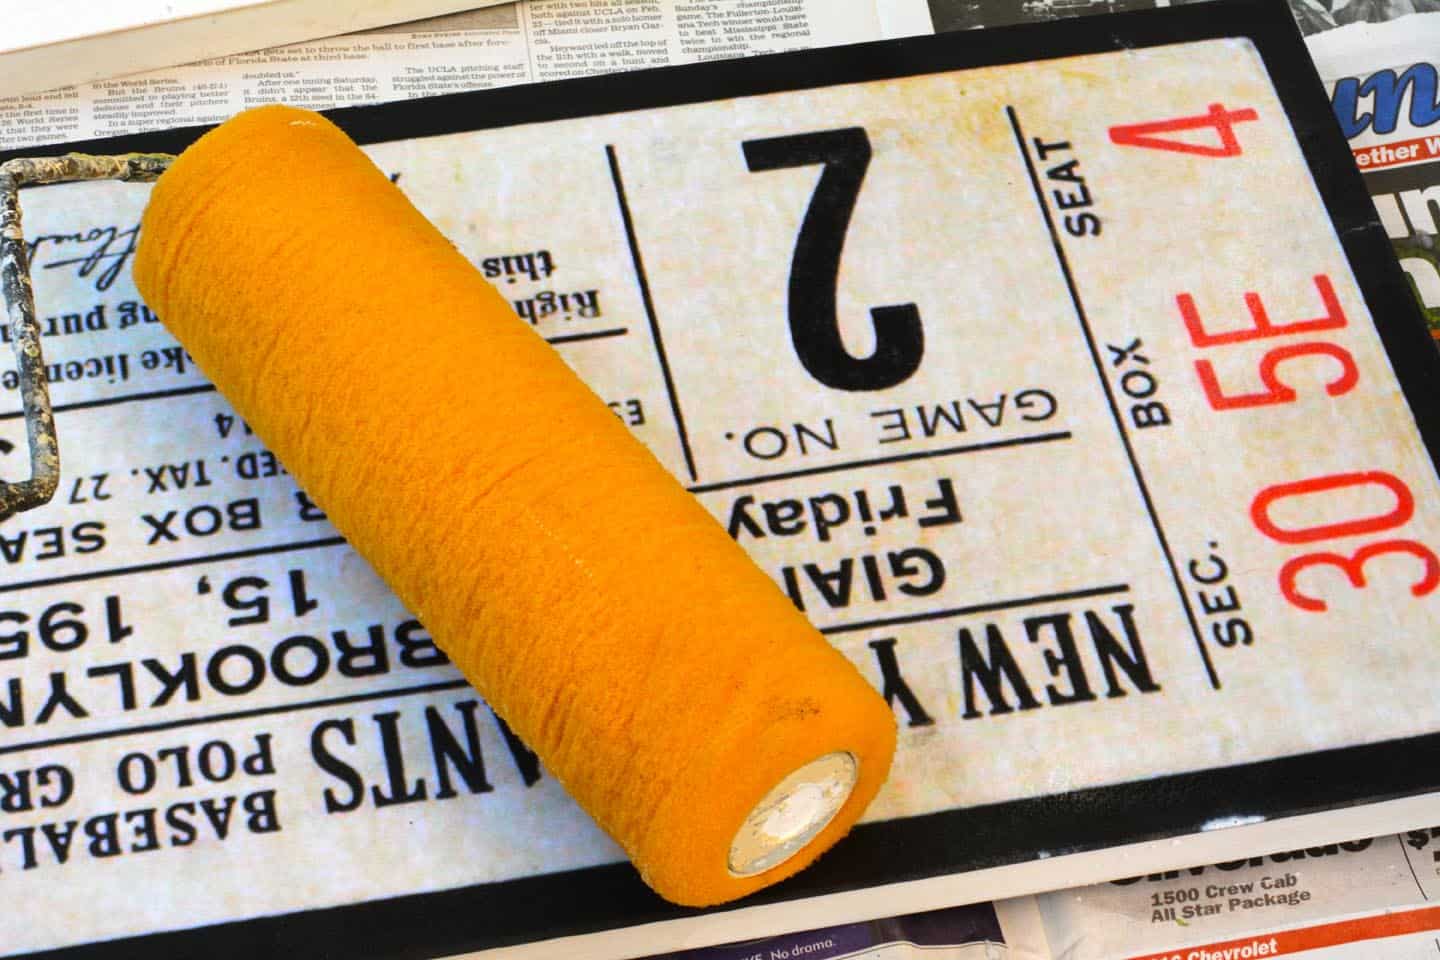
- Handling the paper carefully (it's fragile at this point), lay it out onto the board. Use a roller to smooth out air bubbles and squeeze out excess Mod Podge. Wipe away with a brush. Let dry completely.
- Sand away the edges for a worn look. Seal the entire piece with two coats of Hard Coat Mod Podge. Let dry.
- Add the hanging D hooks to the back of the board and hang.
Notes
I hope this helps any last-minute gift makers like myself! If you have any questions about my DIY wall decor, fire away – I will monitor the comments section. Also check out these other ideas:


I never knew about the “engineering print” option at Staples, thank you for that! (and a shout out to the Really Useful Box you used–my fave!)
Great idea! What was the name of the book in which you found the photo of the ticket?
Hi Laurie. Thanks! I’m afraid it was a library book and I scanned it so long ago (I’m always squirreling away images) that I can’t remember the title. Sorry not to be of more help. – David
Awesome gift idea.
Love it!